


My Grandma’s Secret Chocolate Chip Cookies (The Only Recipe You’ll Ever Need)
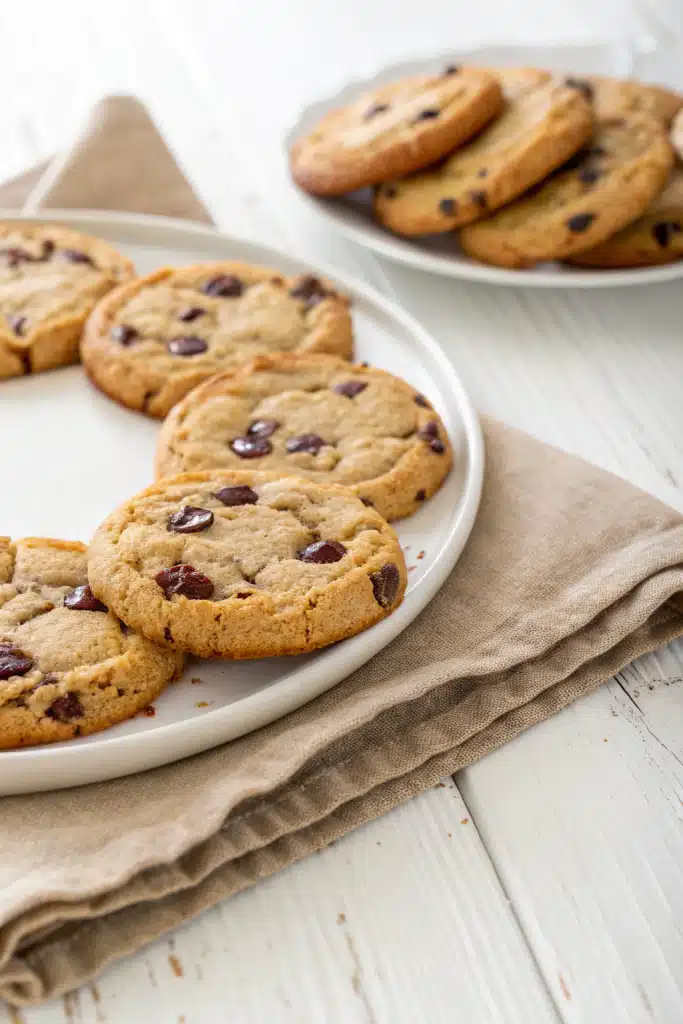
You know that warm, buttery smell that wraps around your whole house and makes everyone suddenly appear in the kitchen like magic? That’s what these chocolate chip cookies do. I’ve tried dozens of recipes over the years—crispy edges, cakey centers, extra-chewy, ultra-thin—but nothing compares to my grandma’s version. It’s the one she baked every Sunday, the one my cousins fought over, the one I now make when I need a little comfort or want to impress someone without seeming like I tried too hard. And honestly? Once you taste these, you won’t bother with any other recipe. They’re soft in the middle, slightly crisp at the edges, and loaded with melty chocolate that pulls apart in gooey strands. Plus, they come together in under 30 minutes, which means you’re never more than half an hour away from cookie bliss.
What Is This Chocolate Chip Cookie Recipe?
This is the kind of chocolate chip cookie that reminds you of childhood—the kind that’s slightly underbaked in the center so it stays soft for days (if they last that long). Unlike store-bought versions that are either too dry or too sweet, this recipe strikes the perfect balance: rich brown butter flavor, just enough vanilla to make your eyes close when you take a bite, and chunks of real chocolate that melt into golden pools as they bake. It’s not fancy, and it doesn’t need to be. These cookies are about simplicity, nostalgia, and that little sigh of happiness you make after the first bite. My grandma never measured anything—she eyeballed the sugar, scooped flour straight from the bag, and always used the same chipped ceramic bowl—but I’ve carefully tested and refined her method so you get consistent results every time, without losing that homemade love.
Why You’ll Love This Recipe
First off, these cookies are ridiculously easy. No stand mixer required (though you can use one), no chilling the dough overnight (unless you want to—they’re even better that way), and no weird ingredients you can’t pronounce. Just pantry staples and a little patience while your kitchen fills with that irresistible baking scent. Second, they’re customizable! Swap in dark chocolate chunks for milk chocolate chips, add a handful of chopped walnuts if you’re feeling nutty, or sprinkle a bit of sea salt on top before baking for that fancy bakery touch. But the real magic? The texture. They stay soft for days thanks to a secret trick: cornstarch. Yes, cornstarch! It keeps them tender and chewy, even on day three (not that they usually last that long). Plus, the browned butter adds a deep, nutty richness that makes these taste like they came from a high-end patisserie, not your own oven. And let’s be honest—there’s something deeply satisfying about pulling a tray of golden-brown cookies out of the oven and watching them cool just enough to hold their shape but still ooze chocolate when you break one open.
How to Make Chocolate Chip Cookies
Quick Overview
This recipe makes about 18–20 cookies and takes roughly 25 minutes from bowl to bite. You’ll cream butter and sugars, add eggs and vanilla, mix in dry ingredients, fold in chocolate chips, scoop onto a baking sheet, and bake until the edges are golden but the centers still look slightly underdone. That’s the key—they’ll firm up as they cool, giving you that perfect chewiness.
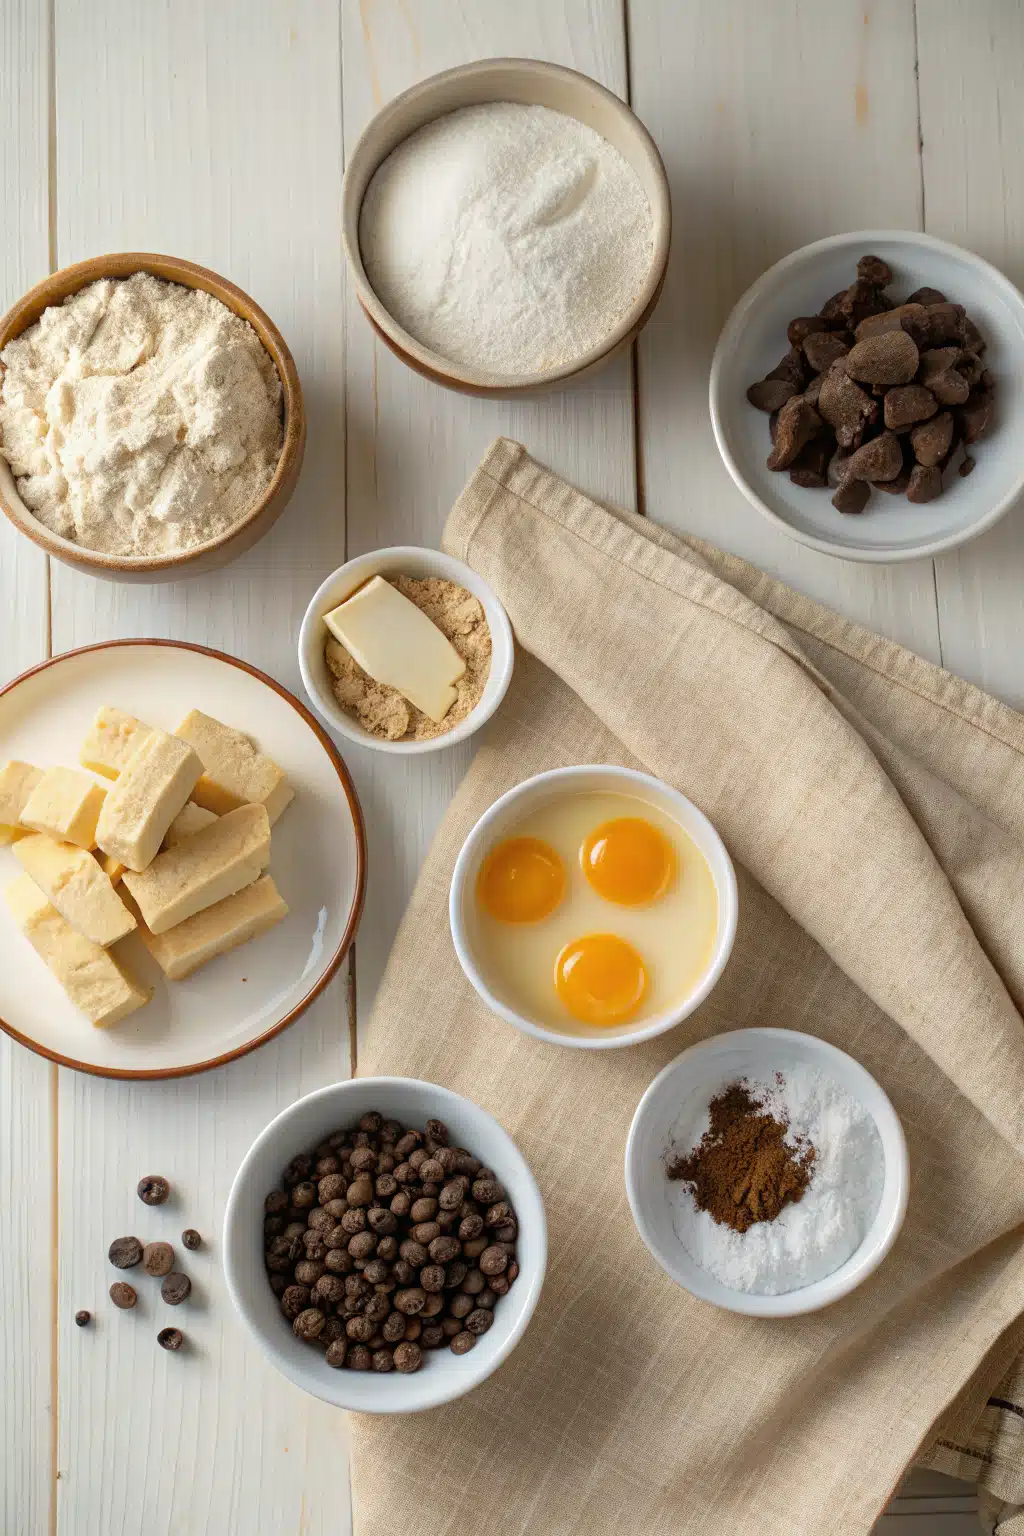
Ingredients
You’ll need: 1 cup (2 sticks) unsalted butter, softened; ¾ cup packed light brown sugar; ½ cup granulated sugar; 2 large eggs; 2 teaspoons pure vanilla extract; 2 ¼ cups all-purpose flour; 1 teaspoon cornstarch (the secret weapon!); 1 teaspoon baking soda; ½ teaspoon salt; and 2 cups semi-sweet chocolate chips or chunks. Pro tip: Let your butter get truly soft—not melted, but give-it-a-light-press-with-your-finger soft. And if you have old butter in the back of your fridge, now’s the time to use it up!
Step-by-Step Instructions
Step 1: Preheat & Prep Pan
Set your oven to 375°F (190°C)—yes, that’s hotter than most recipes call for, but it gives you that perfect edge-to-center contrast. Line two baking sheets with parchment paper or silicone mats. Trust me, cleanup is a breeze, and your cookies won’t stick.
Step 2: Cream Butter and Sugars
In a large bowl, beat the softened butter, brown sugar, and granulated sugar together until light and fluffy—about 2–3 minutes with a hand mixer. You’ll notice the mixture gets paler and creamier. That’s when you know it’s ready.
Step 3: Add Wet Ingredients
Beat in the eggs one at a time, then add the vanilla. Don’t worry if it looks a little curdled—that’s normal! Just keep mixing until smooth.
Step 4: Mix Dry Ingredients
In a separate bowl, whisk together the flour, cornstarch, baking soda, and salt. Gradually add this to the wet mixture, mixing just until combined. Overmixing = tough cookies, and we don’t want that.
Step 5: Fold in Chocolate
Stir in the chocolate chips by hand with a spatula. This is the fun part—try not to eat half the dough while you’re at it.
Step 6: Scoop and Bake
Use a cookie scoop or two spoons to portion out 2-tablespoon balls of dough. Place them 2 inches apart on the baking sheet. Bake for 9–11 minutes—watch closely! They’re done when the edges are golden but the centers still look soft. Cool on the sheet for 5 minutes before transferring to a rack.
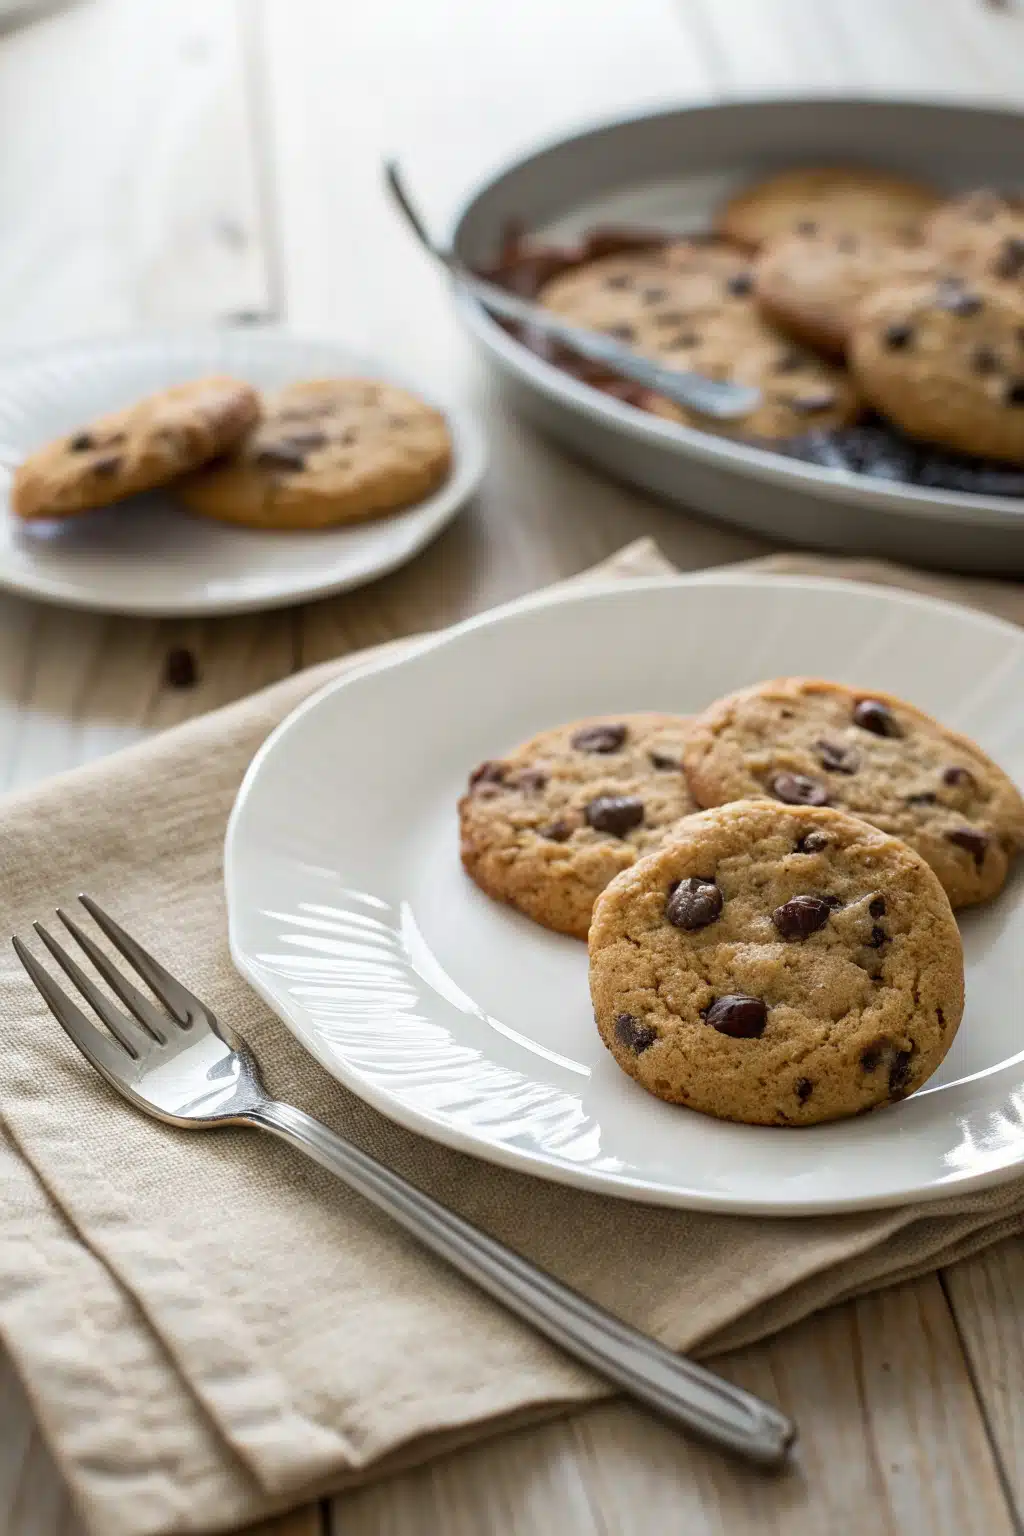
What to Serve It With
These cookies are stars on their own, but if you’re feeling extra cozy, dunk them in a cold glass of milk (the way my grandma always did), pair them with a scoop of vanilla ice cream for an impromptu ice cream sandwich, or serve them alongside a cup of coffee or hot chocolate on a rainy afternoon. They’re also amazing crumbled over yogurt or oatmeal for a sweet breakfast twist—don’t knock it till you try it!
Top Tips for Perfecting Your Chocolate Chip Cookies
First, don’t skip the cornstarch—it’s the invisible hero here. Second, use room-temperature eggs; cold ones can seize your butter mixture. Third, if you love extra flavor, brown half the butter before creaming (just cook it in a saucepan until it turns golden and smells nutty, then let it cool slightly). And finally, resist the urge to overbake! Take them out when they look a little underdone—they’ll continue cooking from residual heat and stay chewy for days.
Storing and Reheating Tips
Store cooled cookies in an airtight container at room temperature for up to 5 days. For longer storage, freeze unbaked dough balls for up to 3 months—just pop them straight from the freezer onto a baking sheet and add 1–2 minutes to the bake time. To revive slightly stale cookies, warm them in a 300°F oven for 3–4 minutes. They’ll taste fresh out of the oven again!
Frequently Asked Questions
Final Thoughts

These chocolate chip cookies aren’t just a recipe—they’re a memory, a mood, a little slice of happiness. Whether you’re baking them for a friend, a date night, or just because Tuesday felt a little rough, they always deliver. My grandma never wrote this down, but she’d be proud to know her cookies are still bringing people together, one gooey bite at a time. So go ahead—preheat that oven, grab your favorite mug, and bake a batch. You deserve it.
Chocolate Chip Cookies 2
Ingredients
Main Ingredients
- 2.25 cups all-purpose flour
- 0.5 teaspoon baking soda
- 1 cup unsalted butter, softened
- 0.5 cup granulated sugar
- 1 cup packed brown sugar
- 1 teaspoon vanilla extract
- 2 large eggs
- 2 cups semisweet chocolate chips
Instructions
Preparation Steps
- Preheat oven to 375°F (190°C).
- In a medium bowl, whisk together flour and baking soda. Set aside.
- In a large bowl, cream together softened butter, granulated sugar, and brown sugar until light and fluffy.
- Beat in vanilla extract and eggs, one at a time, until fully incorporated.
- Gradually mix in the flour mixture until just combined.
- Fold in chocolate chips until evenly distributed.
- Drop rounded tablespoons of dough onto ungreased baking sheets, spacing them about 2 inches apart.
- Bake for 9 to 11 minutes, or until edges are golden brown.
- Allow cookies to cool on baking sheet for 5 minutes before transferring to a wire rack to cool completely.


