


Homemade Pizza Dough: The Secret to Restaurant-Quality Crust at Home
There’s something deeply satisfying about making your own pizza from scratch. It’s not just about tossing dough and adding toppings—it’s a ritual of creation, a promise of comfort, and a delicious way to bring people together. And the heart of every great pizza? Perfectly crafted homemade pizza dough. Forget store-bought mixes or frozen bases; there’s nothing quite like kneading, stretching, and watching that simple circle transform into a golden, bubbly masterpiece straight from your oven. Today, I’m sharing my foolproof recipe for homemade pizza dough that delivers that crisp-yet-chewy crust you crave—without needing a stone oven or professional skills. Whether you’re building a classic Margherita or experimenting with wild combinations, this dough becomes your canvas. Trust me, once you taste it, you’ll never go back.
What Is Homemade Pizza Dough?
At its core, homemade pizza dough is simply flour, water, yeast, salt, and sometimes a touch of olive oil, combined and kneaded into a smooth, elastic ball. But what makes it special isn’t just the ingredients—it’s the process. When made correctly, this dough develops gluten strands that give your pizza its signature chew, while fermentation builds complex flavors and helps create that coveted airy, slightly blistered crust. Unlike pre-made dough, which can lose freshness quickly, homemade pizza dough allows you full control over texture, thickness, and flavor profile. You can adjust hydration levels for a crispier base or add herbs and garlic for extra aroma. It’s more than just bread—it’s the foundation of a truly memorable meal. With this recipe, you’ll learn how to make a dough that rises beautifully, holds its shape under heavy toppings, and bakes up light, tender, and utterly irresistible every time.
Why You’ll Love This Recipe
This homemade pizza dough recipe is designed for real life—no fancy equipment required, just love (and maybe a pinch of patience). First, it’s incredibly forgiving. Whether you’re a beginner or a seasoned cook, the steps are straightforward, and the results speak for themselves. The dough develops a silky-smooth texture after just ten minutes of kneading, and because we use active dry yeast with instant sugar activation, you don’t need to dissolve anything separately. That means faster prep time without sacrificing quality.
Another reason this recipe shines? Flavor. The slow rise—thanks to room-temperature mixing and a longer initial proof—develops deeper, richer notes than quick-rise alternatives. You’ll notice a subtle tanginess in each bite that elevates every slice beyond ordinary takeout. Plus, it’s versatile. Want thin-crust Neapolitan-style? Go for less oil and higher heat. Prefer thick, fluffy New York slices? Add a little more fat and bake low and slow. And let’s talk convenience: this dough freezes beautifully! Make a batch on Sunday, portion it out, and pull out a disk whenever hunger strikes. No thawing headaches—just pop it directly into a hot pan or oven.
But perhaps the best part? There’s something magical about shaping your own dough. The tactile experience—feeling it stretch, fold, and come alive—is almost meditative. Your kitchen will fill with the warm, yeasty scent of rising bread, setting the mood for a cozy family dinner or a fun date night. And when those golden edges crackle and brown under the broiler, and your guests take their first bite… oh, you’ll know why we keep coming back to homemade. It’s not just food; it’s care, craft, and connection—all wrapped up in one perfect circle.
How to Make Homemade Pizza Dough
Quick Overview
Making homemade pizza dough doesn’t have to be complicated. In just five easy steps, you’ll have a ready-to-roll ball of joy waiting for your favorite sauce and cheese. Start by activating the yeast in warm water with a pinch of sugar—this kickstarts fermentation. While that sits, combine flour and salt in a large bowl. Pour in the yeast mixture and mix until shaggy. Then, transfer to a clean surface and knead for about 8–10 minutes until smooth and elastic. Add a splash of olive oil if desired for tenderness. Let it rest in oiled bowl, covered, for 1–2 hours until doubled in size. Punch it down, divide as needed, shape into balls, and either use immediately or refrigerate/freeze for later. Simple? Absolutely. Delicious? Beyond compare.
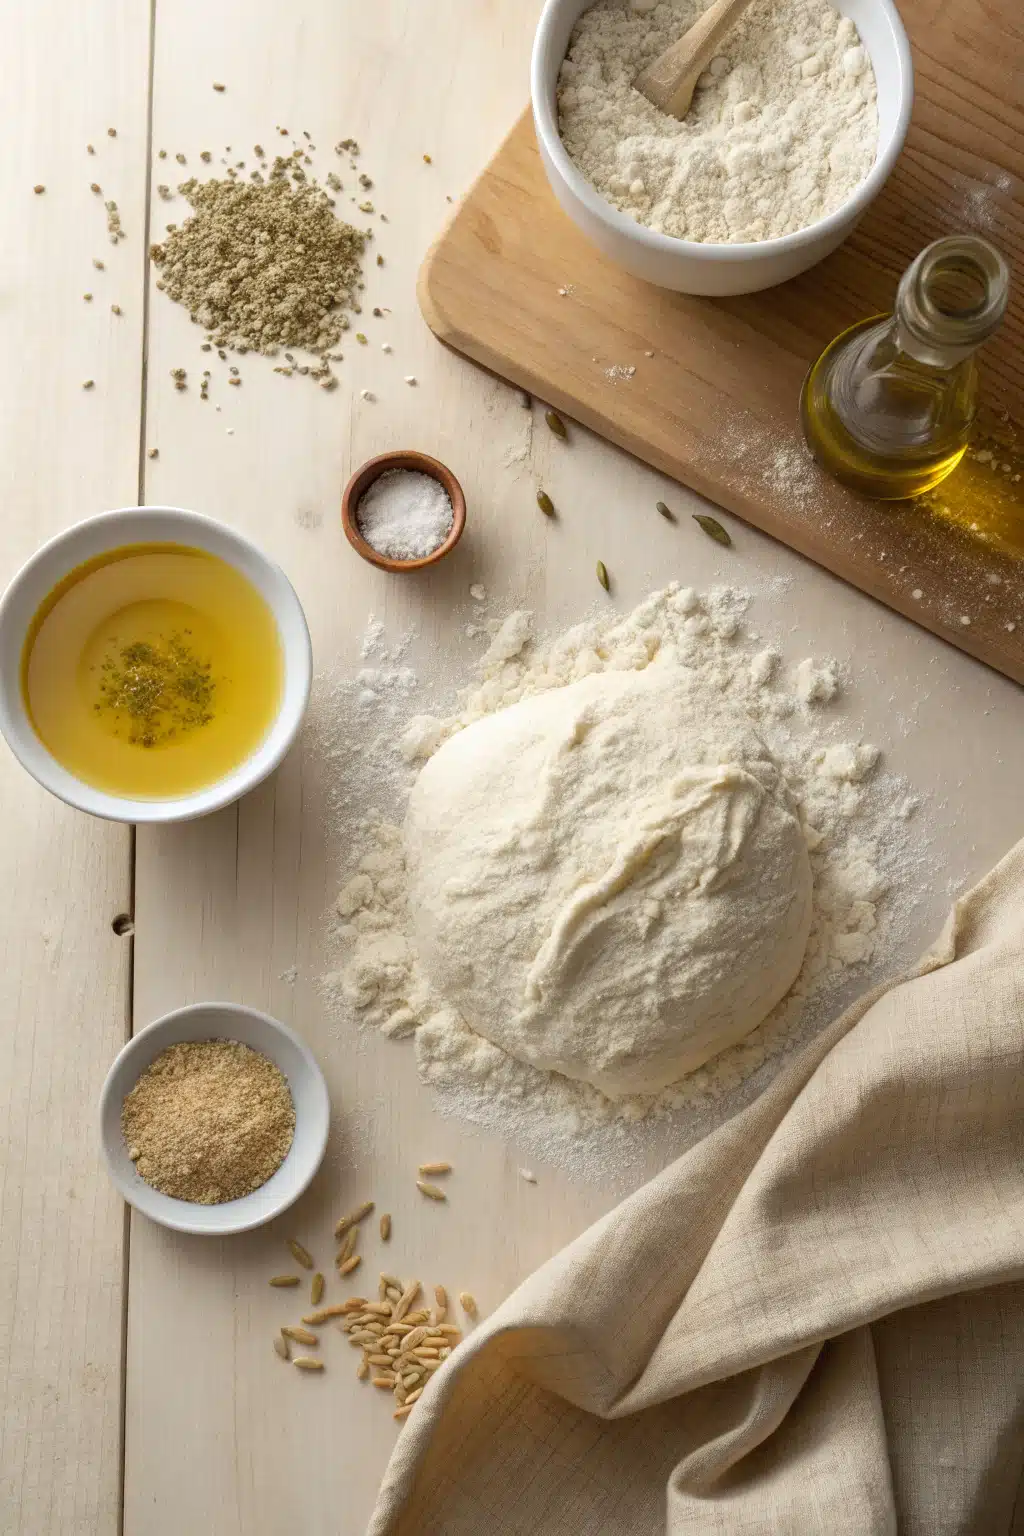
Ingredients
- 2¼ teaspoons active dry yeast (one packet)
- 1 cup warm water (about 110°F / 43°C)
- 2 tablespoons granulated sugar
- 3½ cups all-purpose flour, plus extra for dusting
- 1½ teaspoons sea salt
- 2 tablespoons extra-virgin olive oil, plus more for greasing
Step-by-Step Instructions
Step 1: Preheat & Prep Pan
Begin by preheating your oven to its highest setting (usually 475°F–500°F / 245°C–260°C). If using a baking stone or steel, place it inside to heat up—this mimics a pizzeria oven and gives you that crispy bottom. Meanwhile, lightly grease a large mixing bowl with olive oil and set aside. Having everything ready ensures your dough doesn’t lose steam during the final stretch.
Step 2: Activate the Yeast
In a small measuring cup, combine the warm water, sugar, and yeast. Stir gently and let sit for 5–10 minutes until frothy and bubbly. This indicates the yeast is alive and ready to work its magic. If it doesn’t foam, your water might be too hot or the yeast expired—start over with fresh ingredients.
Step 3: Mix & Knead the Dough
In the prepared bowl or on a floured surface, combine the flour and salt. Make a well in the center and pour in the activated yeast mixture along with 2 tablespoons of olive oil. Stir with a wooden spoon until a shaggy mass forms. Turn onto a clean surface and knead vigorously for 8–10 minutes, adding flour sparingly if sticky. The goal is smooth, elastic, and slightly springy—like Silly Putty, but edible.
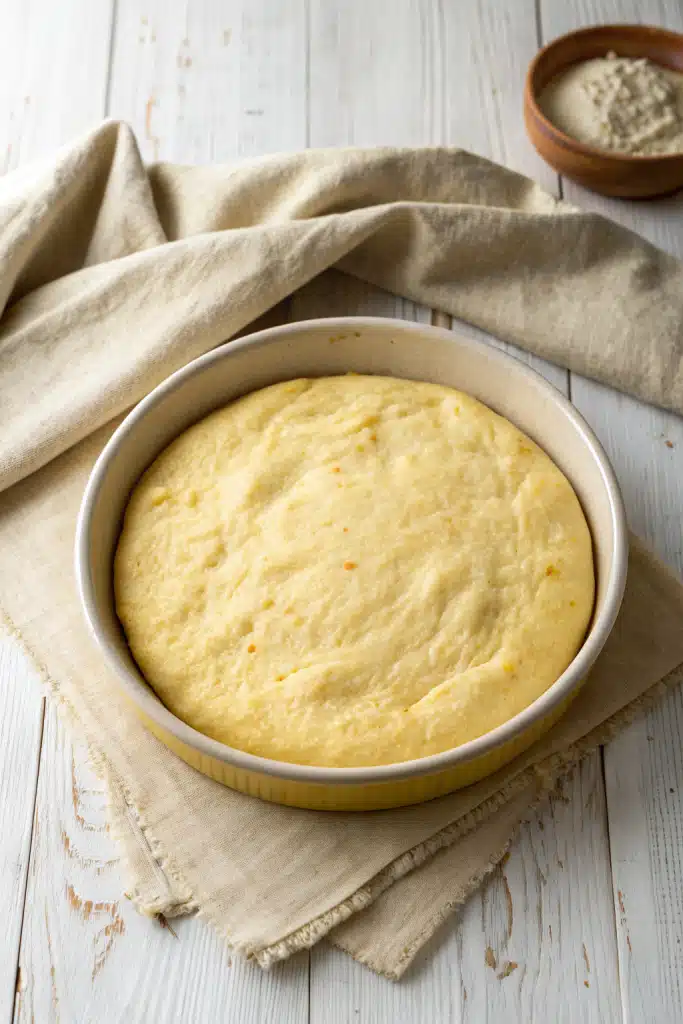
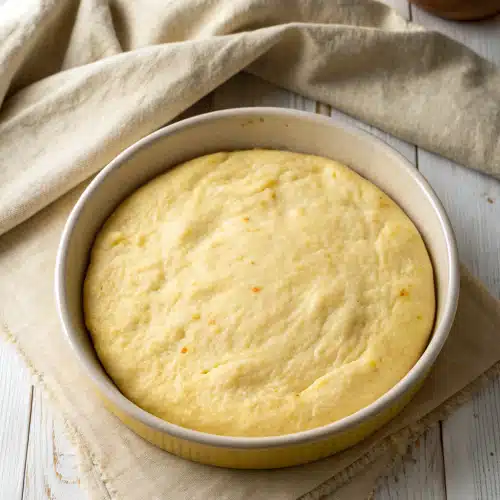
Step 4: First Rise
Place the dough back into the greased bowl, turning to coat all sides. Cover loosely with a damp towel or plastic wrap. Let rise in a warm spot for 1–2 hours, or until doubled in size. Patience pays off here—the longer it rests, the better the flavor!
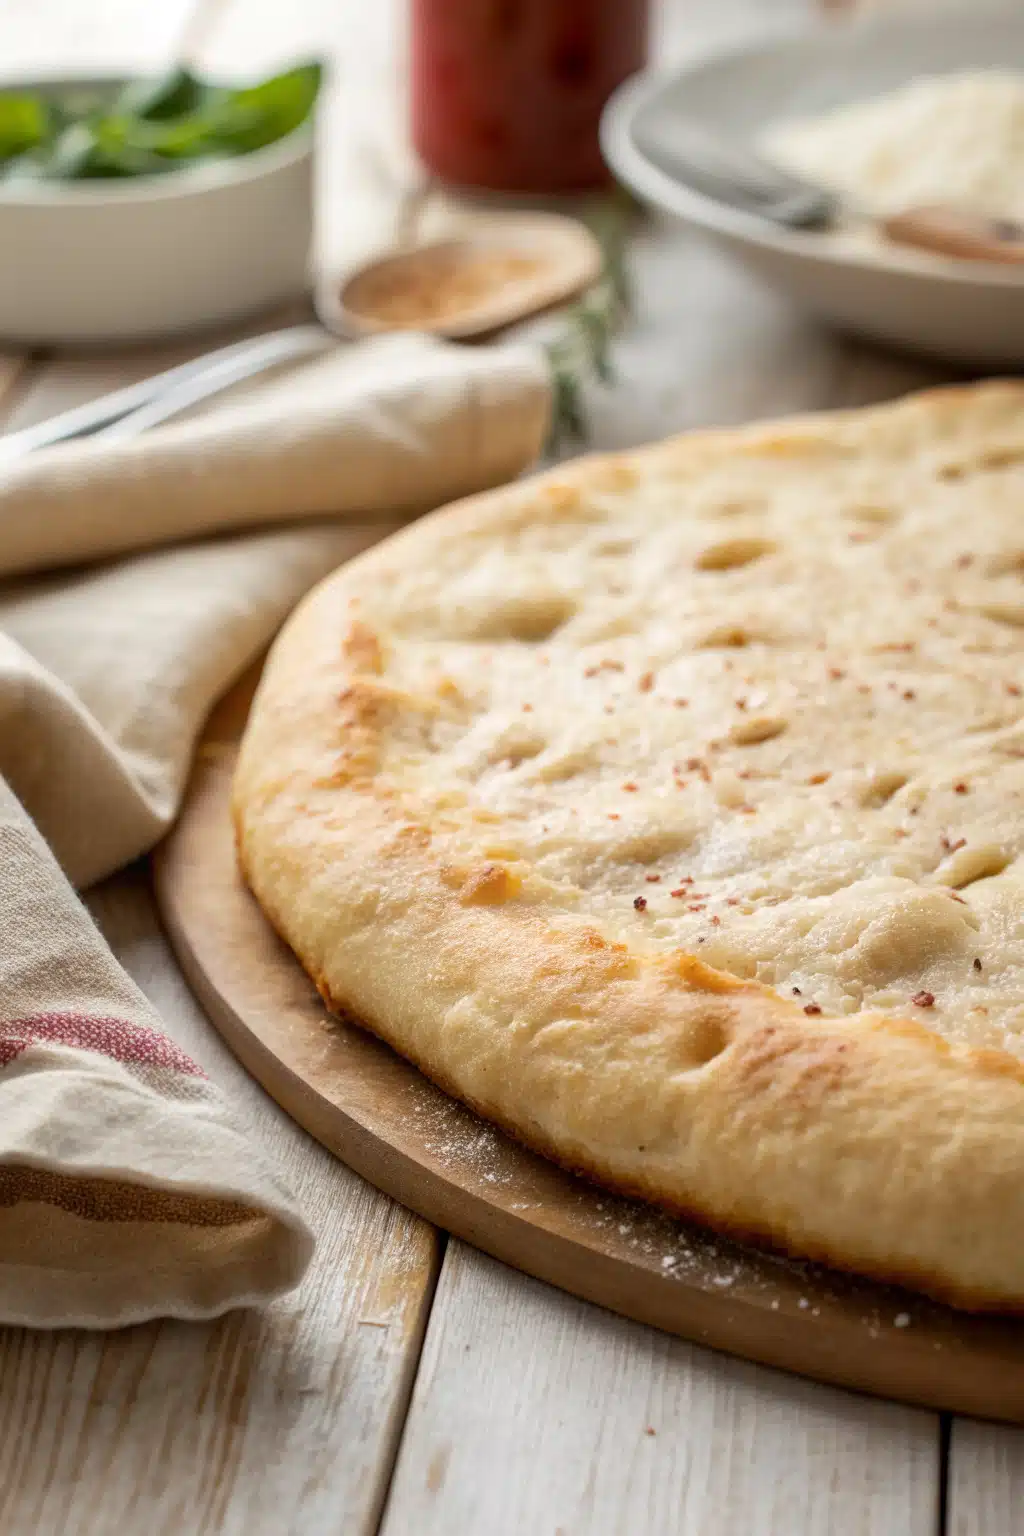
Step 5: Shape & Store
Punch down the risen dough to release air bubbles. Divide into 2–4 equal portions depending on slice size preference. Roll each into a ball, then flatten into disks. You can top and bake immediately, or store for later. For short-term storage, cover tightly and refrigerate up to 3 days. For long-term, freeze unbaked disks wrapped in parchment and sealed in a zip-top bag—up to 3 months. Just thaw overnight in fridge before topping.
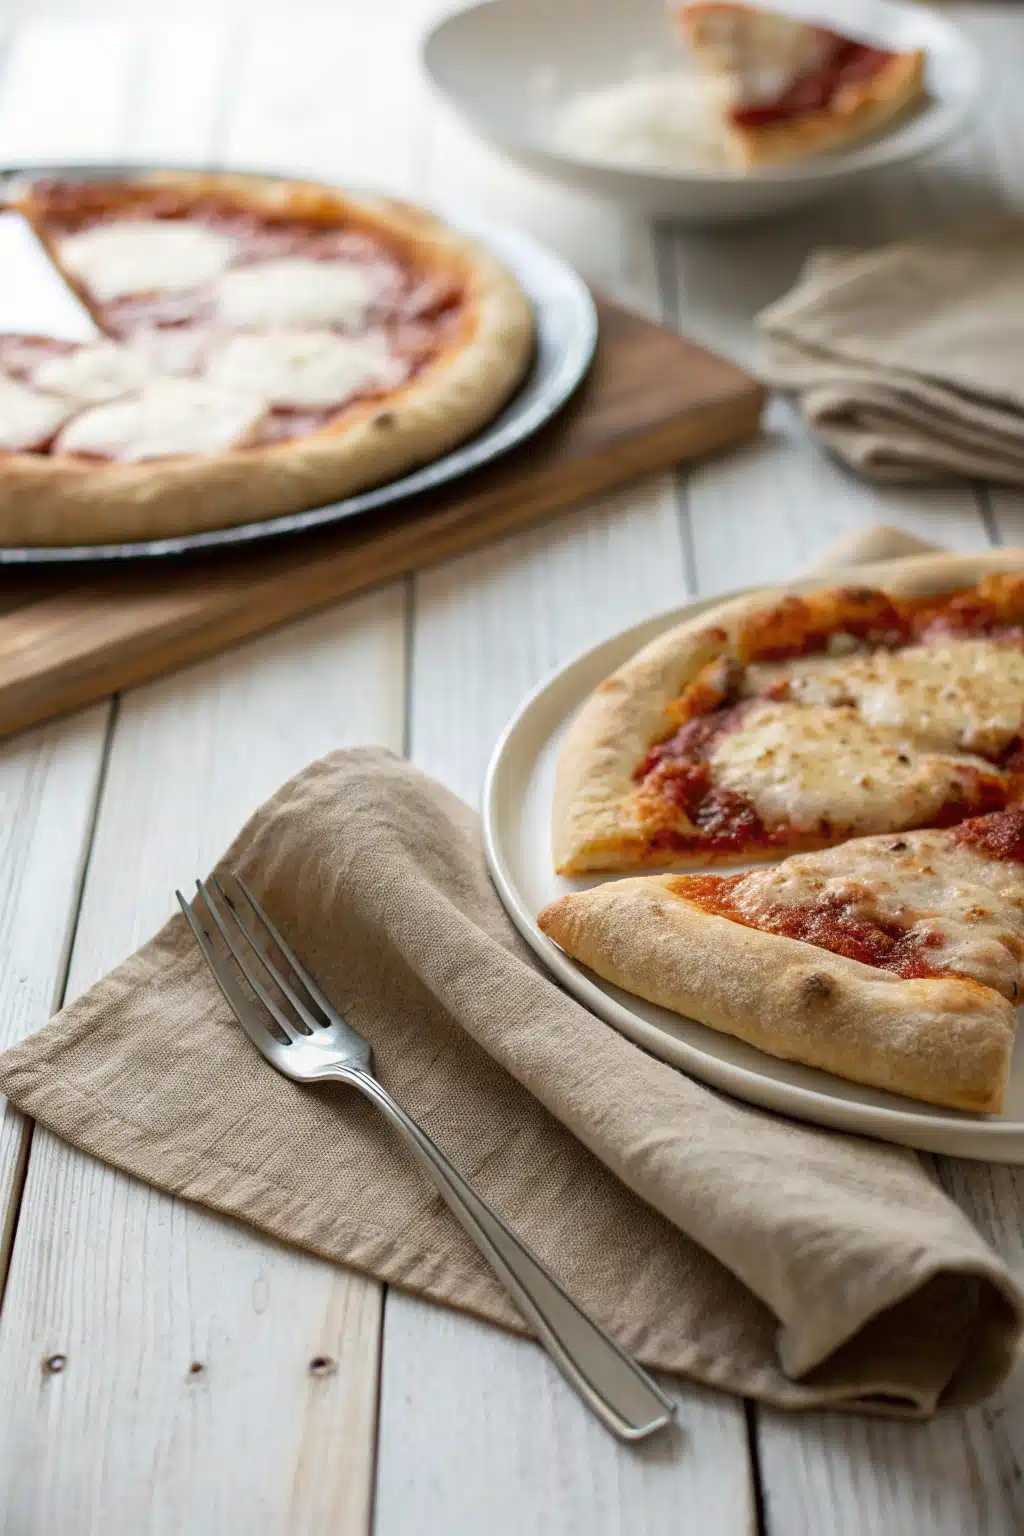
What to Serve It With
A great homemade pizza dough pairs wonderfully with fresh salads, antipasto platters, or even a simple green bean dish to balance richness. For drinks, a crisp white wine like Pinot Grigio cuts through the tomato sauce beautifully, while craft beer enthusiasts enjoy hoppy IPAs that complement bold toppings. If serving kids, stick to mild favorites like pepperoni or mushroom, and consider offering a DIY station so everyone can customize their slice. Leftover dough? Turn it into garlic knots, calzones, or flatbreads—the possibilities are endless. And don’t forget dessert! A drizzle of honey and a sprinkle of sea salt transforms leftover crust into a decadent treat. The versatility of this dough makes it the ultimate kitchen staple.
Top Tips for Perfecting Your Homemade Pizza Dough
Even with the best recipe, small tweaks can elevate your homemade pizza dough from good to legendary. First, temperature matters. Always use lukewarm water—not hot—to protect the yeast and ensure even activation. Next, don’t skimp on kneading. Those gluten strands need time to develop for that ideal chewy-crisp texture. If your dough feels too dry, add a teaspoon of water at a time; if sticky, dust with flour gently.
For extra flavor, try substituting half the all-purpose flour with bread flour—it boosts elasticity and crust structure. Or infuse the olive oil with rosemary, garlic, or chili flakes before mixing. Another pro move? Let shaped disks rest at room temp for 20–30 minutes after rolling—this relaxes the gluten and prevents shrinking when baked.
And finally, invest in a pizza peel lined with cornmeal or semolina flour. It makes transferring your masterpiece to the hot stone effortless and adds a delightful crunch. Remember: practice makes progress. Your first few attempts may vary slightly, but each batch teaches you something new. Keep notes if you like experimenting with ratios or bake times. Soon enough, you’ll have your own signature dough perfected.
Storing and Reheating Tips
One of the best things about making homemade pizza dough in advance is how well it stores. Unbaked disks freeze exceptionally well—just wrap individually in parchment paper and seal in freezer-safe bags. Label with date and use within 3 months for best quality. To bake, no need to fully thaw! Simply place directly into a preheated oven or cast-iron skillet and increase bake time by 3–5 minutes.
Refrigerated dough keeps up to 3 days. Remove from fridge 30–60 minutes before shaping to bring to room temperature, which makes stretching easier. Baked pizzas can be stored at room temp for up to 2 hours, but for longer preservation, refrigerate slices in an airtight container for up to 4 days. Reheat in a 375°F (190°C) oven for 10–12 minutes until warmed through and crust regains crispness. Avoid microwaving—it soggifies the bottom.
If freezing cooked pizza, separate slices with parchment to prevent sticking. Thaw overnight in fridge, then reheat as above. These storage hacks mean you’re always ready for spontaneous meals or last-minute guests. Because honestly, who says no to warm, melty cheese and fresh crust any day of the week?
Frequently Asked Questions
Final Thoughts
Making homemade pizza dough is more than just following a recipe—it’s an act of love, patience, and creativity. Every fold, every knead, every rise brings you closer to that perfect slice: golden, blistered, fragrant, and utterly personal. Whether you’re feeding a hungry family, impressing dinner guests, or simply treating yourself, this dough delivers joy in every bite. And the best part? Once you master it, you’ll find yourself reaching for it again and again—not out of obligation, but out of pure delight. So roll up your sleeves, gather your ingredients, and remember: the journey from simple flour to spectacular pizza is where magic happens. Now go forth, create, and share the warmth of homemade goodness. Your taste buds (and your loved ones) will thank you.
Homemade Pizza Dough
Ingredients
Main Ingredients
- 3.25 teaspoons active dry yeast
- 1.5 cups warm water 110°F
- 3.75 cups all-purpose flour
- 2 tablespoons olive oil
- 1 teaspoon salt
- 1 teaspoon sugar
Instructions
Preparation Steps
- In a large bowl, dissolve the sugar and yeast in warm water. Let stand for about 5 minutes until foamy.
- Add olive oil and 3.75 cups of flour to the yeast mixture. Stir until combined.
- Gradually add remaining flour, 0.25 cup at a time, stirring until dough pulls away from sides of bowl.
- Turn dough onto a floured surface; knead by hand for 5–7 minutes until smooth and elastic. Add more flour if sticky.
- Place dough in a lightly oiled bowl, turning to coat. Cover with plastic wrap or a damp cloth. Let rise in a warm place for 2 hours or until doubled in size.
- Punch down dough, divide into two equal portions, shape into balls, and let rest for 10 minutes before rolling out.


