


Ham And Cheese Sliders: The Ultimate Crowd-Pleasing Bites You’ll Want Forever
If you’re looking for a recipe that feels both comforting and impressive—something that brings people together without turning your kitchen into a war zone—you’ve just found it. Ham and cheese sliders are the ultimate bite-sized party food, perfect for game days, potlucks, or even a cozy family dinner when you want something warm, gooey, and utterly irresistible. These little sandwiches pack serious flavor in every single bite: savory smoked ham, melty cheese, soft dinner rolls, and a touch of tangy mustard or mayo all working together to create pure comfort food magic. They’re easy to make ahead, simple to reheat, and disappear faster than you can say “more!” Plus, they’re customizable—swap in your favorite cheeses or add a splash of hot sauce if you like things spicy. Whether you’re feeding a crowd or just craving a nostalgic snack, these sliders deliver on every level.

What Is Ham And Cheese Sliders?
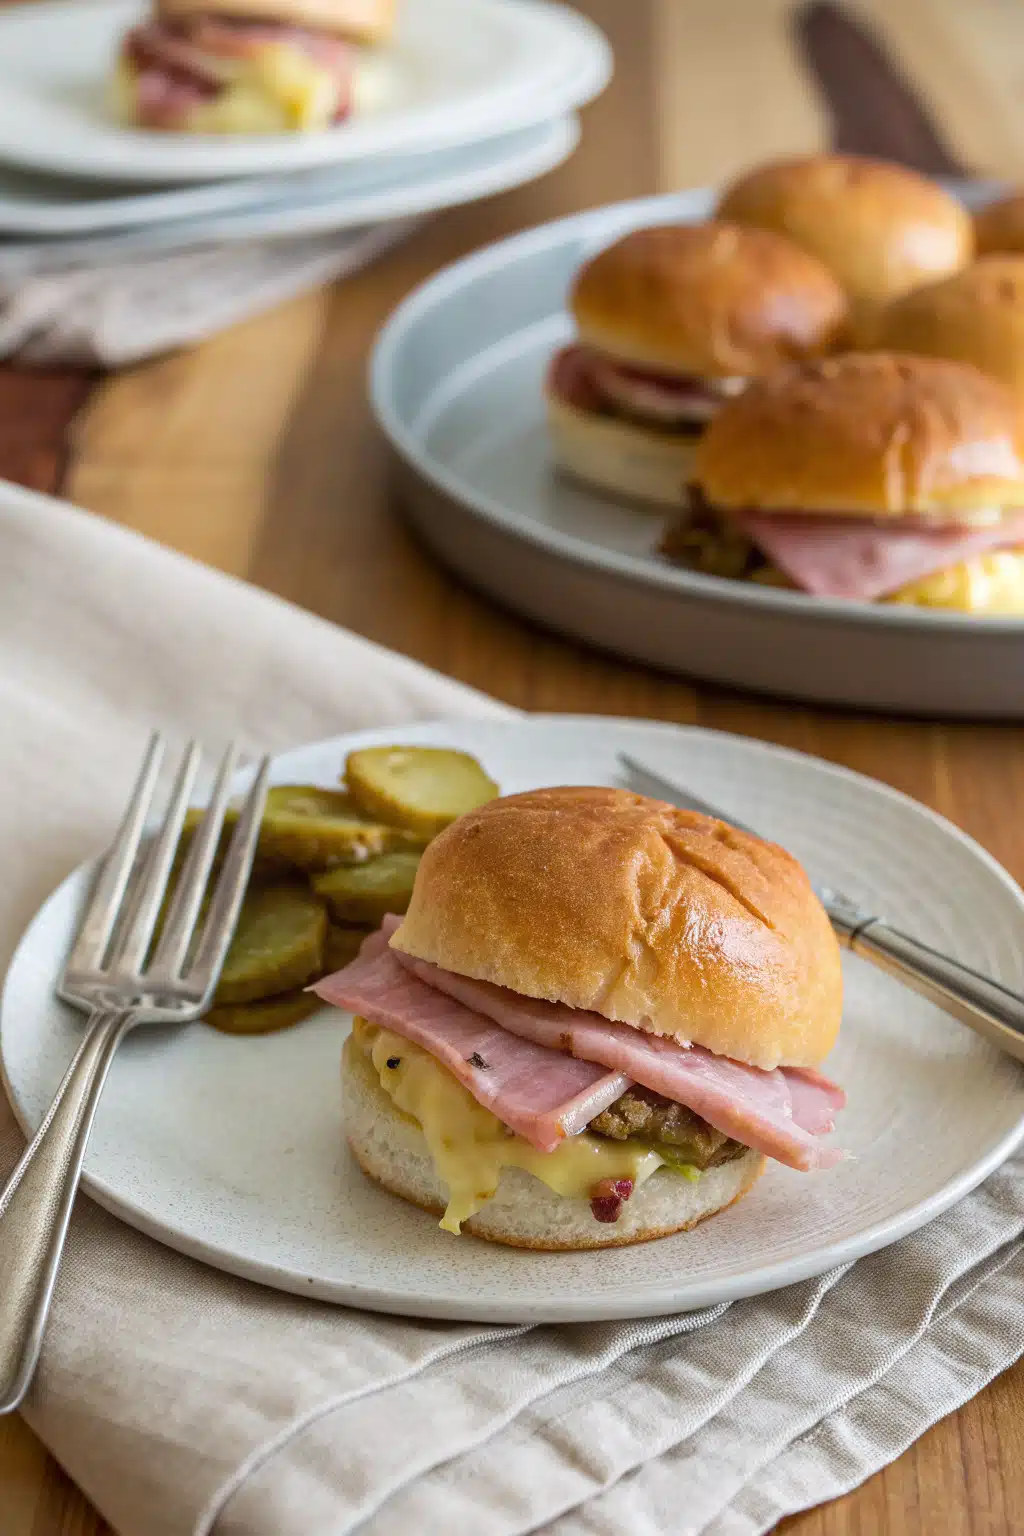
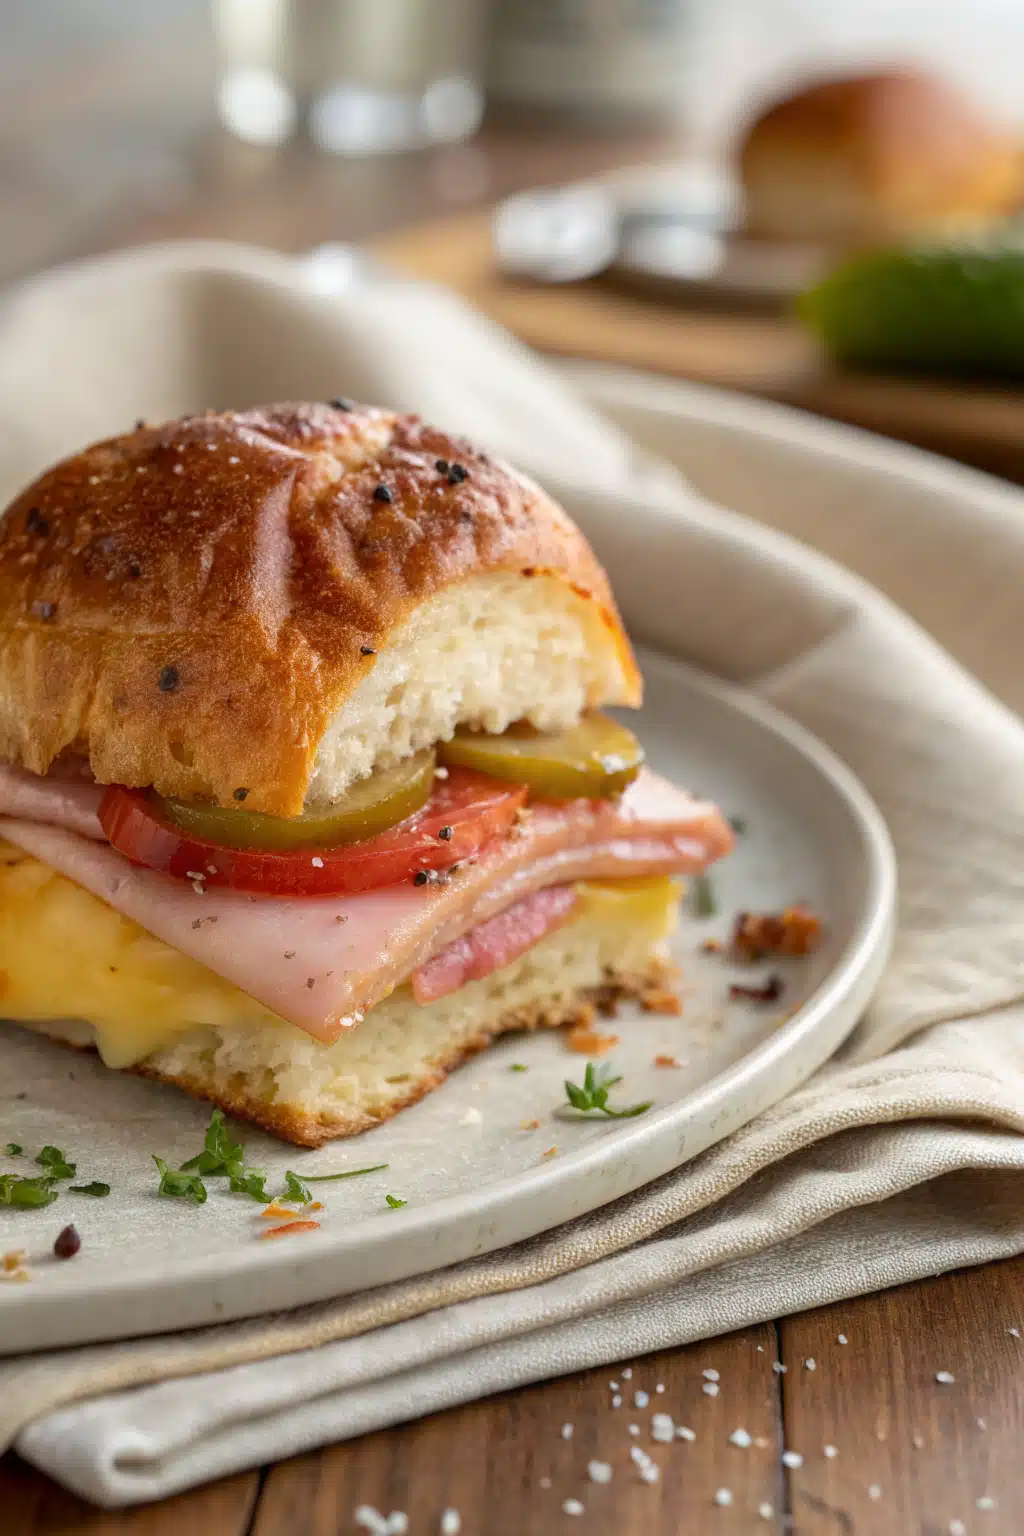
Ham and cheese sliders are miniature sandwiches made with small dinner rolls, generously layered with thin slices of ham and melted cheese, then lightly buttered or brushed with garlic herb butter before baking until golden and bubbly. Unlike their larger sandwich cousins, sliders are designed to be eaten in one or two bites, making them ideal for sharing or snacking. The beauty of this recipe lies in its simplicity—no complicated ingredients, no fussy techniques, just quality components coming together to create something deeply satisfying. Traditionally, Swiss or American cheese pairs beautifully with smoky deli ham, but feel free to experiment with pepper jack, cheddar, provolone, or even brie for a gourmet twist. Some versions include lettuce or tomato for freshness, while others stay classic with just ham and cheese. No matter how you slice it, these sliders are a guaranteed hit.
Why You’ll Love This Recipe
There are so many reasons why ham and cheese sliders deserve a permanent spot in your recipe rotation. First off—they’re incredibly forgiving. Even if you burn them slightly (it happens!), nobody minds because they’re delicious either way. Second, they’re budget-friendly: deli ham and affordable cheese mean big flavor at low cost. Third, they bake up in under 20 minutes, making them ideal for last-minute gatherings when you need food fast but still want to impress. And let’s talk about texture: the rolls stay tender but get beautifully toasted on top, while the cheese pulls and stretches just enough to make each bite feel indulgent. Plus, they travel well—perfect for picnics, tailgates, or taking to a friend’s house with a casserole. I remember making these for my sister’s graduation party years ago, and they were gone within minutes. Honestly? That’s not an exaggeration. Everyone raved, and I’ve been making them ever since. They’re also kid-approved (just ask my nephew!), yet sophisticated enough to serve guests without second-guessing yourself.
How to Make Ham And Cheese Sliders
Quick Overview
Making ham and cheese sliders is shockingly simple. Start by preheating your oven and preparing a baking dish. Then, layer ham and cheese between halved dinner rolls, brush everything with melted butter (or garlic butter for extra flavor), and pop them in the oven until golden and bubbly. Total active prep time is about 10 minutes; baking takes roughly 12–15 minutes. Serve warm straight from the pan—ideal for sharing!
Ingredients
- 12 mini dinner rolls (such as Hawaiian sweet rolls or Kaiser rolls)
- 8 oz thinly sliced deli ham
- 6 oz shredded sharp cheddar cheese (or a mix of Swiss and cheddar)
- 4 tbsp unsalted butter, melted (plus extra for brushing)
- 1 tbsp Dijon mustard (optional, for added tang)
- 1 clove garlic, minced (optional, for garlic butter)
- Fresh thyme or parsley, chopped (for garnish, optional)
Step-by-Step Instructions
Step 1: Preheat & Prep Pan
Preheat your oven to 375°F (190°C). Lightly grease a 9×13-inch baking dish with nonstick spray or butter. If using garlic butter, melt the butter in a small bowl and mix in minced garlic and a pinch of salt. Set aside.
Step 2: Prepare Rolls
Slice each dinner roll in half horizontally—don’t remove the bottom halves, as they act as a base. Arrange the bottom halves in a single layer in your prepared baking dish, cut-side up.
Step 3: Layer Ham & Cheese
Evenly distribute the ham slices over the bottom halves of the rolls. Sprinkle the shredded cheese generously over the top. If using, dot a little Dijon mustard on select rolls for extra flavor—this step is totally optional but adds a nice zing.
Step 4: Brush with Butter & Bake
Drizzle the melted (and possibly garlic-infused) butter evenly over the assembled sliders. Cover the dish tightly with foil and bake for 10 minutes. Remove foil and bake another 8–10 minutes, or until the tops are golden brown and the cheese is fully melted and slightly bubbly.
Step 5: Garnish & Serve
Sprinkle with fresh herbs right before serving. Serve immediately while warm—best enjoyed fresh out of the oven!
What to Serve It With
Ham and cheese sliders shine brightest when paired with complementary sides that balance richness and crunch. Think classic potato salad with a tangy vinaigrette, coleslaw with a hint of sweetness, or crispy oven-fried potatoes. For lighter fare, offer a green salad with a citrus dressing to cut through the savory depth. Don’t forget pickles—cornichons or dill spears add brightness and crunch that complements the meltiness of the sliders perfectly. If you’re hosting a brunch or casual gathering, consider adding deviled eggs or a fruit platter alongside. And yes—they go wonderfully with a cold beer or iced tea. Seriously, once you taste these sliders with a side of potato salad and pickles, you’ll understand why they belong at every summer barbecue.
Top Tips for Perfecting Your Ham And Cheese Sliders
Want your sliders to be legendary? Here are some tried-and-true tips:
- Roll choice matters: Use soft, fluffy rolls—Hawaiian-style works wonders because they hold up without getting soggy.
- Don’t skimp on cheese: Too little cheese = sad sliders. Aim for a good coverage so every bite has gooey goodness.
- Butter is key: Melted butter makes the rolls tender and gives them that beautiful golden crust. Garlic butter elevates it to next-level status.
- Cook covered first: Starting with foil ensures the cheese melts properly before the tops get too dark.
- Make ahead: Assemble up to 2 hours ahead, cover, and refrigerate. Take out 15 minutes before baking so they come to room temperature.
- Customize freely: Add sautéed onions, spinach, or even a slice of apple for sweetness. Hot honey drizzled on top? Divine.
Storing and Reheating Tips
Leftovers? Happens to the best of us! Store cooled sliders in an airtight container in the fridge for up to 3 days. To reheat, wrap individual sliders in foil and warm in a 300°F oven for 10–12 minutes, or microwave for 30–45 seconds per slider. Avoid microwaving uncovered—the rolls can get rubbery. For best results, bring them back to oven-hot temperature by warming in foil. Pro tip: Reheated sliders taste almost as good as fresh when brushed with a little extra butter before reheating!
Frequently Asked Questions
Final Thoughts
There you have it—ham and cheese sliders that are as easy to make as they are hard to stop eating. Whether you’re feeding a hungry crowd or treating yourself to a cozy solo meal, these little bites never disappoint. They’re the kind of recipe that becomes an instant favorite after one bite, and honestly? That’s rare. Next time you’re scrambling for a quick appetizer or want to wow your guests without breaking a sweat, grab those rolls and that ham. Trust me, you won’t regret it. Now go make some—and maybe double the batch. You’ll thank me later.

Ham and Cheese Sliders
Ingredients
Main Ingredients
- 12 slider buns hamburger or dinner rolls
- 12 slices deli ham
- 6 slices Swiss cheese
- 0.25 cup butter, melted
- 1 tablespoon Dijon mustard
- 1 teaspoon garlic powder
- 0.5 teaspoon onion powder
- 0.25 teaspoon paprika
Instructions
Preparation Steps
- Preheat the oven to 375°F (190°C). Line a baking sheet with parchment paper.
- Slice the slider buns in half horizontally. Place the bottom halves on the prepared baking sheet.
- Layer each bun bottom with one slice of ham and one slice of Swiss cheese.
- Brush the tops of the buns with melted butter mixed with Dijon mustard, garlic powder, onion powder, and paprika.
- Cover the assembled sliders with the top bun halves and place them on the baking sheet.
- Bake in the preheated oven for 8–10 minutes, or until the cheese is melted and the tops are golden brown.
- Remove from the oven, let cool slightly, then serve warm.


