


Grinch Cookies: A Festive Twist on a Holiday Classic
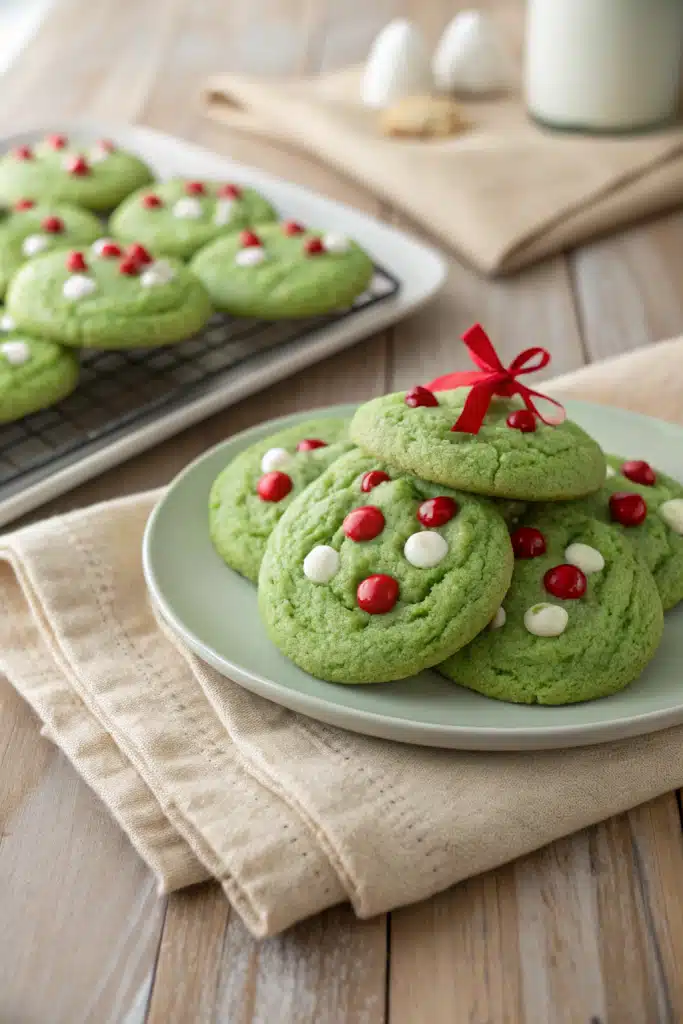
The holiday season is a whirlwind of joy, gift-giving, and, inevitably, a lot of sweets. But sometimes, you crave something a little different from the usual gingerbread men and peppermint bark. If you’re looking to add a splash of whimsy and a whole lot of festive cheer to your cookie lineup, look no further than Grinch Cookies. These delightful treats are more than just a fun name; they’re a deliciously unique creation that captures the spirit of the holidays with their vibrant color and playful presentation. They’re perfect for a themed party or simply as a conversation piece on your dessert table. With their eye-catching green hue and adorable design, these cookies are sure to bring a smile to everyone’s face, making them a must-have for any festive gathering.
What Is Grinch Cookies?
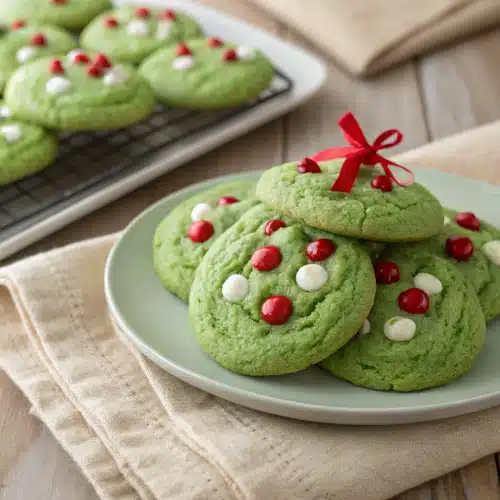
Grinch Cookies are essentially a festive variation of a classic sugar cookie, reimagined with a vibrant green color and a charming design inspired by the beloved Dr. Seuss character. The dough itself is typically made from simple ingredients like flour, butter, sugar, and eggs, providing a soft and buttery base. The signature green color comes from food coloring, giving the cookies their unmistakable hue reminiscent of the Grinch himself. What truly sets these cookies apart is their decoration. They are often shaped into the iconic Grinch face using cookie cutters or molded by hand, and then adorned with colorful sprinkles, chocolate chips, or candies to create his mischievous grin, eyes, and even a little tuft of hair. This combination of a familiar cookie texture with a whimsical, character-driven design makes Grinch Cookies a standout treat that’s both delicious and visually captivating.
Why You’ll Love This Recipe
If you’re a fan of holiday baking, you’ll absolutely love this Grinch Cookies recipe for several reasons. First, it’s incredibly easy to make, requiring only basic kitchen tools and common ingredients, making it accessible even for novice bakers. The process of creating the dough and shaping the cookies is straightforward, allowing you to involve kids in the fun without much fuss. Second, the vibrant green color adds a pop of festivity that’s hard to resist, instantly brightening up any plate. Third, these cookies are highly customizable; you can use different types of sprinkles, candies, or even chocolate to personalize them according to your taste or party theme. They also bake up quickly, so you can have a batch ready in under an hour, perfect for last-minute gatherings or when you need a sweet pick-me-up. Moreover, Grinch Cookies are not just delicious; they’re also a fantastic conversation starter, bringing smiles and laughter to any occasion. Whether you’re baking for a holiday party, a school event, or just to enjoy some festive treats at home, these cookies are guaranteed to be a hit among friends and family alike.
How to Make Grinch Cookies
Quick Overview
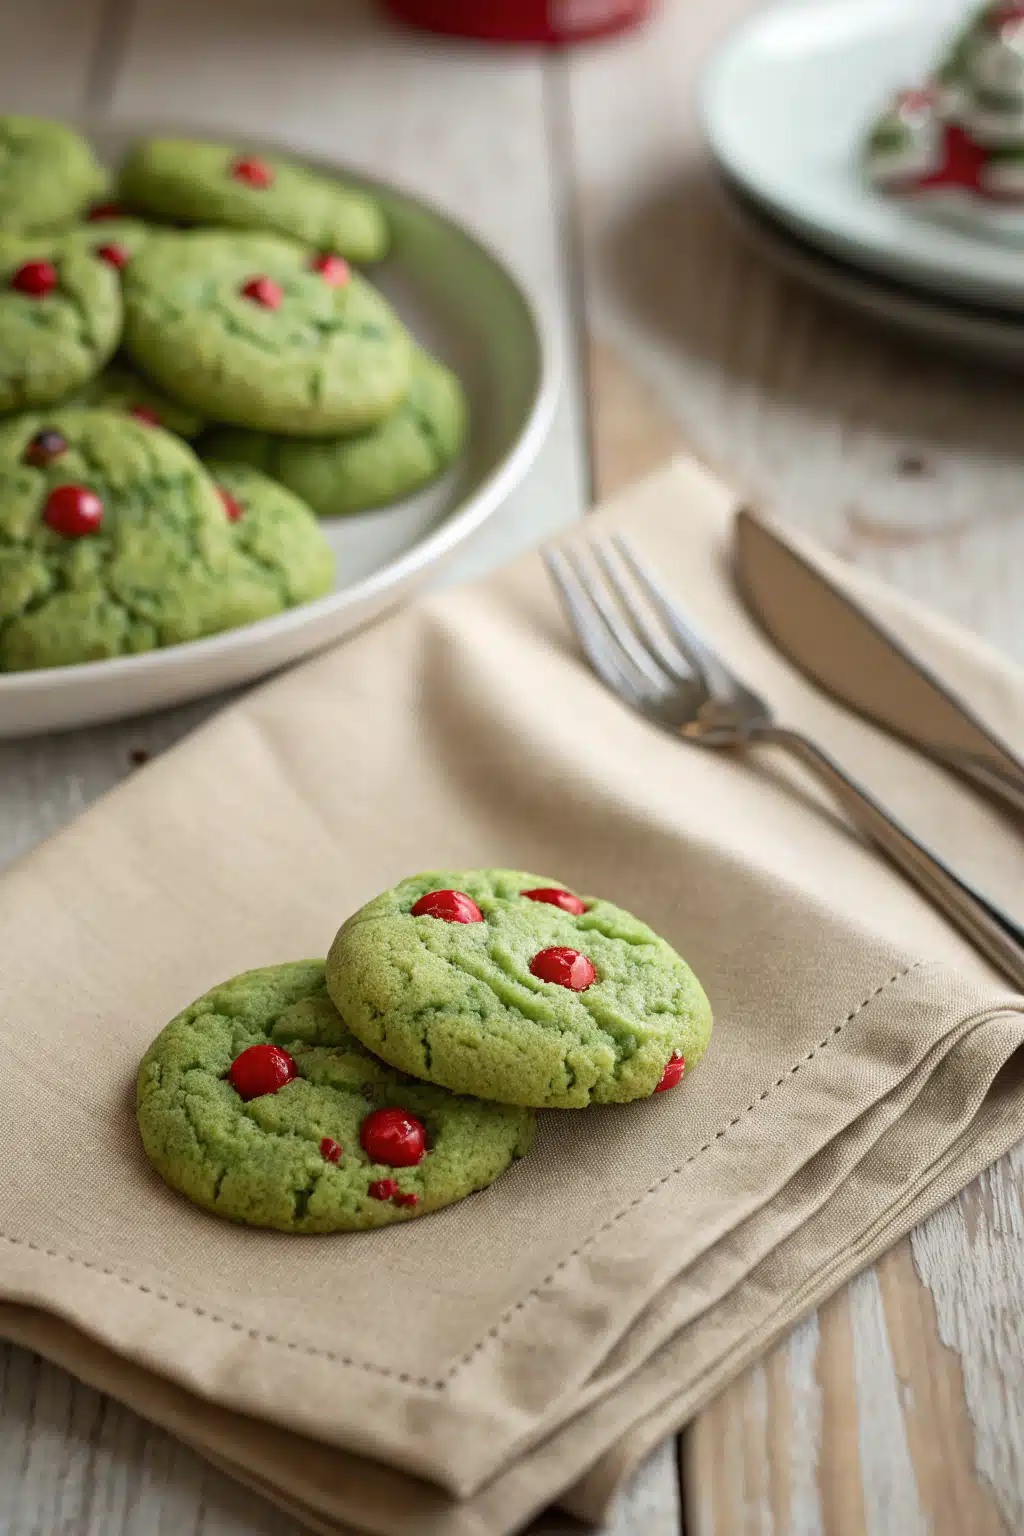
Baking Grinch Cookies is a delightful process that involves preparing a simple sugar cookie dough, rolling it out, and cutting it into the iconic Grinch shape. After baking until golden, the cookies are cooled and then decorated with colorful sprinkles and candies to bring the Grinch’s face to life. The entire process is straightforward, making it perfect for both novice and experienced bakers looking to add a fun twist to their holiday baking repertoire.
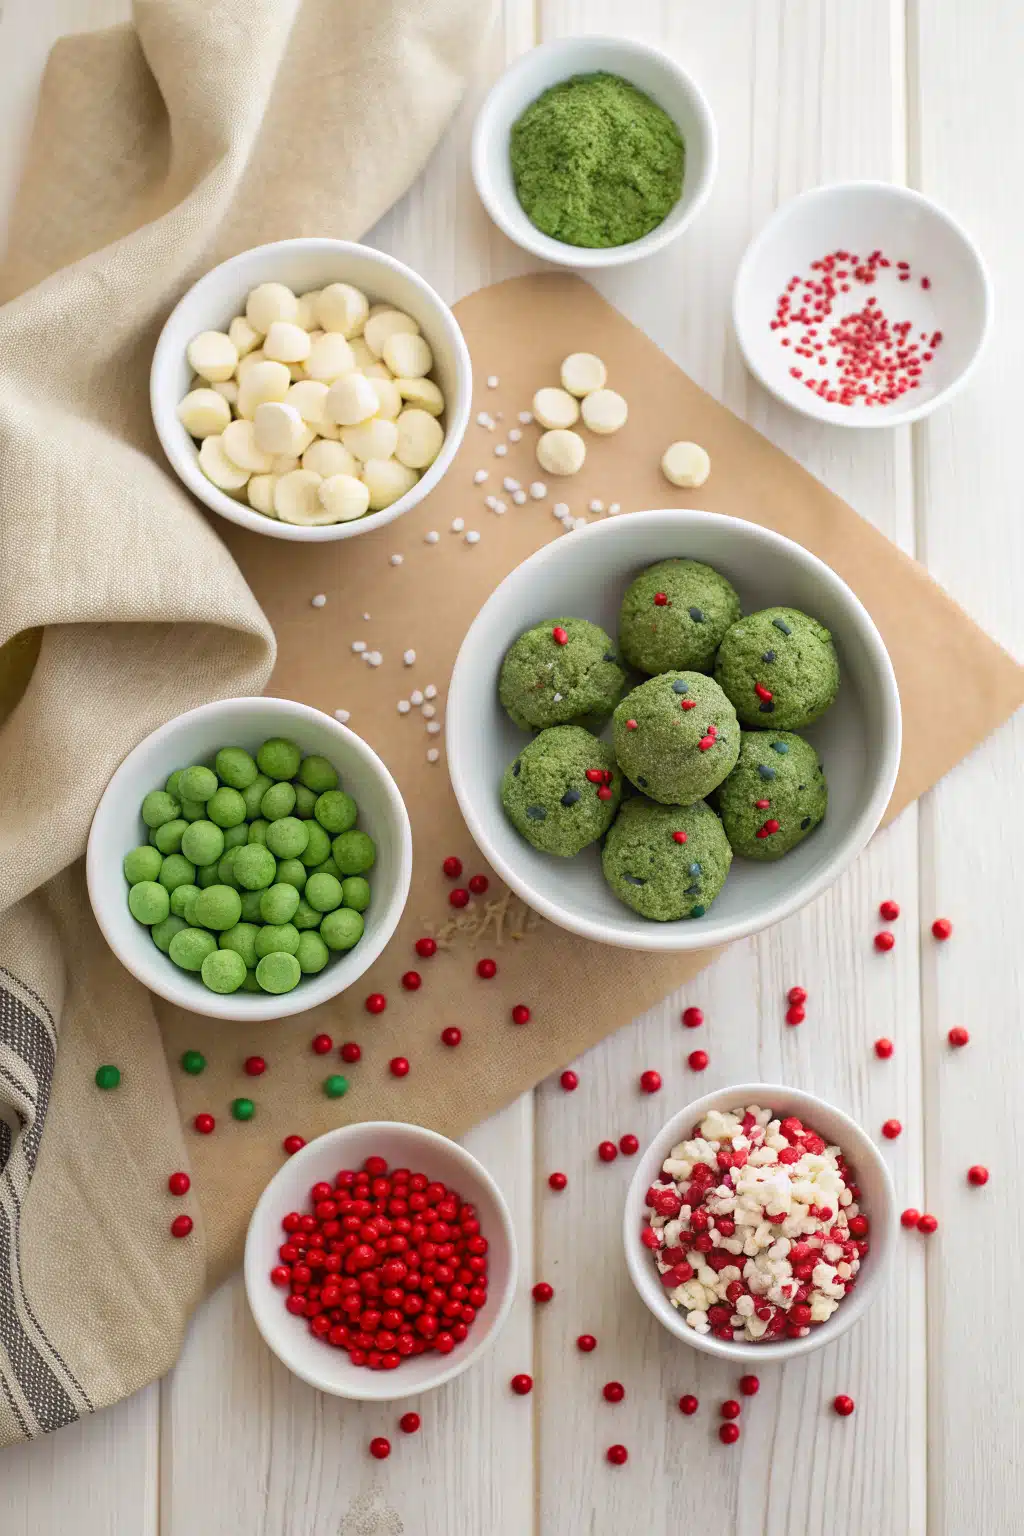
Ingredients
- 2 cups all-purpose flour
- 1/2 teaspoon baking powder
- 1/4 teaspoon salt
- 1/2 cup unsalted butter, softened
- 3/4 cup granulated sugar
- 1 large egg
- 1 teaspoon vanilla extract
- Green food coloring (gel works best)
- Sprinkles or colored candies for decoration
Step-by-Step Instructions
Step 1: Preheat & Prep Pan
Begin by preheating your oven to 350°F (175°C). Line a baking sheet with parchment paper or a silicone baking mat to prevent sticking and ensure easy cleanup.
Step 2: Mix Dry Ingredients
In a medium bowl, whisk together the flour, baking powder, and salt. Set aside.
Step 3: Cream Butter & Sugar
In a large mixing bowl, cream the softened butter and granulated sugar together until light and fluffy, about 2-3 minutes with an electric mixer.
Step 4: Add Wet Ingredients
Beat in the egg and vanilla extract until well combined.
Step 5: Combine & Color Dough
Gradually add the dry ingredients to the wet mixture, mixing until just incorporated. Divide the dough in half. To one half, add green food coloring, mixing until the desired shade is reached. Wrap each portion in plastic and chill for 30 minutes.
Step 6: Roll & Cut
On a lightly floured surface, roll out the green dough to about 1/4 inch thickness. Use a Grinch-shaped cookie cutter or cut freehand. Place cookies on the prepared baking sheet.
Step 7: Bake
Bake for 8-10 minutes, or until the edges are just beginning to turn golden. Allow to cool on the pan for 5 minutes before transferring to a wire rack to cool completely.
Step 8: Decorate
Once cooled, decorate the Grinch Cookies with sprinkles, candies, or chocolate to create his face. Let the decorations set before serving.
What to Serve It With
Grinch Cookies are a versatile treat that pairs wonderfully with a variety of beverages and desserts. For a festive touch, serve them alongside a warm mug of hot cocoa, eggnog, or a spiced cider. Their sweetness complements these drinks perfectly, enhancing the overall holiday experience. You can also pair them with other holiday cookies like gingerbread men, candy cane cookies, or peppermint brownies to create a diverse dessert spread. For a savory contrast, offer a selection of cheeses and crackers on a platter next to the cookies, allowing guests to enjoy both sweet and savory options. If you’re hosting a party, these cookies make a fantastic addition to a charcuterie board or a dessert buffet, where they can be displayed alongside fruits, nuts, and other festive goodies. Their vibrant green color and playful design will surely draw attention and delight your guests.
Top Tips for Perfecting Your Grinch Cookies
To ensure your Grinch Cookies turn out perfectly every time, consider these helpful tips. First, always use gel-based food coloring for the green dough, as it provides a vibrant color without making the dough too sticky. Chilling the dough is crucial; it helps prevent spreading during baking and results in a cleaner shape. When rolling out the dough, ensure it’s not too thin, as this can cause the Grinch shapes to lose their detail after baking. Use a sharp knife or a well-sharpened cookie cutter to achieve crisp edges. For decorating, plan your design ahead of time to save time and ensure a neat appearance. Using a piping bag with a small tip can help place sprinkles and candies precisely. Lastly, if you find the dough too stiff, let it sit at room temperature for a few minutes to soften slightly, making it easier to roll and cut.
Storing and Reheating Tips
Proper storage is key to maintaining the freshness and quality of your Grinch Cookies. Once completely cooled, store them in an airtight container at room temperature for up to a week. If you want to extend their shelf life, you can keep them in the refrigerator for up to two weeks or freeze them for up to three months. To freeze, place the cookies in a single layer on a baking sheet, freeze until solid, then transfer them to a freezer-safe container or bag. When you’re ready to enjoy them, thaw at room temperature. Grinch Cookies do not require reheating, but if you prefer them slightly warmed, you can microwave them for 10-15 seconds or warm them in the oven at 300°F (150°C) for a few minutes to enhance their aroma and flavor.
Frequently Asked Questions
Final Thoughts
In conclusion, Grinch Cookies are a delightful addition to any holiday celebration, combining simplicity with festive charm. They are easy to make, visually appealing, and sure to bring joy to anyone who sees them. Whether you’re a seasoned baker or just starting out, this recipe offers a fun and rewarding experience. So, gather your ingredients, don your apron, and let the magic of the holidays unfold in your kitchen. Happy baking, and remember, there’s always room for more Grinch Cookies!
Grinch Cookies
Ingredients
Dry Ingredients
- 2.25 cups all-purpose flour
- 1 teaspoon baking soda
- 0.5 teaspoon salt
Wet Ingredients
- 1 cup unsalted butter, softened
- 1 cup granulated sugar
- 0.5 cup packed light brown sugar
- 2 large eggs
- 2 teaspoons pure vanilla extract
- 0.5 teaspoon peppermint extract
- 3 drops green food coloring optional
Add-ins
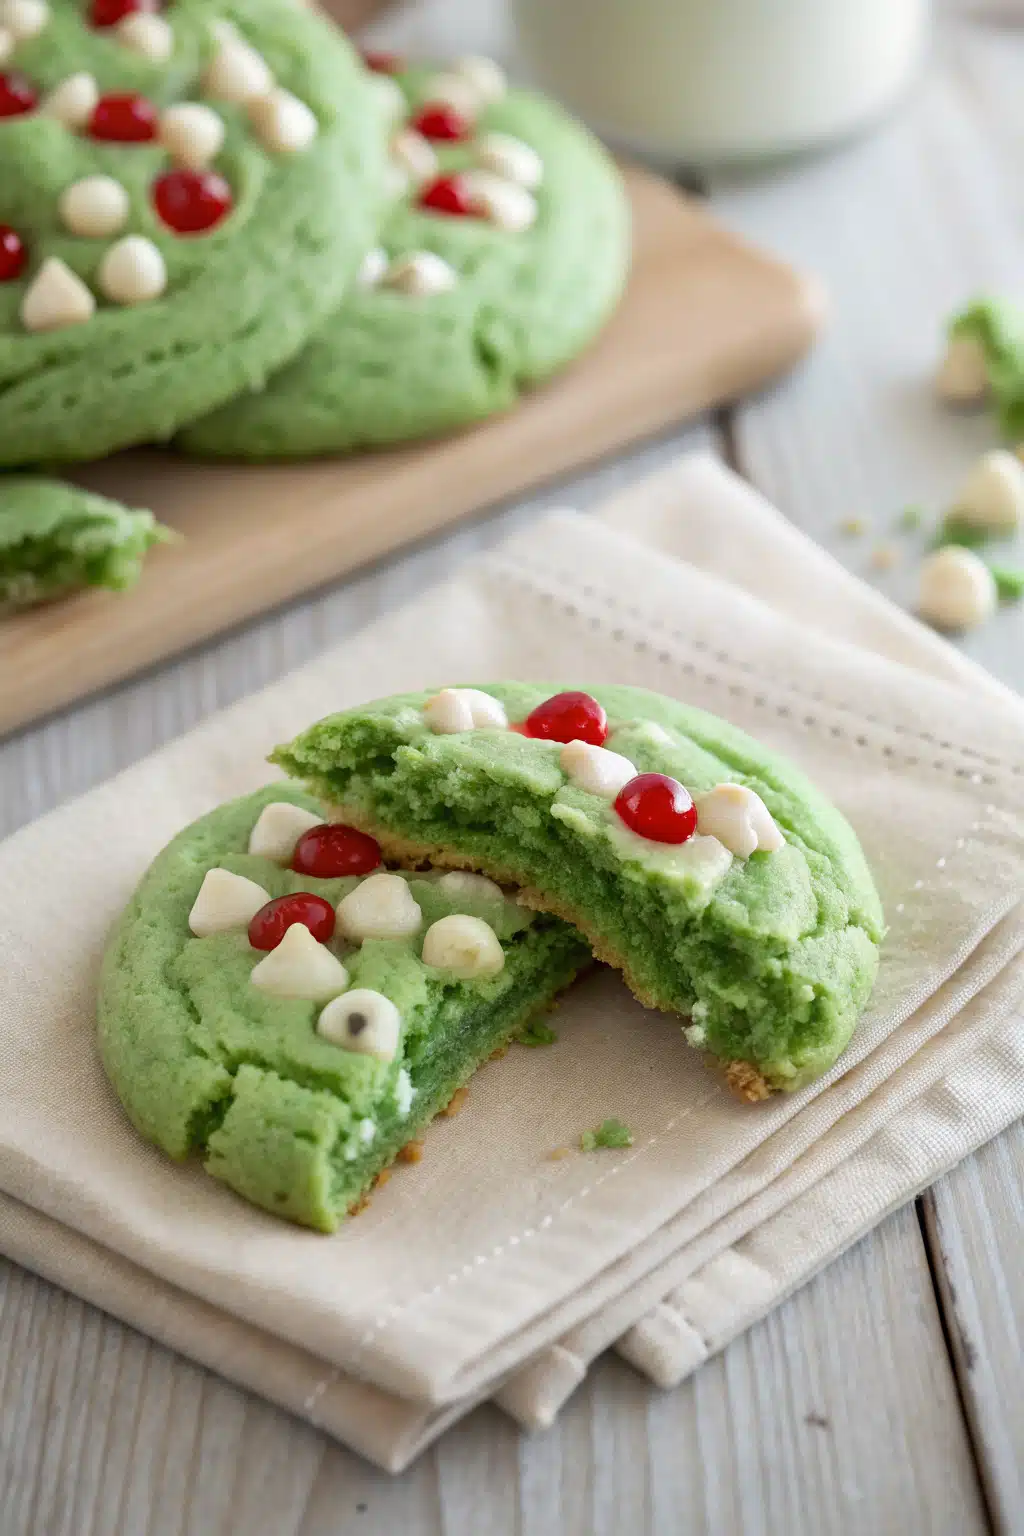
- 1 cup white chocolate chips
- 1 cup green and white sprinkles
Instructions
Preparation Steps
- Preheat oven to 375°F (190°C). Line baking sheets with parchment paper.
- In a medium bowl, whisk together flour, baking soda, and salt. Set aside.
- In a large bowl, cream together butter, granulated sugar, and brown sugar until light and fluffy, about 3 minutes.
- Beat in eggs one at a time, then add vanilla and peppermint extracts. Mix until combined.
- Gradually add dry ingredients to wet ingredients, mixing on low speed until just combined. If using, stir in green food coloring until dough turns a pale green.
- Fold in white chocolate chips.
- Drop rounded tablespoons of dough onto prepared baking sheets, spacing them 2 inches apart.
- Bake for 10–12 minutes, or until edges are lightly golden. Cool on baking sheet for 5 minutes before transferring to a wire rack.
- While cookies cool slightly, press sprinkles into the tops to create a festive design. Allow to cool completely before serving.


