


Garlic Cheese Rolls That Melt Your Heart: A Simple, Irresistible Recipe
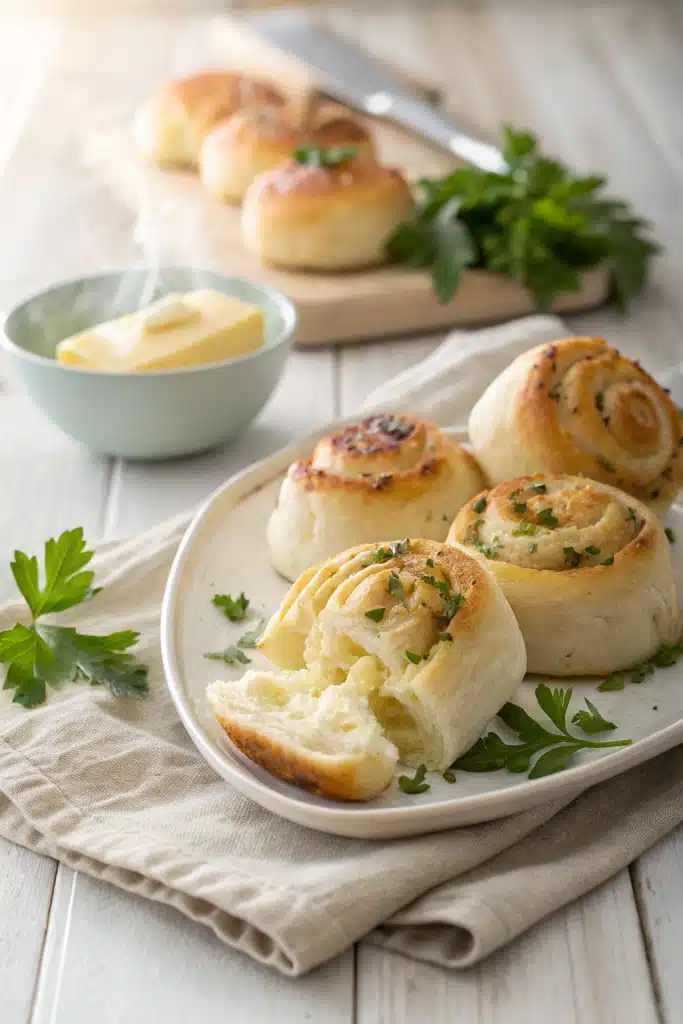
There’s something magical about a warm, buttery roll fresh from the oven, isn’t there? The golden-brown crust gives way to a soft, pillowy interior that melts in your mouth, and when you add a generous swirl of garlic butter studded with creamy cheese, it becomes pure comfort food heaven. I remember making these garlic cheese rolls for my family on lazy Sunday mornings, and the whole house would fill with that irresistible aroma that makes everyone gather around the kitchen table. These aren’t just side bread—they’re an experience that transforms any meal into something special.
What Are Garlic Cheese Rolls?
These are soft, tender dinner rolls infused with rich garlic flavor and studded with melted cheese throughout. Unlike traditional garlic bread where the sauce is brushed on top, these rolls have the garlic butter and cheese baked directly into the dough itself, creating pockets of cheesy, garlicky goodness in every bite. They’re perfect for everything from holiday dinners to casual weeknight meals, and they never fail to impress guests or bring back childhood memories of home-cooked warmth.
Why You’ll Love This Recipe
The magic of these garlic cheese rolls lies in their simplicity and incredible payoff. With just a few basic ingredients, you can create something that feels indulgent yet is actually quite straightforward to make. The combination of buttery dough, aromatic garlic, and melty cheese creates layers of flavor that work beautifully with almost any main course. Plus, they’re incredibly versatile—you can customize them with different cheeses, herbs, or even add some red pepper flakes for a little kick if you like things spicy.
What I love most about this recipe is how forgiving it is while still delivering restaurant-quality results. Even if your first attempt isn’t perfect (and let’s be honest, we all have those kitchen days), the second batch always turns out better. They freeze beautifully too, so you can make a big batch and pull out a few whenever you need that homemade comfort food fix. And honestly, who doesn’t need more of that in their life?
These rolls also have this amazing ability to bring people together—whether you’re serving them at a family gathering, taking them to a potluck, or simply sharing them with your partner after a long day. There’s just something about breaking apart a warm roll to share a piece that creates connection and conversation. I’ve made these for birthday dinners, Christmas mornings, and even as surprise breakfast treats, and they’ve always been met with enthusiastic approval.
How to Make Garlic Cheese Rolls
Quick Overview
Making these garlic cheese rolls is surprisingly simple! You’ll start by mixing together flour, yeast, sugar, salt, milk, eggs, and softened butter to create a soft, pliable dough. Then comes the fun part—folding in cubed cheese and minced garlic before shaping the rolls. After letting them rise until puffy, bake until golden brown and fragrant. The entire process takes about 2 hours from start to finish, but most of that time is hands-off waiting for the dough to rise and bake.
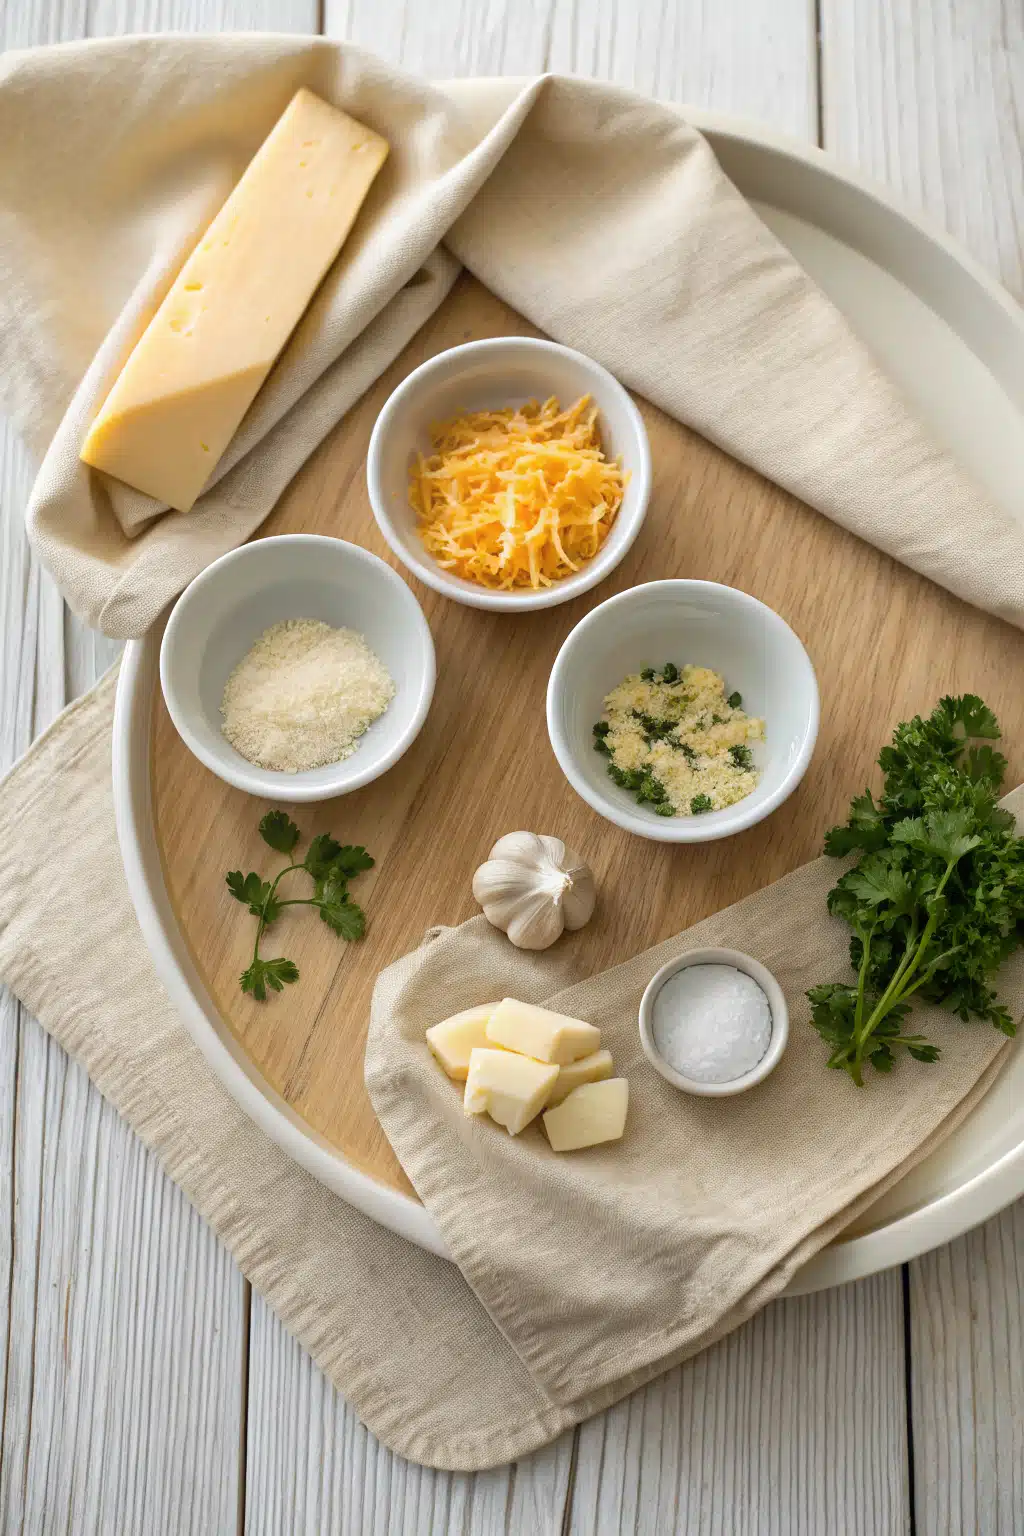
Ingredients
- 3 cups all-purpose flour
- 2¼ teaspoons active dry yeast
- 2 tablespoons granulated sugar
- 1 teaspoon salt
- ¾ cup warm milk (about 110°F)
- 2 large eggs
- ¼ cup unsalted butter, melted and slightly cooled
- 1 cup shredded sharp cheddar cheese (or your favorite blend)
- 3 cloves garlic, minced
- 2 tablespoons chopped fresh parsley (optional)
- Extra butter for brushing tops
Step-by-Step Instructions
Step 1: Preheat & Prep Pan
Start by preheating your oven to 375°F (190°C). Lightly grease a 9×13-inch baking pan with butter or non-stick spray. Having everything ready before you start mixing will make the process much smoother—this is especially important because yeast dough works quickly once activated.
Step 2: Activate Yeast & Mix Dough
In a large mixing bowl, combine the warm milk, sugar, and yeast. Let it sit for about 5-10 minutes until frothy and bubbly—this means your yeast is alive and ready to work its magic. While waiting, whisk together the flour and salt in another bowl. Once the yeast mixture is ready, add the eggs and melted butter, then gradually mix in the dry ingredients until a soft dough forms.
Step 3: Add Cheese & Shape Rolls
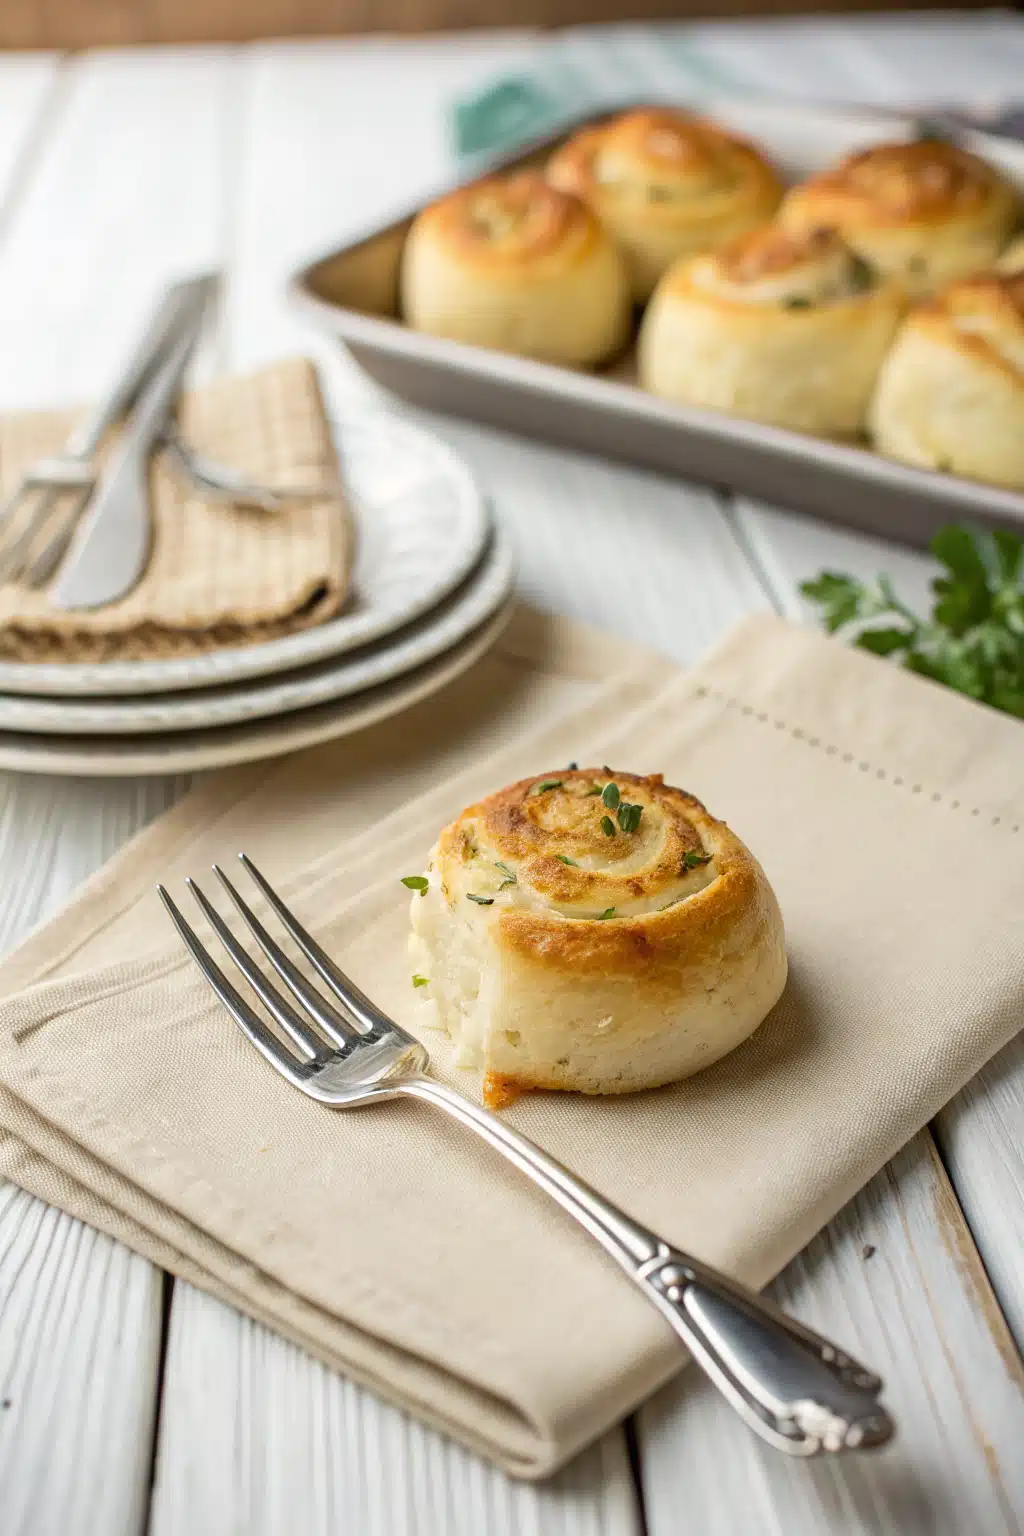
Turn the dough out onto a lightly floured surface and knead gently for about 3-4 minutes until smooth. Fold in the cubed cheese, minced garlic, and fresh parsley if using. Divide the dough into 12 equal pieces and shape each into small balls. Place them in your prepared baking pan, leaving a little space between each roll for rising.
Step 4: Second Rise & Bake
Cover the pan loosely with a clean kitchen towel and let the rolls rise in a warm place for about 30-40 minutes, or until they’ve nearly doubled in size. Brush the tops with melted butter for extra golden color and flavor. Bake for 18-22 minutes until beautifully golden brown and cooked through.
What to Serve It With
These garlic cheese rolls are incredibly versatile and pair wonderfully with almost any meal. They shine alongside classic comfort foods like roasted chicken, beef stew, or grilled salmon. For a hearty Italian-inspired dinner, serve them with spaghetti and meatballs or a fresh Caprese salad. They’re also fantastic with soups and stews—the soft texture absorbs all those delicious flavors perfectly.
During holiday gatherings, they’re often the first thing to disappear from the table! Try pairing them with honey-glazed ham, herb-crusted turkey, or even a simple pasta primavera. And don’t forget about breakfast—they work surprisingly well with scrambled eggs or as a base for open-faced sandwiches the next morning.
Top Tips for Perfecting Your Garlic Cheese Rolls
If you want to take your garlic cheese rolls to the next level, here are some tried-and-true tips I’ve learned over the years:
- Use room temperature ingredients: Cold butter and eggs slow down gluten development, resulting in less fluffy rolls.
- Don’t skimp on the cheese: Use at least 1 cup for maximum cheesiness—trust me on this!
- Fresh garlic is best: Pre-minced garlic from a jar just can’t match the vibrant flavor of fresh cloves.
- Let them rest after baking: Give the rolls 5 minutes off the heat before serving—this helps them set up properly.
- Experiment with cheese blends: Try mozzarella for gooeyness, parmesan for tang, or gouda for nuttiness.
Storing and Reheating Tips
These rolls keep surprisingly well! Store them in an airtight container at room temperature for up to 2 days, or freeze unbaked dough portions for later use. To reheat frozen rolls, let them thaw overnight in the refrigerator, then warm them in a 350°F oven for 10-15 minutes until heated through and slightly crispy on top.
If storing baked rolls, try warming them in foil rather than plastic wrap—it helps maintain that fresh-baked texture without making them soggy. You can also refresh leftover rolls by briefly microwaving them for 15 seconds or placing them under the broiler for a minute until golden.
Frequently Asked Questions
Final Thoughts
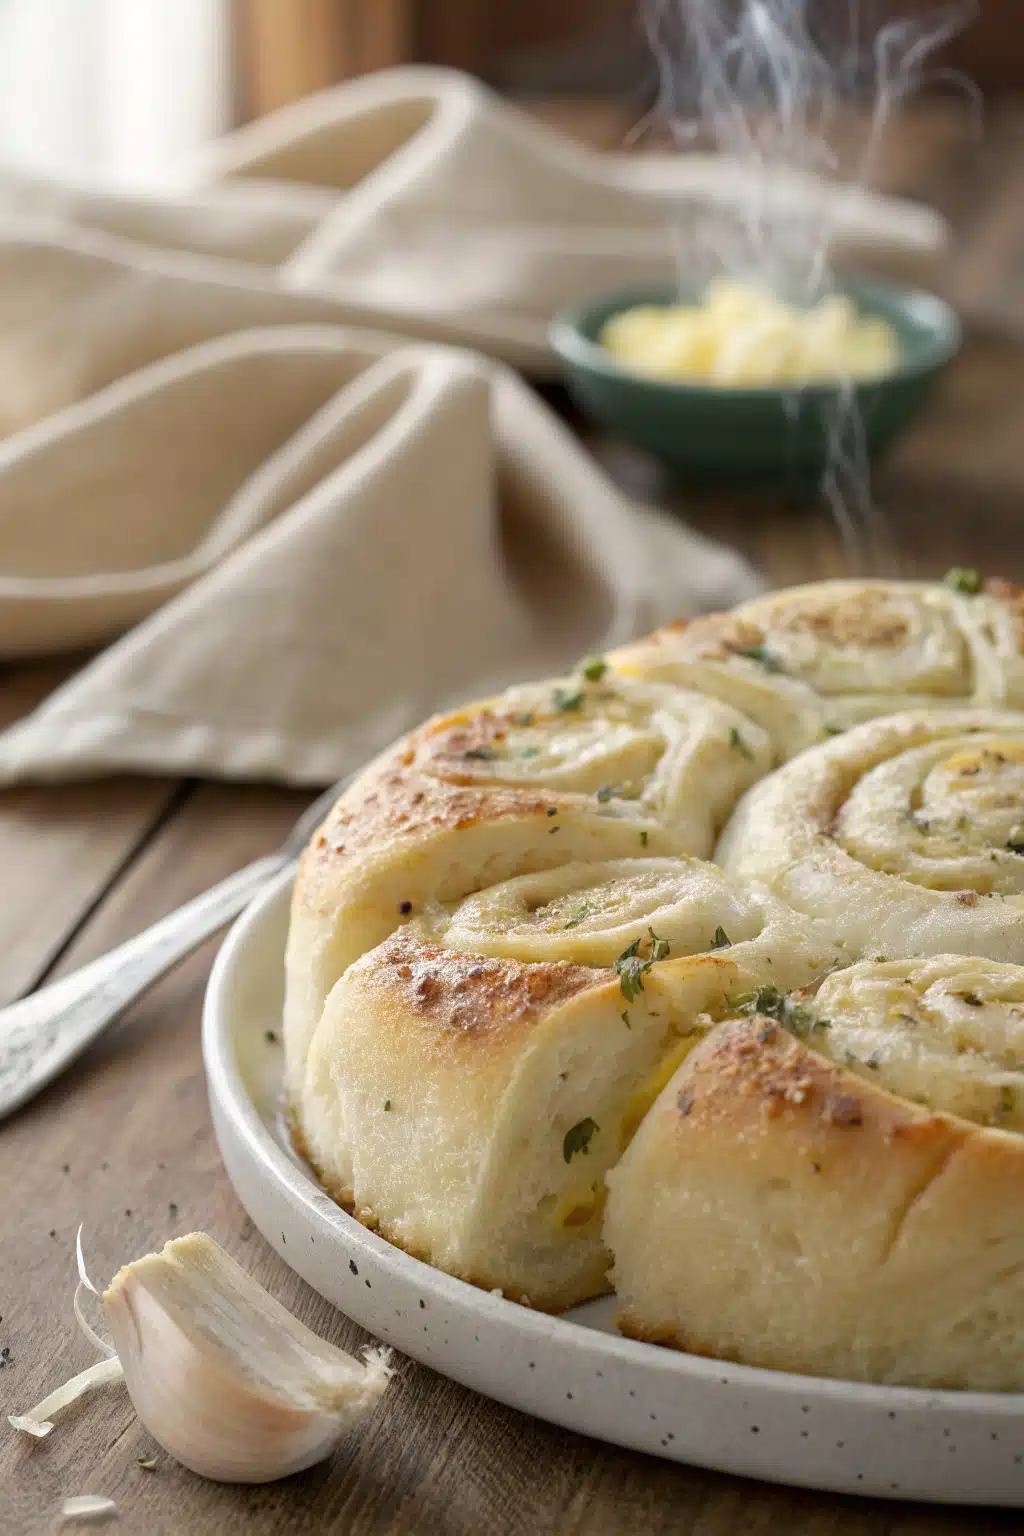
There’s something truly special about pulling a warm tray of garlic cheese rolls from the oven—the way they smell, the anticipation of that first bite, the way they instantly make any meal feel more celebratory. This recipe has become one of my absolute favorites not just because it tastes incredible, but because it brings people together and creates those small moments of joy that make cooking worthwhile.
Whether you’re making them for everyday dinners or special occasions, these rolls never disappoint. They’re forgiving enough for beginners yet satisfying enough for experienced bakers. And the best part? They always seem to vanish quickly, which is the highest compliment you can pay any recipe.
So go ahead—gather your ingredients, roll up your sleeves, and make a batch today. I promise you won’t regret it. Your family and friends will thank you, and you’ll wonder why you waited so long to discover this simple, perfect comfort food.

Garlic Cheese Rolls
Ingredients
Main Ingredients
- 2 cups all-purpose flour
- 0.25 cup granulated sugar
- 1 packet active dry yeast
- 0.5 cup warm milk about 110°F
- 0.25 cup unsalted butter melted
- 1 large egg
- 1 teaspoon salt
- 0.5 cup shredded cheddar cheese
- 0.25 cup grated Parmesan cheese
- 2 cloves garlic minced
- 2 tablespoons unsalted butter softened
- 1 tablespoon chopped fresh parsley optional
Instructions
Preparation Steps
- In a small bowl, combine warm milk and yeast. Let sit for 5–10 minutes until frothy.
- In a large mixing bowl, whisk together flour, sugar, and salt. Make a well in the center and add the yeast mixture, melted butter, and egg. Stir until a dough forms.
- Knead the dough on a floured surface for 5–7 minutes until smooth and elastic. Place in a greased bowl, cover with a towel, and let rise in a warm place for 1 hour or until doubled in size.
- Punch down the dough and roll it out into a rectangle about 1/4-inch thick. Sprinkle with cheddar, Parmesan, and minced garlic. Roll up tightly from the long side and cut into 12 equal slices.
- Place rolls in a greased baking dish, cover, and let rise again for 30 minutes. Preheat oven to 375°F (190°C).
- Bake for 15–18 minutes until golden brown. Remove from oven and brush tops with softened butter mixed with chopped parsley if desired.


