


Deviled Strawberries
I’ve got a little secret dessert I keep in my back pocket for just the right moment—something sweet, but not too heavy; elegant enough to impress, yet simple enough to whip up without stress. Enter deviled strawberries: bite-sized bursts of creamy cheesecake goodness tucked inside fresh, juicy berries and crowned with a crunchy strawberry topping. They’re no-bake, party-ready, and somehow always disappear faster than I can say “more please!” Whether you’re hosting Easter brunch, dressing up for Valentine’s Day, or just treating yourself after a long week, these little gems never fail to bring a smile.

What Is Deviled Strawberries?
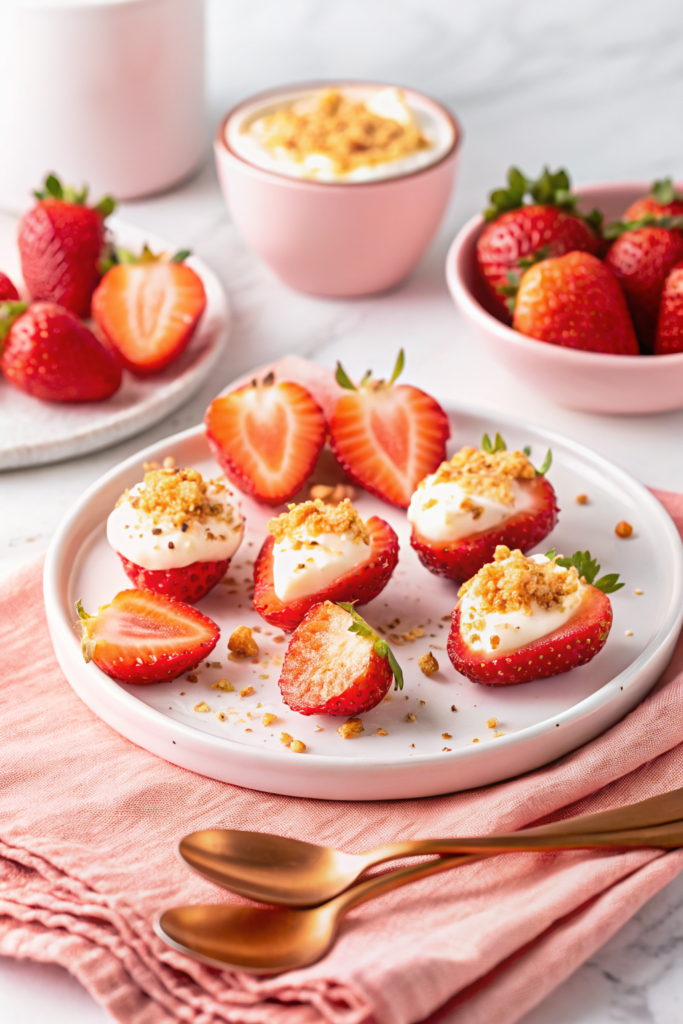
Deviled strawberries are essentially a handheld version of classic deviled eggs—but instead of egg yolks, we fill large fresh strawberries with a luscious cream cheese filling that tastes just like cheesecake. The twist? We top each one with a sprinkle of homemade strawberry crunch made from crushed Golden Oreos mixed with melted butter and a touch of strawberry gelatin for color and flavor. It’s equal parts fruity, creamy, and satisfyingly crunchy. No oven required (except for the topping), no complicated steps, and absolutely zero guilt when you sneak another one.
Why You’ll Love This Recipe
There’s something magical about transforming everyday ingredients into show-stopping bites. These deviled strawberries combine the best of two worlds: the bright sweetness of summer strawberries and the rich indulgence of cheesecake—all without ever turning on your stove or oven. Plus, they’re ridiculously easy to make ahead. Just prep everything the night before, store it all separately in the fridge, and assemble right before serving. That means less last-minute chaos and more time enjoying your guests.
I also love how versatile this recipe is. Want a festive pop of color? Add a few drops of red food gel to the crunch topping. Craving chocolate? Drizzle melted dark chocolate over the assembled berries right before serving. And if you’re watching your sugar intake, swap the powdered sugar for a natural sweetener like stevia or monk fruit. Even better, these little treats feel fancy but taste like comfort—perfect for impressing someone special or indulging in self-care.
Another reason I adore them? They travel well and stay intact until you’re ready to enjoy. No messy forks or plates here—just grab-and-go perfection. Whether you serve them at a baby shower, holiday gathering, or as part of a picnic spread, they always seem to steal the spotlight. And let’s be honest—who doesn’t love biting into a soft berry filled with cool cream and crunchy cookie bits? It’s like dessert had a party and everyone was invited.
How to Make Deviled Strawberries
Quick Overview
This recipe comes together in about 20 minutes total, with most of that time spent waiting for the crunch topping to cool. Start by making the crunch: crush Golden Oreos, mix in melted butter and strawberry gelatin, then bake until golden. Meanwhile, prepare the cream cheese filling and halve your strawberries. Once the crunch is cooled, spoon or pipe the filling into each berry, top with crunch, and chill until ready to serve. It’s as simple as that!
Ingredients
- Strawberry Crunch Topping:
- 6 Golden Oreo cookies, finely crushed
- 1 tablespoon unsalted butter, melted
- 2 teaspoons strawberry-flavored gelatin powder (Jell-O brand works great)
- Cream Cheese Filling:
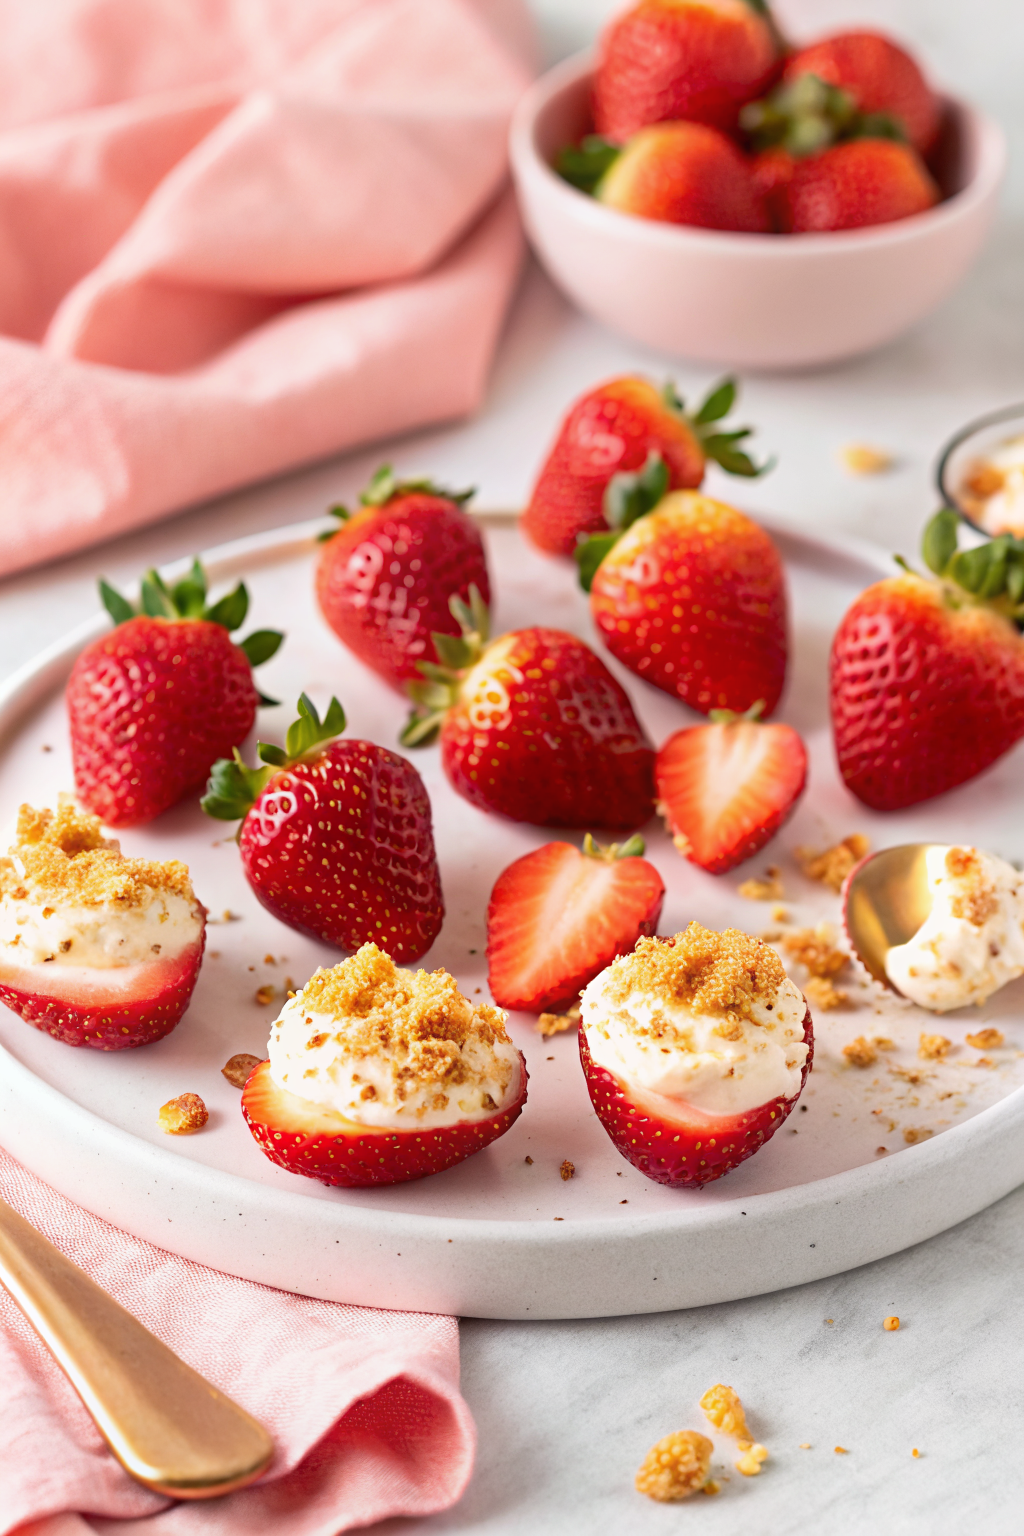
- 12–15 large fresh strawberries (about 2 to 2½ inches each), rinsed and patted dry
- 8 ounces cream cheese, softened to room temperature
- ¾ cup powdered sugar (sifted)
- 2 tablespoons heavy cream
- 1 teaspoon vanilla extract
- ¼ teaspoon salt
Step-by-Step Instructions
- Make the strawberry crunch topping: Pulse the Golden Oreo cookies in a food processor until finely crushed. Transfer to a bowl and mix in the melted butter and strawberry gelatin until fully combined. The mixture won’t turn completely pink—this is totally normal and actually helps create a beautiful two-toned texture.
- Bake the topping: Preheat oven to 350°F. Line a baking sheet with parchment paper, spread the crumb mixture in a thin, even layer, and bake for 8–10 minutes, or until lightly golden. Let cool completely on the sheet before breaking into smaller pieces.
- Prepare the strawberries: Rinse the strawberries just before using, pat them very dry with a towel, remove the stems, and cut each in half lengthwise. Arrange them stem-side up on a serving platter.
- Make the filling: In a mixing bowl, beat the cream cheese until smooth. Gradually add the powdered sugar, then blend in the heavy cream, vanilla extract, and salt. Beat for another minute or two until light and fluffy.
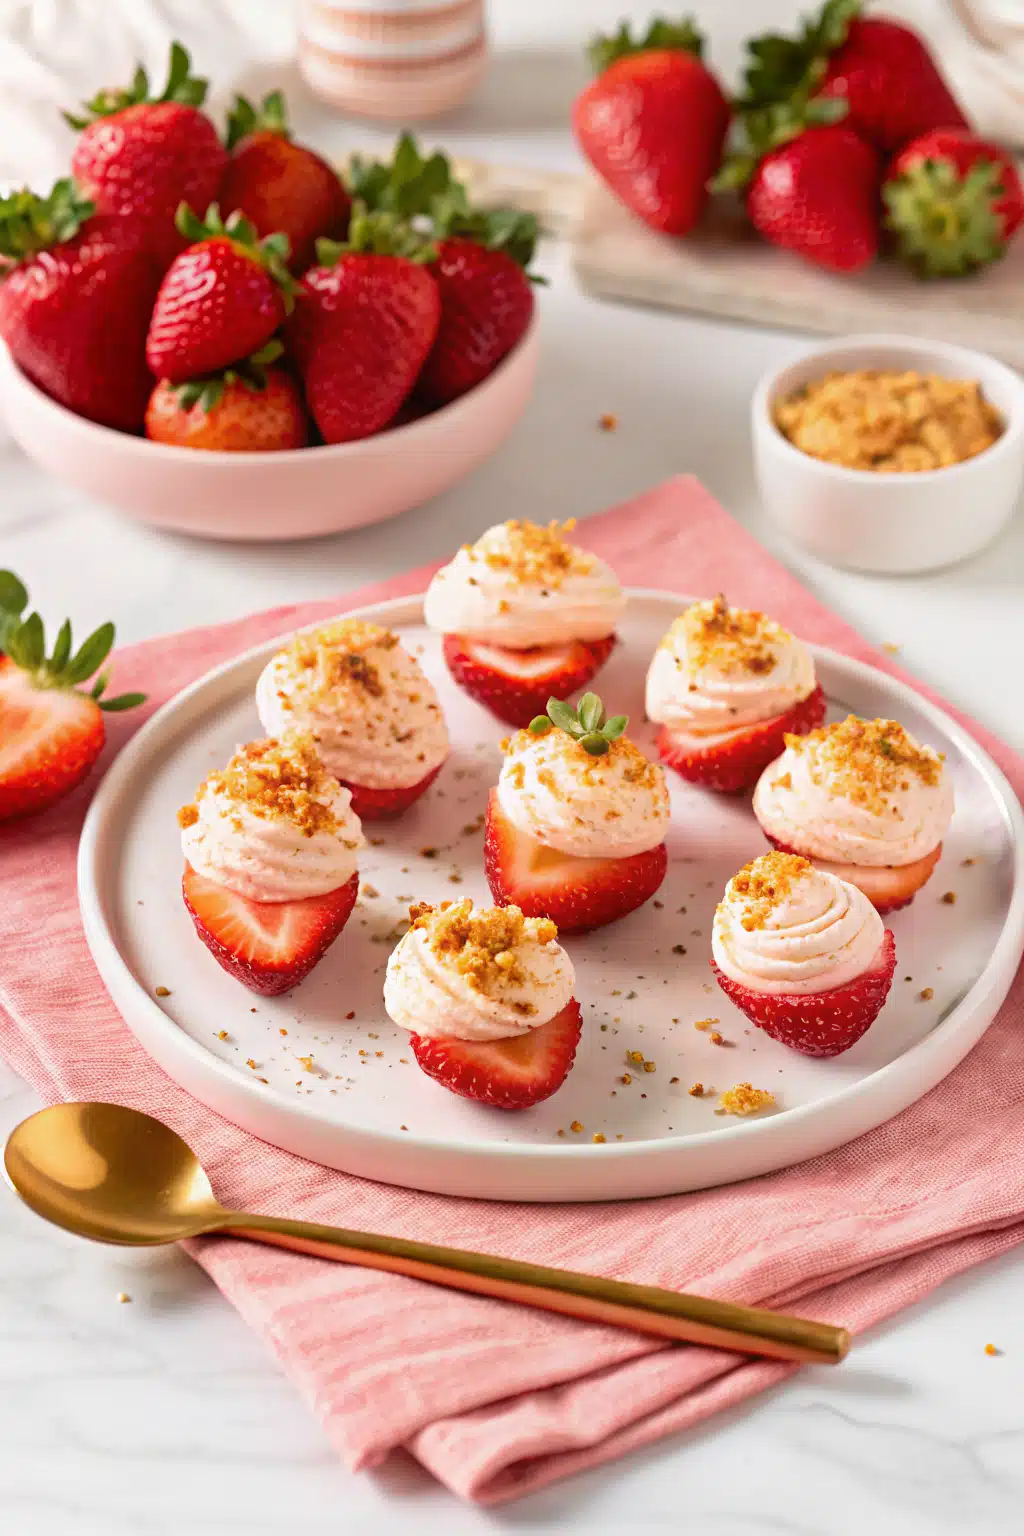
- Assemble: Spoon about 1½ teaspoons of filling into the center of each strawberry half. If you prefer neat dollops, transfer the filling to a piping bag fitted with a small tip. Finish by sprinkling the reserved strawberry crunch over every berry.
- Serve immediately or chill briefly until ready to eat. Best enjoyed fresh for maximum texture contrast.
What to Serve It With
These deviled strawberries shine as part of a spring or summer dessert spread. Pair them with a glass of chilled rosé, serve them next to a fruit salad, or tuck them into a tiered cake stand alongside other bite-size treats like mini cupcakes or chocolate-dipped strawberries. For a complete menu, try serving them after a light salad or grilled chicken—they cut through richer dishes with their bright, clean flavors. And because they’re so visually appealing, they make the perfect addition to any buffet or potluck table.
Top Tips for Perfecting Your Deviled Strawberries
- Choose big, firm strawberries: Look for berries around 2 to 2½ inches so they resemble classic deviled eggs and sit flat on your platter.
- Rinse only when ready to use: Washing them too early can make them mushy. Give them a quick rinse right before slicing and assembling.
- Pat them dry thoroughly: Any extra moisture will weaken the filling’s structure, so use a clean towel and press gently until no water beads remain.
- Use full-fat block cream cheese: Low-fat or whipped varieties don’t hold their shape as well and can result in a softer, less stable filling.
- Don’t skip the crunch: That textural contrast is what makes these truly irresistible. Even if you’re short on time, toast the crumbs in a skillet instead of baking them for a quicker version.
- Pipe or spoon—your choice: A piping bag gives pretty results, but a spoon works just as well and is easier for beginners.
Storing and Reheating Tips
These deviled strawberries are best enjoyed within 2 hours of assembly. The longer they sit, the more moisture the strawberries release, which can soften the filling. If you need to save leftovers, store any unused crunch topping in an airtight container at room temperature for up to a week—great for topping ice cream later!
The cream cheese filling can be made up to 24 hours ahead and kept covered in the refrigerator. Let it come to room temperature for about 15 minutes before using so it spreads easily. However, avoid making the full dessert ahead if possible—assembly should happen just before serving for the best experience.
Freezing is not recommended for the assembled strawberries, as thawed berries become soft and watery. But you can freeze leftover crunch topping separately and revive it by toasting briefly in the oven.
Frequently Asked Questions
Final Thoughts
If you’ve never tried deviled strawberries before, now’s the time. They’re the kind of dessert that feels like a celebration in a single bite—creamy, crunchy, fruity, and utterly delightful. I make them whenever I want something special without the fuss, and honestly, I’m not the only one who loves them. Guests always ask for the recipe, and kids beg for seconds. They’re proof that sometimes the simplest ideas yield the biggest joys.
So go ahead—grab those strawberries, whip up that filling, and treat yourself (and maybe someone else) to a little slice of sweet happiness. Trust me, you won’t regret it.

Deviled Strawberries
Ingredients
Strawberry Crunch Topping
- 6 cookies golden oreo cookies
- 1 tablespoon unsalted butter melted
- 2 teaspoons strawberry flavored gelatin powder
Cream Cheese Filling
- 12 large fresh strawberries rinsed and patted dry, cut into halves
- 8 ounces cream cheese softened to room temperature
- 0.5 cup powdered sugar sifted
- 2 tablespoons heavy cream
- 1 teaspoon vanilla extract
- 0.33 teaspoon salt
Instructions
Strawberry Crunch Topping
- Preheat the oven to 350°F. Line a small baking sheet with parchment paper or a silicone mat and set aside.
- Add the golden oreo cookies to a small food processor, or high-speed blender, and pulse for 30-60 seconds or until finely crushed. Transfer the crumbs to a bowl and set aside.
- In a separate bowl, stir together the melted butter and strawberry gelatin powder until dissolved and fully blended.
- Add the strawberry mixture to the cookie crumbs and stir to combine. The cookie crumbs will not turn completely pink. This is expected and creates the desired crunchy two-toned texture.
- Transfer the strawberry crunch mixture to the prepared baking sheet, spread to a thin even layer, and bake for 8-10 minutes or just until lightly golden. Remove from the oven and allow to cool completely on the baking sheet while you prepare the cream cheese filling.
Cream Cheese Filling
- Rinse the strawberries under cool water, then pat dry very well. Cut the strawberries in half lengthwise (removing any green leaves as well) and place onto a serving platter with the sliced side facing up. Set aside.
- Beat the cream cheese in a large bowl with a handheld mixer on medium speed for 1-2 minutes or until smooth and creamy.
- Add the powdered sugar, beat on low until fully incorporated, followed by the heavy cream, vanilla extract, and salt. Beat for an additional 1-2 minutes or just until light and creamy.
- Dollop a 1½ teaspoon-sized amount of the cream cheese filling onto the cut surface of each strawberry. Alternatively, transfer the filling to a piping bag fitted with a piping tip for decoration.
- Once all strawberries have been topped with the cream cheese filling, sprinkle the tops with the reserved strawberry crunch topping and serve.


