


Christmas Cookies: A Holiday Classic You’ll Bake Year After Year
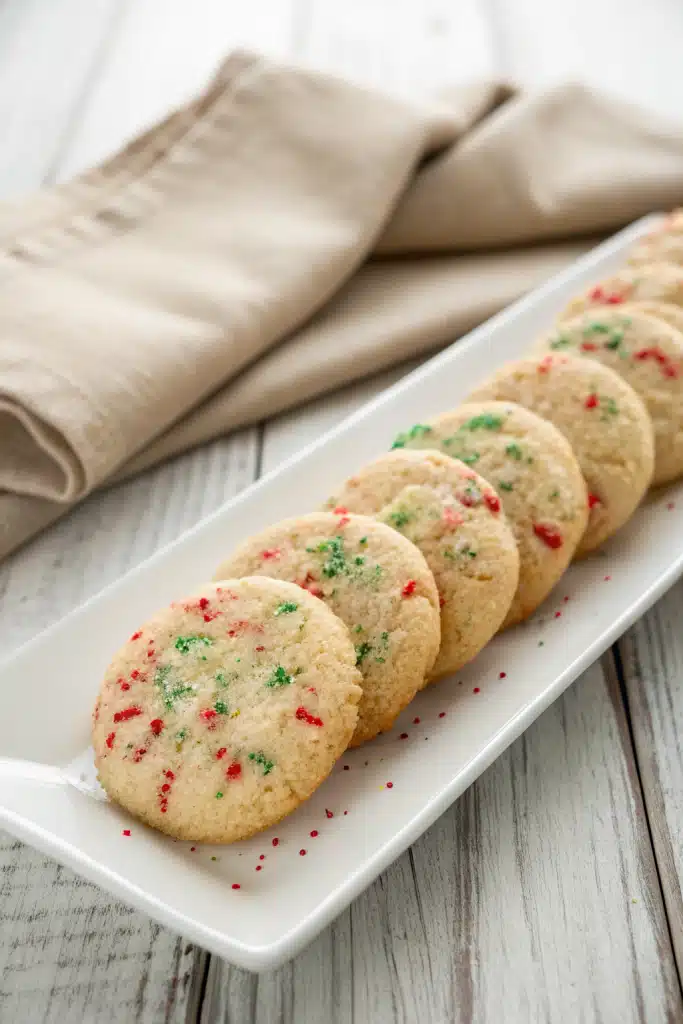
There’s something truly magical about the smell of Christmas cookies baking in the oven—wafting through the house, wrapping every corner in warmth and nostalgia. I remember standing on a wobbly kitchen stool as a kid, dusted in flour, carefully pressing red and green sprinkles onto soft dough while my mom hummed carols in the background. Those moments are forever tied to these cookies, and now, they’re part of my own holiday traditions. If you’re looking for a recipe that’s simple, joyful, and absolutely delicious, this is it. These Christmas cookies are crisp on the edges, tender in the center, and perfect for decorating (or eating straight from the baking sheet—no judgment here!). Whether you’re hosting a party, gifting treats, or just craving a little holiday cheer, these cookies will deliver. Let’s bake some memories together.
What Is Christmas Cookies?
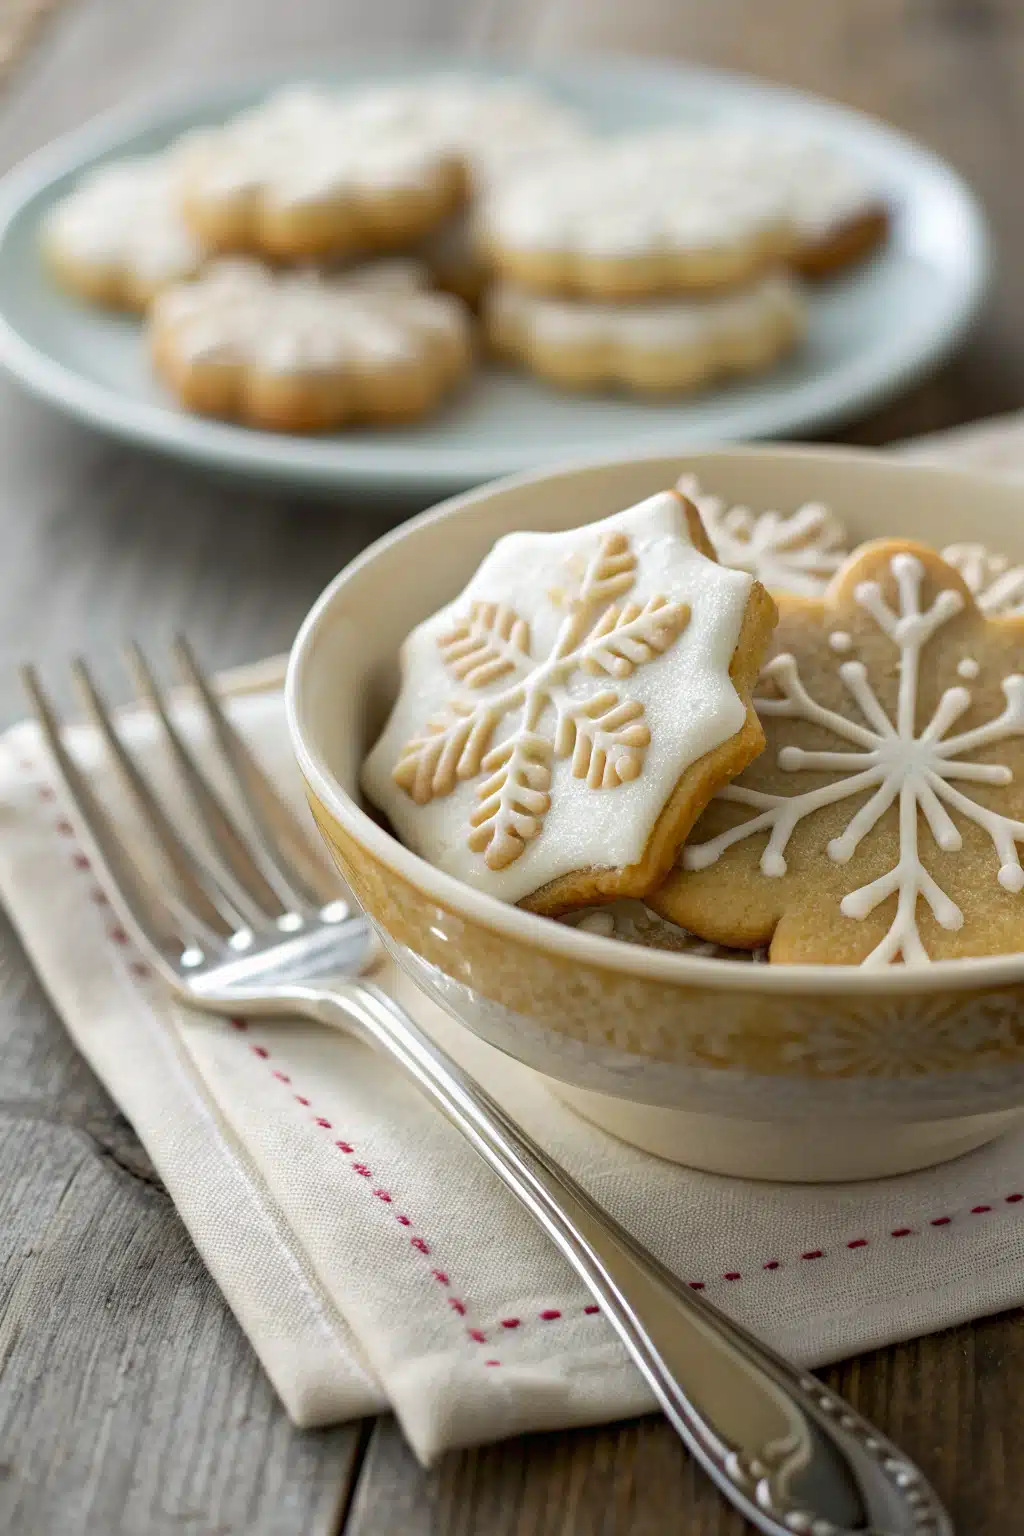
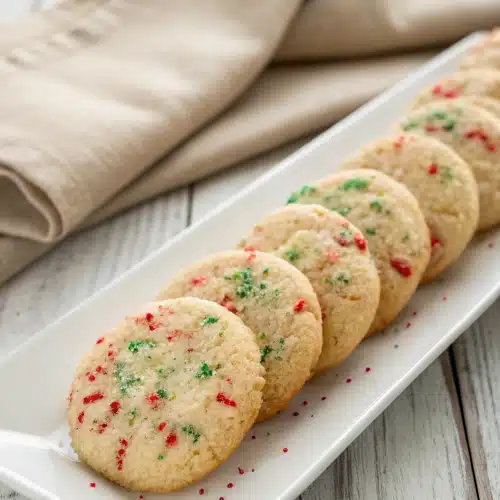
Christmas cookies are more than just sweet treats—they’re edible holiday magic. Traditionally, they’re spiced with warm notes like cinnamon, nutmeg, and vanilla, and often rolled thin and cut into festive shapes like stars, trees, and snowflakes. But beyond their appearance, what makes them special is the love that goes into baking them. They’re the kind of cookie that invites family into the kitchen, where stories are shared, dough is sneaked, and sprinkles go flying. This particular recipe yields a classic sugar cookie base—tender, buttery, and just sweet enough—that holds its shape beautifully when baked. It’s versatile, forgiving, and absolutely perfect for decorating with royal icing, chocolate drizzle, or a simple dusting of powdered sugar. Whether you’re a seasoned baker or a first-timer, these cookies are designed to bring joy, not stress.
Why You’ll Love This Recipe
First off, this recipe is *so* easy—no fancy equipment, no chilling for hours (though a short rest helps), and no guessing with measurements. It uses pantry staples you likely already have: flour, butter, sugar, eggs, and a touch of vanilla. The dough comes together in minutes and rolls out smoothly, making it ideal for little helpers who want to join in on the fun. Plus, these cookies bake up with that perfect balance of crisp and soft, and they taste like pure holiday comfort. I also love that you can make them as simple or as fancy as you like. Keep them plain for a classic treat, or go all out with colored icing and edible glitter—they’re your canvas! Another win? They store beautifully. Bake them a few days ahead, and they’ll stay fresh and delicious, which means less stress during the busiest time of year. And honestly, there’s nothing quite like handing someone a plate of homemade Christmas cookies and seeing their face light up. It’s not just dessert—it’s a little act of love.
How to Make Christmas Cookies
Quick Overview
This recipe makes about 24 cookies and takes under an hour from start to finish. You’ll cream butter and sugar, add eggs and vanilla, then gently mix in flour and a pinch of salt. Roll, cut, bake for 8–10 minutes, and voilà—holiday magic. Decorating is optional but oh-so-fun!
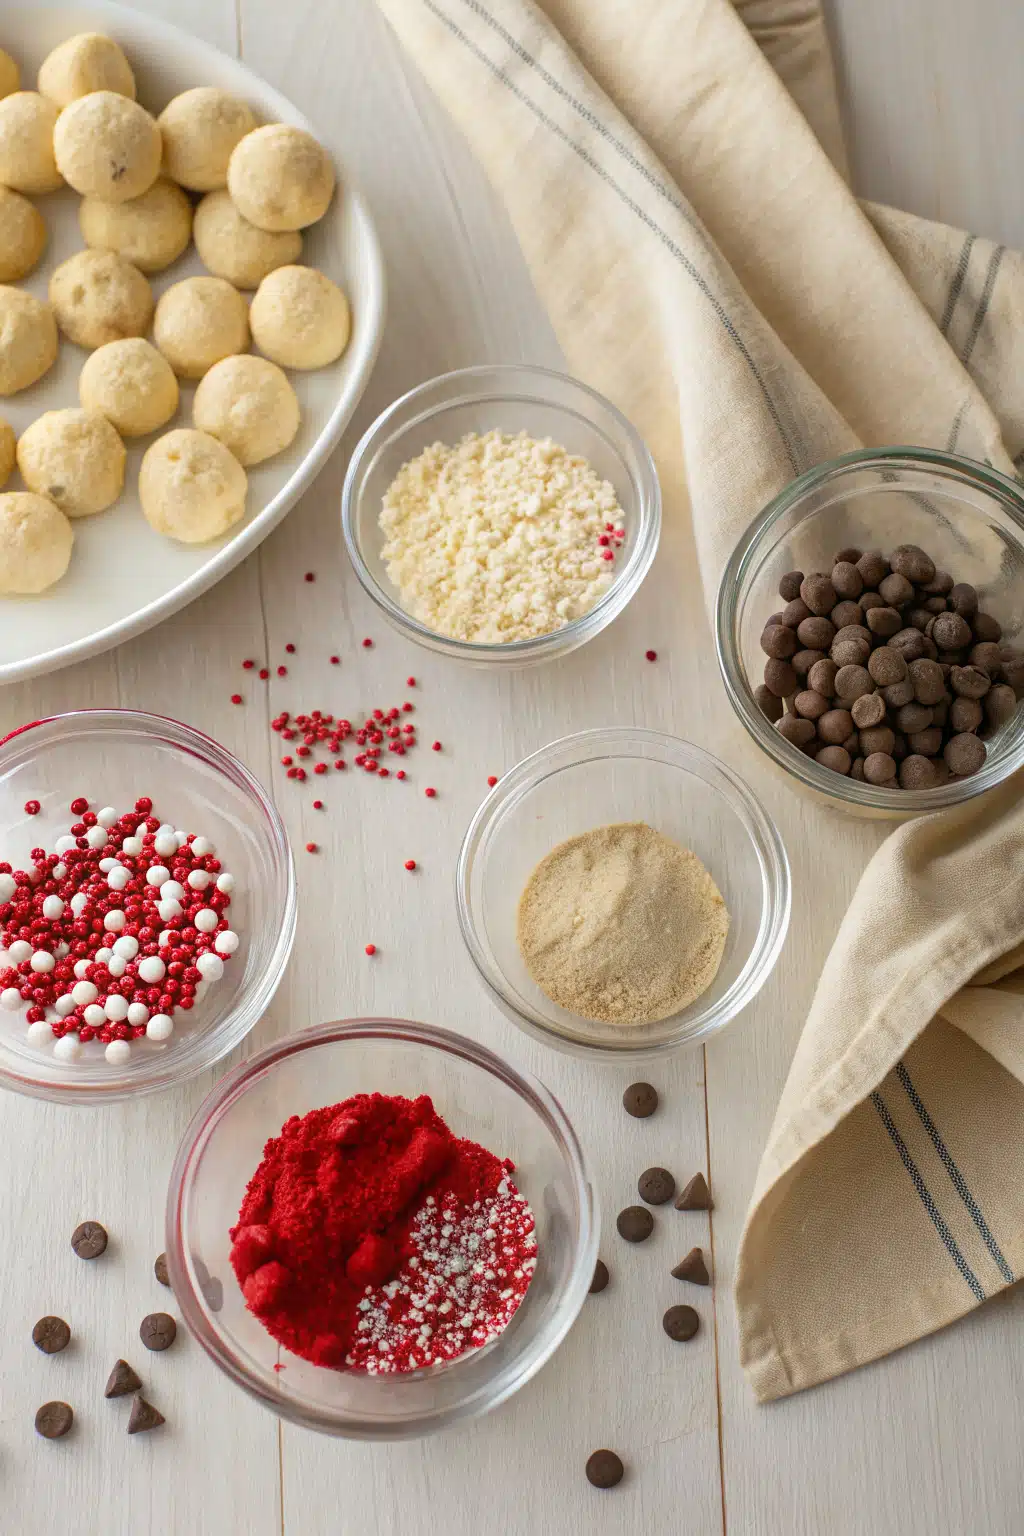
Ingredients
- 2 ¾ cups all-purpose flour
- 1 teaspoon baking powder
- ½ teaspoon salt
- 1 cup (2 sticks) unsalted butter, softened
- 1 ½ cups granulated sugar
- 1 large egg
- 2 teaspoons pure vanilla extract
- Optional: colored sprinkles, icing, or sanding sugar for decorating
Step-by-Step Instructions
Step 1: Preheat & Prep Pan
Preheat your oven to 350°F (175°C). Line two baking sheets with parchment paper or silicone mats—this prevents sticking and makes cleanup a breeze.
Step 2: Mix Dry Ingredients
In a medium bowl, whisk together the flour, baking powder, and salt. Set aside.
Step 3: Cream Butter & Sugar
In a large bowl, beat the softened butter and sugar together until light and fluffy—about 2–3 minutes with a hand mixer. Scrape down the sides as needed.
Step 4: Add Wet Ingredients
Beat in the egg and vanilla extract until fully combined. The mixture may look slightly curdled—that’s totally normal!
Step 5: Combine & Knead Dough
Gradually add the dry ingredients to the wet, mixing on low until just combined. Turn the dough out onto a lightly floured surface and gently knead it into a smooth ball. Don’t overwork it—just a few folds are enough.
Step 6: Roll & Cut
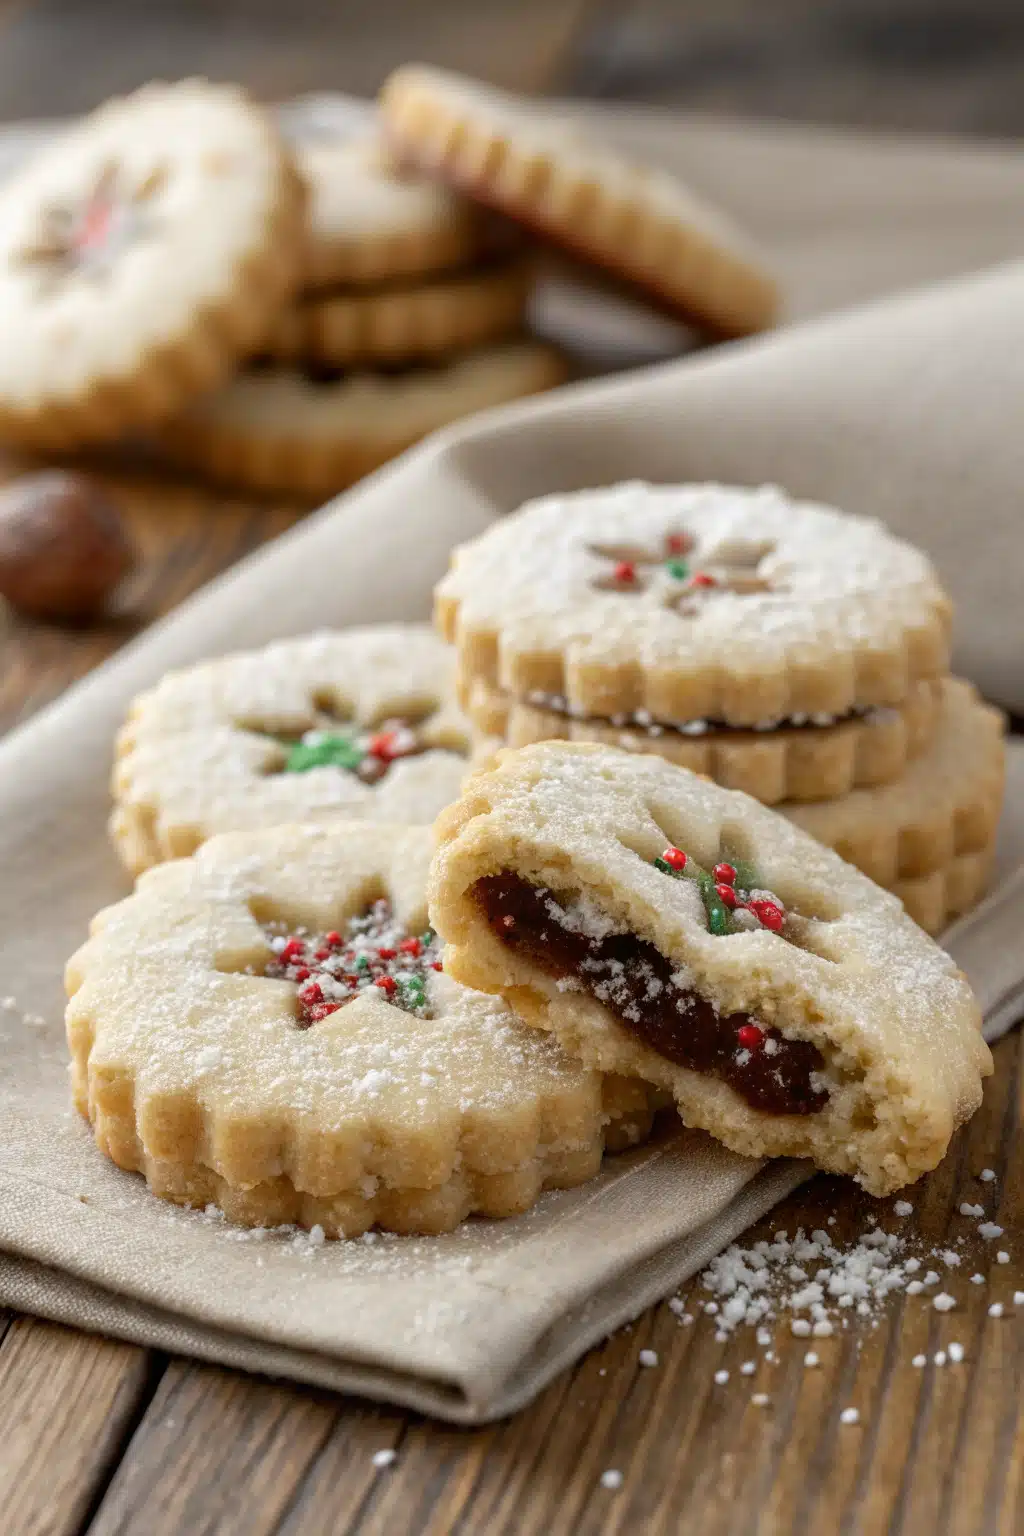
Roll the dough to about ¼-inch thickness. Use festive cookie cutters to cut out shapes, then transfer them to the prepared baking sheets, spacing them about 1 inch apart.
Step 7: Bake & Cool
Bake for 8–10 minutes, or until the edges are just barely golden. Let cool on the pan for 5 minutes, then transfer to a wire rack to cool completely before decorating.
What to Serve It With
These cookies shine on their own, but they’re even better with a tall glass of cold milk, a mug of hot cocoa, or a cup of spiced apple cider. They’re perfect for holiday cookie platters, gift boxes, or as part of a festive breakfast spread. Pair them with gingerbread cookies, peppermint bark, or shortbread for a full holiday dessert table that’ll impress everyone—even your pickiest cousin.
Top Tips for Perfecting Your Christmas Cookies
- Don’t overbake! These cookies are done when the edges just start to turn golden—they’ll firm up as they cool.
- Chill the dough for 15–20 minutes if it’s too soft to roll. This prevents spreading.
- Use quality vanilla—it makes a noticeable difference in flavor.
- Decorate after cooling completely, or your icing will melt and slide right off.
- Let kids help with sprinkles—it’s messy, but that’s where the real fun is.
Storing and Reheating Tips
Store cooled cookies in an airtight container at room temperature for up to 1 week. For longer storage, freeze undecorated cookies for up to 3 months—just thaw and decorate when ready. You can also freeze the dough (rolled and cut) for up to 2 months; bake straight from frozen, adding 1–2 minutes to the baking time. No reheating needed—these are best enjoyed at room temperature!
Frequently Asked Questions
Final Thoughts
Baking these Christmas cookies isn’t just about the end result—it’s about the laughter, the mess, the stories shared over flour-dusted countertops. It’s about creating something sweet with your own hands, something that carries love in every bite. Whether you’re making them for your family, your neighbors, or just yourself (because you deserve joy too), I hope this recipe brings you as much happiness as it’s brought me. So preheat that oven, tie on an apron, and let’s make this holiday season a little more delicious—one cookie at a time.
Christmas Cookies
Ingredients
Main Ingredients
- 2.75 cups all-purpose flour
- 1 teaspoon baking powder
- 0.5 teaspoon salt
- 1 cup unsalted butter, softened
- 1.5 cups granulated sugar
- 1 large egg
- 2 teaspoons vanilla extract
- 0.5 teaspoon almond extract optional
Instructions
Preparation Steps
- In a medium bowl, whisk together flour, baking powder, and salt. Set aside.
- In a large bowl, beat butter and sugar with an electric mixer until light and fluffy, about 3 minutes.
- Beat in egg, vanilla extract, and almond extract (if using) until combined.
- Gradually add the dry ingredients to the wet ingredients, mixing on low speed until just combined.
- Divide dough in half, shape into discs, wrap in plastic, and refrigerate for at least 1 hour or up to 2 days.
- Preheat oven to 350°F (175°C). Line baking sheets with parchment paper.
- Roll out dough on a lightly floured surface to 1/4-inch thickness. Cut into desired shapes with cookie cutters.
- Place cookies 1 inch apart on prepared baking sheets.
- Bake for 8–10 minutes, or until edges are lightly golden. Cool on baking sheet for 5 minutes before transferring to a wire rack.
- Decorate as desired with icing, sprinkles, or colored sugar once completely cooled.


