


Chocolate Granola: A Rich, Crunchy Breakfast You’ll Crave Every Morning
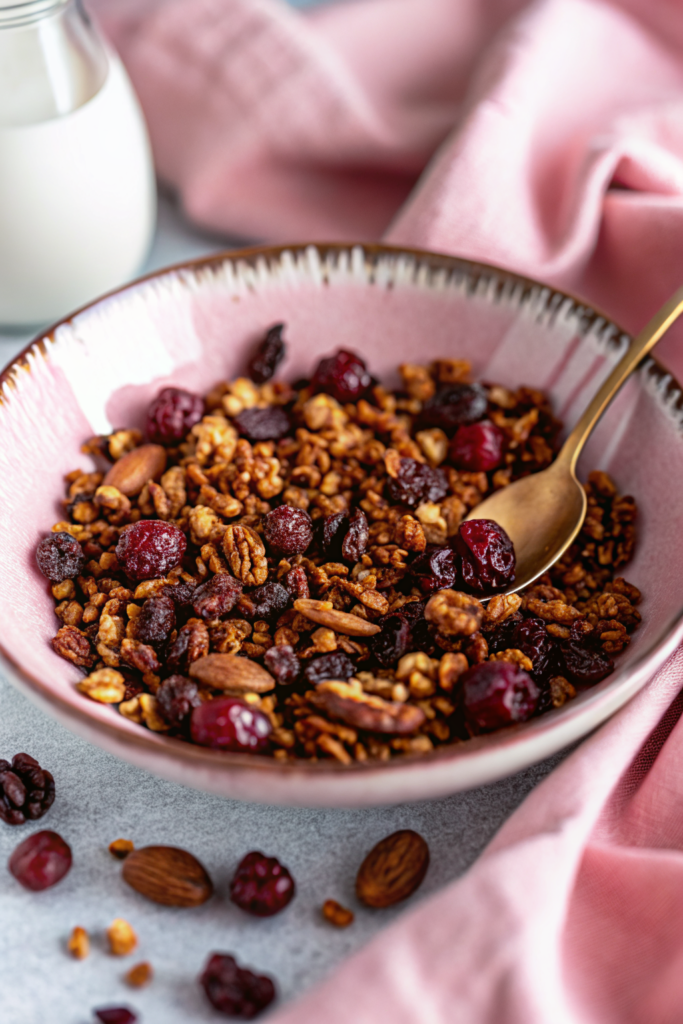
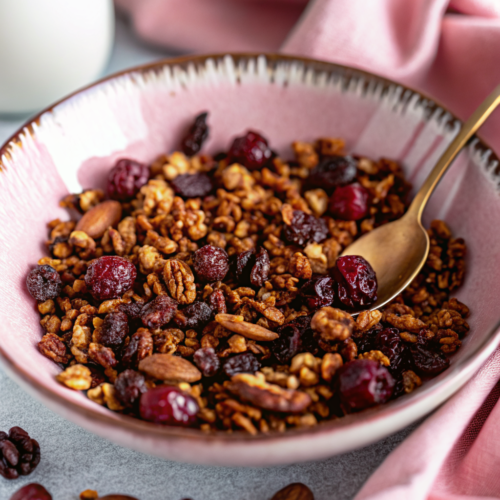
There’s something so satisfying about waking up to the rich aroma of freshly baked chocolate granola—warm, slightly sweet, and packed with texture. This isn’t just another breakfast cereal; it’s a comforting hug in a bowl. I first made this recipe on a chilly Saturday morning when my kids were begging for something more exciting than plain oatmeal. One batch later, we were hooked. The combination of chewy dried cranberries, crunchy walnuts and almonds, and that deep cocoa flavor? Pure magic. It’s become our go-to for everything from yogurt parfaits to smoothie bowls, and honestly, even straight out of the jar (no judgment here). If you’re tired of store-bought versions that taste like cardboard with a hint of sugar, let me invite you into my kitchen—this is how I make granola feel like dessert, without the guilt.
What Is Chocolate Granola?
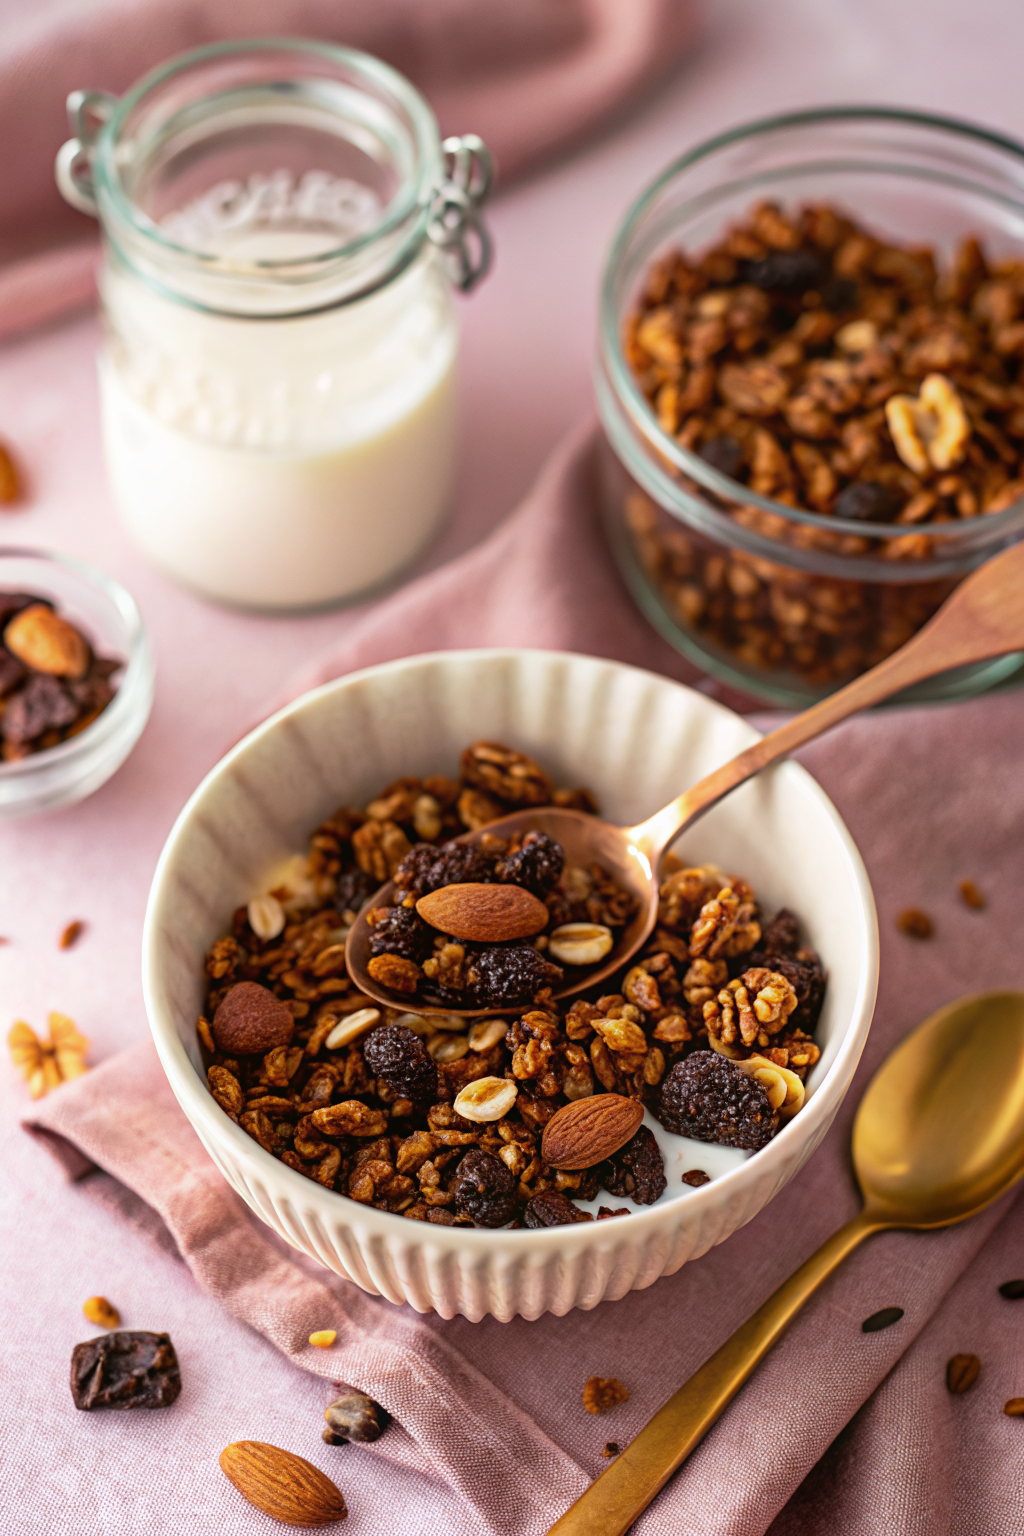
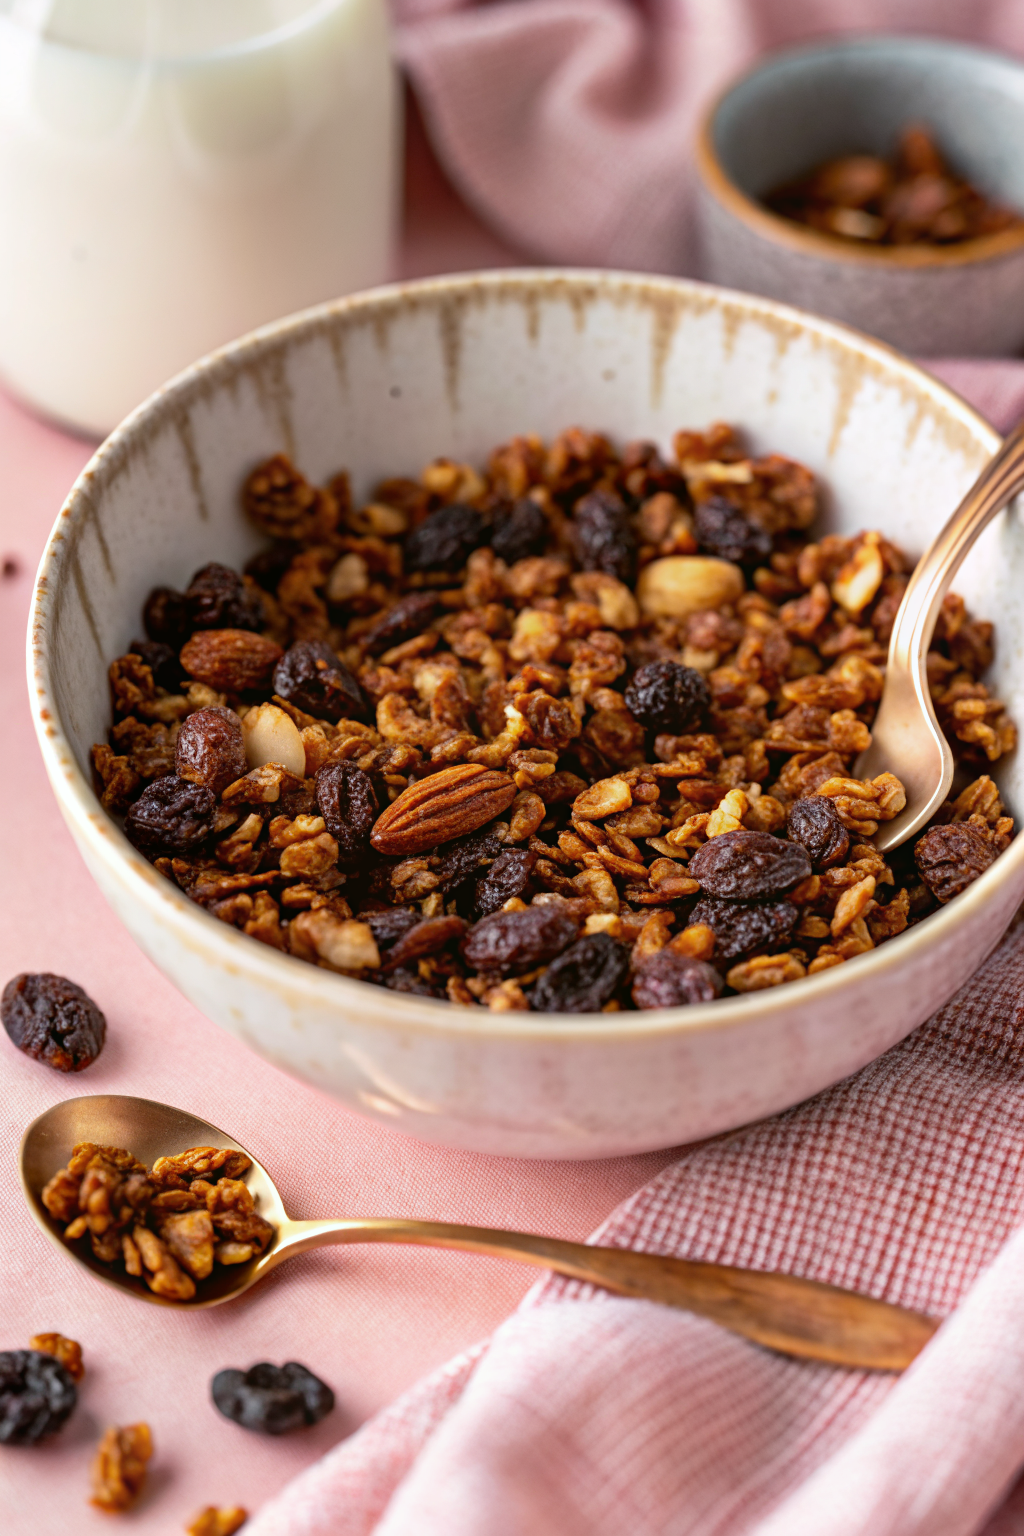
Chocolate granola is a homemade baked breakfast treat made by combining rolled oats, nuts, dried fruit, and cocoa powder with a sweet syrup made from honey, oil, brown sugar, and vanilla. The mixture is spread onto a baking sheet and baked until golden and crisp. Unlike many store-bought cereals loaded with artificial flavors and preservatives, this version uses simple, wholesome ingredients that deliver real flavor and nutrition. Think of it as the upgrade your morning yogurt has been waiting for—chewy, crunchy, and deeply chocolatey all at once. It’s perfect for busy mornings because you can prep it ahead, store it in an airtight container, and grab a spoonful whenever hunger strikes. Whether you’re feeding a family or just treating yourself, this granola brings warmth and energy to every bite.
Why You’ll Love This Recipe
This chocolate granola isn’t just delicious—it’s versatile, convenient, and surprisingly easy to whip up. First off, it transforms ordinary breakfast routines into something special. Tired of boring yogurt? Sprinkle this over top and watch it come alive with texture and flavor. Want a quick grab-and-go option? Pop a handful in your lunchbox or toss it into a mason jar for an afternoon pick-me-up. And the best part? No fancy equipment needed. Just one large mixing bowl, a saucepan, and your favorite baking sheet. Plus, it’s free from hard-to-pronounce additives, relying instead on real honey, unsweetened cocoa, and natural spices like cinnamon. That rich chocolate taste comes through clearly, but it never feels overwhelming—just perfectly balanced between sweet and deep. My kids even ask for seconds (which rarely happens!), and my husband, who claims he “doesn’t do granola,” now keeps asking if there’s more left. Seriously, try it once, and you’ll understand why this has become our household staple.
How to Make Chocolate Granola
Quick Overview
Making chocolate granola is shockingly simple. In under 15 minutes of active prep time, you’ll mix dry ingredients, cook a quick honey-sugar syrup, combine everything, and bake until golden. Stirring every 10 minutes ensures even browning, and cooling completely gives you those satisfying crunchy clusters. Total time? About 1 hour, including cooling—worth every second.
Ingredients
- 3 cups old-fashioned rolled oats
- 2 tablespoons unsweetened cocoa powder
- ½ cup sliced almonds
- ½ cup chopped walnuts
- ½ tablespoon wheat germ (optional)
- ¼ teaspoon ground cinnamon
- ¼ teaspoon salt
- 1 cup dried cranberries
- ¼ cup water
- ¼ cup canola oil
- ½ cup honey
- 2 tablespoons light brown sugar
- ½ teaspoon pure vanilla extract

Step-by-Step Instructions
- Preheat & prep: Turn your oven to 325°F and line a baking sheet with parchment paper or a silicone mat. Set aside.
- Mix dry ingredients: In a large bowl, combine the oats, cocoa powder, almonds, walnuts, wheat germ, cinnamon, salt, and cranberries. Give it a good stir so everything is evenly distributed—don’t skip this step!
- Cook the syrup: In a small pot, whisk together water, oil, honey, brown sugar, and vanilla. Bring to a boil over medium-high heat, stirring constantly until the sugar dissolves and the mixture thickens slightly (about 3–4 minutes).
- Combine wet and dry: Carefully pour the hot syrup over the dry mixture. Use a spatula or wooden spoon to toss everything together until fully coated. It should look moist but not soggy.
- Bake: Spread the granola evenly onto your prepared baking sheet. Bake for 35–40 minutes, stirring every 10 minutes to prevent burning and promote even browning. Aim for a deep golden color.
- Cool completely: Once done, let the granola cool on the baking sheet for 10 minutes before transferring it to a wire rack. Break up any large clumps with your hands once it’s cooled slightly.
- Store and enjoy: Keep in an airtight container at room temperature for up to three weeks. Perfect for meal prepping!
What to Serve It With
This chocolate granola shines in so many ways—it’s not just for cereal. Spoon it over creamy Greek yogurt for a protein-rich start to your day, or layer it into overnight oats with milk and fresh berries. It makes incredible ice cream sundaes when mixed with vanilla frozen yogurt and drizzled with chocolate syrup. Try tossing it into a green smoothie for a surprising chocolate kick, or use it as a topping for pancakes and waffles. Even savory dishes benefit! Sprinkle a bit over roasted sweet potatoes or grilled peaches for a dessert-meets-dinner vibe. Honestly, the possibilities are endless. But my absolute favorite? A scoop straight from the jar while standing in the kitchen, still warm from the oven. Don’t knock it until you’ve tried it.
Top Tips for Perfecting Your Chocolate Granola
If you want your granola to be absolutely perfect—crunchy, fragrant, and full of those irresistible clusters—keep these tips in mind. First, resist the urge to stir too much during baking. Stirring every 10 minutes is enough; over-stirring leads to mushy granola. Second, don’t skip letting it cool completely on the sheet before breaking it apart. Residual heat will soften it if you move it too soon. Third, consider making clusters: press portions of the mixture into ½-inch thick disks before baking. They hold together beautifully and make portable snacks. Also, always check your oven temperature with a thermometer—ovens vary widely, and 325°F is ideal for even cooking without burning. Lastly, avoid adding anything like mini chocolate chips or shredded coconut until after baking and cooling, since heat melts chocolate and burns coconut. Trust me, these small details make a big difference.
Storing and Reheating Tips
The secret to keeping your chocolate granola fresh? Store it properly. Keep it in an airtight container at room temperature, away from sunlight or heat sources. Avoid refrigerating it—cold temperatures cause moisture buildup, which softens the crunch. Under normal conditions, it lasts up to three weeks, though mine rarely makes it past a week in our house! If you accidentally stored it somewhere too humid and it lost its snap, don’t panic. Just spread it back out on a baking sheet and pop it in the oven at 250°F for 10–15 minutes to revive the crunch. It won’t be as fresh as new, but it’ll still be edible and tasty. Always smell it first before reheating—if it smells rancid or stale, better to toss it and start again.
Frequently Asked Questions
Final Thoughts
There’s nothing quite like homemade chocolate granola to lift your spirits and fuel your day. It’s more than just food—it’s care, patience, and love baked into every golden cluster. Whether you’re making it for your family, gifting it in a jar, or treating yourself to a little luxury, this recipe delivers joy in every spoonful. And the best news? You’re in control. Swap ingredients based on what’s in your pantry, adjust sweetness to your liking, and make it your own. I hope you fall in love with it as much as we have. Now go ahead—measure out those oats, fire up the stove, and let the scent of cocoa and cinnamon fill your home. Trust me, your future self will thank you.
Chocolate Granola
Ingredients
Main Ingredients
- 3 cups old-fashioned rolled oats
- 2 tablespoons cocoa powder
- 0.5 cup sliced almonds
- 0.5 cup walnuts (chopped)
- 0.25 tablespoon wheat germ
- 0.25 teaspoon ground cinnamon
- 0.25 teaspoon salt
- 1 cup dried fruits (like cranberries)
- 0.25 cup water
- 0.5 cup canola oil
- 0.5 cup honey
- 2 tablespoons light brown sugar
- 0.5 teaspoon pure vanilla extract
Instructions
Preparation Steps
- Preheat the oven to 325°F and line a baking sheet with parchment paper.
- In a large bowl, combine the rolled oats, cocoa powder, walnuts, almonds, wheat germ, ground cinnamon, salt, and dried fruit.
- In a small saucepan, add the water, oil, honey, brown sugar, and vanilla; bring to a boil, stirring constantly.
- Pour the honey mixture over the dry ingredients and toss together until all ingredients are coated.
- Spread onto the baking sheet and bake the granola for about 35 to 40 minutes, stirring occasionally so the mixture browns evenly.
- Remove from the oven and place the baking sheet on a wire rack to cool. While the granola is still a bit warm, break up some of the larger clumps.
- This chocolate granola can be served with milk, yogurt, or even ice cream and some fruit.
- Once the granola has cooled, store it in an airtight container. Keeps in an airtight container for weeks.


