


There are some recipes that just feel like a warm hug, aren’t there? This Chocolate Fudge Recipe is one of those for me. It’s the kind of treat that brings back memories of cozy evenings, the scent of something delicious wafting from the kitchen, and the pure joy of sharing something special with the people you love. Forget those complicated, finicky fudge recipes that leave you feeling defeated. This one is my absolute go-to when I need a serious chocolate fix without a whole lot of fuss. It’s so rich and decadent, you’d never guess how incredibly simple it is to make. It’s really the best of both worlds – pure indulgence that doesn’t require a culinary degree! Honestly, it’s my secret weapon for potlucks and last-minute dessert emergencies. If you’ve ever tried making fudge and ended up with something grainy or too hard, let me tell you, this is the recipe that will change your mind. It’s consistently smooth, intensely chocolatey, and just melts in your mouth. It’s like a little piece of heaven, and I can’t wait to share it with you!
What is chocolate fudge?
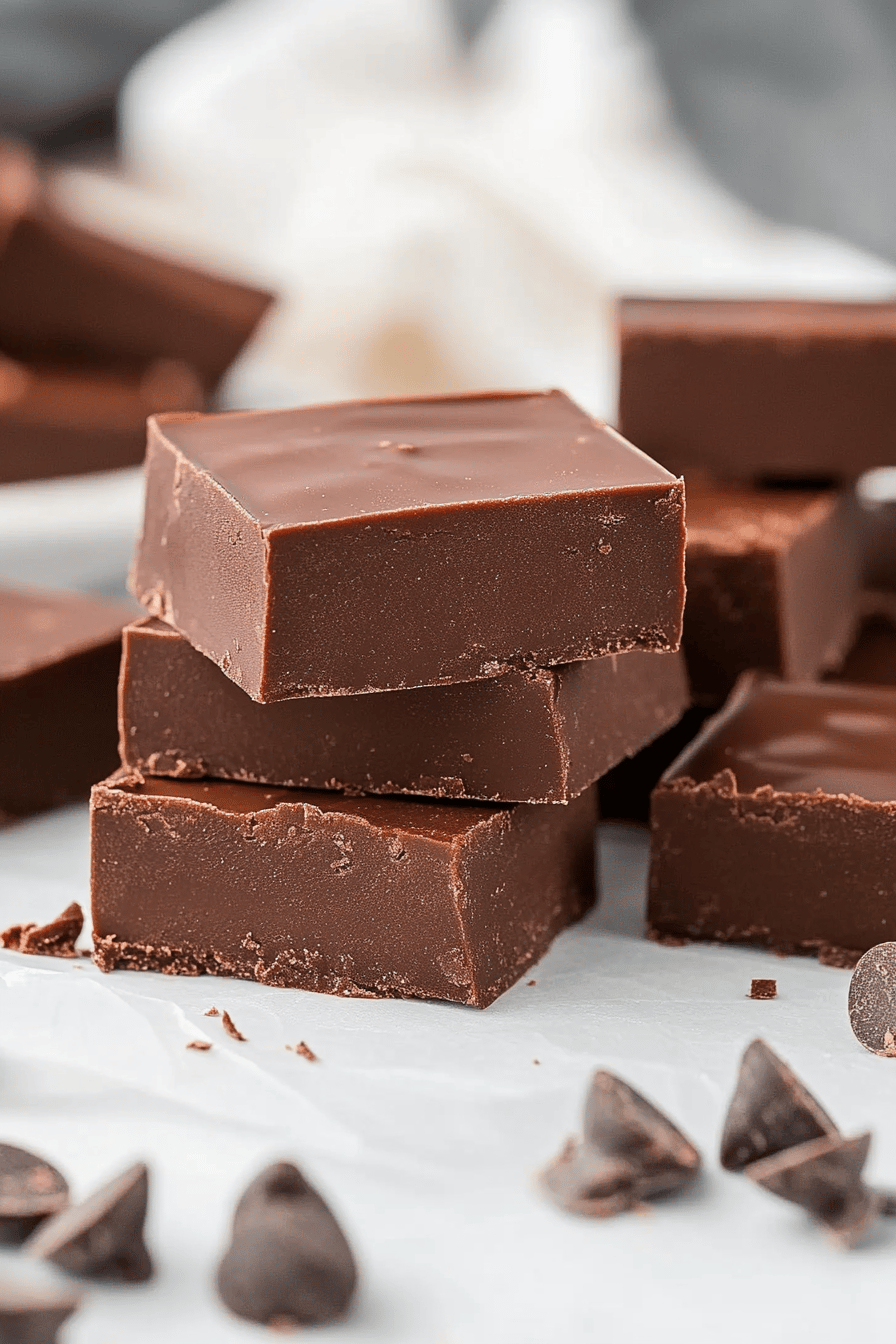
So, what exactly is this magical Chocolate Fudge I’m raving about? Think of it as pure, unadulterated chocolate bliss that’s been coaxed into a perfectly dense, fudgy square. It’s essentially a rich, creamy confection made primarily from chocolate, sugar, butter, and a few other key players that help it set up beautifully. Unlike some of the more old-fashioned, time-consuming methods that involve precise candy thermometers and a lot of anxious stirring, this recipe is more forgiving and designed for home cooks who want maximum flavor with minimum stress. It’s that classic, intense chocolate taste you crave, but with a texture that’s incredibly smooth and almost velvety. It’s not brittle, it’s not crumbly – it’s just pure, delightful chewiness. The name says it all, really: chocolate fudge. It’s straightforward, honest, and delivers exactly what it promises – a luxurious, deeply satisfying chocolate experience that feels incredibly homemade and lovingly prepared.
Why you’ll love this recipe?
There are so many reasons why this Chocolate Fudge recipe has earned a permanent spot in my recipe binder, and I’m pretty sure it’ll become a favorite for you too! First off, the FLAVOR is just out of this world. It’s intensely chocolatey, with a deep, rich cocoa flavor that’s not too sweet. It truly satisfies that deep chocolate craving. And the SIMPLICITY! Seriously, I can whip this up on a weeknight when the sweet tooth hits hard. There’s no need to worry about wrestling with a candy thermometer or getting the exact right temperature; this method is so much more approachable. It’s a lifesaver when you need a quick dessert that looks and tastes impressive. Plus, it’s incredibly COST-EFFECTIVE. The ingredients are pantry staples for most bakers, making it an affordable way to create a truly decadent treat. You don’t need fancy or expensive ingredients to get this incredible result. What I love most about this recipe is its VERSATILITY. While it’s incredible on its own, it’s also fantastic for gifting, or as a special addition to a dessert platter. I’ve even seen friends chop up leftover pieces and stir them into hot chocolate for an extra layer of richness! It’s similar to a classic no-bake cookie or a rich brownie, but with its own unique, melt-in-your-mouth texture. This chocolate fudge truly stands out because it delivers that “wow” factor without demanding hours in the kitchen. It’s a guaranteed crowd-pleaser and always gets rave reviews from family and friends.
How do I make chocolate fudge?
Quick Overview
This recipe is all about achieving that perfect, melt-in-your-mouth fudge texture with incredible chocolate flavor, and it’s surprisingly straightforward. We’re basically melting good quality chocolate with butter and sugar, adding a touch of sweetness and richness, and then letting it set into glorious squares. The key is using good ingredients and giving it just enough time to cool perfectly. You’ll be amazed at how quickly it comes together, and the hardest part is waiting for it to firm up! It’s truly a no-fuss, high-reward kind of recipe that’s perfect for both beginners and experienced bakers looking for a reliable, delicious Chocolate Fudge.
Ingredients
For the Main Batter:
Semi-Sweet Chocolate Chips: 2 cups (about 12 oz). I always opt for good quality chips for the best chocolate flavor. Ghirardelli or Guittard are my favorites. Avoid generic brands if you can, as the chocolate quality really shines through here!
Unsalted Butter: 1/2 cup (1 stick), cut into cubes. Using unsalted butter gives you more control over the saltiness, and it makes the fudge extra rich and creamy.
Granulated Sugar: 1 ½ cups. This is your sweetener and helps with the fudge’s texture. Make sure it’s finely granulated for better dissolving.
Evaporated Milk: 1 (12-ounce) can. Don’t substitute this with regular milk; evaporated milk has a richer, more concentrated flavor and helps create that smooth, fudgy consistency without making it too watery. Make sure it’s not Sweetened Condensed Milk!
Vanilla Extract: 1 teaspoon. A good quality vanilla extract really rounds out the chocolate flavor and adds a subtle depth.
For the Filling:
Chopped Pecans or Walnuts (Optional): 1 cup. If you love nuts in your fudge, this is the time to add them! Toast them lightly beforehand for an extra layer of flavor. I usually give them a rough chop so they’re not too big or too small.
For the Glaze:
Powdered Sugar: 1 cup, sifted. Sifting is key here to avoid any lumps in your glaze. This gives it a nice, smooth finish.
Milk or Cream: 2-3 tablespoons. Just enough to get a pourable, but not too runny, consistency. You can use regular milk, half-and-half, or even a splash of heavy cream for extra richness.
Cocoa Powder (Optional, for chocolate glaze): 1-2 tablespoons. If you want a chocolate glaze instead of a simple vanilla one, whisk in a little unsweetened cocoa powder with the powdered sugar.
Step-by-Step Instructions
Step 1: Preheat & Prep Pan
First things first, you’ll want to grab an 8×8 inch baking pan. Line it with parchment paper, leaving some overhang on the sides. This makes it SO much easier to lift the fudge out later. You don’t need to grease it since the parchment paper will handle that. You can skip preheating the oven for this recipe as it’s no-bake in terms of cooking time, but having your pan ready is step one!
Step 2: Mix Dry Ingredients
In a medium saucepan (make sure it’s heavy-bottomed to prevent scorching!), combine your granulated sugar and the evaporated milk. Stir them together just until the sugar is moistened. We’re not really mixing them like a batter here, just getting them ready for the heat.
Step 3: Mix Wet Ingredients
Add the cubed butter and the semi-sweet chocolate chips to the saucepan with the sugar and evaporated milk. Place the saucepan over medium heat. Stir constantly, making sure to scrape the bottom and sides of the pan, until both the butter and chocolate are completely melted and the mixture is smooth and glossy. This is where that good quality chocolate really starts to show its magic! Keep stirring until it’s perfectly combined.
Step 4: Combine
Once everything is melted and beautifully smooth, remove the saucepan from the heat. Stir in the vanilla extract. This is the perfect moment to add in your chopped nuts, if you’re using them. Give it a good stir to distribute them evenly throughout the chocolate mixture.
Step 5: Prepare Filling
At this point, the mixture is smooth and fragrant! If you’re adding nuts, make sure they’re well incorporated. There isn’t a separate “filling” step in this particular method; the nuts are mixed directly into the fudge base, which I find makes for a more integrated texture. If you wanted a distinct swirl or layer of something else, we’d approach it differently, but for this classic, the nuts go right in!
Step 6: Layer & Swirl
Pour the warm chocolate mixture into your prepared pan. Use a spatula to spread it evenly into all the corners. At this stage, there’s no real “swirling” happening as it’s all one delicious chocolate component. The beauty of this fudge is its unified, dense chocolate goodness.
Step 7: Bake
This recipe actually doesn’t require baking in the oven! It’s a no-bake fudge that sets up beautifully at room temperature or in the refrigerator. So, no oven time needed, which is a huge bonus on busy days.
Step 8: Cool & Glaze
Let the fudge cool in the pan for about 15-20 minutes. While it’s still warm, prepare the glaze. In a small bowl, whisk together the sifted powdered sugar with 2 tablespoons of milk (or cream). Add more milk, just a teaspoon at a time, until you reach a thick but pourable consistency. If you’re making a chocolate glaze, whisk in the cocoa powder with the powdered sugar before adding the liquid. Drizzle or spread the glaze evenly over the slightly cooled fudge. It will start to set as the fudge cools.
Step 9: Slice & Serve
Allow the fudge to cool completely in the pan. This can take anywhere from 2 to 4 hours at room temperature, or you can speed it up by popping it in the refrigerator for about 1-2 hours. Once it’s firm, use the parchment paper overhang to lift the whole block out of the pan onto a cutting board. Use a sharp knife to cut it into small squares. I find cutting them about 1-inch to 1.5-inch squares is perfect! It looks so inviting and professional this way.
What to Serve It With
This chocolate fudge is so decadent on its own, but it can also be the star of a variety of occasions! For BREAKFAST, believe it or not, a small square with a good cup of strong coffee is pure indulgence. It’s like a mini chocolate croissant experience, but without the baking. For BRUNCH, I love to plate a few squares alongside fresh berries or a dollop of whipped cream. It feels elegant and special without taking away from other brunch dishes. As DESSERT, it’s a no-brainer! It’s the perfect after-dinner treat, especially when paired with a glass of red wine (a Cabernet Sauvignon or Merlot is divine!) or a steaming mug of espresso. My kids absolutely devour it as a special SNACK after school; I usually pair it with a glass of cold milk, and it feels like a real treat. It’s also a fantastic addition to cookie platters or charcuterie boards, offering a rich, dense counterpoint to lighter, fruitier items. We often have a tradition where we make a big batch during holiday movie nights, and it just makes the whole experience feel extra cozy and festive. It’s so versatile, you’ll find yourself reaching for it more often than you think!
Top Tips for Perfecting Your Chocolate Fudge
Over the years, I’ve learned a few little tricks that I swear by to make sure this chocolate fudge turns out perfectly every single time. First, ZUCCHINI PREP isn’t applicable here as there’s no zucchini in this recipe, but for any fudge recipe, **quality ingredients are your best friend.** I cannot stress enough how much using good quality chocolate chips makes a difference. If you use a chocolate that tastes bland on its own, your fudge will too. For the butter, always go unsalted so you can control the saltiness. When it comes to MIXING ADVICE, the key is constant stirring over medium heat. You want to ensure the chocolate and butter melt evenly and don’t scorch on the bottom of the pan. Scrape the sides and bottom religiously! If it looks like it’s starting to get too thick too quickly, slightly lower the heat. For the SWIRL CUSTOMIZATION, since this recipe doesn’t involve a swirl, I focus on getting the nuts evenly distributed if I’m adding them. If you wanted a different aesthetic, you could experiment with adding a drizzle of white chocolate after the glaze has set slightly, or even swirling in some caramel. My favorite INGREDIENT SWAP is using milk chocolate chips instead of semi-sweet for a sweeter, creamier fudge, though it will be less intensely chocolatey. You can also experiment with different extracts like peppermint or orange for a twist! For BAKING TIPS, remember this is a no-bake recipe, so it’s all about the cooling process. Don’t try to rush it by putting it in a super cold freezer right away; a gentle cool is best. Let it set at room temperature for a bit first. For GLAZE VARIATIONS, if you find your glaze too thick, a tiny splash more milk will loosen it. If it’s too thin, a little more sifted powdered sugar will thicken it. You can also add a pinch of salt to the glaze to balance the sweetness. I’ve learned that patience during the cooling process is crucial – it’s the hardest part, but so worth it for that perfect, firm texture!
Storing and Reheating Tips
One of the best things about this chocolate fudge is how well it stores! For ROOM TEMPERATURE storage, I usually keep it in an airtight container for up to 3-4 days. It stays wonderfully moist and delicious. Make sure it’s completely cool before sealing the container, otherwise condensation can form. If you’re worried about it getting too soft in a warm room, or if you want it to last a bit longer, REFRIGERATOR STORAGE is your best bet. I wrap the cut pieces individually in parchment paper or plastic wrap, then place them in an airtight container. In the fridge, it can stay fresh and perfectly textured for about 1-2 weeks. It will firm up a bit more in the fridge, so let it sit at room temperature for about 15-20 minutes before serving if you prefer a softer bite. If you need to make a huge batch ahead of time, FREEZER INSTRUCTIONS are also very reliable. Wrap the cut fudge tightly in plastic wrap, then in aluminum foil, or place in a freezer-safe container. It can stay frozen for up to 2-3 months. When you’re ready to enjoy it, just transfer it from the freezer to the refrigerator to thaw overnight. For the GLAZE TIMING ADVICE, I always apply the glaze once the fudge has cooled slightly but is still a bit warm to the touch. This helps the glaze adhere better. If you plan to freeze the fudge, I recommend glazing it *after* it has thawed from the freezer, just before serving, to keep the glaze looking its freshest. Test for freshness by looking for any signs of mold (rare!) or a noticeable change in texture or smell; if it looks and smells good, it’s usually still delicious!
Frequently Asked Questions
Final Thoughts
Honestly, this chocolate fudge recipe is one of those gems that I come back to again and again. It’s reliable, incredibly delicious, and always brings a smile to people’s faces. It’s the perfect way to show someone you care, whether it’s for a birthday, a holiday, or just because. The sheer decadence of it, coupled with the ease of making it, makes it a true winner in my book. If you loved this recipe and are looking for more chocolatey goodness, you absolutely have to try my Easy Chocolate Chip Cookie Bars – they’re another simple crowd-pleaser! And for something a little more grown-up, my Dark Chocolate Mousse is divine. I really hope you give this chocolate fudge a try. It’s more than just a dessert; it’s a little bit of pure joy you can make right in your own kitchen. I can’t wait to hear what you think and see your creations! Please leave a comment below and let me know how yours turned out, or if you tried any fun variations!

chocolate fudge
Ingredients
Main Ingredients
- 2 cups granulated sugar
- 0.5 cup unsalted butter cut into pieces
- 0.5 cup evaporated milk
- 4 ounces semisweet chocolate chopped
- 1 teaspoon vanilla extract
- 1 cup chopped walnuts optional
Instructions
Preparation Steps
- In a heavy-bottomed saucepan, combine sugar, butter, and evaporated milk.
- Cook over medium heat, stirring constantly, until sugar is dissolved and butter is melted.
- Bring to a boil and cook, stirring constantly, for 5 minutes.
- Remove from heat and stir in the chopped chocolate until melted and smooth.
- Stir in the vanilla extract and walnuts, if using.
- Pour the mixture into a buttered 8x8 inch baking pan.
- Let cool completely before cutting into squares.


