


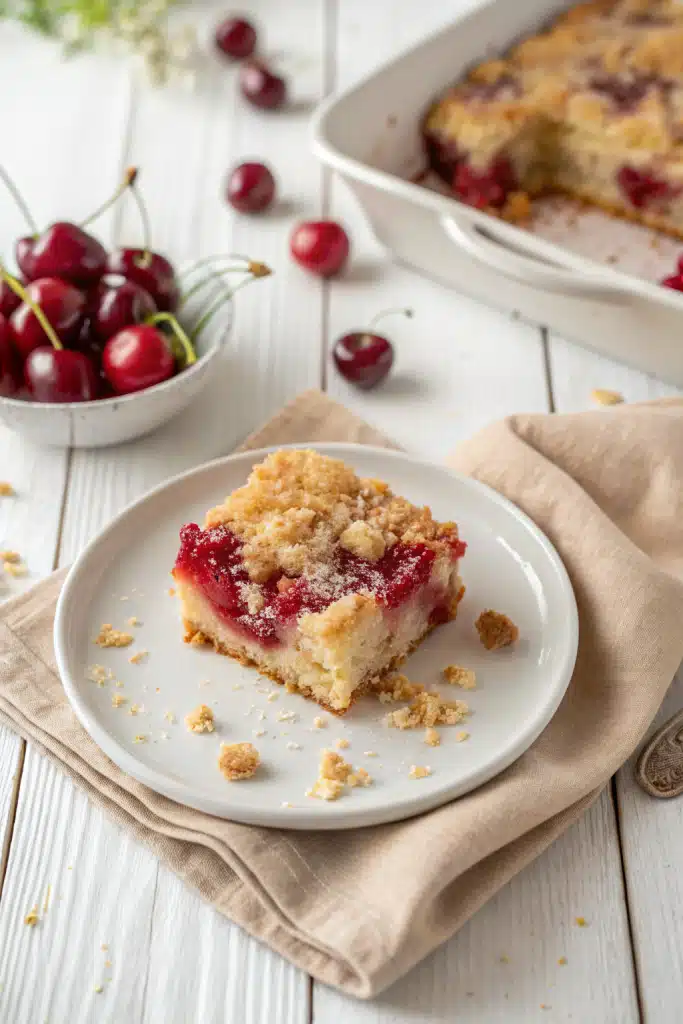
Cherry Dump Cake: A No-Fuss Dessert That Feels Like a Hug
There’s something deeply comforting about a dessert that doesn’t demand perfection—just love, a few pantry staples, and a warm oven. That’s exactly what this Cherry Dump Cake is: simple, nostalgic, and absolutely delicious. I remember my grandma making something just like this on lazy summer afternoons, the kitchen filling with the sweet scent of bubbling cherries and vanilla. She’d call it “dump cake” because, well, you literally dump everything in—no fancy mixing, no precise folding, just layering and baking until golden magic happens. Over the years, I’ve made it my own, tweaking it here and there, but it still tastes like home. Whether you’re feeding a crowd or craving a cozy treat for one (okay, maybe two), this cherry dump cake delivers every time. And honestly? It’s even better with a scoop of vanilla ice cream melting into those warm, juicy pockets of fruit. Let’s make something sweet together.
What Is Cherry Dump Cake?
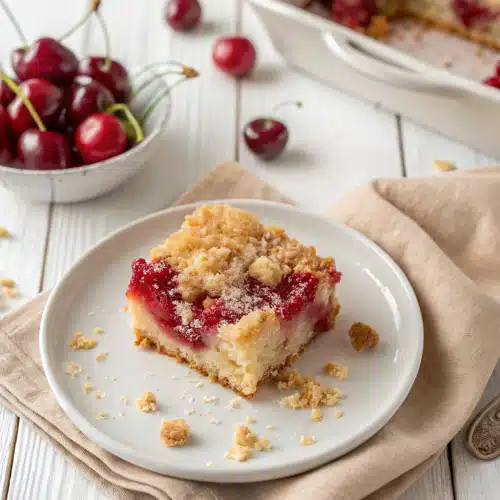
Cherry Dump Cake is a classic American dessert that’s as easy as it is delicious. At its heart, it’s a rustic, one-pan treat made by layering canned cherry pie filling at the bottom of a baking dish, then “dumping” a simple cake batter over the top—hence the name! Unlike traditional cakes that require creaming butter and sugar or carefully folding egg whites, this recipe skips all that fuss. You don’t even need to stir the batter once it’s poured—it spreads and bakes into a tender, buttery cake that cradles the bubbling cherry filling beneath. The result? A gooey, slightly caramelized top with a soft, moist crumb and bursts of sweet-tart cherry in every bite. It’s the kind of dessert that feels homemade without requiring hours in the kitchen—perfect for busy weeknights, potlucks, or when you just need a little comfort on a plate.
Why You’ll Love This Recipe
This Cherry Dump Cake is the kind of recipe that becomes a family favorite—not because it’s fancy, but because it’s real. It’s the dessert you whip up when unexpected guests arrive, or when you’re craving something sweet but don’t have the energy for complicated steps. What makes it so special? First, it’s incredibly forgiving. No need to worry about overmixing or getting the batter just right—just dump, spread gently, and bake. Second, it’s deeply nostalgic. The smell of cherries and brown sugar bubbling under a golden cake crust takes me right back to childhood summers and backyard barbecues. Third, it’s versatile. While cherry is classic (and oh-so-good), you can easily swap in other fruit fillings like peach, blueberry, or apple cinnamon depending on what’s in season—or what’s on sale at the store. And finally, it’s crowd-pleasing magic. Kids love the sweet fruit layer, adults appreciate the homemade vibe, and everyone agrees it’s even better with a dollop of whipped cream or a scoop of vanilla ice cream. Plus, cleanup is a breeze—just one pan to wash! If you’re looking for a dessert that’s low stress and high reward, this is it.
How to Make Cherry Dump Cake
Quick Overview
This Cherry Dump Cake comes together in just 10 minutes of prep and bakes in under an hour. You’ll start by preheating your oven and greasing a baking dish, then layering cherry pie filling at the bottom. Next, you’ll mix a simple batter using pantry staples like flour, sugar, butter, and milk, then pour it evenly over the cherries—no stirring required! A sprinkle of brown sugar on top gives it that irresistible caramelized crust. Bake until golden and bubbly, then let it cool slightly before serving. It’s rustic, it’s real, and it’s ready when you are.
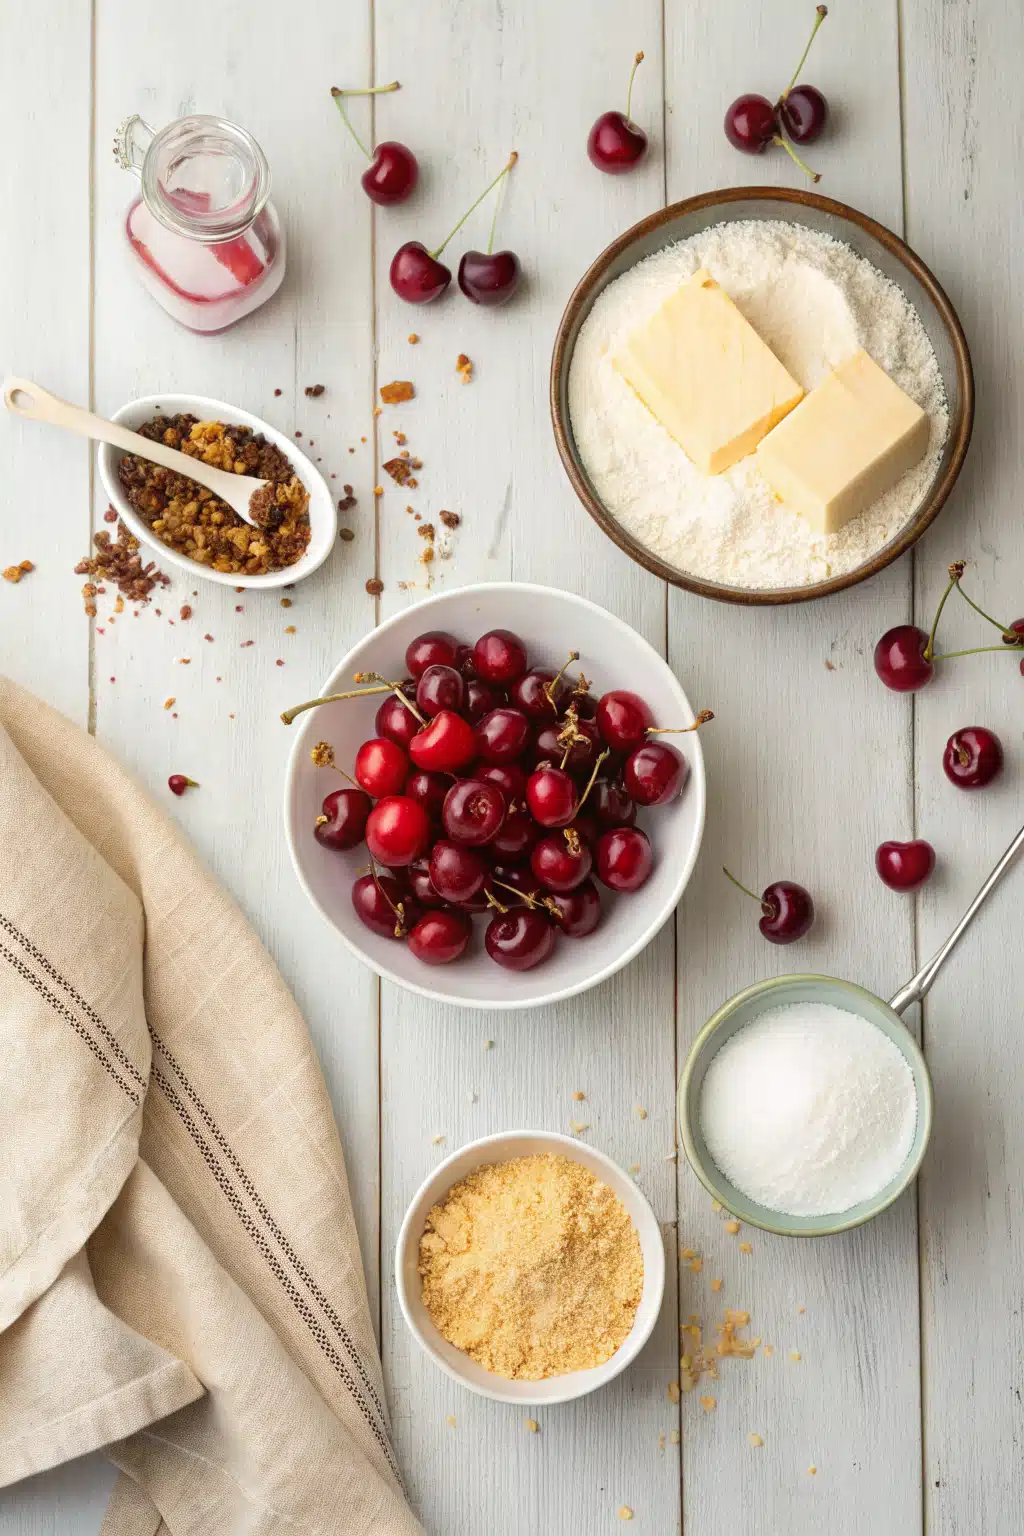
Ingredients
You only need a handful of ingredients—most of which you probably already have:
- 1 (21 oz) can cherry pie filling
- 1 cup all-purpose flour
- 1/2 cup granulated sugar
- 1/2 cup brown sugar (packed)
- 1/2 cup unsalted butter (melted)
- 1/2 cup milk
- 1 teaspoon baking powder
- 1/2 teaspoon vanilla extract
- Pinch of salt
Step-by-Step Instructions
Step 1: Preheat & Prep Pan
Preheat your oven to 350°F (175°C). Lightly grease a 9×13-inch baking dish with butter or nonstick spray. This ensures your cake won’t stick and makes cleanup a breeze.
Step 2: Add Cherry Filling
Pour the entire can of cherry pie filling into the bottom of the prepared baking dish. Spread it evenly—don’t worry if it looks thin; it’ll bubble up beautifully during baking.
Step 3: Make the Batter
In a medium bowl, whisk together the flour, granulated sugar, baking powder, and salt. Pour in the melted butter, milk, and vanilla extract. Stir just until combined—the batter will be thick and slightly lumpy, and that’s totally okay! Overmixing will make the cake tough.
Step 4: Pour & Sprinkle
Gently pour the batter over the cherry layer. Use a spatula to spread it roughly—it doesn’t need to be perfect. Sprinkle the packed brown sugar evenly over the top. This creates that gorgeous, crackly crust we all love.
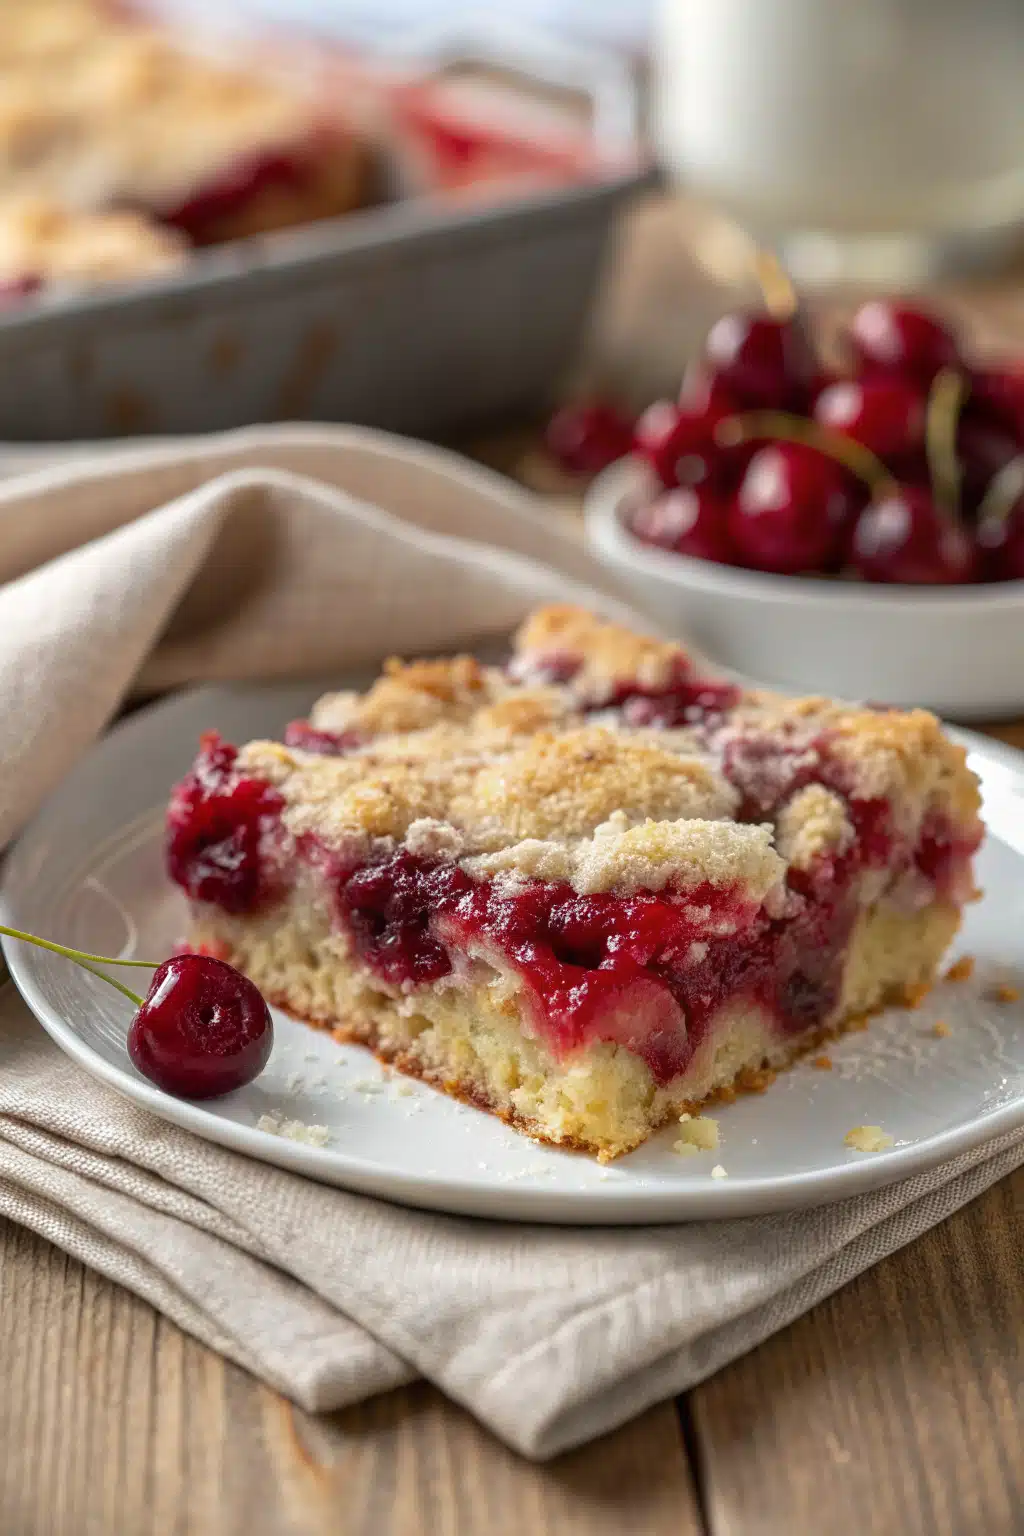
Step 5: Bake Until Golden
Bake for 45–50 minutes, or until the top is golden brown and the cherry filling is bubbling around the edges. A toothpick inserted into the cake layer should come out clean.
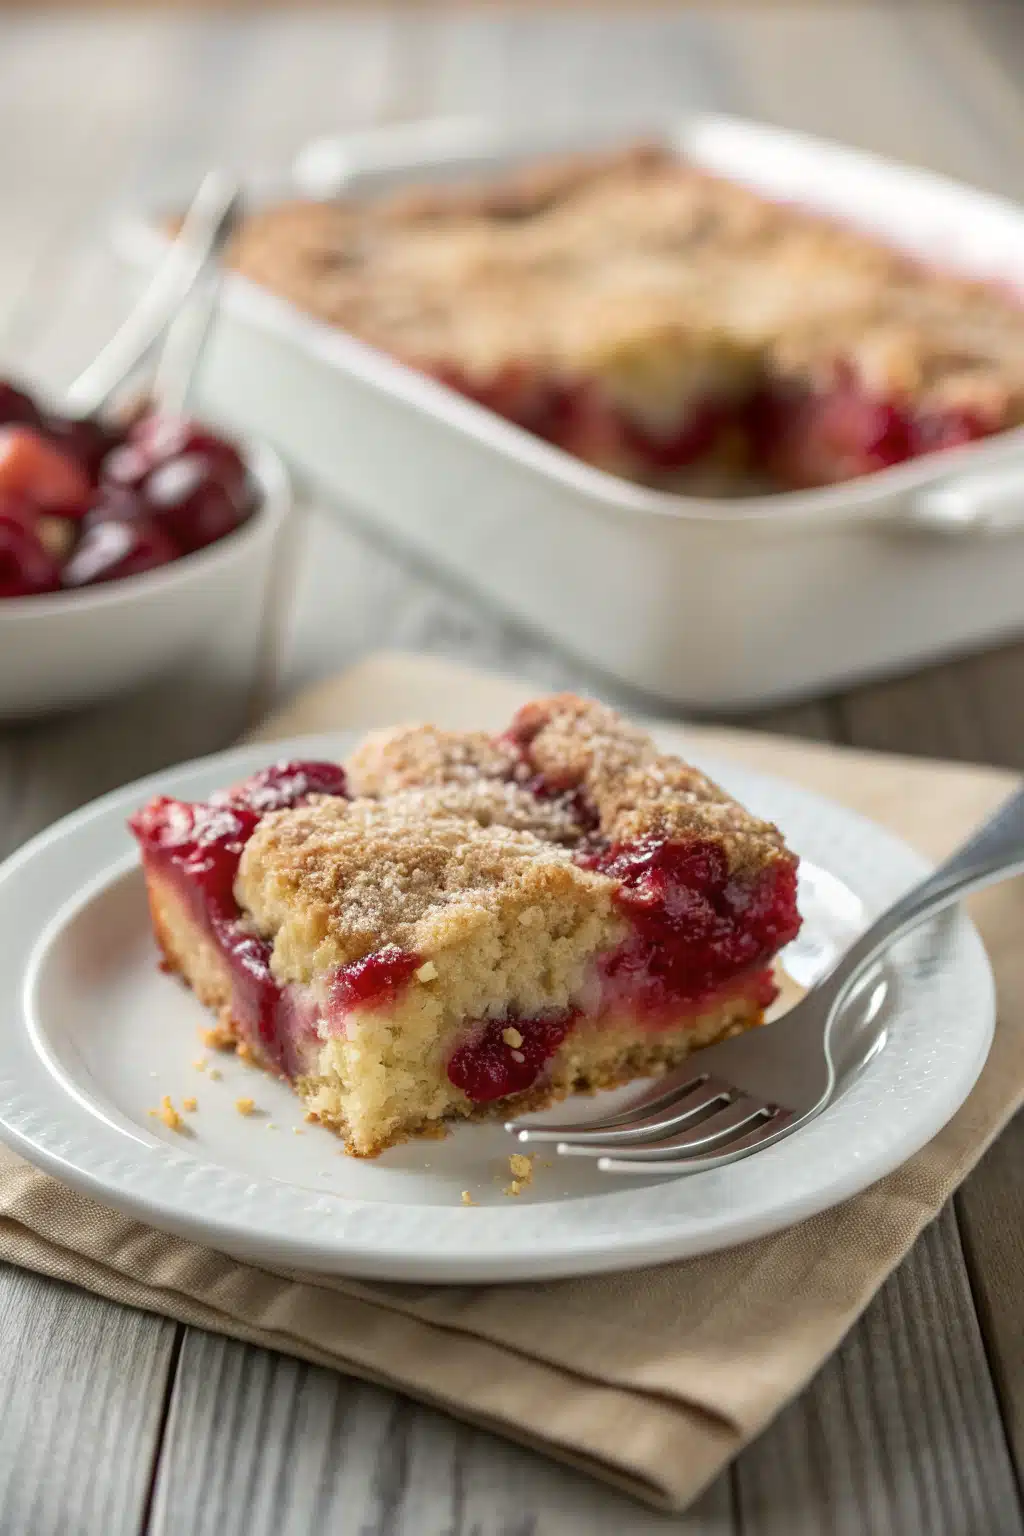
Step 6: Cool & Serve
Let the cake cool for at least 15–20 minutes before serving. This allows the filling to thicken slightly. Serve warm with vanilla ice cream or whipped cream for the ultimate treat.
What to Serve It With
Cherry Dump Cake shines on its own, but it truly sings when paired with something creamy and cool. A generous scoop of vanilla ice cream melts into the warm fruit, creating a dreamy contrast of temperatures and textures. Fresh whipped cream works beautifully too—light, airy, and just sweet enough to balance the tart cherries. If you’re feeling fancy, add a drizzle of caramel sauce or a sprinkle of toasted almonds for crunch. It’s also lovely with a cup of coffee or tea in the afternoon, or as the star of a summer dessert table alongside grilled peaches or berry parfaits. Honestly, though? Don’t overthink it. This cake is humble, hearty, and happy just being itself—and so will you when you take that first bite.
Top Tips for Perfecting Your Cherry Dump Cake
A few small tweaks can take this already-great dump cake from good to unforgettable. First, use room-temperature ingredients—especially the milk and butter. Cold milk can cause the melted butter to solidify, leading to uneven mixing. Second, don’t skip the brown sugar topping! It caramelizes in the oven, adding depth and a slight crunch that contrasts beautifully with the soft cake and juicy cherries. Third, resist the urge to stir the batter into the filling. Letting them bake separately creates that perfect layered effect—gooey fruit underneath, tender cake on top. If your cherries seem too runny after baking, don’t panic! Letting the cake rest for 20 minutes helps the filling set. And finally, feel free to experiment: swap cherry for mixed berry, add a dash of almond extract to the batter, or toss in a handful of chopped pecans for extra texture. This recipe is forgiving and flexible—make it yours!
Storing and Reheating Tips
Store leftover Cherry Dump Cake covered at room temperature for up to 2 days, or in the refrigerator for up to 5 days. The flavors actually deepen overnight! To reheat, warm individual slices in the microwave for 20–30 seconds or place the whole dish in a 300°F oven for 10–15 minutes until warmed through. Avoid overheating, as it can dry out the cake. For longer storage, freeze cooled slices wrapped in plastic wrap and foil for up to 3 months. Thaw in the fridge overnight and reheat gently before serving. Pro tip: Always serve warm—it’s when the cherries are most luscious and the cake is at its softest.
Frequently Asked Questions
Final Thoughts
Cherry Dump Cake isn’t just a dessert—it’s a little moment of joy on a plate. It reminds me that the best things in life don’t have to be complicated: a handful of ingredients, a warm kitchen, and the smell of something sweet baking while you sip your coffee. This recipe has been passed down through generations, not because it’s fancy, but because it works. Because it feeds both body and soul. So the next time you’re short on time but full of love, grab that can of cherries and give this a try. You might just find yourself making it again and again—and that’s okay. Some traditions are worth keeping.
Cherry Dump Cake
Ingredients
Main Ingredients
- 1 can cherry pie filling 21 oz
- 1 box yellow cake mix 15.25 oz
- 0.5 cup unsalted butter melted
- 1 teaspoon almond extract optional
- vanilla ice cream or whipped cream for serving, optional
Instructions
Preparation Steps
- Preheat oven to 350°F (175°C). Grease a 9x13-inch baking dish.
- Pour the cherry pie filling evenly into the bottom of the prepared baking dish.
- Sprinkle the dry yellow cake mix evenly over the cherry filling.
- Drizzle the melted butter evenly over the cake mix. If using, sprinkle with almond extract.
- Bake for 40–45 minutes, or until the top is golden brown and the filling is bubbly.
- Let cool for 10–15 minutes before serving. Serve warm with vanilla ice cream or whipped cream, if desired.


