


The Creamiest Banana Pudding You’ll Ever Taste — Just Like Grandma Made
I’ll never forget the first time I tasted real banana pudding—not the boxed kind, but the kind that makes you close your eyes and sigh after the very first spoonful. It was at my grandmother’s kitchen table, sunlight streaming through the window, and she handed me a chilled glass dish filled with layers of creamy vanilla custard, ripe bananas, and soft vanilla wafers. That moment sparked a lifelong love affair with this Southern classic. Today, I’m sharing her recipe—the one she whispered to me with a wink and said, “Don’t tell Aunt Carol.” It’s rich, comforting, and tastes like home. Whether you’re making it for a family gathering or just because you deserve something sweet, this banana pudding will steal your heart (and disappear from the fridge fast).
What Is Banana Pudding?
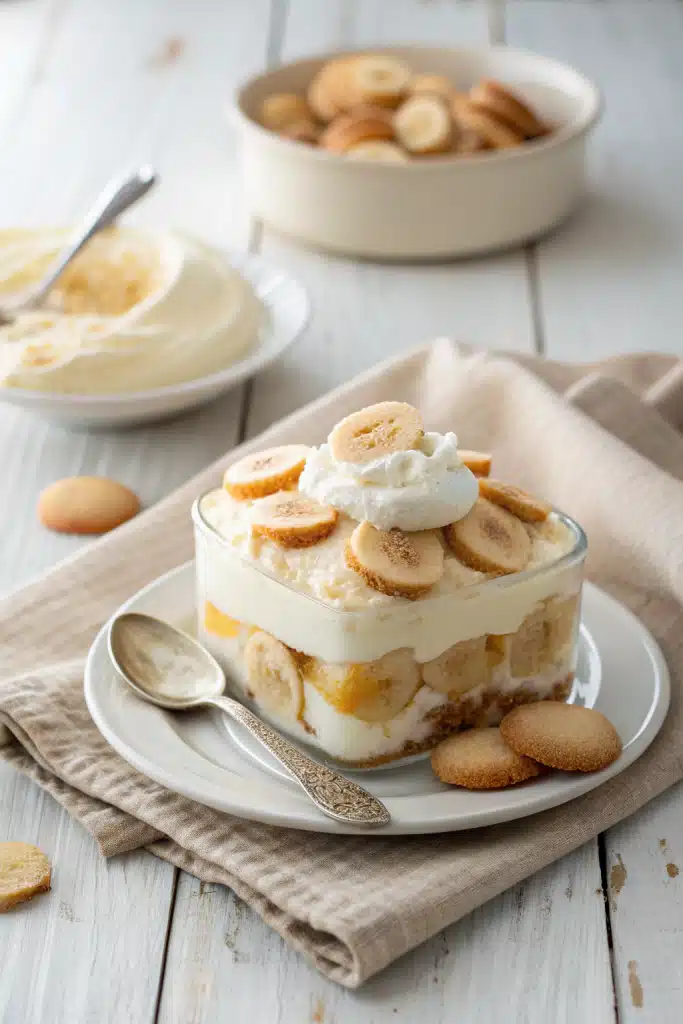
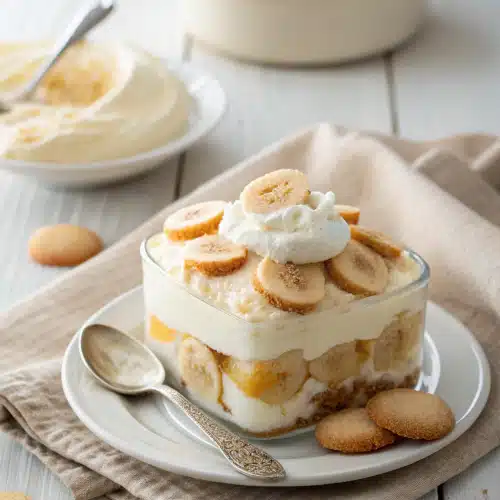
Banana pudding is a beloved Southern dessert that’s simpler than it sounds but more delicious than you can imagine. At its core, it’s a no-bake treat made by layering sliced ripe bananas, homemade vanilla custard, and vanilla wafers in a dish—then letting it chill until everything melds into creamy perfection. Unlike its cousin, banana cream pie, banana pudding is lighter, less fussy, and often served straight from the bowl or individual glasses. It’s the kind of dessert that shows up at church potlucks, summer BBQs, and Sunday dinners across the South. And while store-bought versions exist, nothing compares to the real deal made with fresh eggs, real vanilla, and love stirred right into the pot.
Why You’ll Love This Recipe
This banana pudding is everything a dessert should be: comforting, nostalgic, and impossible to resist. First, it’s made completely from scratch—no instant pudding mix here! The custard base is rich and velvety, thanks to real egg yolks, sugar, and a splash of vanilla extract that blooms as it cooks. Ripe bananas add natural sweetness and a tender texture, while vanilla wafers soak up just enough custard to become melt-in-your-mouth soft without turning mushy. Plus, it’s incredibly versatile—you can layer it in a big trifle bowl for parties or make individual servings in mason jars for a cute presentation. Best of all? It gets better as it chills, so you can make it ahead of time (if you can resist eating it right away!). Whether you’re feeding a crowd or treating yourself, this recipe delivers that perfect balance of creamy, fruity, and sweet that only banana pudding can offer.
How to Make Banana Pudding
Quick Overview
This banana pudding comes together in about 30 minutes of active cooking, plus chilling time. You’ll simmer a homemade vanilla custard on the stove, then layer it with sliced bananas and vanilla wafers in a dish. After a few hours in the fridge, the flavors meld into a dreamy, creamy dessert that’s worth every minute. It’s simple enough for beginners but impressive enough to serve at gatherings.
Ingredients
For the custard: ¾ cup granulated sugar, ¼ cup all-purpose flour, ¼ teaspoon salt, 2 cups whole milk, 3 large egg yolks (save the whites for another use), 2 teaspoons pure vanilla extract. For assembling: 3–4 ripe but firm bananas, sliced; 1 box (11 oz) vanilla wafers; optional whipped cream for topping.
Step-by-Step Instructions
Step 1: Preheat & Prep Pan
Grab a medium saucepan and whisk together the sugar, flour, and salt. In a separate bowl, beat the egg yolks with ½ cup of the milk until smooth. Slowly pour this mixture into the saucepan while whisking constantly—this helps prevent lumps.
Step 2: Cook the Custard
Place the saucepan over medium heat and gradually add the remaining milk, whisking continuously. Keep stirring! Cook until the mixture thickens and begins to bubble gently—about 8–10 minutes. It should coat the back of a spoon. Remove from heat and stir in the vanilla extract. Let it cool slightly while you prep the rest.
Step 3: Layer It Up
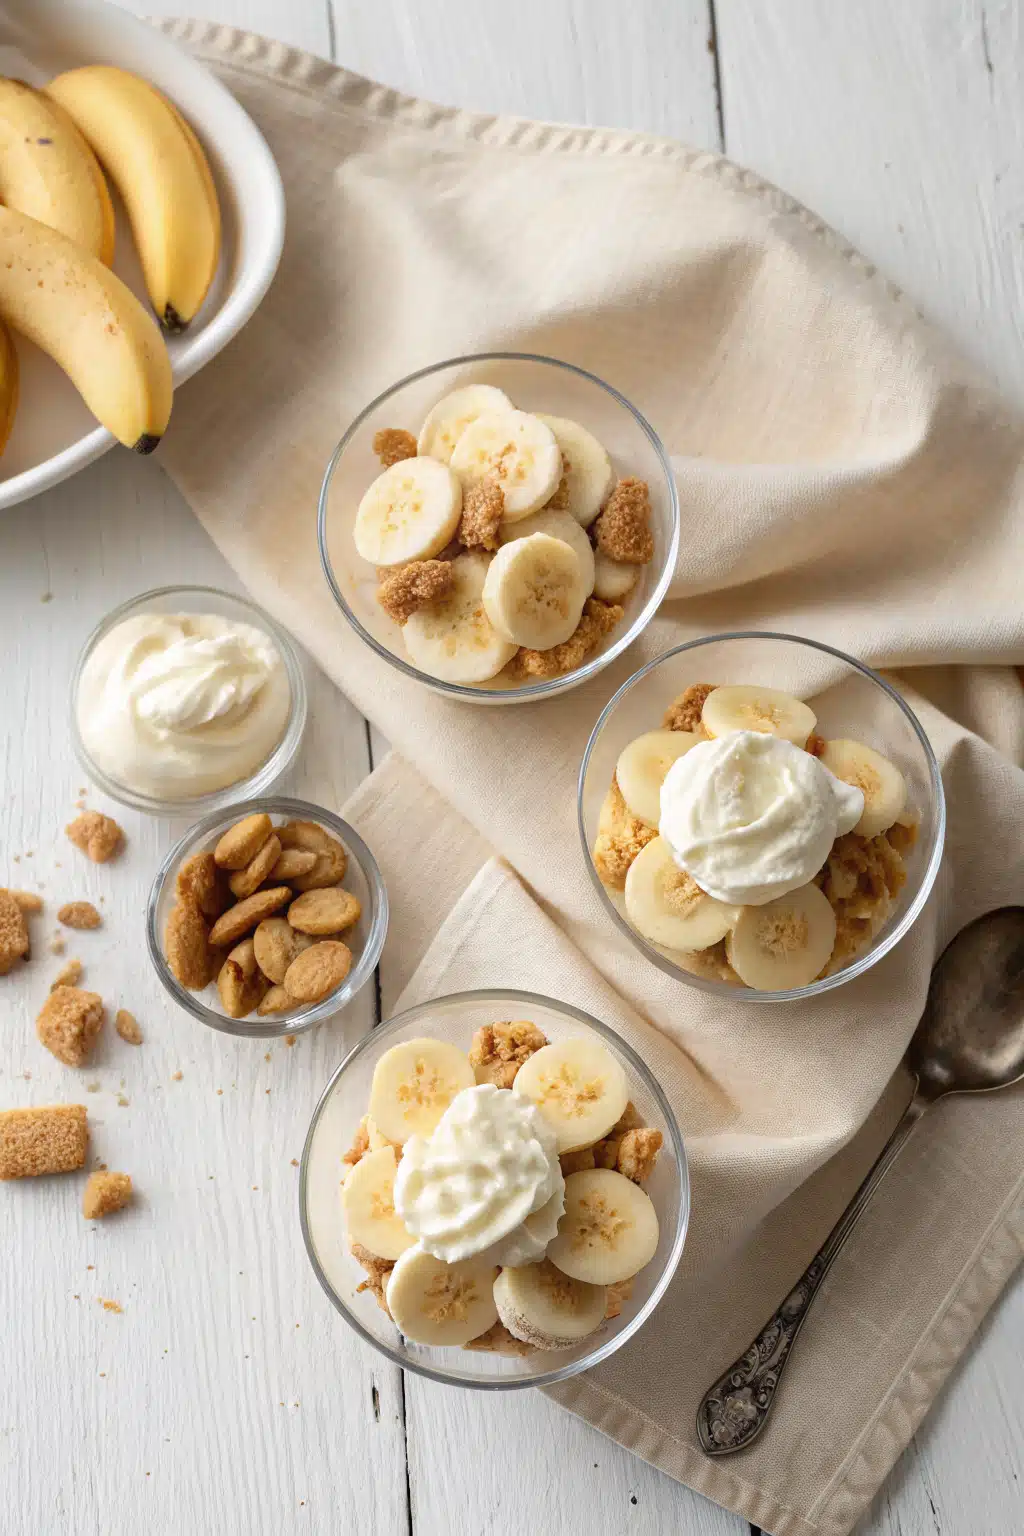
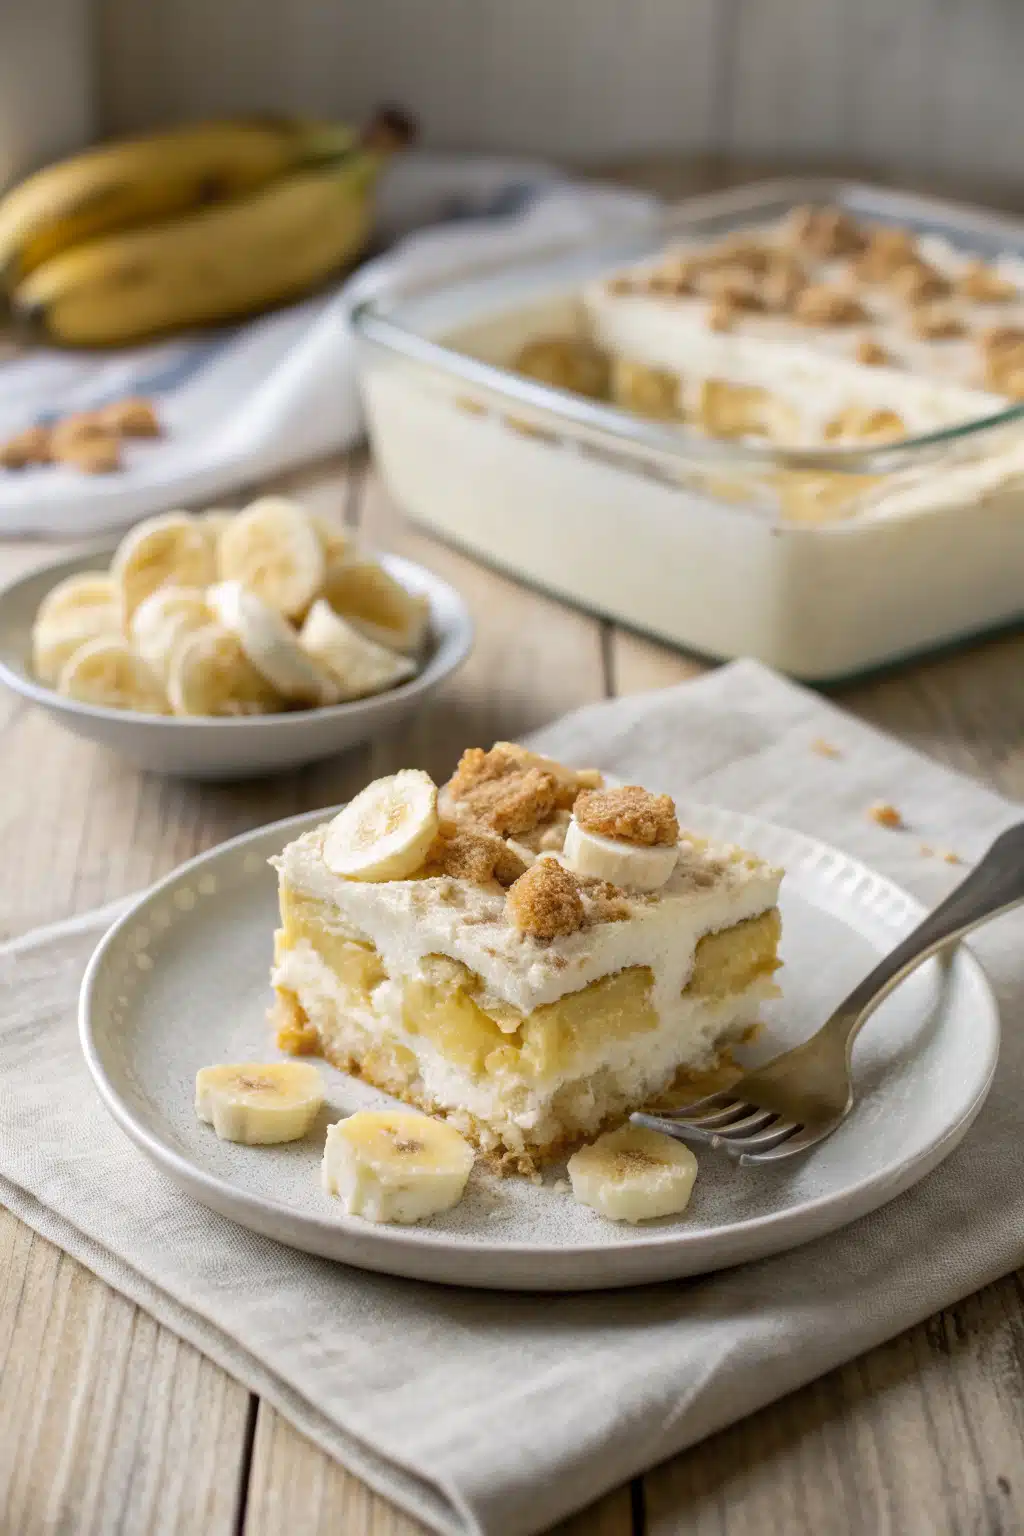
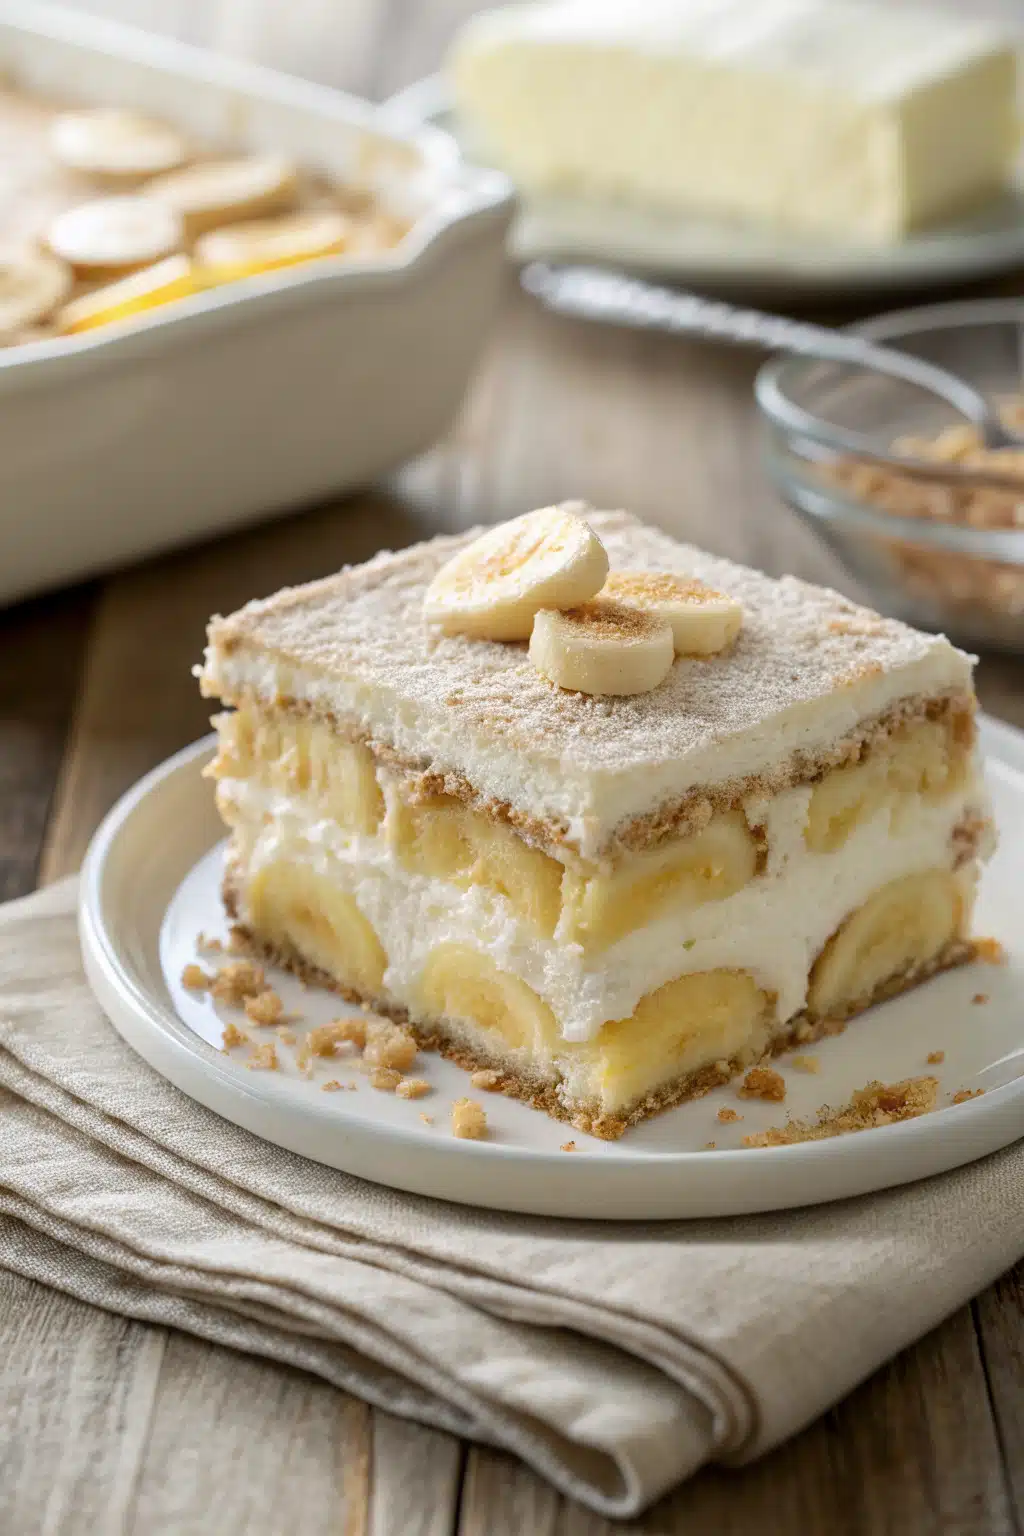
In a large glass bowl or individual serving dishes, start with a layer of vanilla wafers, then sliced bananas, then a generous pour of warm custard. Repeat the layers until everything is used up, finishing with custard on top. Cover with plastic wrap pressed directly onto the surface to prevent a skin from forming.
Step 4: Chill and Serve
Refrigerate for at least 4 hours—or overnight if you can wait! Before serving, top with whipped cream and a few extra banana slices or crushed wafers for garnish.
What to Serve It With
Banana pudding shines on its own, but it’s also a star at summer cookouts and holiday tables. Serve it alongside grilled meats, fresh fruit salads, or other Southern favorites like peach cobbler or pecan pie. It pairs beautifully with iced tea or a cold glass of milk. For a festive touch, offer it in individual parfait glasses with a sprig of mint.
Top Tips for Perfecting Your Banana Pudding
Use bananas that are ripe but not overripe—they should hold their shape when sliced. Stir the custard constantly while cooking to avoid scorching or lumps. For extra flavor, add a pinch of nutmeg or a splash of bourbon to the custard. And don’t skip the plastic wrap trick—it keeps the pudding creamy, not rubbery!
Storing and Reheating Tips
Store banana pudding covered in the refrigerator for up to 3 days. The bananas may darken slightly, but the flavor only improves! This dessert is not meant to be reheated—it’s best enjoyed cold straight from the fridge.
Frequently Asked Questions
Final Thoughts
There’s something magical about banana pudding—it’s humble, yes, but also deeply satisfying. Every spoonful brings back memories of family, laughter, and kitchens filled with love. This recipe isn’t just about dessert; it’s about connection. So go ahead, whip up a batch, share it with someone you care about, and savor every creamy, banana-kissed bite. You’ve earned it.
Banana Pudding
Ingredients
Main Ingredients
- 0.75 cup sugar
- 0.33 cup all-purpose flour
- 0.25 teaspoon salt
- 2.5 cup whole milk
- 3 large egg yolks, beaten
- 2 tablespoon unsalted butter
- 2 teaspoon vanilla extract
- 1 box vanilla wafers 12-ounce box
- 4.5 medium ripe bananas, sliced 4 to 5 bananas
- 1 cup heavy whipping cream, whipped or prepared meringue
Instructions
Preparation Steps
- In a medium saucepan, whisk together sugar, flour, and salt.
- Gradually whisk in milk until smooth.
- Cook over medium heat, stirring constantly, until mixture thickens and comes to a boil.
- Boil for 1 minute, then remove from heat.
- Gradually stir about 0.5 cup of hot mixture into beaten egg yolks to temper, then pour egg mixture back into saucepan.
- Return to heat and cook for 2 more minutes, stirring constantly.
- Remove from heat and stir in butter and vanilla until smooth. Let cool slightly.
- In a 2-quart serving dish, layer vanilla wafers, sliced bananas, and pudding. Repeat layers, ending with pudding on top.
- Top with whipped cream or meringue.
- Chill for at least 4 hours before serving.


