


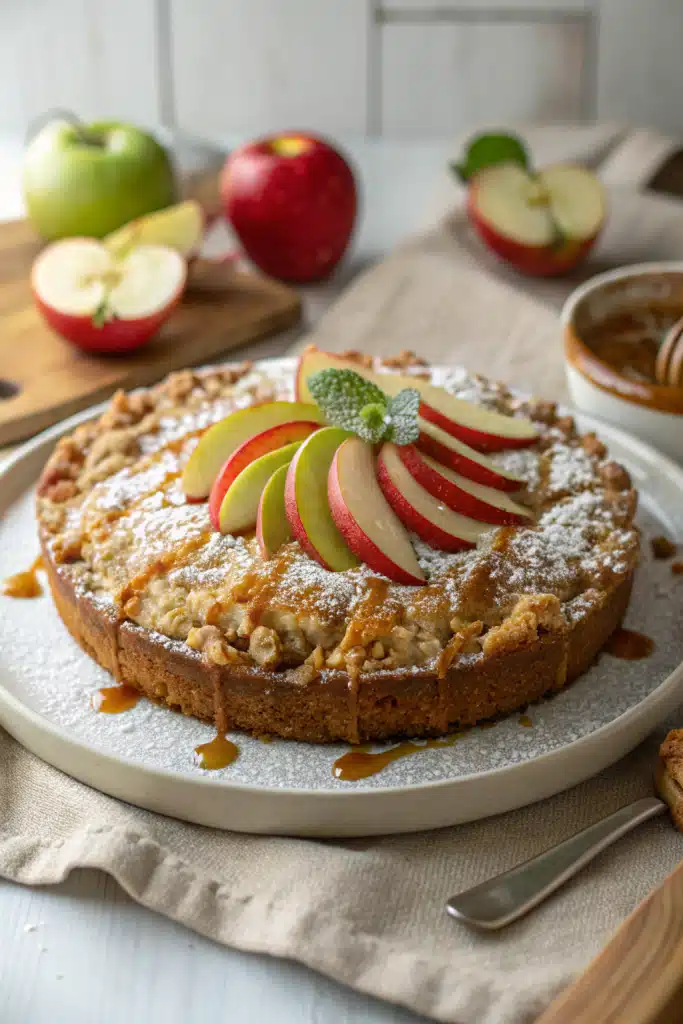
Apple Cobbler
There’s something about the smell of apples baking with cinnamon and brown sugar that instantly makes a house feel like home. I remember my grandmother’s kitchen—warm, flour-dusted, and always filled with the promise of something sweet. This apple cobbler recipe is one she passed down, tweaked over years of Sunday dinners and holiday gatherings. It’s simple, comforting, and absolutely foolproof, even if you’ve never baked before. The topping is tender but lightly crisp on top, and the apples underneath turn into a spiced, jammy filling that begs for a scoop of vanilla ice cream. Whether you’re making it for a cozy night in or a big family get-together, this cobbler always brings people to the table with smiles and second helpings.
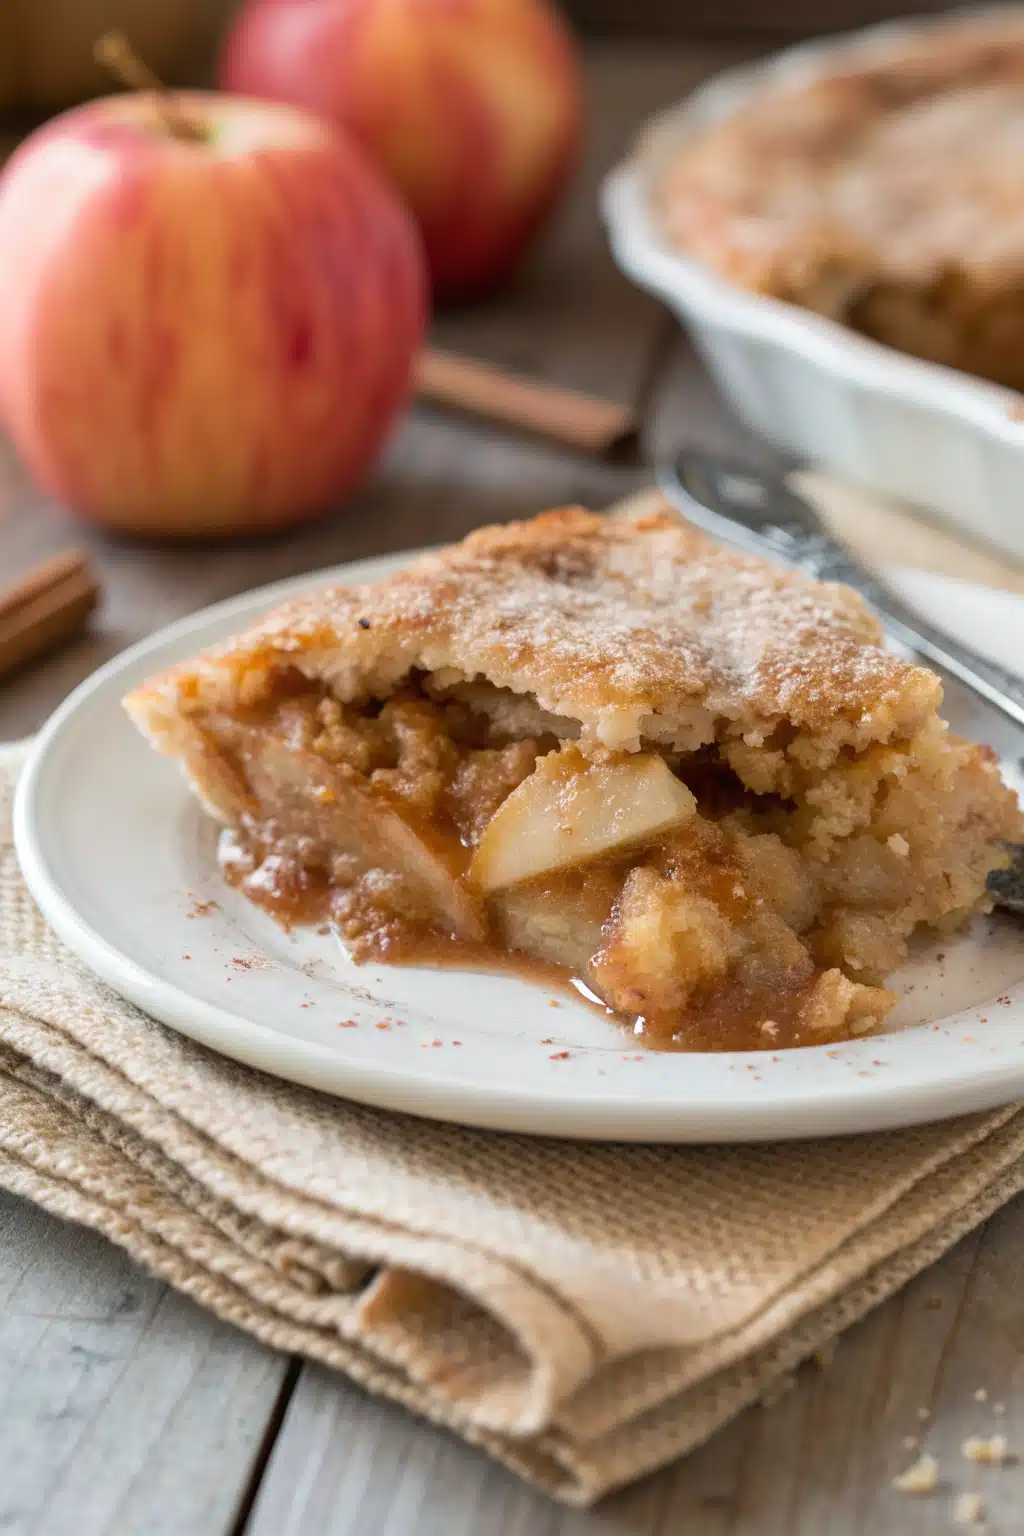
What Is Apple Cobbler?
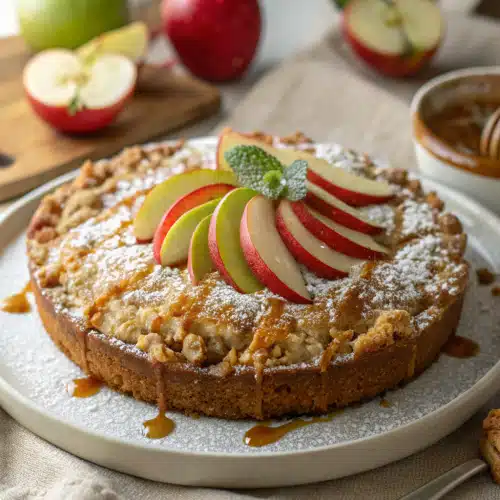
Apple cobbler is a classic American dessert that’s as humble as it is delicious. Unlike a pie, which has a crust on both top and bottom, cobbler features a fruit filling—usually apples—topped with a biscuit-like or cakey batter that puffs up and browns beautifully in the oven. The name “cobbler” comes from the way the batter “cobbles” together as it bakes, forming a rustic, uneven surface that’s perfect for catching melted butter and syrupy apple juices. It’s not fancy, but it’s deeply satisfying—a dessert that feels like a warm hug. This version uses pantry staples and doesn’t require any special equipment, making it ideal for both beginner bakers and seasoned pros looking for a no-fuss treat.
Why You’ll Love This Recipe
This apple cobbler is the kind of recipe you’ll want to keep in your back pocket for life. First, it’s incredibly easy—no rolling pins, no chilling dough, just mix, pour, and bake. Second, it’s endlessly customizable: swap in pears, add a handful of cranberries, or stir in a pinch of nutmeg if you’re feeling adventurous. But what really sets it apart is the balance of textures and flavors: tender spiced apples with a lightly golden, slightly crisp topping that’s never dry or cakey. Plus, it bakes in a single dish, so cleanup is a breeze. And let’s be honest—there’s nothing quite like serving a bubbling-hot cobbler straight from the oven, especially when topped with melting vanilla ice cream. It’s comfort food at its finest, and it never fails to impress.
How to Make Apple Cobbler
Quick Overview
This apple cobbler comes together in under an hour, with just 15 minutes of prep time. You’ll start by tossing sliced apples with cinnamon, sugar, and a splash of lemon juice, then pour them into a baking dish. The simple batter—made with flour, sugar, butter, and milk—gets poured right over the apples (no need to stir!). As it bakes, the magic happens: the apples soften into a rich, spiced filling, and the batter rises into a golden, cobbled topping. It’s a one-dish wonder that’s perfect for weeknights, potlucks, or whenever you need a little sweetness in your life.
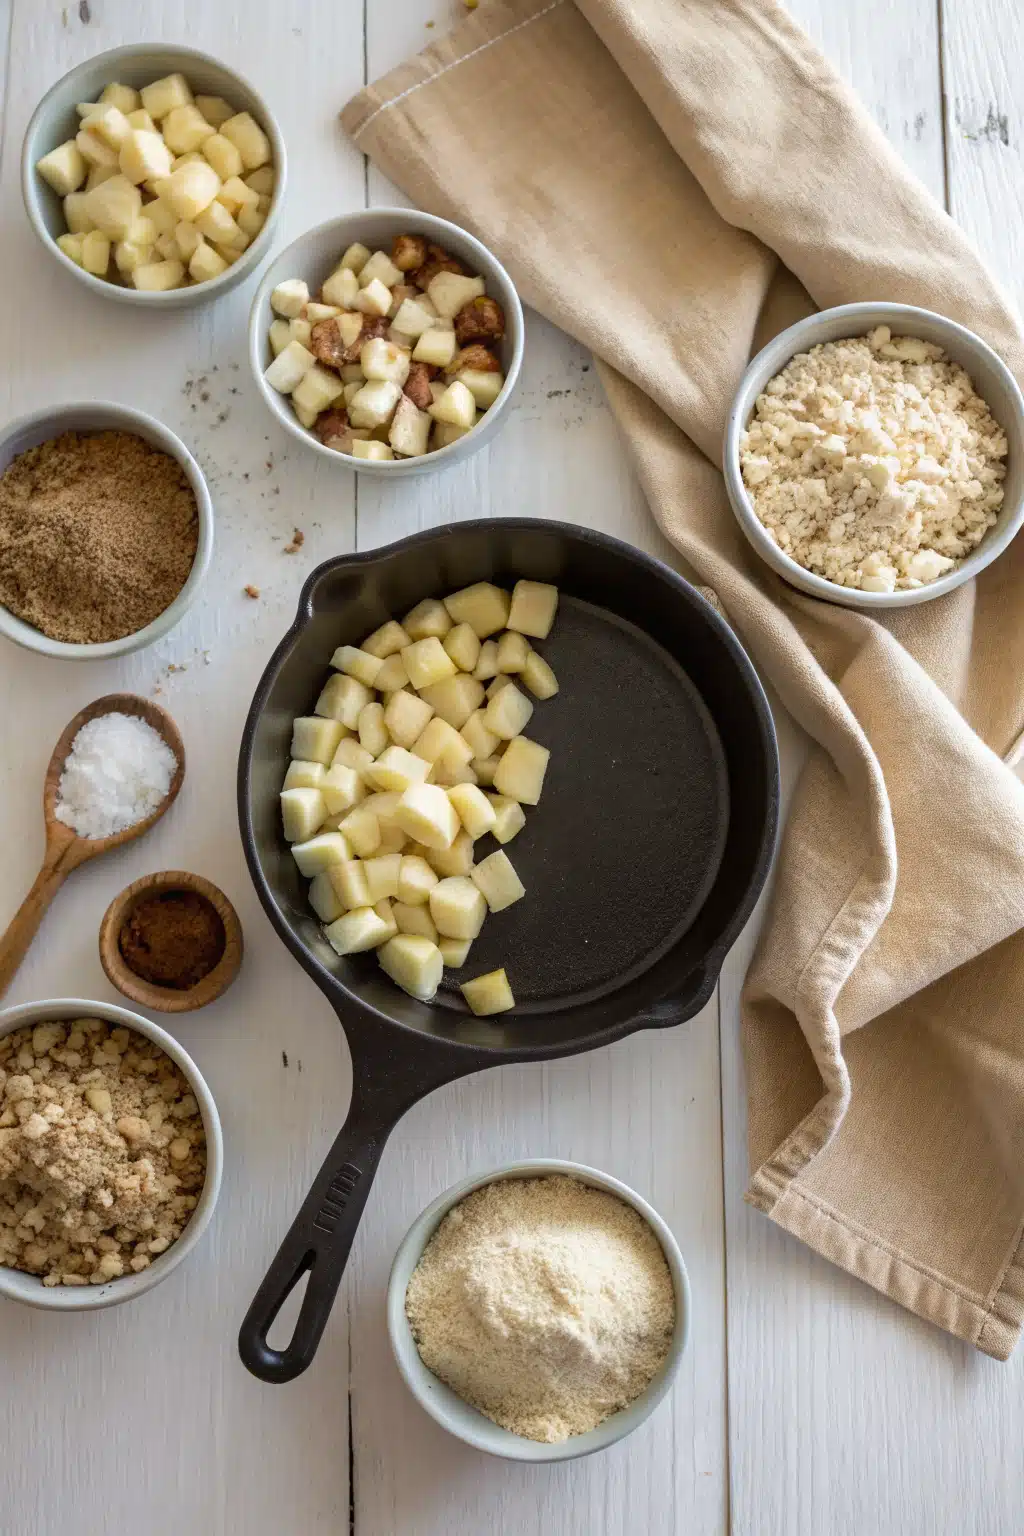
Ingredients
For the filling: 6 medium apples (Granny Smith or Honeycrisp work great), peeled and sliced; ¾ cup granulated sugar; 1 tablespoon lemon juice; 1 teaspoon ground cinnamon; ¼ teaspoon ground nutmeg; 1 tablespoon all-purpose flour. For the topping: 1 cup all-purpose flour; ¼ cup granulated sugar; ¼ cup brown sugar; 1 teaspoon baking powder; ¼ teaspoon salt; ½ cup milk; ⅓ cup unsalted butter, melted.
Step-by-Step Instructions
Step 1: Preheat & Prep Pan
Preheat your oven to 375°F (190°C). Lightly grease a 9×13-inch baking dish with butter or nonstick spray. This ensures your cobbler won’t stick and makes serving a whole lot easier.
Step 2: Prepare the Apple Filling
In a large bowl, toss the sliced apples with lemon juice, granulated sugar, cinnamon, nutmeg, and 1 tablespoon of flour until evenly coated. The flour helps thicken the juices as the cobbler bakes. Pour the mixture into the prepared baking dish and spread it into an even layer.
Step 3: Make the Batter
In another bowl, whisk together 1 cup flour, ¼ cup granulated sugar, ¼ cup brown sugar, baking powder, and salt. Stir in the milk and melted butter until just combined—don’t overmix; a few lumps are totally fine.
Step 4: Assemble and Bake
Pour the batter evenly over the apples—there’s no need to stir or spread it perfectly; it will naturally settle and rise during baking. Place the dish in the oven and bake for 45–50 minutes, or until the topping is golden brown and the apples are tender when pierced with a knife.
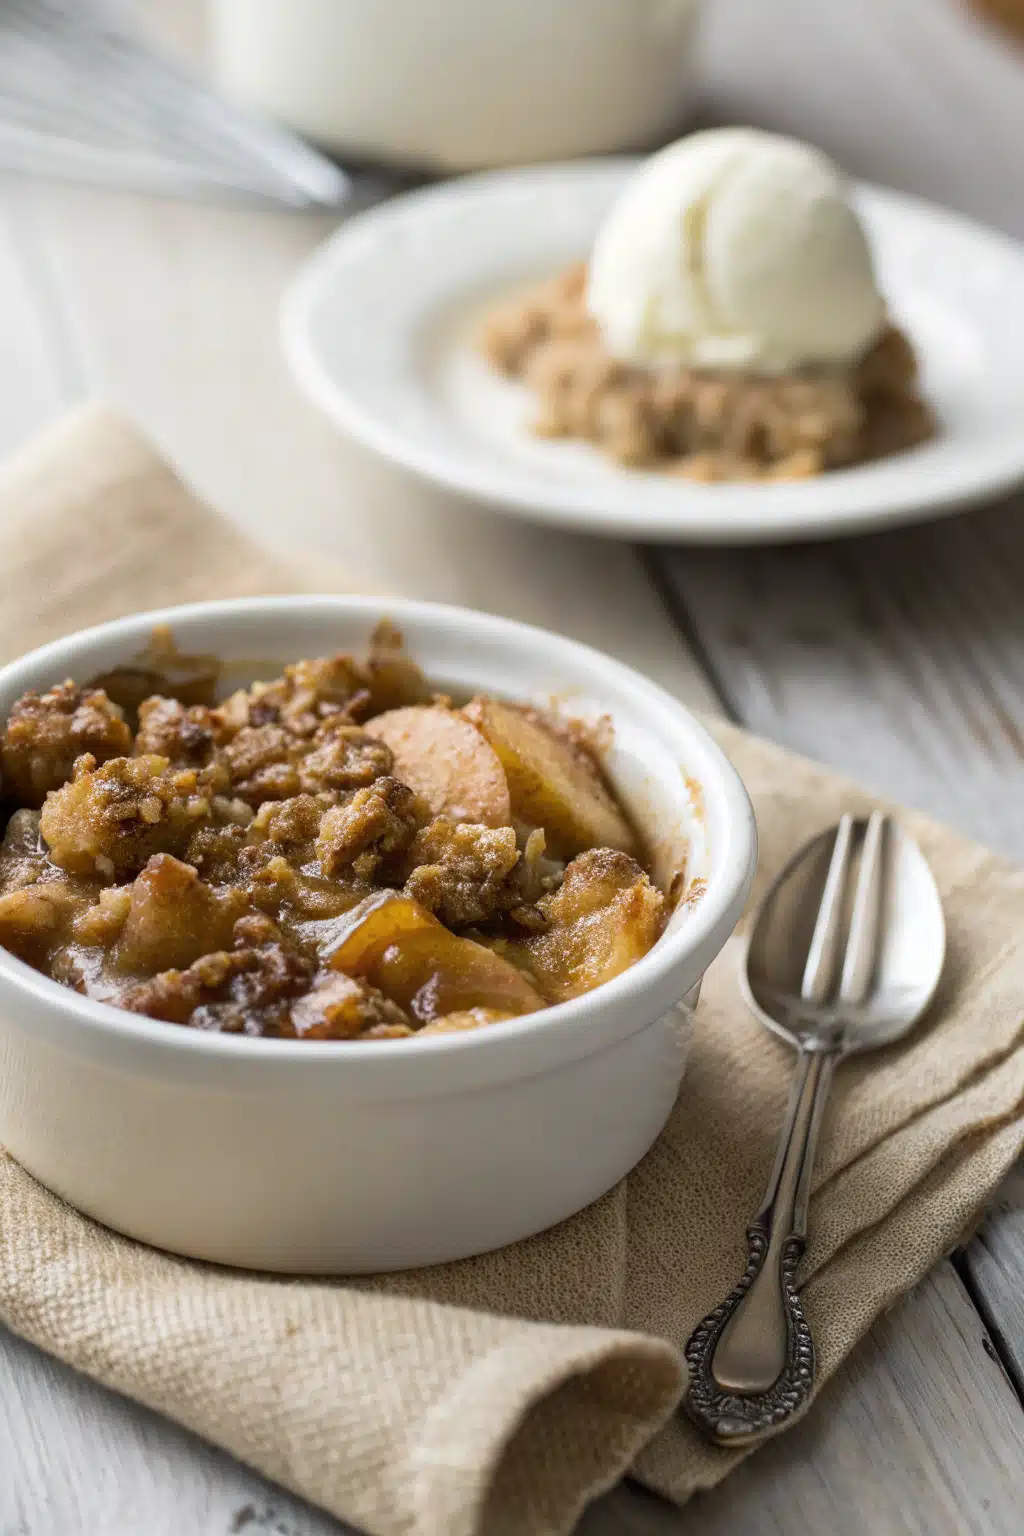
What to Serve It With
Apple cobbler is delicious on its own, but it truly shines when paired with a generous scoop of vanilla ice cream or a dollop of freshly whipped cream. The contrast between the warm, spiced apples and the cool, creamy topping is pure bliss. It’s also lovely with a drizzle of caramel sauce or a sprinkle of toasted pecans for extra crunch. Serve it straight from the baking dish at family dinners, holiday gatherings, or even brunch—it’s versatile enough to fit any occasion.
Top Tips for Perfecting Your Apple Cobbler
Use a mix of tart and sweet apples for the best flavor—Granny Smith and Honeycrisp are my go-tos. Don’t skip the lemon juice; it brightens the apples and keeps them from browning. Avoid overmixing the batter—it should be lumpy and rustic. For extra flavor, add a pinch of cardamom or a splash of vanilla extract to the apples. And if you like a crisper topping, broil the cobbler for 1–2 minutes at the end (just watch it closely!).
Storing and Reheating Tips
Store leftover cobbler in an airtight container in the fridge for up to 4 days. Reheat individual portions in the microwave for 30–60 seconds or warm the whole dish in a 350°F oven for 10–15 minutes. It’s even better the next day as the flavors meld. You can also freeze it for up to 2 months—just thaw overnight in the fridge before reheating.
Frequently Asked Questions
Final Thoughts
This apple cobbler isn’t just a dessert—it’s a memory in the making. Whether you’re baking it for the first time or the hundredth, it always feels like coming home. I hope it brings as much joy to your table as it has to mine. Don’t forget the ice cream… and maybe a second slice. You’ve earned it.
Apple Cobbler
Ingredients
Main Ingredients
- 6 cup peeled and sliced apples (about 6 medium apples)
- 0.75 cup granulated sugar
- 1 tablespoon lemon juice
- 1 teaspoon ground cinnamon
- 0.25 teaspoon ground nutmeg
- 0.25 cup water
- 1 cup all-purpose flour
- 0.25 cup granulated sugar
- 1.5 teaspoon baking powder
- 0.25 teaspoon salt
- 0.25 cup unsalted butter, melted
- 0.5 cup milk
- 1 large egg
Instructions
Preparation Steps
- Preheat oven to 375°F (190°C). Grease a 9x13-inch baking dish.
- In a large bowl, combine sliced apples, 3/4 cup sugar, lemon juice, cinnamon, nutmeg, and water. Stir to coat apples evenly.
- Pour the apple mixture into the prepared baking dish and spread into an even layer.
- In a separate bowl, whisk together flour, 1/4 cup sugar, baking powder, and salt.
- In another bowl, whisk together melted butter, milk, and egg until smooth.
- Pour the wet ingredients into the dry ingredients and stir until just combined. Do not overmix.
- Drop spoonfuls of the batter evenly over the apple mixture.
- Bake for 40–45 minutes, or until the topping is golden brown and the apples are bubbling.
- Let cool for 10–15 minutes before serving. Serve warm, optionally with vanilla ice cream or whipped cream.


