


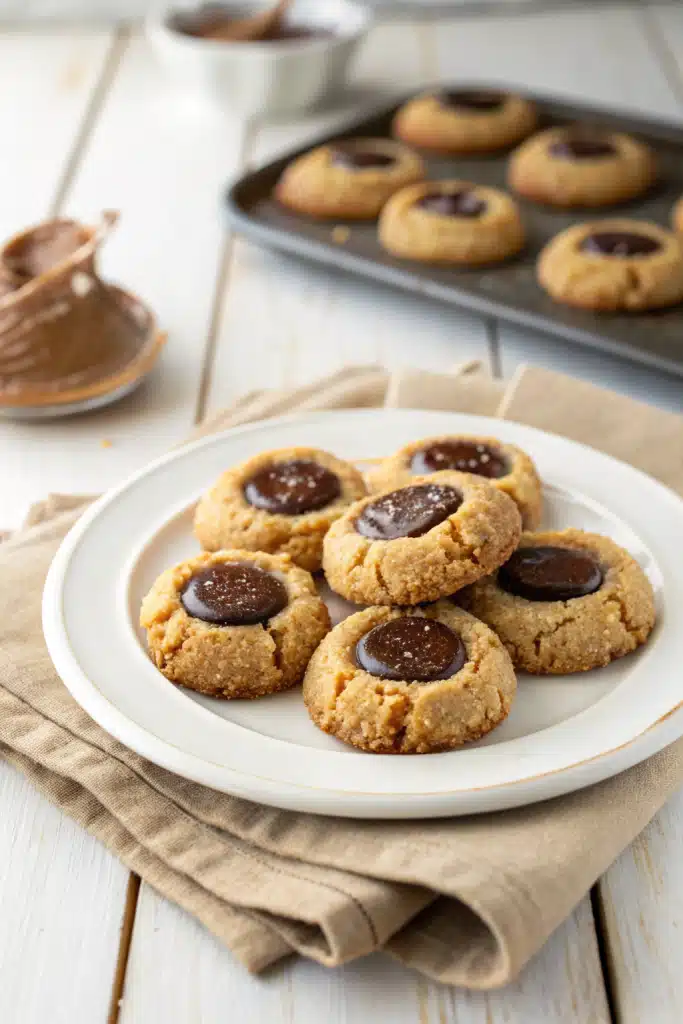
Thumbprint Cookies
There’s something so comforting about pulling a tray of warm thumbprint cookies out of the oven—golden edges, soft centers, and that little well in the middle just begging for a dollop of jam. I remember making these with my grandma when I was knee-high to a grasshopper, using her worn wooden spoon and my tiny fingers to press the indentations. She’d always say, “The secret is in the butter, sweetheart—room temperature, never melted.” And honestly? That advice still holds true. These cookies are simple, yes, but they’re also magical: tender, buttery, and just sweet enough to feel like a hug in dessert form. Whether you’re baking with kids, impressing guests, or just treating yourself after a long week, these thumbprint cookies are the kind of recipe that feels like home.
What Is Thumbprint Cookies?
Thumbprint cookies are a classic treat with humble origins and endless charm. At their core, they’re delicate shortbread-like cookies rolled into balls, baked until lightly golden, and then—here’s the fun part—pressed with a thumb (or spoon) to create a little well in the center. That indentation gets filled with fruit preserves—raspberry, apricot, strawberry—or even chocolate, caramel, or lemon curd. They originated in Eastern Europe, particularly among Swedish and Polish bakers, and have since become a beloved staple during holidays and family gatherings. What makes them special isn’t just their looks (though they’re undeniably pretty), but their texture: crisp on the outside, tender and melt-in-your-mouth inside. They’re the kind of cookie that looks fancy but comes together in under 30 minutes—perfect for both novice bakers and seasoned pros who want something sweet without the stress.
Why You’ll Love This Recipe
First off, these cookies are ridiculously easy. No fancy equipment, no chilling for hours, no rolling out finicky dough. Just mix, roll, press, bake, and fill. But beyond simplicity, there’s something deeply satisfying about their homemade charm. They taste like nostalgia—like Sunday afternoons, holiday tables, and grandma’s kitchen. The dough is rich with butter and vanilla, giving it that classic shortbread flavor, but lighter and softer thanks to a touch of egg yolk. And because you can customize the filling, they’re endlessly versatile: use seasonal jams, swap in white chocolate drizzle, or even press a single fresh berry into the center before baking. Plus, they store beautifully (more on that below!), so you can make them ahead for parties or gift-giving. Most importantly, they’re forgiving. Even if your thumbprint isn’t perfectly round or your jam bubbles over a bit, they’ll still taste divine—and look charmingly handmade.
How to Make Thumbprint Cookies
Quick Overview
This recipe makes about 24 cookies and takes less than an hour from start to finish. You’ll cream butter and sugar, add egg yolk and vanilla, then mix in flour until a soft dough forms. Roll into balls, press a thumbprint into each, bake for 12–14 minutes, and fill while still warm so the jam sets as it cools. It’s that simple—and the result is pure cookie magic.
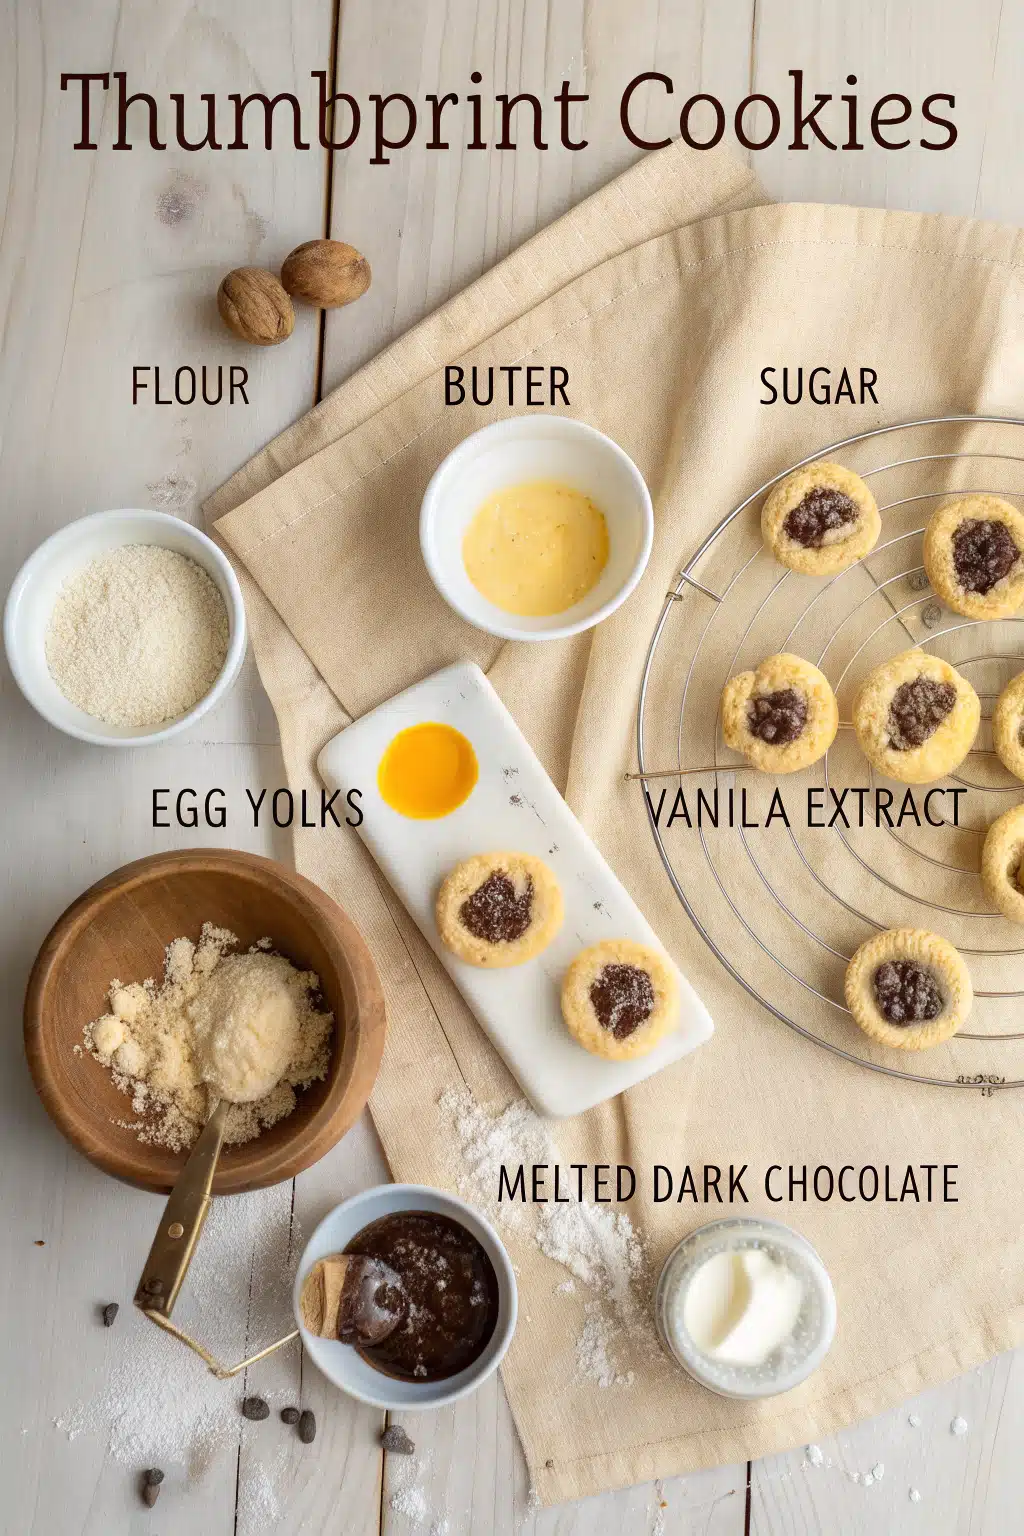
Ingredients
You’ll need: 1 cup (2 sticks) unsalted butter, softened; ⅔ cup granulated sugar; 1 large egg yolk; 1 teaspoon pure vanilla extract; ¼ teaspoon salt; and 2½ cups all-purpose flour. For filling: ½ cup of your favorite jam (raspberry, apricot, or strawberry work best).
Step-by-Step Instructions
Step 1: Preheat & Prep Pan
Preheat your oven to 350°F (175°C). Line a baking sheet with parchment paper or a silicone mat—this keeps the cookies from sticking and makes cleanup a breeze.
Step 2: Cream Butter and Sugar
In a large bowl, beat the softened butter and sugar together until light and fluffy—about 2–3 minutes with a hand mixer. Scrape down the sides as needed.
Step 3: Add Wet Ingredients
Beat in the egg yolk and vanilla extract until fully combined. The mixture might look a little curdled at first—that’s totally normal!
Step 4: Mix in Dry Ingredients
Gradually add the flour and salt, mixing on low speed or by hand until just combined. Don’t overmix—you want a tender cookie, not a tough one.
Step 5: Roll and Press
Scoop out tablespoon-sized portions of dough and roll into balls. Place them on the prepared baking sheet about 2 inches apart. Use your thumb (or the back of a spoon) to press a deep well into the center of each ball.
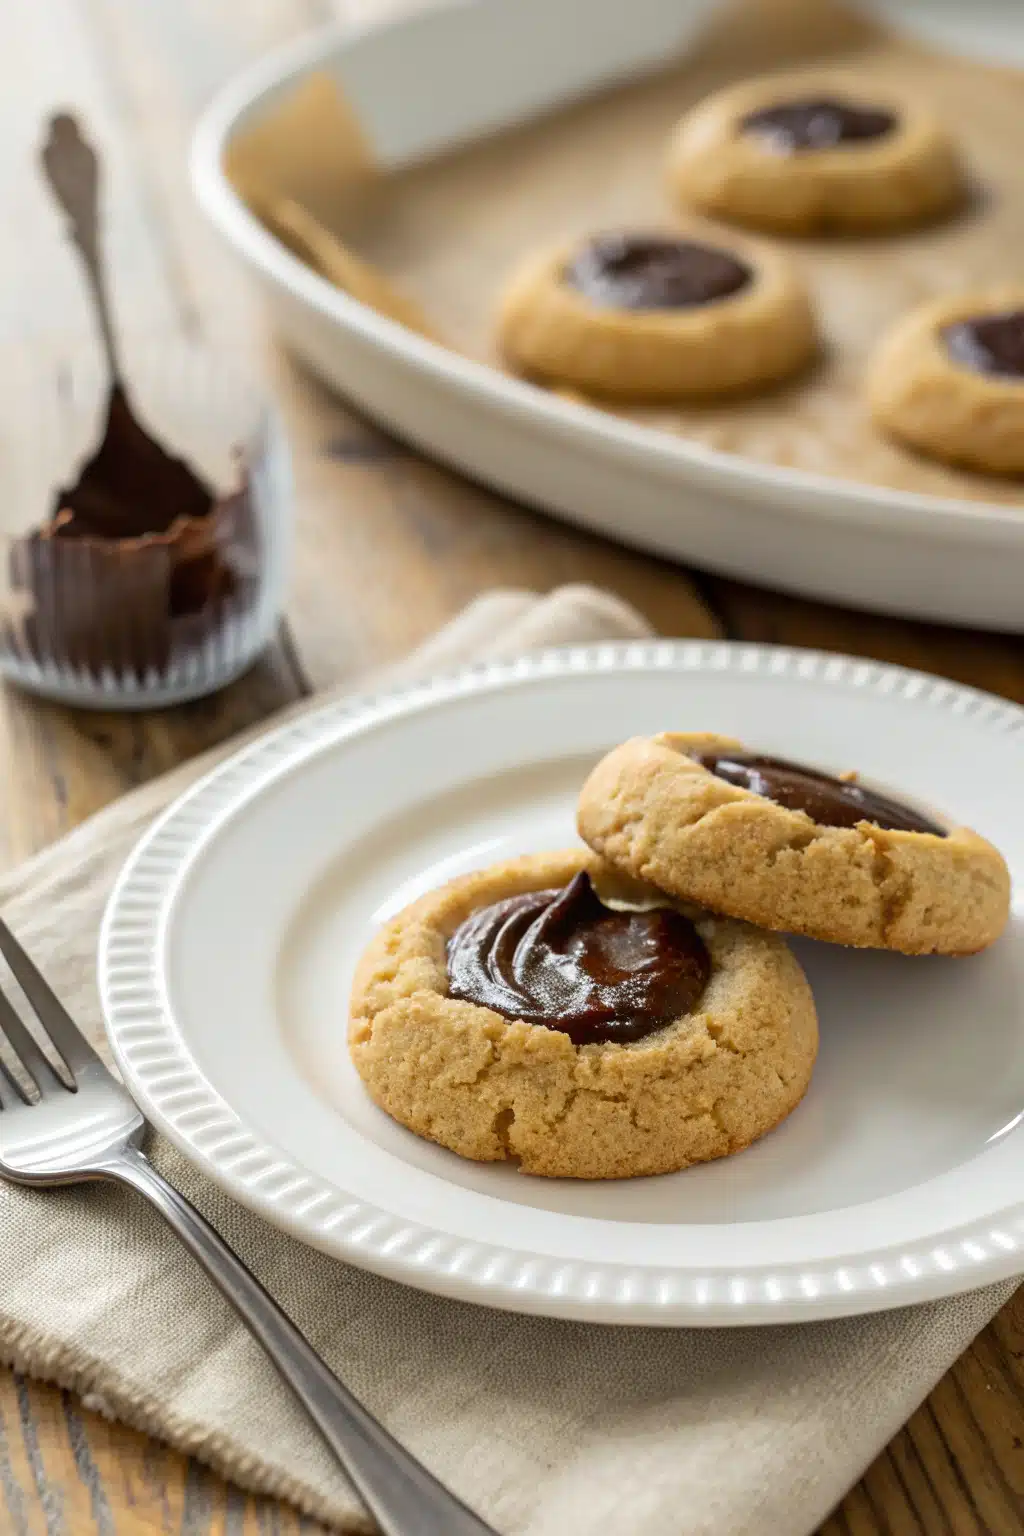
Step 6: Bake and Fill
Bake for 12–14 minutes, until the edges are just starting to turn golden. Let cool for 2–3 minutes, then fill each well with about ½ teaspoon of jam. Allow to cool completely on the pan—the jam will set as it rests.
What to Serve It With
These cookies shine on their own, but if you’re serving them at a gathering, pair them with a pot of Earl Grey tea or a glass of cold milk. They’re also lovely alongside a fruit tart or a scoop of vanilla ice cream for a rustic dessert board. During the holidays, I love arranging them on a vintage platter with sprigs of rosemary or cranberries for a festive touch.
Top Tips for Perfecting Your Thumbprint Cookies
Use room-temperature butter—it creams better and gives you that perfect texture. Don’t skip pressing the indentations after baking; if you only press before, they’ll lose their shape in the oven. Choose thick jams without chunks (seedless raspberry is my go-to) so they don’t spill over. And if your dough feels sticky while rolling, chill it for 10 minutes—it’ll be much easier to handle.
Storing and Reheating Tips
Store cooled cookies in an airtight container at room temperature for up to 5 days. You can also freeze unfilled baked cookies for up to 3 months—just thaw, fill, and enjoy! If they lose their softness, pop them in a 300°F oven for 3–4 minutes to refresh.
Frequently Asked Questions
Final Thoughts
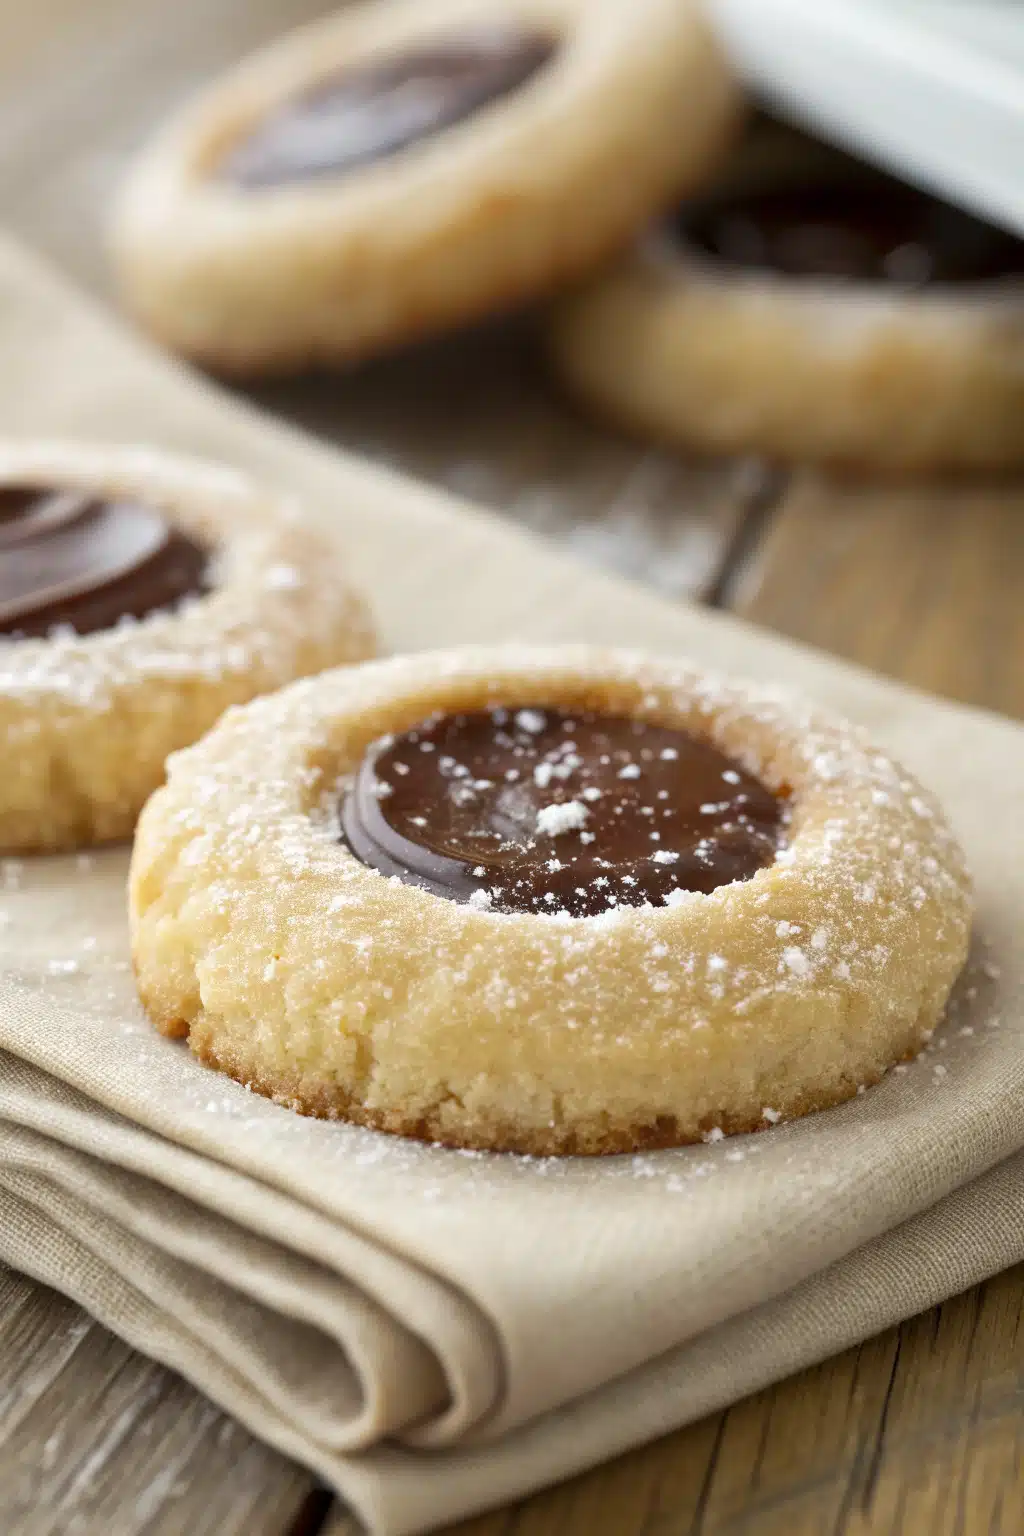
Thumbprint cookies are more than just a dessert—they’re a little piece of baking joy. Whether you’re making them with little hands helping you press the centers or quietly enjoying one with your morning coffee, they remind us that the best treats are often the simplest ones. So grab your favorite jam, preheat that oven, and give this recipe a try. I promise, you’ll be hooked after the first bite.

Thumbprint Cookies
Ingredients
Main Ingredients
- 1 cup unsalted butter, softened
- 0.67 cup granulated sugar
- 1 large egg yolk
- 1 teaspoon vanilla extract
- 2.25 cups all-purpose flour
- 0.25 teaspoon salt
- 0.5 cup jam (raspberry, apricot, or your favorite flavor)
Instructions
Preparation Steps
- Preheat oven to 350°F (175°C). Line baking sheets with parchment paper.
- In a large bowl, cream together the softened butter and sugar until light and fluffy, about 2-3 minutes.
- Beat in the egg yolk and vanilla extract until well combined.
- In a separate bowl, whisk together the flour and salt. Gradually add the dry ingredients to the butter mixture, mixing until a soft dough forms.
- Roll dough into 1-inch balls and place them 2 inches apart on the prepared baking sheets.
- Use your thumb or the back of a spoon to make a small indentation in the center of each cookie.
- Fill each indentation with about 0.5 teaspoon of jam.
- Bake for 10-12 minutes, or until the edges are lightly golden.
- Allow cookies to cool on the baking sheet for 5 minutes before transferring to a wire rack to cool completely.


