


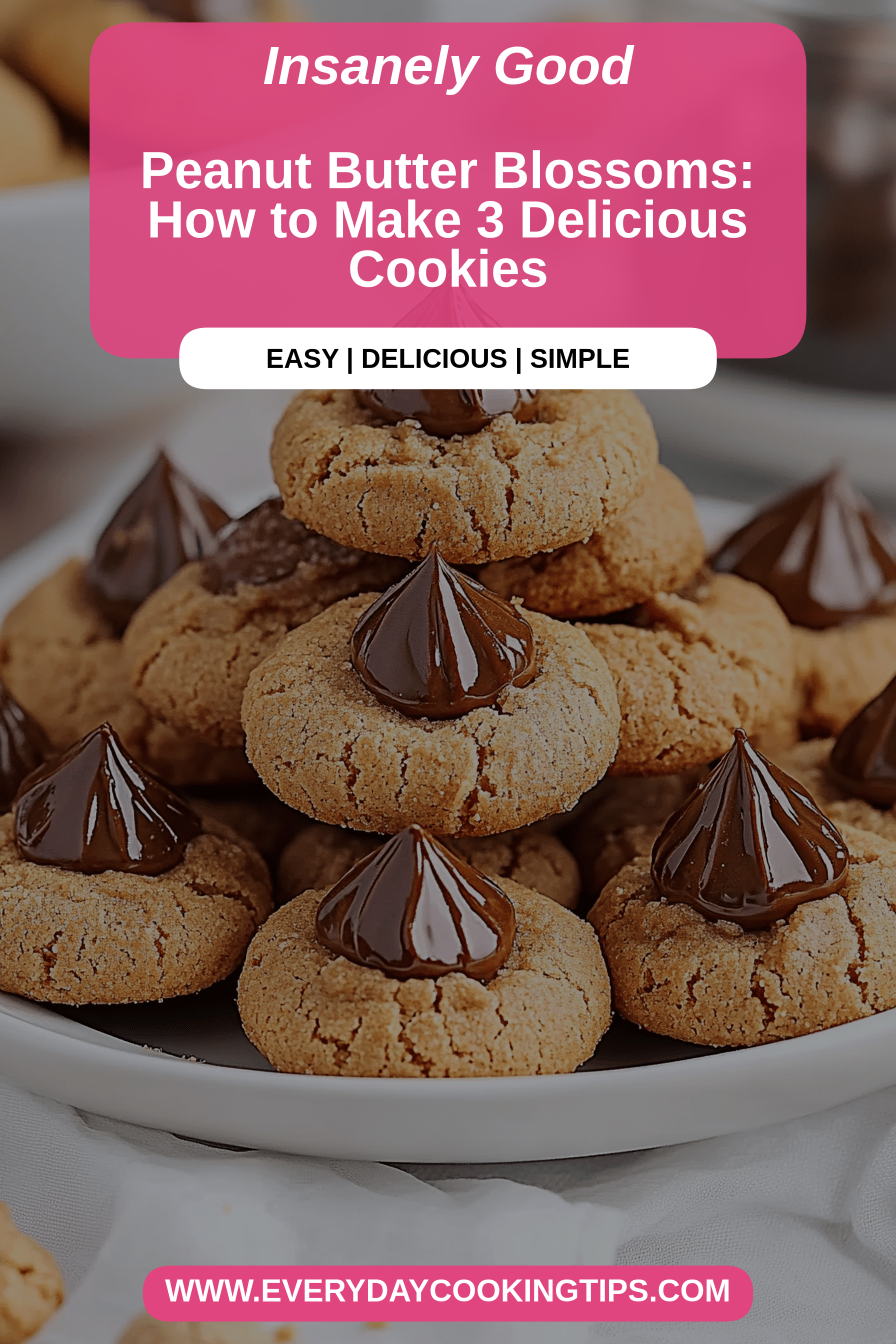
Oh my goodness, you guys. Seriously, you HAVE to try these! I’m talking about **Peanut Butter Blossoms** – those little bite-sized treasures that magically appear at every holiday gathering, bake sale, and, if you’re lucky, even a Tuesday night. Remember the ones with the chocolate kiss right in the middle? That perfect combination of sweet and salty? Yeah, those. I remember being a kid and practically inhaling them. The best part? This recipe is surprisingly easy, a total lifesaver when you’re craving something sweet but don’t want to spend hours in the kitchen. And trust me, they taste EXACTLY like the ones grandma used to make. Better, even!
What are peanut butter blossoms?
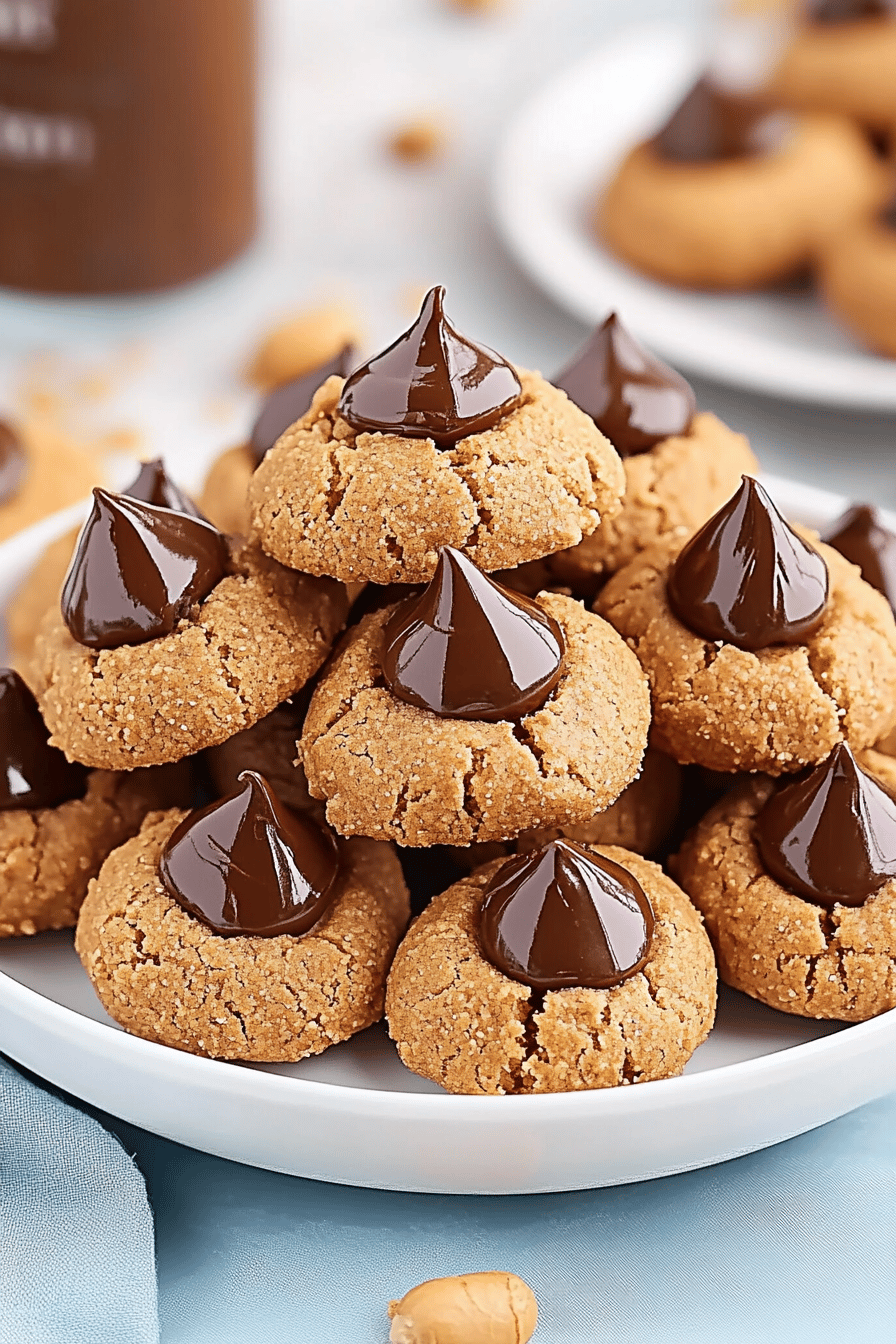
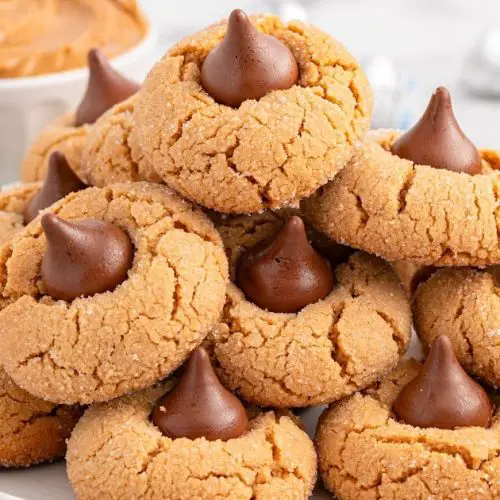
So, what exactly *are* Peanut Butter Blossoms? Think of them as the quintessential American cookie. It’s essentially a soft, slightly chewy Peanut Butter Cookie, baked to golden perfection, and then adorned with a Hershey’s Kiss right in the middle. The name, well, that’s because the kisses make it look like little blossoms! It’s a simple concept, really, but the combination of the classic peanut butter cookie and that melting chocolate kiss? Pure magic. They’re the kind of treat that brings back childhood memories, evokes comfort, and are guaranteed to disappear quickly, no matter the occasion. They’re so good, you might even want to hide a few for yourself!
Why do I love this recipe?
Okay, listen up, because I’m about to gush. First off, the **flavor** is absolutely addictive. That perfect balance of salty Peanut Butter and sweet, melty chocolate? It’s a match made in heaven. Every single bite is pure bliss. Then there’s the **simplicity**. Seriously, even if you’re not a baker, you can totally nail this recipe. There’s no fancy techniques or complicated steps. It’s perfect for beginners. And did I mention **cost-efficient**? The ingredients are all pretty standard pantry staples, so you probably have most of them already. Peanut butter, sugar, eggs, and of course, those Hershey’s Kisses. What I love most about this is how **versatile** it is! Make them for a party, a quick after-dinner treat, or bake a batch for the school bake sale. You can even customize them with different kinds of chocolate or add-ins (see my tips below!). My kids ask for these all the time, and honestly, I’m not complaining. They’re a family favorite and are a total crowd-pleaser, every single time. And, this is way better than those store-bought ones!
Quick Overview
Ready to bake? First, you’ll mix up the Peanut Butter cookie dough, roll it into little balls, and bake them until they’re just golden. While they’re still warm, you’ll gently press a Hershey’s Kiss into the center of each cookie. Let them cool, and boom! You’ve got a batch of delicious **Peanut Butter Blossoms**. Trust me, it’s as easy as it sounds. It’s simple and satisfying!
Ingredients
For the Main Batter: What are some of the
• 1 cup (2 sticks) unsalted butter, softened: Make sure your butter is at room temperature for the best results. I usually leave mine out for about an hour before I start baking. You want it soft, but not melty.
• 1 cup granulated sugar: The standard sweetness! Nothing fancy here.
• 1 cup packed light brown sugar: What are the best molasses cookies? Don’t skimp on brown sugar. It makes all the difference!
I always use a good quality Creamy Peanut Butter. I find it makes the texture better than using crunchy. Avoid the natural peanut butter that separates, it doesn’t work as well here.
• 2 large eggs: Make sure your eggs are room temperature too. It helps them incorporate better into the batter.
• 1 teaspoon baking soda: This gives the cookies a nice lift.
• 1/2 teaspoon salt: Enhances all the flavors.
• 2 1/2 cups all-purpose flour: Measure the flour correctly! What is the best way to level a measuring cup? Too much flour will make cookies dry.
• 1 teaspoon vanilla extract: Flavor boost! Don’t skip this one.
For the Filling:
What are Hershey’s Kisses? Make sure to unwrap them ahead of time. Why don’t you fumble with wrappers while cookies are still hot? I like to buy the bag with the different varieties of chocolate so I can experiment.

What are the steps to
Step 1: Preheat & Prep Pan
First things first, preheat your oven to 375°F (190°C). Line a baking sheet with parchment paper. I cannot stress this enough! Is there a way to clean cookies? If you don’t have parchment paper, you can grease your baking sheet, but parchment is the way to go. Set the baking sheet aside while you prepare the dough.
Step 2: Mix Dry Ingredients
In a medium bowl, whisk together the flour, baking soda, and salt. Set aside. This step is essential to make sure everything is evenly distributed in the dough. I usually use a fork, but I like to use it. Set this bowl aside.
Step 3: Mix Wet Ingredients
In a large mixing bowl (or the bowl of your stand mixer), cream together the softened butter, sugar and salt. Set aside. I used brown sugar and granulated sugar until light and fluffy. This usually takes about 2-3 minutes with a mixer. If you’re mixing by hand, it’ll take a bit longer, but just keep going until it is light and airy. Then, add the peanut butter and mix until combined. Beat in the eggs one at a time, followed by the vanilla extract. Make sure everything is well incorporated.
Step 4: Combine
Gradually add the dry ingredients to the wet ingredients, mixing on low speed until just combined. How do I avoid over mixing cookies? What is the best way to make dough? If you’re using a stand mixer, it’s best to stop once you see just barely combined. Do you want to go overboard? If you’re mixing by hand, use a spatula to gently fold in the dry ingredients until just combined. Is it a good idea to mix until just before the last bit of flour is mixed in?
Step 5: Prepare Filling
What is the best way to unwrap Hershey’s Kisses? Is it the most time-consuming part of the whole process? If you have a helper, put them to work on this task. It’ll speed things up.
Step 6: Layer & Swirl
Roll dough into 1-inch balls. Bake for 45 minutes. Place the dough balls on the prepared baking sheet, leaving about 2 inches between each cookie. If you bake them, give them some space! Bake for 8-10 minutes, or until golden brown. Keep an eye on them! Every oven is different. What is the best way to take out a toothbrush when it’s no longer glossy?
Step 7: Bake
As soon as you remove the cookies from the oven, immediately press a Hershey’s Kiss into the center of the cookie. What is the purpose of cookie? Be gentle! You want to nestle the kiss in there, not completely bury it. The heat of the cookies will soften the chocolate, allowing it to adhere. If you don’t have a hot enough oven, the kiss will just sit on top.
Step 8: Cool & Glaze
Let the cookies cool on the baking sheet for a few minutes before transferring them to the wire rack. To cool completely. If you try to move them too soon, they might fall apart. Let the cookies cool completely to set the chocolate. It takes about 10-15 minutes.
Step 9: Slice & Serve
Once cooled, they’re ready to eat! Serve them at room temperature, or a little chilled, it’s all up to you. If you want to get fancy, you can lightly dust them with powdered sugar before serving. Is it true that the perfect human beings are just as perfect as they are? If you want to store them for later, see my storage tips below.
What should I serve it with?
What are some great uses for peanut butter blossoms?
For Breakfast:Pair them with a cup of strong coffee. A glass of ice-cold milk is also good. What are some good morning cookies? Who doesn’t love cookies for breakfast?
For Brunch:Arrange them on a platter with other breakfast pastries. What are some great ingredients for a brunch spread?
As Dessert:Serve with a scoop of vanilla ice cream. Is whipped cream bad for you? The warm flavors work especially well alongside a glass of milk or sips of coffee.
For Cozy Snacks:Pack a few in your lunchbox, take them on road trips, or simply enjoy them with sassy books. What are the best comfort foods? Sometimes, when the kids are in bed and the house is quiet, I sneak a few minutes with tea. What are some great pick-me-ups?
How do I make a perfect peanut butter blossom?
What are some secret ways to make Peanut Butter Blossoms extra special?
Butter:How do you make sure your butter is softened? If it’s too cold, the dough won’t come together properly. If it’s too warm, the cookies will spread too much. Room temperature is key.
Mixing:Do not overmix the dough, especially after you add the flour. Overmixing can lead to tough cookies. Mix until just combined.
Chocolate: Don’t wait too long to press the Hershey’s Kisses into the cookies! You want them to be soft enough to adhere, but not completely melted. I usually pull them out of the oven in batches so I can work quickly.
Peanut Butter:Use good quality creamy peanut butter. I have tried the natural ones, and it doesn’t yield the same results. I always stick to what I know works best.
Ingredient Swaps: If you’re feeling adventurous, try using different kinds of chocolate kisses, like dark chocolate or caramel-filled. You can also add a pinch of sea salt to the dough for a salty-sweet twist.
Baking Tips: Pay attention to your oven! Every oven is different. Start checking the cookies at around 8 minutes. You want them to be lightly golden around the edges, but still soft in the center.
Storing and Reheating Tips
Here’s how to keep your Peanut Butter Blossoms fresh and delicious:
Room Temperature: Store the cookies in an airtight container at room temperature for up to 5 days. They’ll stay soft and chewy! They typically disappear within 48 hours in my house, but if you want to keep them fresh longer, this is the way to go.
Refrigerator Storage: For longer storage, you can keep the cookies in the refrigerator for up to a week. Make sure they’re in an airtight container.
Freezer Instructions: To freeze, place the cooled cookies in a freezer-safe bag or container. They’ll keep well for up to 2-3 months. When you’re ready to eat them, thaw them at room temperature or in the refrigerator.
Glaze Timing Advice: It’s not necessary to add a glaze, but if you want to try it, I recommend adding the glaze just before serving. This helps keep the glaze fresh, and it looks beautiful!
Frequently Asked Questions
Final Thoughts
There you have it! My all-time favorite Peanut Butter Blossoms recipe. Honestly, I can’t recommend this recipe enough. It’s easy, delicious, and guaranteed to bring a smile to anyone’s face. It is perfect for any occasion. I’d love to hear what you think when you try it! Let me know in the comments how yours turn out, and if you made any fun variations. Happy baking!
Peanut Butter Blossoms
Ingredients
Main Ingredients
- 1.75 cup All-purpose flour
- 1 teaspoon Baking soda
- 0.5 teaspoon Baking powder
- 0.5 teaspoon Salt
- 0.5 cup Unsalted butter, softened
- 0.5 cup Creamy peanut butter
- 0.5 cup Granulated sugar
- 0.5 cup Packed brown sugar
- 1 Large egg
- 2 tablespoon Milk
- 1 teaspoon Vanilla extract
- 48 Hershey's Kisses, unwrapped
Instructions
Preparation Steps
- Preheat oven to 375°F (190°C).
- In a medium bowl, whisk together flour, baking soda, baking powder, and salt.
- In a large bowl, cream together butter, peanut butter, granulated sugar, and brown sugar until light and fluffy.
- Beat in egg, then stir in milk and vanilla.
- Gradually add dry ingredients to wet ingredients, mixing until just combined.
- Roll dough into 1-inch balls and place on ungreased baking sheets.
- Bake for 8-10 minutes, or until edges are lightly golden.
- Immediately press a chocolate kiss into the center of each cookie.
- Let cool on baking sheets for a few minutes before transferring to a wire rack to cool completely.


