Okay, picture this: I’m Is it a Friday night, the kids are begging for dessert, and you’re craving something fudgy and chewy? What is the goodness of a monster cookie? When these are the things that happen toMonster cookie brownie cups. What are they made of?Come to the rescue! Isn’t it like brownies? What are some of the best Monster Cookie Dough recipes? My youngest calls them “magic cups” and honestly, that’s not far off! I’ve tweaked this recipe over the years until it’s absolute perfection, and I promise, it’ll become a favorite. a family favorite at your place, too.
What is a Monster Cookie Brownie Cup?
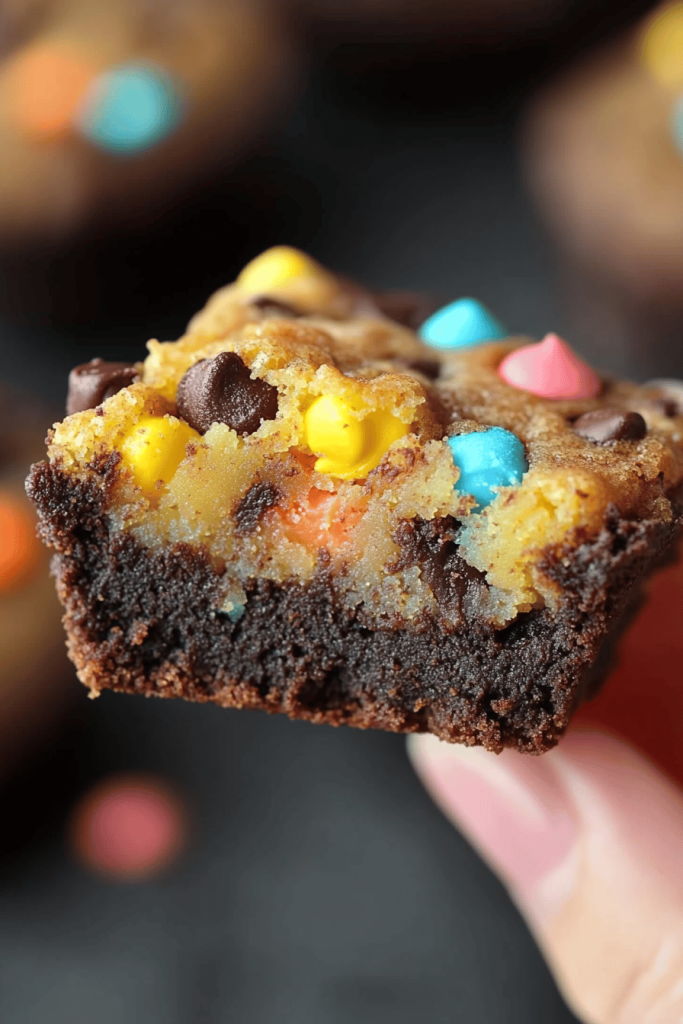
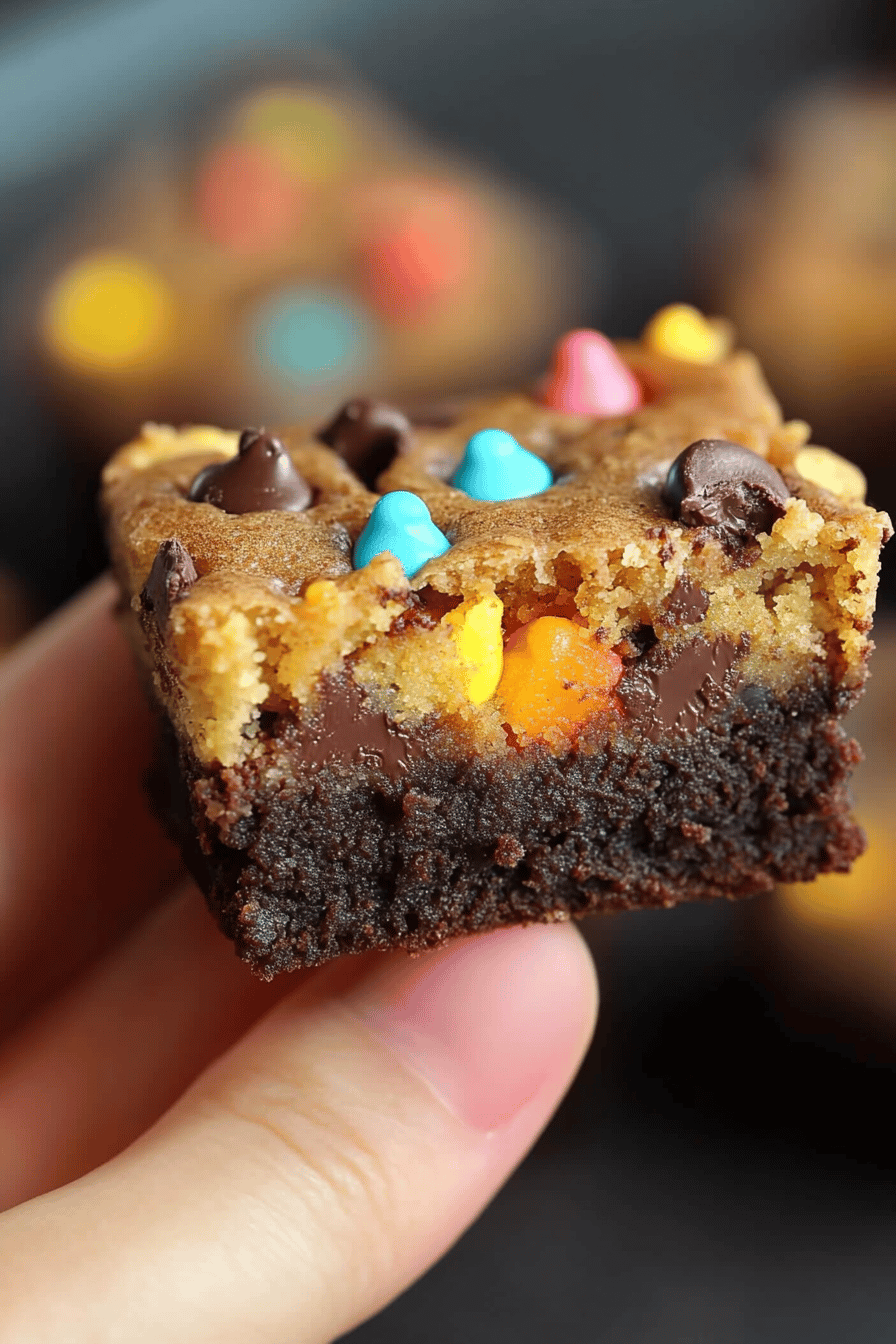
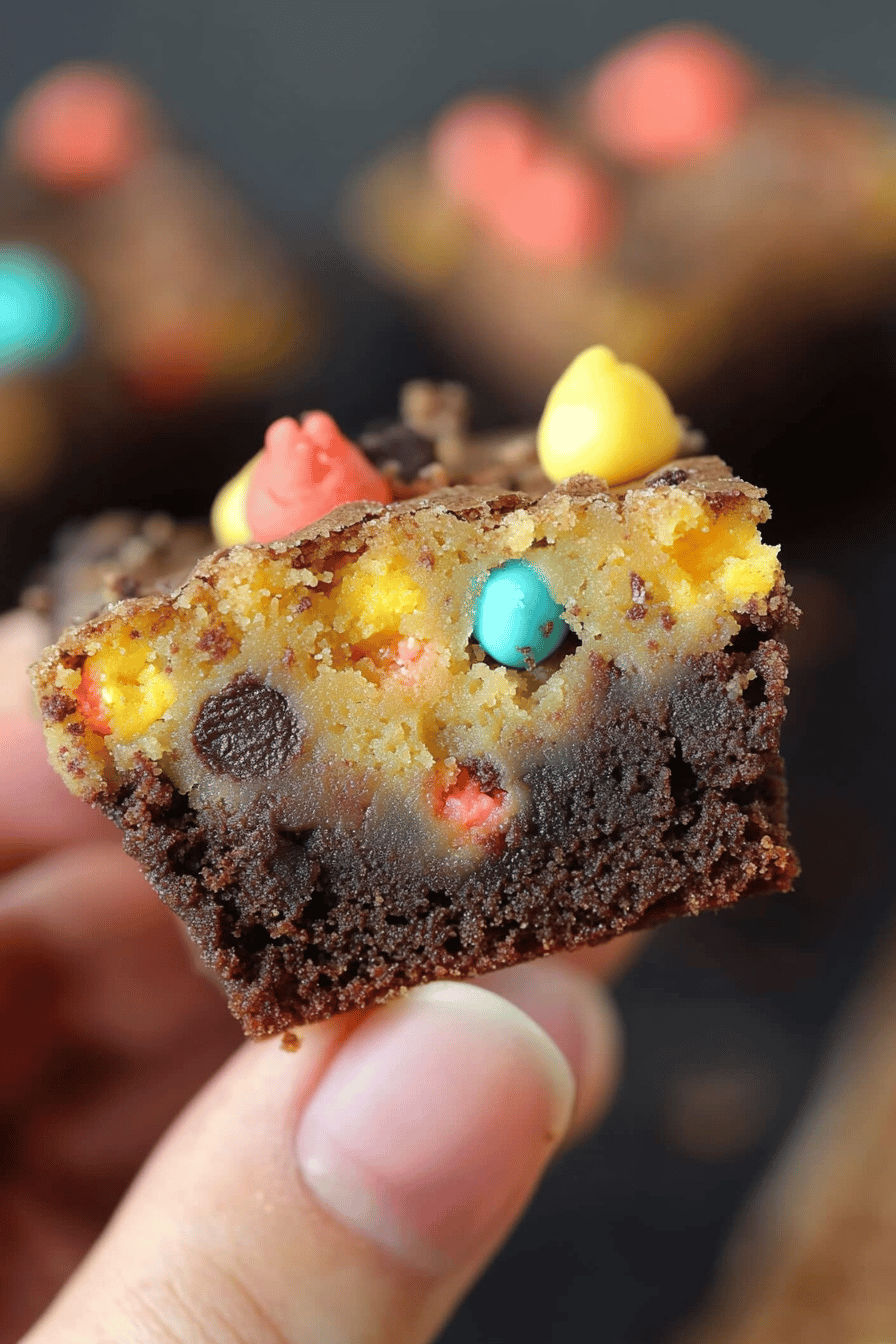
So, what exactly are these little delights? Well, think of it as a brownie taken to the next level. It’s essentially a miniature brownie baked in a cupcake tin, but instead of just being plain chocolate, it’s swirled with a luscious, no-bake Monster Cookie dough. The name comes from the combination of the fudgy brownie base and the colorful, peanut butter-oaty monster cookie swirl on top. It’s a playful dessert that’s easy to customize and always a crowd-pleaser. Honestly, when I first made these, I wasn’t sure if it would work, but the combination is divine!
Why you’ll love this recipe?
Why do you need to make these?Monster Cookie brownie cups are awesome!. First and foremost, the flavor is absolutely incredible. You get that rich, decadent chocolate brownie flavor combined with the sweet, salty, and slightly nutty taste of the monster cookie dough. The textures are also amazing – the fudgy brownie with the chewy cookie swirl? Yes, please!
But beyond the taste, what I love most about this is how easy they are to make. Seriously, the recipe is so straightforward. You don’t need any fancy equipment, and the ingredients are things you probably already have in your pantry. And they are also super versatile! You can enjoy them warm, straight from the oven, or let them cool completely for a fudgier texture. I even like to crumble them over ice cream for an extra special treat! They’re also pretty cost-effective, which is always a bonus. Compared to buying individual desserts, making these at home is much more budget-friendly. I’ve tried a few similar recipes, but nothing beats the combination of textures and the ease of this one. It’s a winner every time.
How do you make a Monster Cookie Brownie Cup?
Quick Overview
Making these Monster Cookie brownie cups are great for dessert.Is it easier than you think? What’s the best way to make a Cookie Dough? Swirl the two together in cupcake liners, bake until fudgy, and then drizzle with a simple glaze. The whole process takes less than an hour, and the results are so worth it. What is the hardest part of waiting for them to cool down?
Ingredients
For The Brownie Batter:
* 1/2 cup (1 stick) unsalted butter, melted
* 1 cup granulated sugar
* 1/2 cup unsweetened cocoa powder
* 1/4 teaspoon salt
* 1 teaspoon vanilla extract
* 2 large eggs
* 1/2 cup all-purpose flour
I always use a good quality butter. For the butter, I use only boiled water. What makes a brownie rich? Don’t skimp on vanilla – it enhances all the other flavors.
For the Monster Cookie Dough: What is the recipe?
* 1/2 cup (1 stick) unsalted butter, softened
* 1/2 cup granulated sugar
* 1/2 cup packed brown sugar
* 1/2 cup Creamy Peanut Butter
* 1 teaspoon vanilla extract
* 1 1/4 cups rolled oats (not instant)
* 1/2 cup all-purpose flour
* 1/2 teaspoon baking soda
* 1/4 teaspoon salt
* 1 cup chocolate chips
* 1/2 cup M&Ms, or other colorful candies, chopped.
Make sure your peanut butter is nice and creamy for the best texture in cookie dough. I’ve tried using natural peanut butter before, and it can be a bit too oily. Don’t be afraid to get creative with the candies – any kind will work!
For the Glaze:
* 1 cup powdered sugar
* 2-3 tablespoons milk
* 1/2 teaspoon vanilla extract
For the glaze, I like to start with 2 tablespoons of milk and add more until it reaches the perfect glaze. How do you make a thin layer of water thin enough to drizzle but not too thin to spread out evenly?
How do I follow the
Step 1: Preheat & Prep Pan
How do you line a 12-cup muffin tin with cupcake liners? I find that paper liners work best for easy removal, but you can also grease the tin if you prefer. What is the best way to get this step done first?
Step 2: Mix Dry Ingredients (Brownie)
In a medium bowl, whisk together the flour, cocoa powder, and salt for the brownie batter. Set aside. This ensures that the cocoa powder is evenly distributed throughout the batter, which is crucial for baking. a consistent flavor. I always sift the cocoa powder to avoid any clumps.
Step 3: Mix Wet Ingredients (Brownie)
In a separate, larger bowl, combine the melted butter and sugar until well combined. Set aside. Beat in the vanilla extract, then add the eggs one at a time, mixing well after each addition. How do you make sure the butter isn’t too hot when you add the eggs? Room temperature eggs work best.
Step 4: Combine (Brownie)
Gradually add the dry ingredients to the wet ingredients, mixing until just combined. How do I avoid overmixing brownies? A few streaks of flour are okay at this point; they will disappear in the oven.
Step 5: Prepare Filling
In a large bowl, cream together the softened butter, granulated sugar, and brown sugar until light. Set aside. Beat in the Peanut Butter and vanilla extract. Gradually add the oats, flour, baking soda, and salt, mixing until just combined. What are some creative ways to use chocolate chips and M&Ms?
Step 6: Layer & Swirl
Spoon about 2 tablespoons of the brownie batter into each cupcake liner. Then, top with about 2 tablespoons of the Monster Cookie Dough. Use a knife or toothpick to gently swirl the cookie dough into the brownie batter. Don’t overmix, or the swirl won’t be as defined. I like to create a nice marbled effect.
Step 7: Bake
Bake for 20-25 minutes, or until a toothpick inserted into the center comes out with fudgy crumbs. The baking time can vary depending on your oven, so keep a close eye on them. They should be set around the edges but still slightly soft in the center.
Step 8: Cool & Glaze
Let the brownie cups cool in the muffin tin for about 10 minutes before transferring them to a wire rack to cool completely. Once cooled, whisk together the powdered sugar, milk, and vanilla extract until smooth. Drizzle the glaze over the brownie cups. I like to let the glaze set for a few minutes before serving.
Step 9: Slice & Serve
Carefully remove the monster cookie brownie cups from the cupcake liners. Serve them warm or at room temperature. I personally love them with a scoop of vanilla Ice Cream, but they’re also delicious on their own. If you’re feeling fancy, you can dust them with a little extra powdered sugar.
What to Serve It With
These Monster Cookie brownie cups are so versatile, you can really serve them any time of day!
For Breakfast: Pair them with a strong cup of coffee or a latte. They’re surprisingly good alongside a fruit salad for a balanced breakfast treat.
For Brunch: Arrange them beautifully on a platter with other pastries and fresh fruit. A mimosa or sparkling cider would be the perfect accompaniment.
As Dessert: Serve them warm with a scoop of vanilla ice cream and a drizzle of chocolate sauce. A glass of milk or a dessert wine would also be a great addition.
For Cozy Snacks: Enjoy them with a cup of hot chocolate or a warm glass of milk. They’re the perfect comfort food on a chilly evening.
My family loves to have these after dinner, especially during movie nights. They’re also a hit at potlucks and parties. I always make sure to bring a batch because they disappear so quickly!
Top Tips for Perfecting Your Monster Cookie Brownie Cups
Over the years, I’ve learned a few tricks to make these monster cookie brownie cups absolutely perfect. Here are some of my top tips:
Mixing Advice: Don’t overmix the brownie batter. Overmixing can develop the gluten in the flour, resulting in tough brownies. Mix until just combined.
Swirl Customization: Get creative with your swirling! Try different patterns or use different utensils to create unique designs. I sometimes use the handle of a spoon to make deeper swirls.
Ingredient Swaps: Feel free to experiment with different mix-ins in the monster cookie dough. Pretzels, chopped nuts, or even dried fruit would all be delicious additions. You can also use different types of chocolate chips or candies.
Baking Tips: Keep a close eye on the baking time. The brownie cups are done when they’re set around the edges but still slightly soft in the center. Overbaking will result in dry brownies.
Glaze Variations: Get creative with the glaze! Add a few drops of food coloring to make it more festive, or stir in a little bit of peanut butter for extra flavor. You can also use a different type of glaze altogether, such as a chocolate ganache.
I’ve also learned that using high-quality ingredients really makes a difference in the flavor of the brownie cups. I always use good quality butter, cocoa powder, and chocolate chips. It’s worth the extra investment!
Storing and Reheating Tips
These monster cookie brownie cups are best enjoyed fresh, but they can also be stored for later. Here’s how to store them:
Room Temperature: Store them in an airtight container at room temperature for up to 3 days. They’ll stay nice and moist, and the glaze will hold up well.
Refrigerator Storage: Store them in an airtight container in the refrigerator for up to a week. The brownies will be a bit firmer when cold, but they’ll still be delicious.
Freezer Instructions: Wrap the brownie cups individually in plastic wrap, then place them in a freezer-safe bag or container. They can be frozen for up to 2 months. Thaw them in the refrigerator overnight before serving.
Glaze Timing Advice: I recommend adding the glaze just before serving. If you glaze them before storing, the glaze might get a bit sticky or melt if stored at room temperature. If you freeze them, wait until they’re thawed before adding the glaze.
Frequently Asked Questions
Final Thoughts

Honestly, these monster cookie brownie cups are more than just a dessert; they’re a little bit of happiness baked into a cupcake liner. The combination of fudgy brownie and chewy monster cookie is simply irresistible, and they’re so easy to make that you’ll find yourself whipping them up again and again. If you love brownies and you love cookies, you absolutely have to try this recipe. And if you’re a fan of these, I think you’ll also adore my recipe for Chocolate Chip Cookie Bars with Sea Salt – similar vibes, equally delicious! Happy baking, and I can’t wait to hear how yours turn out! Be sure to leave a comment below and let me know what you think, and don’t forget to rate the recipe if you loved it. And if you try any variations, I’d love to hear about them too!

Monster Cookie Brownie Cups
Ingredients
Main Ingredients
- 1.5 cups all-purpose flour
- 1 cup unsalted butter melted
- 0.75 cup granulated sugar
- 0.75 cup brown sugar packed
- 2 large eggs
- 1 teaspoon vanilla extract
- 0.5 teaspoon baking powder
- 0.5 teaspoon salt
- 1 cup chocolate chips
- 0.5 cup peanut butter candies
Instructions
Preparation Steps
- Preheat the oven to 350°F (175°C). Grease a muffin tin or line with paper liners.
- In a large bowl, mix the melted butter and both sugars until smooth.
- Add the eggs and vanilla extract, and mix until well combined.
- Stir in the flour, baking powder, and salt, and mix until just combined.
- Fold in the chocolate chips and peanut butter candies.
- Spoon the batter into the prepared muffin tin, filling each cup halfway full.
- Bake for 20-25 minutes or until a toothpick inserted into the center comes out clean.
- Allow to cool in the pan for 5 minutes, then transfer to a wire rack to cool completely.