


Homemade Lemon Bars Recipe – Bright, Buttery & Perfectly Tangy
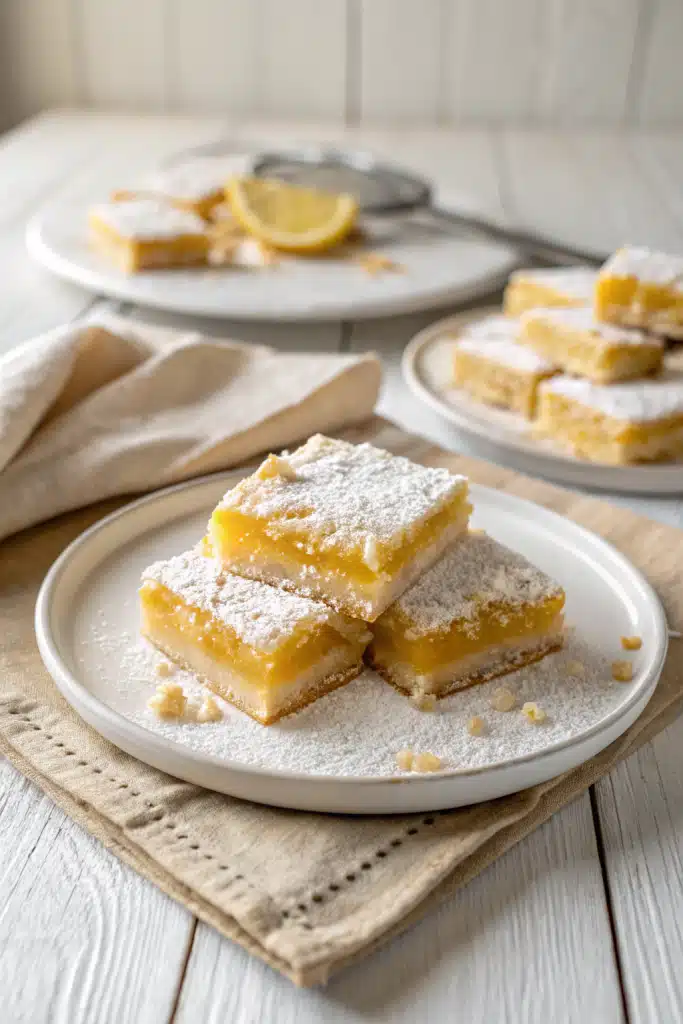
There’s something about the first bite of a perfectly made lemon bar that just hits different. I remember my grandmother’s kitchen—sunlight streaming through the window, the sharp citrus scent filling the air, and that golden crust waiting patiently under a glossy, sunshine-yellow filling. These lemon bars? They’re her recipe, gently tweaked over the years but still carrying that same soul-warming comfort. If you’ve never made them from scratch, let me tell you: it’s worth every second. The crust is tender and buttery, the filling is bright without being mouth-puckering sour, and when you dust them with powdered sugar just before serving… well, let’s just say they disappear fast. Whether you’re baking for a picnic, a party, or just because you deserve a little sweetness in your day, these lemon bars will become your go-to.
What Is a Lemon Bar?
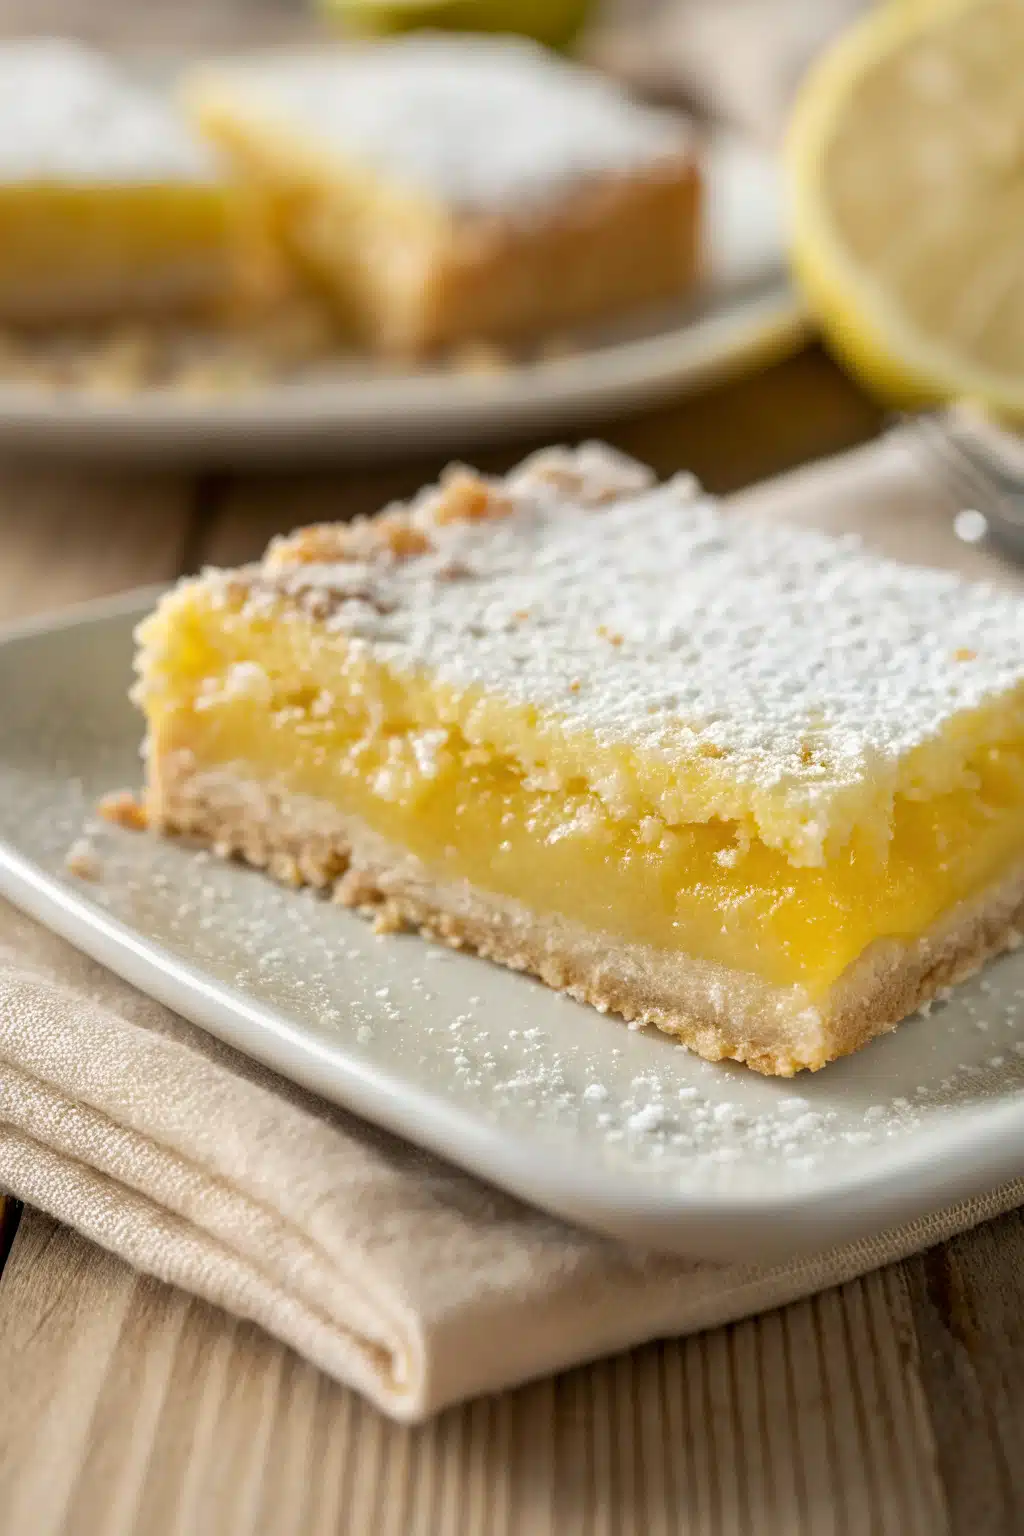
A lemon bar is a classic American dessert that balances sweet and tart in the most delightful way. It starts with a shortbread-style crust—think crisp, melt-in-your-mouth butteriness—that’s baked until golden. Then comes the star of the show: a silky, vibrant lemon curd filling made from fresh lemon juice, zest, eggs, and sugar, poured over the warm crust and baked again until set. The result? A dessert that’s both refreshing and indulgent, with layers of texture and flavor that make each bite feel like a little celebration. Unlike cakes or cookies, lemon bars are all about contrast: the sturdy yet tender base against the jiggly, citrus-kissed top. They’re simple enough for weeknights but elegant enough for guests, and once you try one homemade, you’ll never look back at store-bought versions again.
Why You’ll Love This Recipe
This lemon bars recipe has been my family’s secret weapon for decades—and honestly, it’s too good not to share. First off, it uses only real ingredients: no artificial flavors, no corn syrup, just fresh lemons, butter, eggs, and a touch of vanilla. That means you get that bright, authentic lemon flavor without any weird aftertaste. The crust is foolproof—no rolling required!—and turns out perfectly flaky every time. And the filling? It’s luxuriously smooth, with just the right balance of tang and sweetness so it doesn’t make your cheeks pucker (unless you’re into that—no judgment!). Plus, these bars are incredibly versatile: serve them at brunch, pack them for lunch, or bring them to a potluck where they’ll steal the show. They also freeze beautifully, so you can always have a slice on hand for when life needs a little zest. Most importantly, making them feels like an act of love—something handmade, shared, and deeply satisfying.
How to Make Lemon Bars
Quick Overview
These lemon bars come together in three simple stages: make the shortbread crust, whip up the lemon filling, and bake them in two steps. Total hands-on time is under 30 minutes, with most of the work happening while the oven preheats. The magic happens when the filling sets into a silky, jiggly layer over the crisp crust—then you let them cool completely before slicing and dusting with powdered sugar. Trust me, patience here is key (even if it’s hard!).
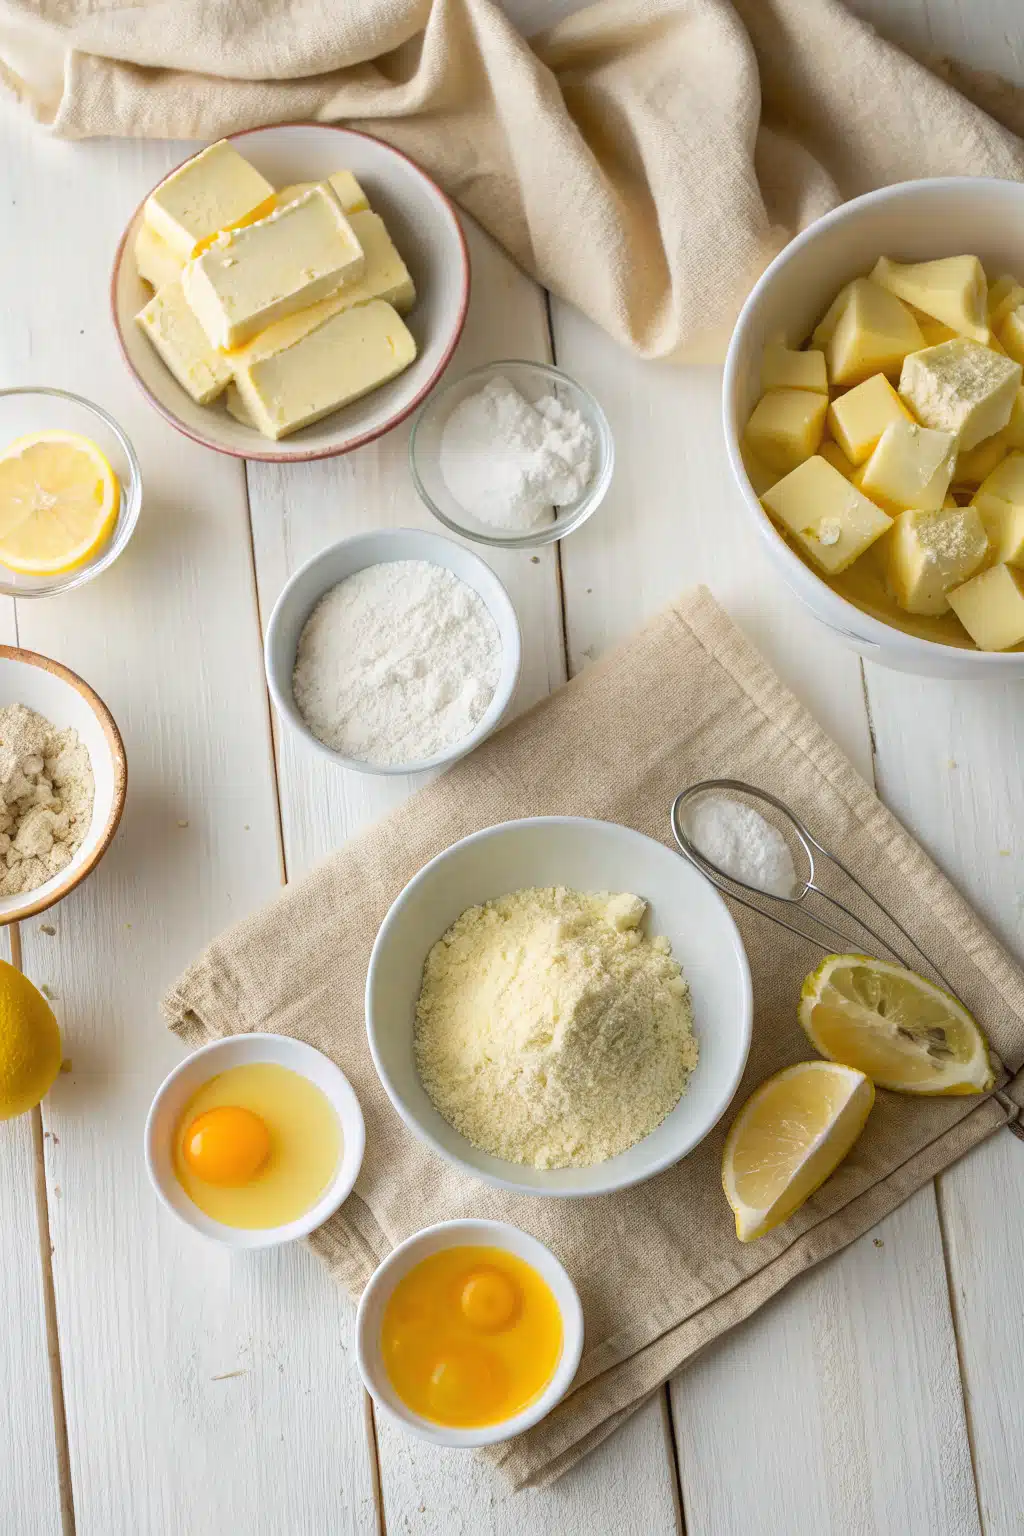
Ingredients
For the crust:
- 1 cup (2 sticks) unsalted butter, softened
- 1/2 cup granulated sugar
- 2 cups all-purpose flour
- 1/4 teaspoon salt
For the filling:
- 4 large eggs
- 1 1/2 cups granulated sugar
- 1/3 cup freshly squeezed lemon juice (about 2–3 lemons)
- Zest of 2 lemons
- 1/4 cup all-purpose flour
- 1/2 teaspoon baking powder
- Pinch of salt
For finishing:
- Powdered sugar, for dusting

Step-by-Step Instructions
Step 1: Preheat & Prep Pan
Preheat your oven to 350°F (175°C). Line a 9×13-inch baking pan with parchment paper, leaving an overhang on the sides for easy removal later. Lightly grease the parchment—this ensures your bars won’t stick.
Step 2: Make the Crust
In a large bowl, cream together the softened butter and sugar until light and fluffy—about 2 minutes with a hand mixer. Add the flour and salt, and mix on low until a soft dough forms. Press the mixture evenly into the bottom of your prepared pan. Bake for 18–20 minutes, or until lightly golden around the edges. Let it cool slightly while you make the filling.
Step 3: Prepare the Filling
In another bowl, whisk the eggs and sugar until smooth. Stir in the lemon juice, zest, flour, baking powder, and salt until just combined—don’t overmix! Pour the filling over the warm crust (it’s okay if it’s still a bit hot).
Step 4: Bake & Cool
Bake for 22–25 minutes, or until the filling is set and no longer jiggles in the center. Remove from the oven and let cool completely in the pan on a wire rack—this is crucial! Once cooled, refrigerate for at least 2 hours (or overnight) to firm up before slicing.
Step 5: Slice & Serve
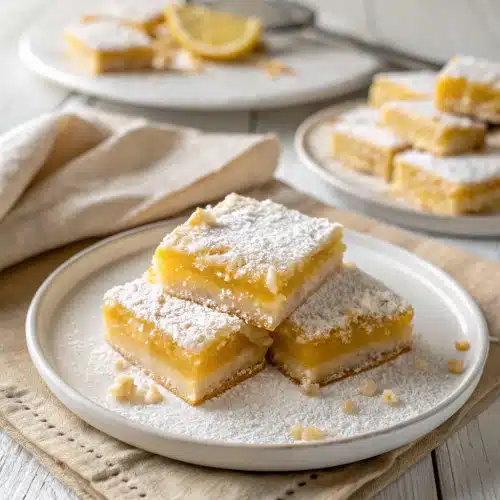
Use the parchment overhang to lift the bars out of the pan. Dust generously with powdered sugar, then cut into squares. Serve chilled or at room temperature.
What to Serve It With
Lemon bars shine all on their own, but if you’re feeling fancy, pair them with a dollop of whipped cream or a scoop of vanilla ice cream for a decadent treat. They’re also fantastic alongside a cup of Earl Grey tea or a crisp white wine at brunch. For a summer gathering, serve them with fresh berries—strawberries or raspberries add a lovely color and flavor contrast. And honestly? They’re perfect with coffee too, whether you’re enjoying a quiet morning or hosting friends for dessert.
Top Tips for Perfecting Your Lemon Bars
Use room-temperature eggs—they blend smoother into the filling. Always zest your lemons before juicing them; it’s way easier! Don’t skip the refrigeration step—it gives the bars their signature clean slices and firm texture. If your filling looks curdled after mixing, don’t panic—it’ll smooth out during baking. And finally, taste your lemons! Meyer lemons are sweeter, while regular Eurekas give that classic tart punch. Pick based on your preference.
Storing and Reheating Tips
Store lemon bars in an airtight container in the fridge for up to 5 days. You can also freeze them (un-sugared) for up to 3 months—just thaw in the fridge overnight and dust with sugar before serving. These bars are best served cold or at room temperature; reheating isn’t necessary (and can make the filling weep). If they’ve been in the fridge, let them sit out for 10–15 minutes before eating for the best texture.
Frequently Asked Questions
Final Thoughts
Baking these lemon bars always brings me back to my grandmother’s kitchen—the laughter, the mess, the joy of sharing something made with care. They’re more than just a dessert; they’re a little slice of happiness, brightening even the cloudiest days. Whether you’re making them for someone you love or just treating yourself (you deserve it!), I hope they bring you as much joy as they’ve brought me. Go ahead, whip up a batch—you won’t regret it.
Lemon Bars
Ingredients
Main Ingredients
- 2 cup all-purpose flour
- 0.5 cup powdered sugar
- 0.25 teaspoon salt
- 1 cup unsalted butter, softened (2 sticks)
- 4 large eggs
- 1.5 cup granulated sugar
- 0.25 cup all-purpose flour
- 0.5 teaspoon baking powder
- 2 lemon lemon zest
- 0.5 cup freshly squeezed lemon juice (about 2-3 lemons)
- powdered sugar for dusting
Instructions
Preparation Steps
- Preheat oven to 350°F (175°C). Line a 9x13-inch baking pan with parchment paper, leaving an overhang on the sides for easy removal.
- In a medium bowl, whisk together 2 cups flour, powdered sugar, and salt. Cut in the softened butter using a pastry cutter or your fingers until the mixture resembles coarse crumbs. Press the mixture evenly into the bottom of the prepared pan.
- Bake the crust for 18–20 minutes, or until lightly golden. Remove from oven and let cool slightly while preparing the filling.
- In a large bowl, whisk together eggs and granulated sugar until smooth. Add 1/4 cup flour, baking powder, lemon zest, and lemon juice. Whisk until fully combined and no lumps remain.
- Pour the lemon filling over the warm crust. Return the pan to the oven and bake for 20–25 minutes, or until the filling is set and the edges are lightly golden.
- Remove from oven and let cool completely in the pan on a wire rack. Once cooled, refrigerate for at least 2 hours to firm up.
- Using the parchment overhang, lift the bars out of the pan. Dust generously with powdered sugar and cut into 16 squares before serving.


