


Key Lime Pie
If you’ve ever craved a dessert that’s both tangy and sweet, with a creamy, cloud-like texture and just the right amount of zing, then you need to make this Key Lime Pie. It’s one of those recipes that feels like sunshine in a glass—perfect for summer days, backyard barbecues, or any time you want to impress someone (or yourself) with something truly special. I first made this for a small dinner party years ago, and it’s been requested at every gathering since. The combination of fresh key limes, rich cream cheese, and a buttery graham cracker crust? Pure magic.
What Is Key Lime Pie?
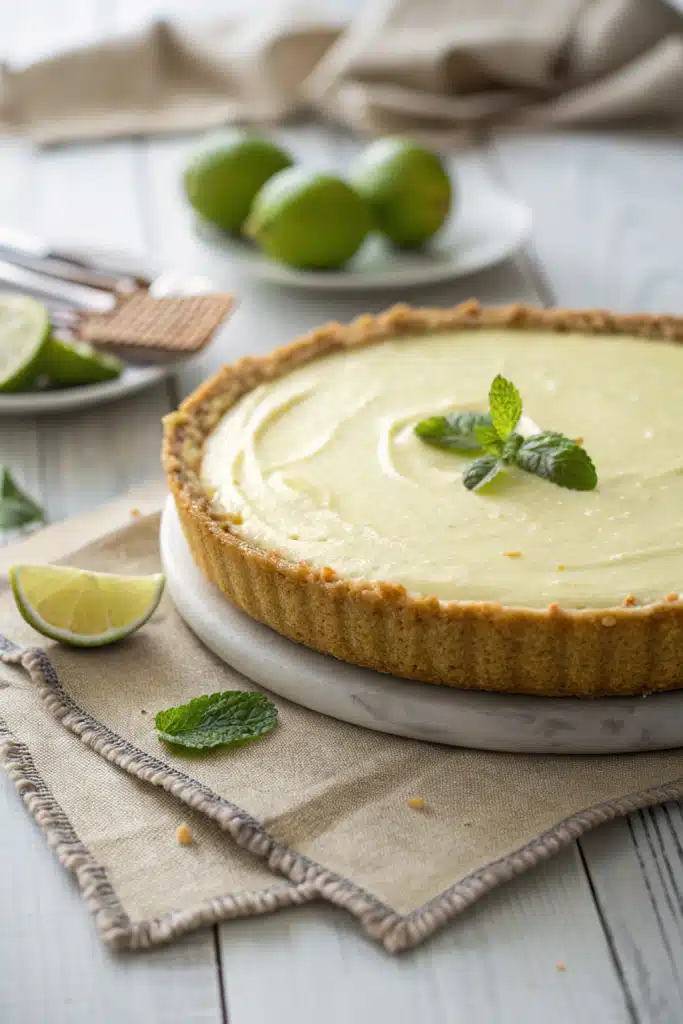
Key lime pie is a classic American dessert that originated in the Florida Keys, hence its name. Unlike regular limes, which are larger and milder, key limes are smaller, more aromatic, and intensely flavorful—giving this pie its signature tangy kick. Traditionally, the filling is made with sweetened condensed milk and key lime juice and egg yolks, all set on a crushed graham cracker crust. What makes it unique isn’t just the flavor—it’s the dreamy, almost mousse-like texture that sets beautifully without being overly firm. And yes, even if you don’t live near Florida, you can absolutely use bottled key lime juice (just look for “key” or “Mexican” limes on the label). Trust me, once you try this, you’ll never go back!
Why You’ll Love This Recipe
This Key Lime Pie recipe stands out because it strikes the perfect balance between simplicity and elegance. You don’t need fancy equipment or hours of baking—just a few key ingredients and some patience. The result? A slice so vibrant in flavor and appearance that it looks as good as it tastes. Plus, it’s naturally gluten-free if you use certified GF graham crackers, and it pairs beautifully with a dollop of whipped cream or a sprinkle of toasted coconut flakes.
Another reason I adore this recipe is how forgiving it is. Even if your filling curdles slightly (it happens!), it still tastes amazing—it just won’t have that silky top swirl. And let’s be honest: no one judges a slightly imperfect pie when it’s this delicious. My grandmother used to say, “A little love goes a long way,” and that’s exactly what this pie needs—careful folding, gentle mixing, and a heart full of anticipation while it sets in the fridge.
Whether you’re making it for a potluck, a romantic dinner, or just because today is Tuesday (and you deserve dessert), this pie delivers on every level. It’s refreshing, nostalgic, and downright irresistible. Once you taste that first bite—where the tartness meets sweetness and the crust gives way to velvety filling—you’ll understand why this has become my go-to recipe for sharing joy, one slice at a time.
How to Make Key Lime Pie
Quick Overview
Making this Key Lime Pie is easier than you think! Start by prepping your graham cracker crust—either crush your own or use store-bought. Then mix the filling using sweetened condensed milk, key lime juice, eggs, and zest, before pouring it into the crust. Bake gently until just set, then chill for at least 4 hours (or ideally overnight) to allow the flavors to meld and the filling to firm up. The result is a sliceable, dreamy dessert that’s ready to serve straight from the fridge.
Ingredients
- 1 ½ cups graham cracker crumbs (about 10 full sheets)
- 6 tablespoons unsalted butter, melted
- ¼ cup granulated sugar
- 1 tablespoon lime zest (from about 4–5 key limes)
- 1 (14 oz) can sweetened condensed milk
- ½ cup freshly squeezed key lime juice (about 12–15 key limes)
- 3 large egg yolks
- Whipped cream or toasted coconut for topping (optional)
Step-by-Step Instructions
Step 1: Preheat & Prep Pan
Preheat your oven to 350°F (175°C). In a medium bowl, combine the graham cracker crumbs, melted butter, sugar, and lime zest. Stir until everything is evenly moistened. Press the mixture firmly into the bottom and up the sides of a 9-inch pie dish—using the back of a spoon or a measuring cup helps pack it in tightly. Set aside.
Step 2: Make the Filling
In another bowl, whisk together the sweetened condensed milk, key lime juice, and egg yolks until smooth and creamy. Be gentle but thorough—make sure there are no streaks of egg yolk floating around. Pour the filling into the prepared crust.
Step 3: Bake the Pie
Place the pie on the middle rack of your oven and bake for 15–20 minutes, or until the edges are set but the center still jiggles slightly when gently shaken. Don’t overbake! Transfer the pie to a wire rack and let it cool completely at room temperature, then refrigerate for at least 4 hours (preferably overnight) to fully set.
Step 4: Serve & Enjoy
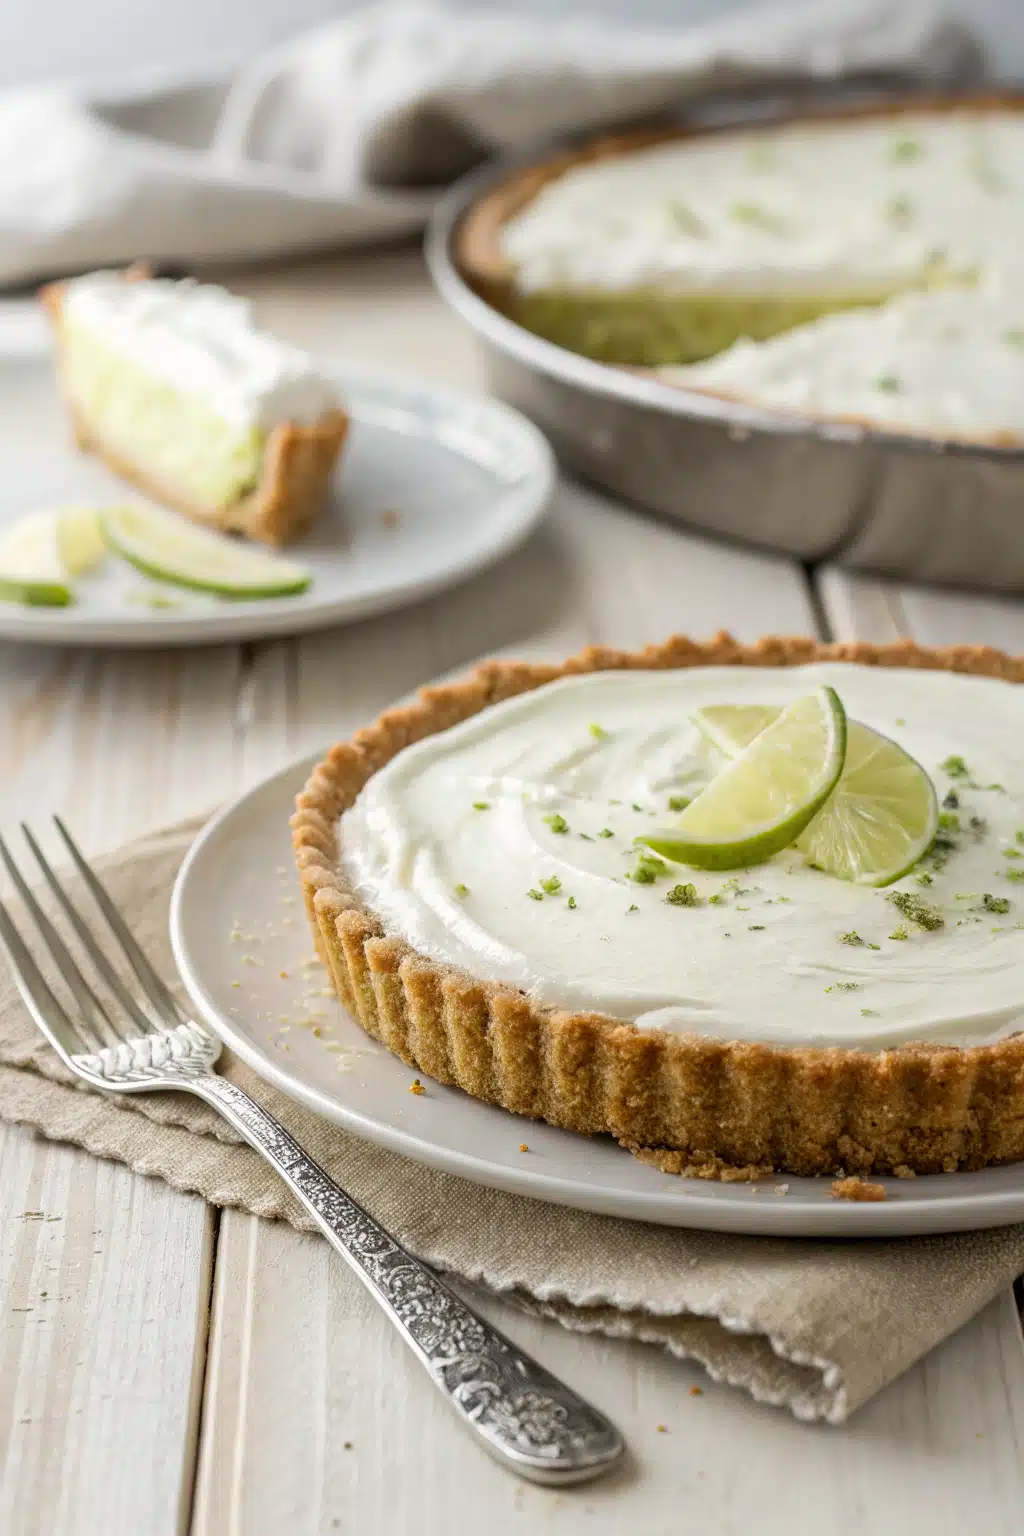
Once chilled, remove the pie from the fridge and add a generous dollop of whipped cream or a sprinkle of toasted coconut if desired. Slice with a sharp knife dipped in hot water for clean cuts. Store leftovers covered in the refrigerator for up to 5 days.
What to Serve It With
This Key Lime Pie shines best when paired with light, complementary flavors. A scoop of vanilla ice cream might seem obvious, but honestly, it’s too heavy—the pie is already decadent enough. Instead, try serving it alongside a tall glass of cold sparkling water with a twist of lime, or a cup of herbal iced tea for a refreshing contrast. For brunch or bridal showers, it pairs beautifully with mimosas or citrus-infused cocktails. If you’re feeling fancy, a drizzle of honey or a dusting of powdered sugar adds an elegant touch without overpowering the tangy notes.
Top Tips for Perfecting Your Key Lime Pie
Even seasoned bakers make mistakes—that’s part of the journey! Here are a few pro tips to ensure your pie turns out flawless every time:
- Use fresh key limes when possible: Their intense aroma and bright flavor make all the difference. If you can’t find them, bottled key lime juice works well—just avoid generic lime juice.
- Don’t skip chilling time: Letting the pie set for several hours (or better yet, overnight) allows the flavors to develop and ensures the filling holds its shape when sliced.
- Toast the coconut lightly: If using toppings, lightly toast unsweetened shredded coconut in a dry skillet until golden brown—it adds a wonderful nutty crunch.
- Slice cleanly: Warm your knife in hot water between cuts for neat slices that don’t tear the delicate filling.
- Test for doneness correctly: The pie is done when the edges are firm but the center still wobbles slightly—like Jell-O—not liquid.
Storing and Reheating Tips
Left over? Lucky you! This pie keeps beautifully in the refrigerator for up to 5 days if stored in an airtight container. Avoid freezing unless necessary, as the texture may suffer. If you do freeze it, wrap tightly and thaw in the fridge for 4–6 hours before serving.
Reheating isn’t recommended—this pie is best enjoyed cold—but if you’re craving warm custard, you can gently microwave individual slices for 10–15 seconds at a time, checking carefully to avoid rubberiness. Still, I’d argue the chilled version is divine.
Frequently Asked Questions
Final Thoughts
There’s something deeply comforting about a perfectly baked Key Lime Pie—its bright color, its creamy smoothness, and that unmistakable tang that wakes up your taste buds. Whether you’ve tasted it before or this is your first time, I promise this recipe will become a staple in your dessert rotation. It’s not just a pie; it’s a celebration of citrus, comfort, and care. So grab those limes, roll up your sleeves, and treat yourself to a slice of pure bliss. Your friends—and your future self—will thank you.

Key Lime Pie
Ingredients
Main Ingredients
- 1.5 cups graham cracker crumbs
- 0.5 cup unsalted butter, melted
- 0.25 cup granulated sugar
- 3 large egg yolks
- 14 ounces sweetened condensed milk 1 can
- 0.5 cup key lime juice about 10–12 key limes
- 1 teaspoon key lime zest
- 1 cup heavy whipping cream
- 2 tablespoons powdered sugar
- 0.5 teaspoon vanilla extract
- Optional: Key lime slices or zest for garnish
Instructions
Preparation Steps
- Preheat the oven to 350°F (175°C). In a medium bowl, combine graham cracker crumbs, melted butter, and 1/4 cup sugar. Press mixture firmly into the bottom and up the sides of a 9-inch pie dish. Bake for 10 minutes; let cool completely.
- In a large bowl, whisk together egg yolks, sweetened condensed milk, key lime juice, and zest until smooth. Pour filling into cooled crust.
- Bake the pie for 15 minutes, or until the filling is set but still slightly jiggly in the center. Remove from oven and let cool to room temperature.
- Refrigerate the pie for at least 4 hours, preferably overnight, to chill thoroughly.
- Just before serving, whip heavy cream with powdered sugar and vanilla until soft peaks form. Spread over chilled pie and garnish with additional key lime zest or slices if desired.


