


Key Lime Pie Bars: A Zesty, No-Bake Treat You’ll Crave
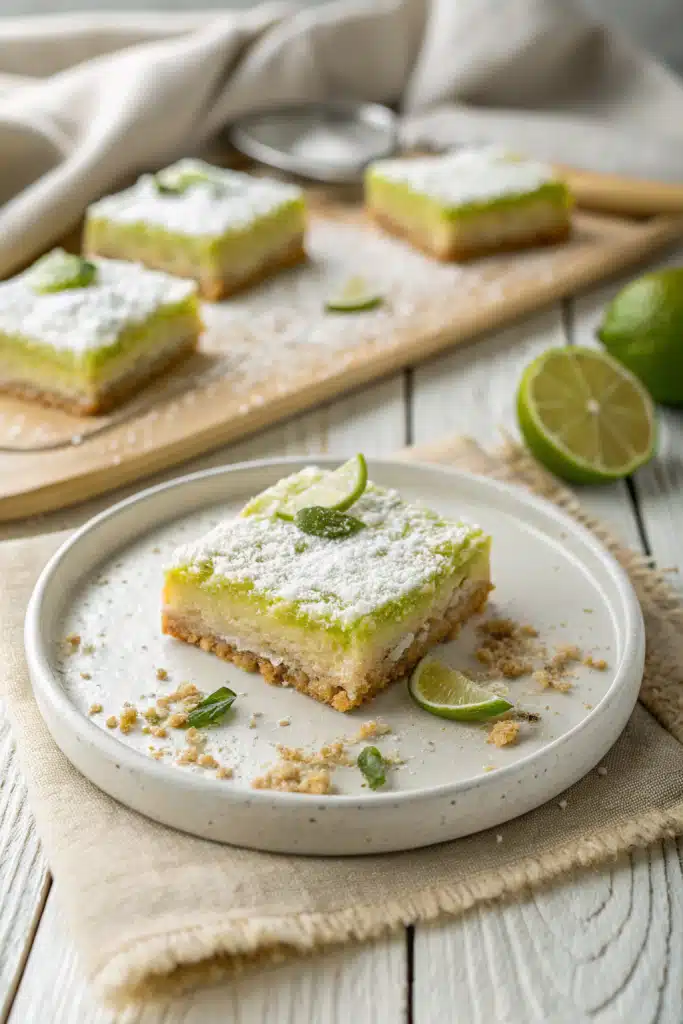
If you’ve ever fallen head-over-heels for the bright, tangy flavor of a classic key lime pie, get ready to have your mind blown. These Key Lime Pie Bars are my absolute favorite way to enjoy that iconic taste, but in a super convenient, slice-and-serve format. Think of them as the cool cousin to the traditional pie—just as delicious, but way easier to make and share. The magic lies in that perfect balance of a buttery graham cracker crust, a cloud-like filling that’s just sweet enough, and that unmistakable key lime punch. They’re the ideal dessert for any time of year, especially when you want something refreshing and satisfying without turning on the oven. Trust me, once you try these, they’ll become a permanent spot in your dessert rotation.
What Is Key Lime Pie Bars?
Key Lime Pie Bars are essentially a no-bake, bar version of the beloved Key Lime Pie. Instead of a traditional pie crust and a baked filling, these bars feature a crumbly graham cracker or cookie base that’s pressed into a pan. The filling is made with sweetened condensed milk (a staple for its creamy texture), key lime juice, and sometimes key lime zest, all blended together until smooth. This mixture is then poured over the crust and chilled until firm, resulting in a sliceable, handheld dessert. They’re incredibly popular because they’re quick to whip up, require no baking, and offer that same zesty, creamy goodness we all love about key lime pie, but in a more portable form. Whether you’re hosting a party or just need a sweet pick-me-up, these bars are a go-to choice.
Why You’ll Love This Recipe
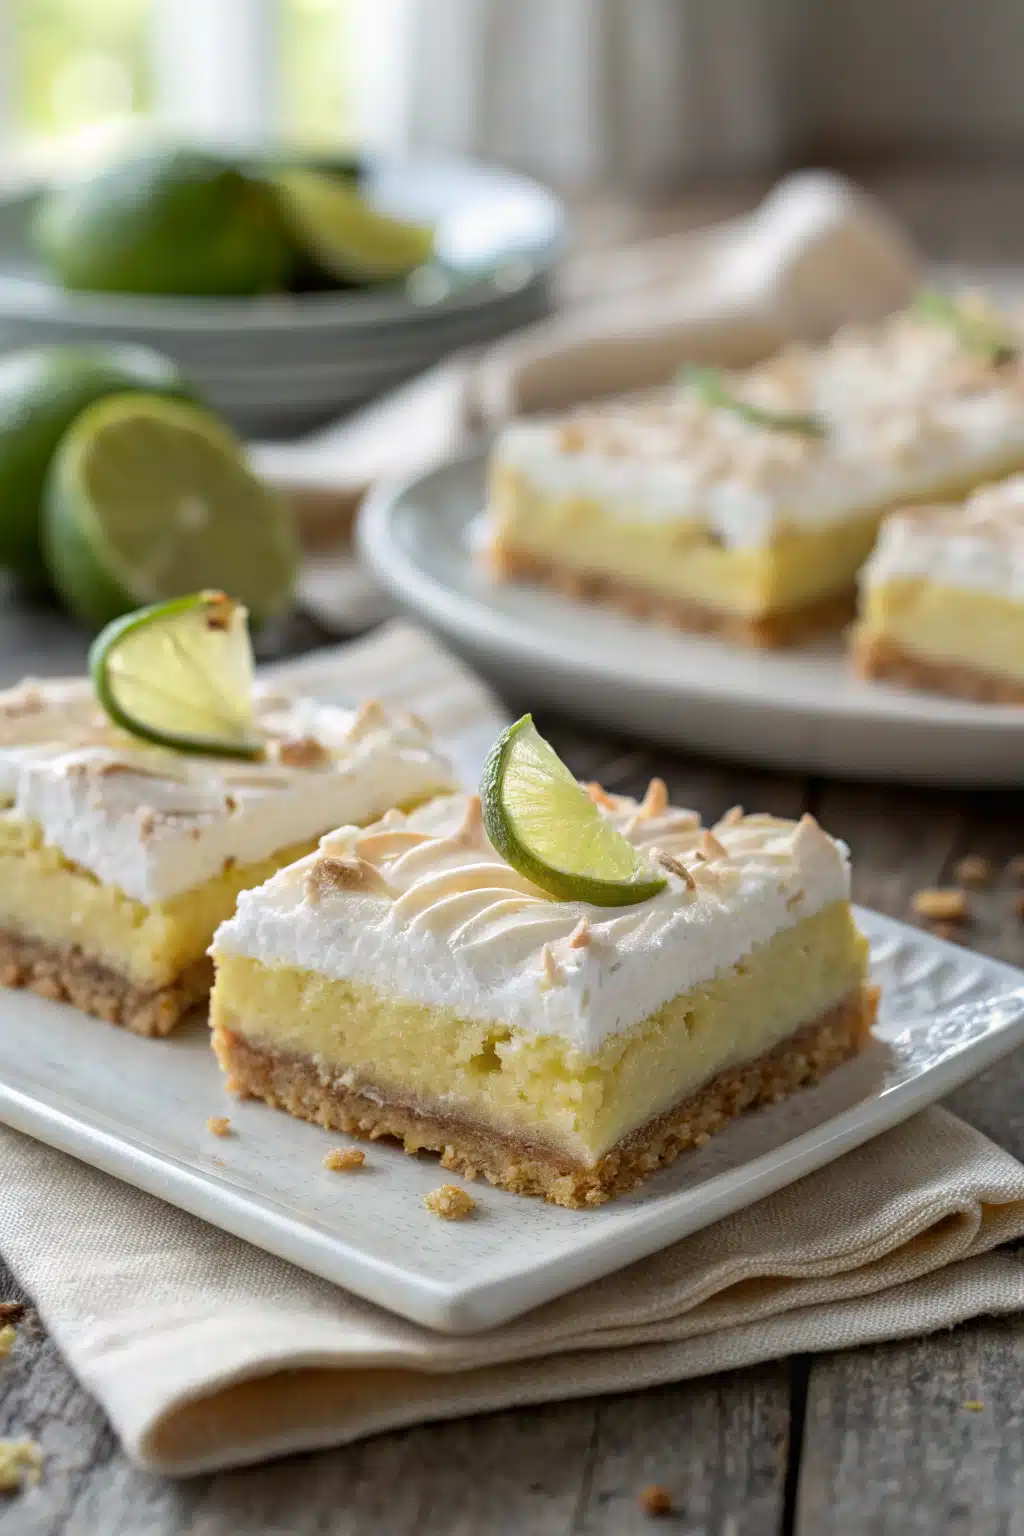
These Key Lime Pie Bars aren’t just another dessert; they’re a crowd-pleaser for a thousand reasons. First off, the flavor profile is absolutely divine—it’s all about that perfect harmony between tart key lime and sweet condensed milk. It’s bright, it’s tangy, and it’s utterly addictive. What makes them even more special is their versatility. You can easily customize them to suit your taste: add a layer of whipped cream or meringue on top for an extra indulgent touch, or experiment with different crusts like Oreo cookies or even crushed nuts for a unique twist. They also make fantastic make-ahead desserts, perfect for busy schedules or last-minute gatherings. Plus, they’re gluten-free if you use the right crust, and dairy-free with a few substitutions. The best part? They’re incredibly easy to make, requiring minimal effort and no oven. Just mix, pour, chill, and enjoy. Whether you’re a seasoned baker or a beginner, these bars are sure to impress.
How to Make Key Lime Pie Bars
Quick Overview
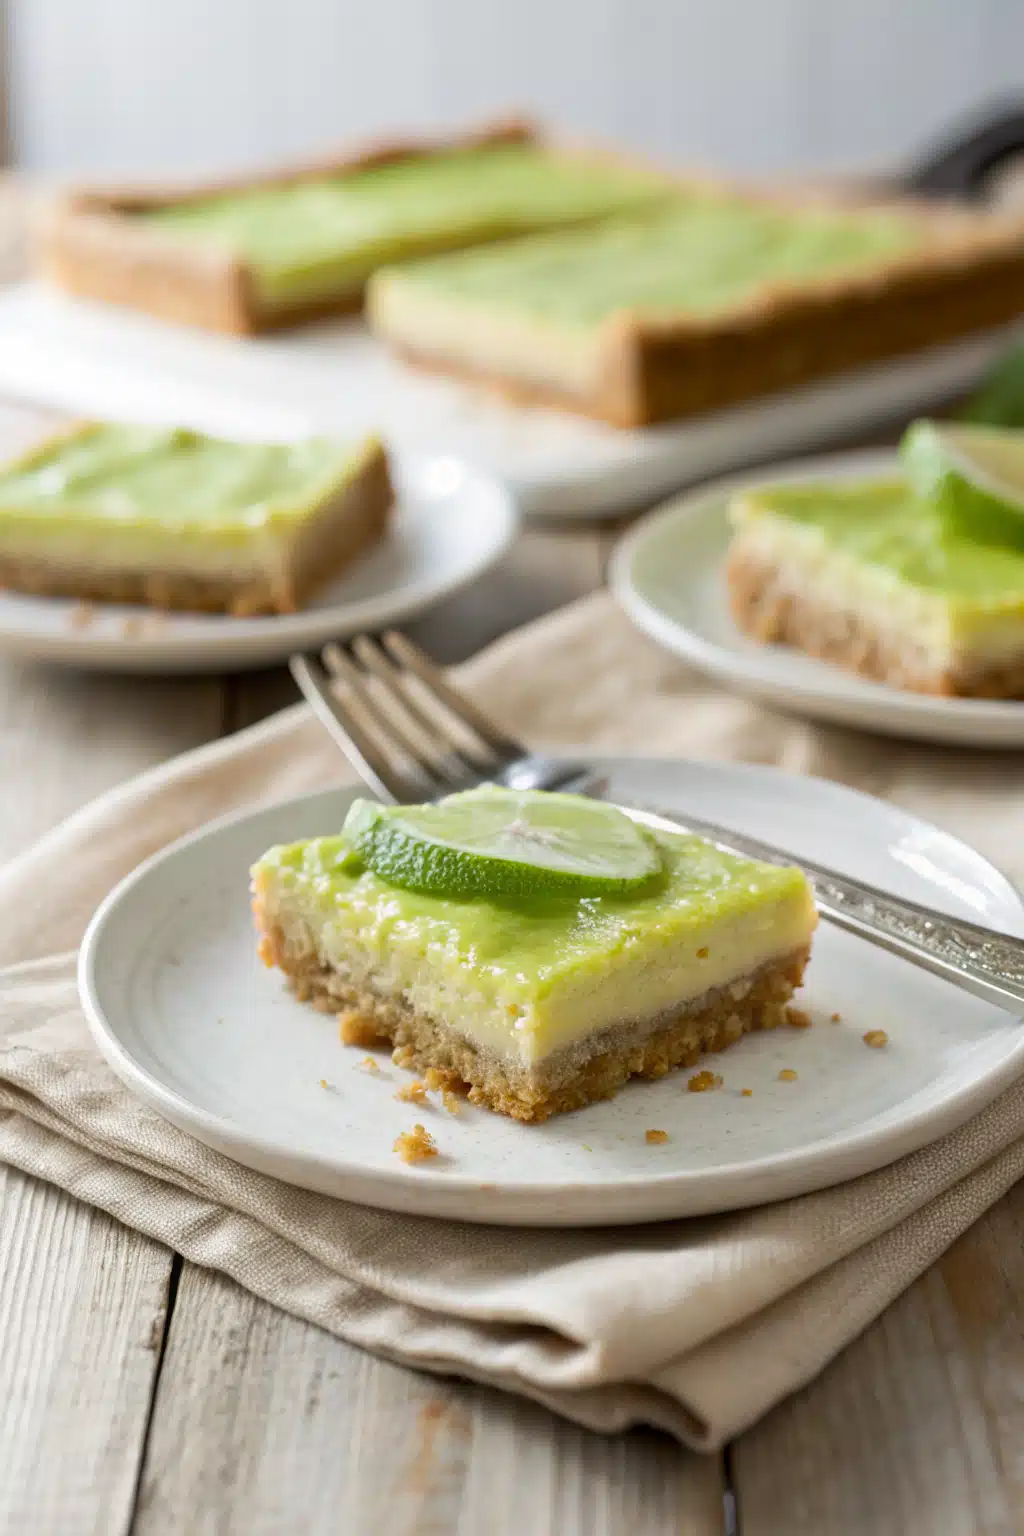
Making Key Lime Pie Bars is a breeze! Start by prepping your graham cracker crust and pressing it firmly into a springform or square pan. Then, mix your filling ingredients until smooth and pour it over the crust. Chill the bars for at least a few hours until set, then slice and serve. For an optional finishing touch, top with whipped cream or meringue before serving. This no-bake process ensures you get a creamy, tangy dessert with minimal effort.
Ingredients
- For the Crust:
- 1 ½ cups graham cracker crumbs (or crushed digestive biscuits)
- ¼ cup granulated sugar
- 6 tablespoons unsalted butter, melted
- For the Filling:
- 1 (14 oz) can sweetened condensed milk
- ¾ cup fresh key lime juice (about 8–10 limes)
- Zest of 2 key limes
- Pinch of salt
- Optional Topping:
- Fresh key lime slices or zest for garnish
- Whipped cream
Step-by-Step Instructions
Step 1: Preheat & Prep Pan
No preheating needed for this no-bake recipe! Simply prepare your 9-inch springform pan or an 8×8 inch square pan by lining it with parchment paper, leaving some overhang for easy removal later.
Step 2: Prepare the Graham Cracker Crust
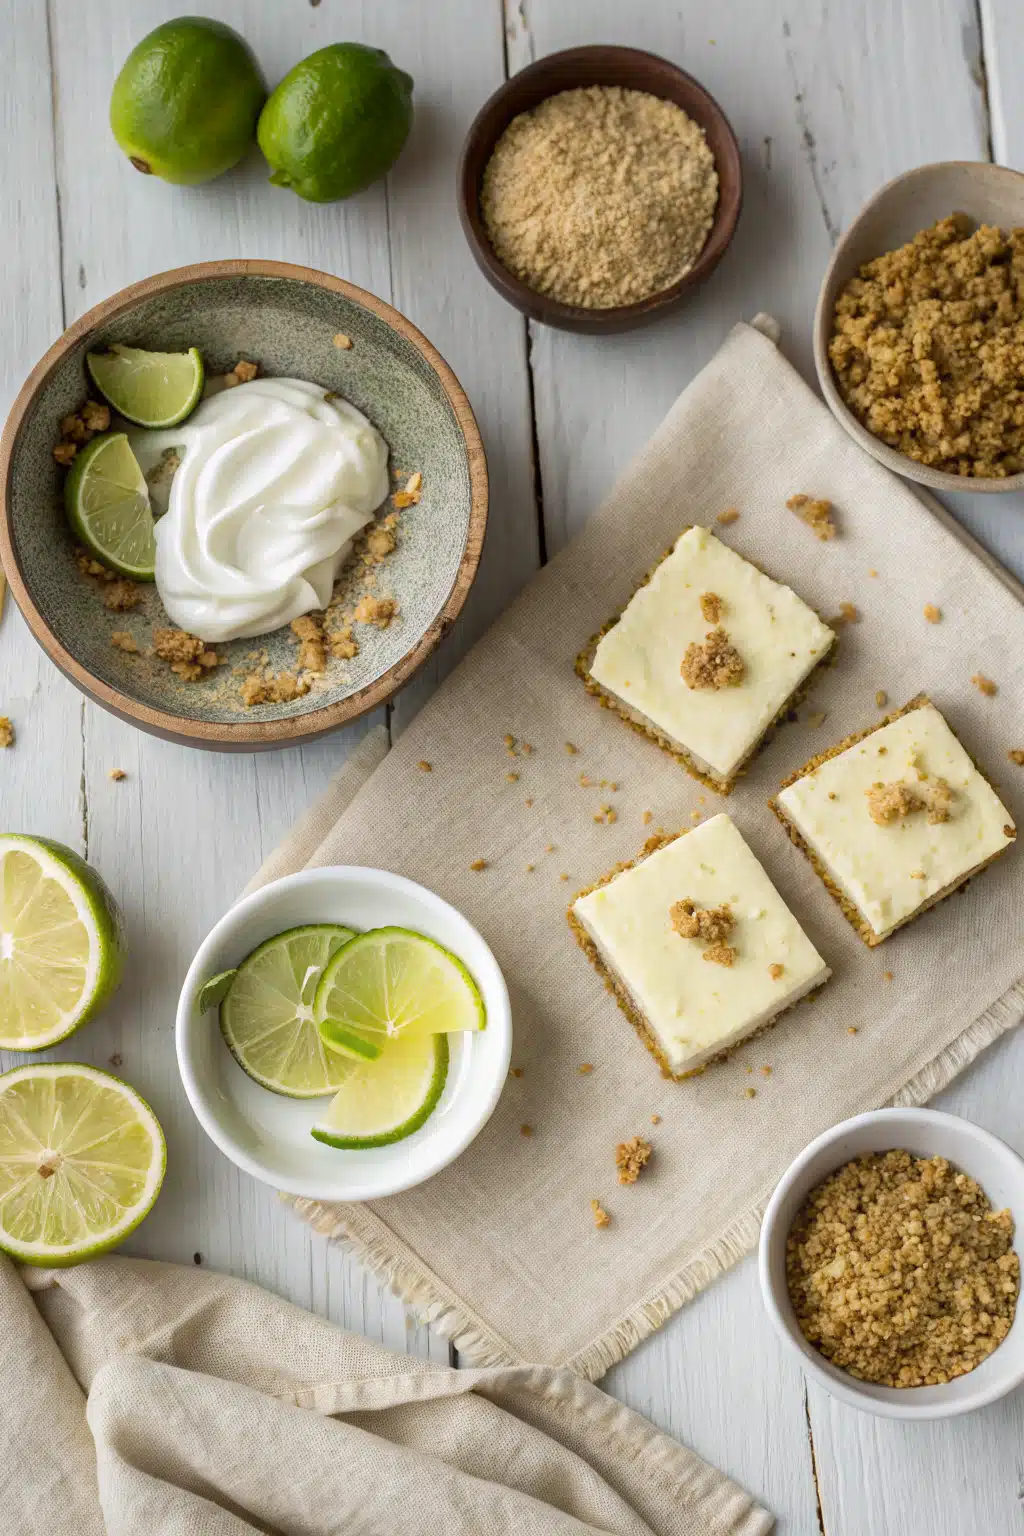
In a medium bowl, combine the graham cracker crumbs, granulated sugar, and melted butter. Mix until everything is evenly coated and resembles wet sand. Press the mixture firmly into the bottom of your prepared pan, using the back of a spoon or a flat-bottomed glass to ensure it’s compact and even. Set aside.
Step 3: Make the Lime Filling
In a large bowl, whisk together the sweetened condensed milk, key lime juice, key lime zest, and a pinch of salt until smooth and well-combined. This mixture should be thick and creamy.
Step 4: Pour and Smooth
Pour the lime filling over the prepared graham cracker crust. Use a spatula to smooth the top into an even layer, ensuring there are no air pockets.
Step 5: Chill Thoroughly
Place the assembled bars in the refrigerator and chill for at least 4 hours, preferably overnight. This step is crucial for the filling to set properly and achieve the perfect consistency.
Step 6: Garnish and Serve
Once fully set, remove the bars from the pan using the parchment paper overhang. If desired, garnish with fresh key lime slices, a sprinkle of zest, or a dollop of whipped cream. Slice into squares or rectangles and serve immediately.
What to Serve It With
Key Lime Pie Bars pair wonderfully with a variety of beverages and accompaniments. Serve them with a tall glass of cold milk or a refreshing iced tea for a classic combination. For a more sophisticated touch, pair them with a sparkling lemonade or a crisp white wine. If you want to elevate the experience, add a scoop of vanilla ice cream or a dollop of whipped cream on top for an extra indulgent treat. They also look stunning when arranged on a platter with other fruit-based desserts, making them perfect for parties or potlucks. Their vibrant green color and zesty aroma make them a delightful addition to any dessert spread.
Top Tips for Perfecting Your Key Lime Pie Bars
To ensure your Key Lime Pie Bars turn out perfectly every time, here are some expert tips. First, use fresh key lime juice for the most authentic flavor; bottled juice just doesn’t compare. For a smoother texture, strain the filling through a fine-mesh sieve. If you prefer a firmer set, chill the bars for longer, ideally overnight. To prevent the crust from getting soggy, you can lightly toast it in the oven for a few minutes before adding the filling. For a beautiful presentation, garnish with fresh lime slices or a dusting of powdered sugar just before serving. Experiment with different crusts like Oreos or crushed pretzels for unique variations. Lastly, always use a sharp knife to cut the bars cleanly, wiping the blade between cuts for neat slices.
Storing and Reheating Tips
Store your Key Lime Pie Bars in an airtight container in the refrigerator for up to 5 days. If you want to extend their shelf life, you can freeze them for up to 3 months. To thaw frozen bars, place them in the refrigerator overnight. These bars are best enjoyed cold, so there’s no need to reheat them. However, if you prefer a slightly warmer filling, you can microwave individual slices for about 10-15 seconds, but be careful not to melt the crust. Always ensure the container is sealed properly to maintain freshness and prevent freezer burn if freezing.
Frequently Asked Questions
Final Thoughts
Key Lime Pie Bars are truly a celebration of simplicity and flavor. They capture the essence of what makes key lime pie so beloved, but in a more accessible, no-fuss form. Whether you’re a longtime fan of the original or new to this citrusy delight, these bars are sure to win you over. Their vibrant color, creamy texture, and tangy sweetness make them a standout dessert that’s perfect for any occasion. So, gather your ingredients, follow these easy steps, and treat yourself to a slice of pure bliss. Happy baking!
Key Lime Pie Bars
Ingredients
Main Ingredients
- 1.5 cups graham cracker crumbs
- 0.333 cup granulated sugar
- 0.5 cup unsalted butter, melted
- 14 oz sweetened condensed milk 1 can
- 0.75 cup key lime juice freshly squeezed preferred
- 2 key limes lime zest
- 1 large egg yolk
- whipped cream or meringue for topping, optional
Instructions
Preparation Steps
- Preheat oven to 350°F (175°C). Line an 8x8-inch baking pan with parchment paper, leaving overhang on sides.
- In a medium bowl, combine graham cracker crumbs, sugar, and melted butter. Press firmly into the bottom of the prepared pan to form an even crust.
- Bake crust for 10 minutes, then remove from oven and let cool slightly while preparing filling.
- In a large bowl, whisk together sweetened condensed milk, key lime juice, lime zest, and egg yolk until smooth and well combined.
- Pour filling over warm crust and spread evenly. Return to oven and bake for 20–25 minutes, or until set around the edges but still slightly jiggly in the center.
- Remove from oven and cool completely at room temperature, then refrigerate for at least 2 hours before cutting into bars.
- Optional: Top with whipped cream or meringue before serving.


