


The Ultimate Guide to Homemade Ice Cream
There’s nothing quite like the pure, unadulterated joy of a spoonful of homemade ice cream. It’s a moment of pure indulgence, a sweet escape from the ordinary, and a treat that warms the soul on even the chilliest of days. The creamy, velvety texture, bursting with fresh flavour – it’s a far cry from the often icy and overly sweet versions you find in the store. Making it yourself is an act of love, transforming simple ingredients into a luxurious dessert you can truly call your own.
What Is Homemade Ice Cream?
At its core, homemade ice cream is simply the process of churning a cold, sweetened milk base to incorporate air and create a smooth, frozen dessert. What sets it apart from commercial versions isn’t just the method, but the quality of the ingredients. Think rich, full-fat dairy, real fruit purees, or chunks of chocolate. You have complete control over the sugar content, the fat percentage, and the intensity of the flavours. It’s a culinary adventure where creativity meets tradition, resulting in a dessert that is uniquely yours. Whether you’re crafting a classic vanilla bean swirl or a vibrant berry burst, each batch tells a story of freshness and care.
Why You’ll Love This Recipe
This particular recipe has been a family favourite for generations, passed down through whispered secrets and shared kitchen moments. It’s not just about the taste; it’s about the memory of watching grandma carefully fold in her secret ingredient, or the comforting aroma that would fill the house on a hot summer afternoon. This ice cream is renowned for its incredibly smooth and dense texture, achieved through a slow-churning process that prevents large ice crystals from forming. The result is a scoop that melts luxuriously in your mouth rather than simply dissolving.
What makes this recipe truly special is its versatility. The base is perfectly balanced, allowing any flavour you add—whether it’s the zesty kick of citrus, the deep richness of caramel, or the comforting warmth of cinnamon—to shine through without being overwhelmed. It’s the ideal canvas for your imagination. Plus, making it at home means you can skip the preservatives and artificial colours found in many store-bought options, knowing exactly what’s going into your delicious treat. It’s a labour of love that pays off in every single bite, creating a dessert that’s as good as any you’d find in a fancy patisserie.
How to Make Homemade Ice Cream
Quick Overview
Creating this silky-smooth ice cream is a wonderfully rewarding process. It starts with a rich, custard-like base that’s gently heated and then cooled, ensuring a smooth texture. The key to perfection lies in the slow churning, which introduces just the right amount of air to give it its signature density without making it fluffy. We’ll walk you through each step, from preparing the pan to the final, dreamy swirls, so you can confidently bring this deliciousness to your table.
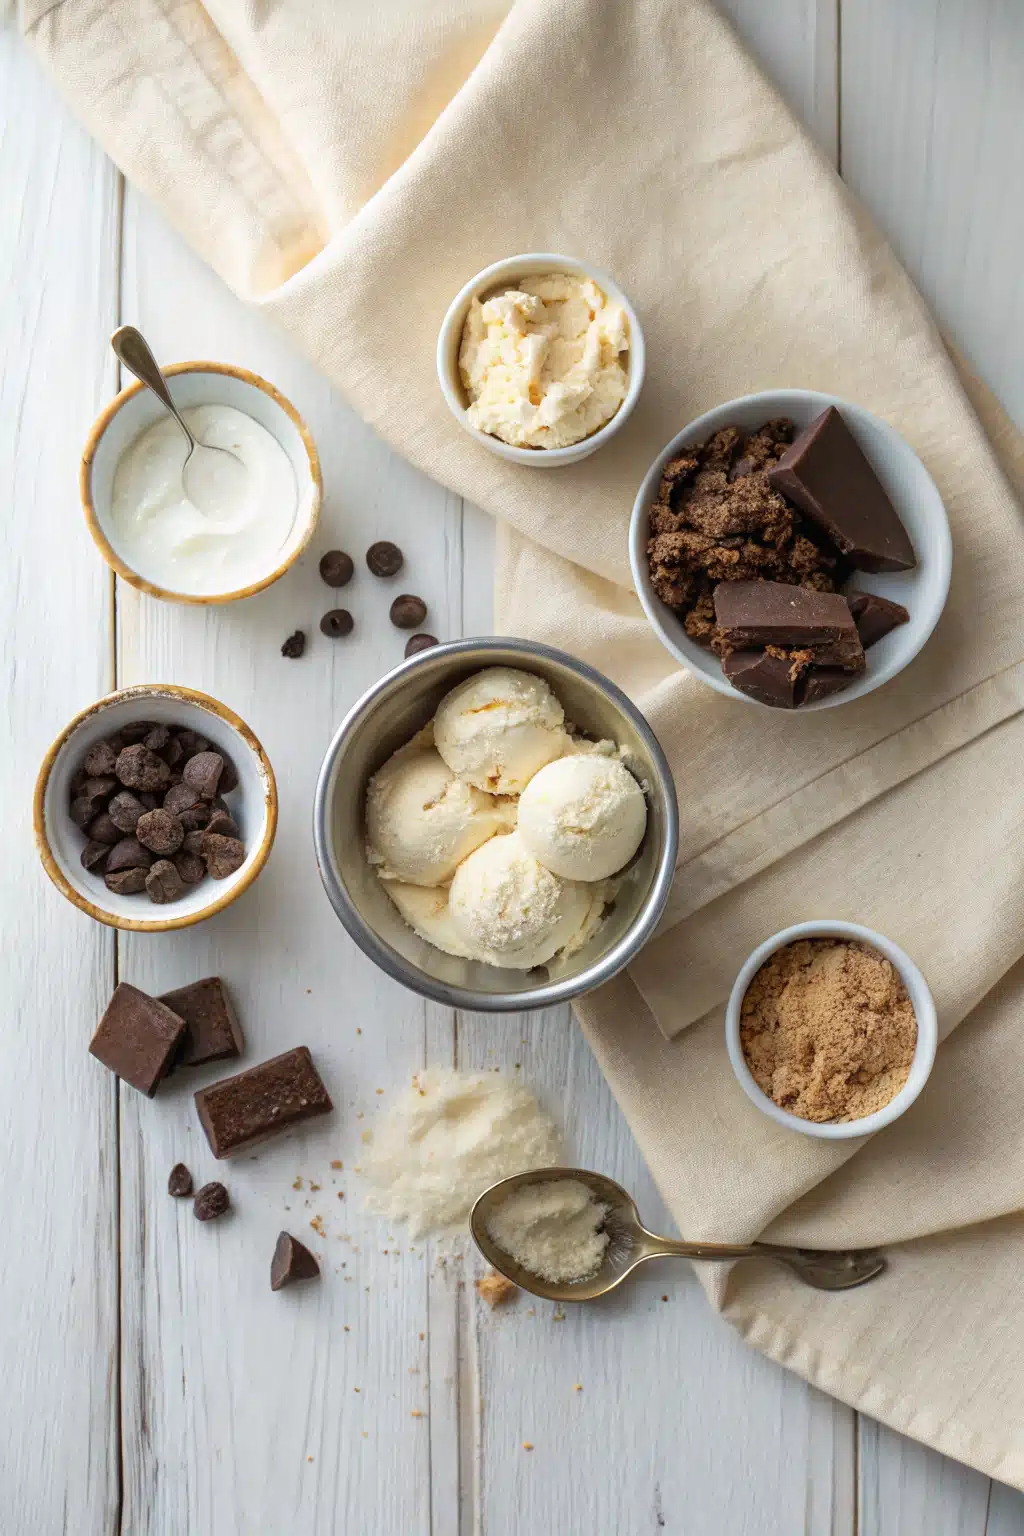
Ingredients
- 2 cups heavy cream (for that rich, luxurious base)
- 1 cup whole milk (adds smoothness and balances the fat)
- 3/4 cup granulated sugar (adjust to taste for sweetness)
- 1 tablespoon pure vanilla extract (or the seeds from 1 vanilla bean for an authentic flavour)
- A pinch of salt (enhances all the other flavours)
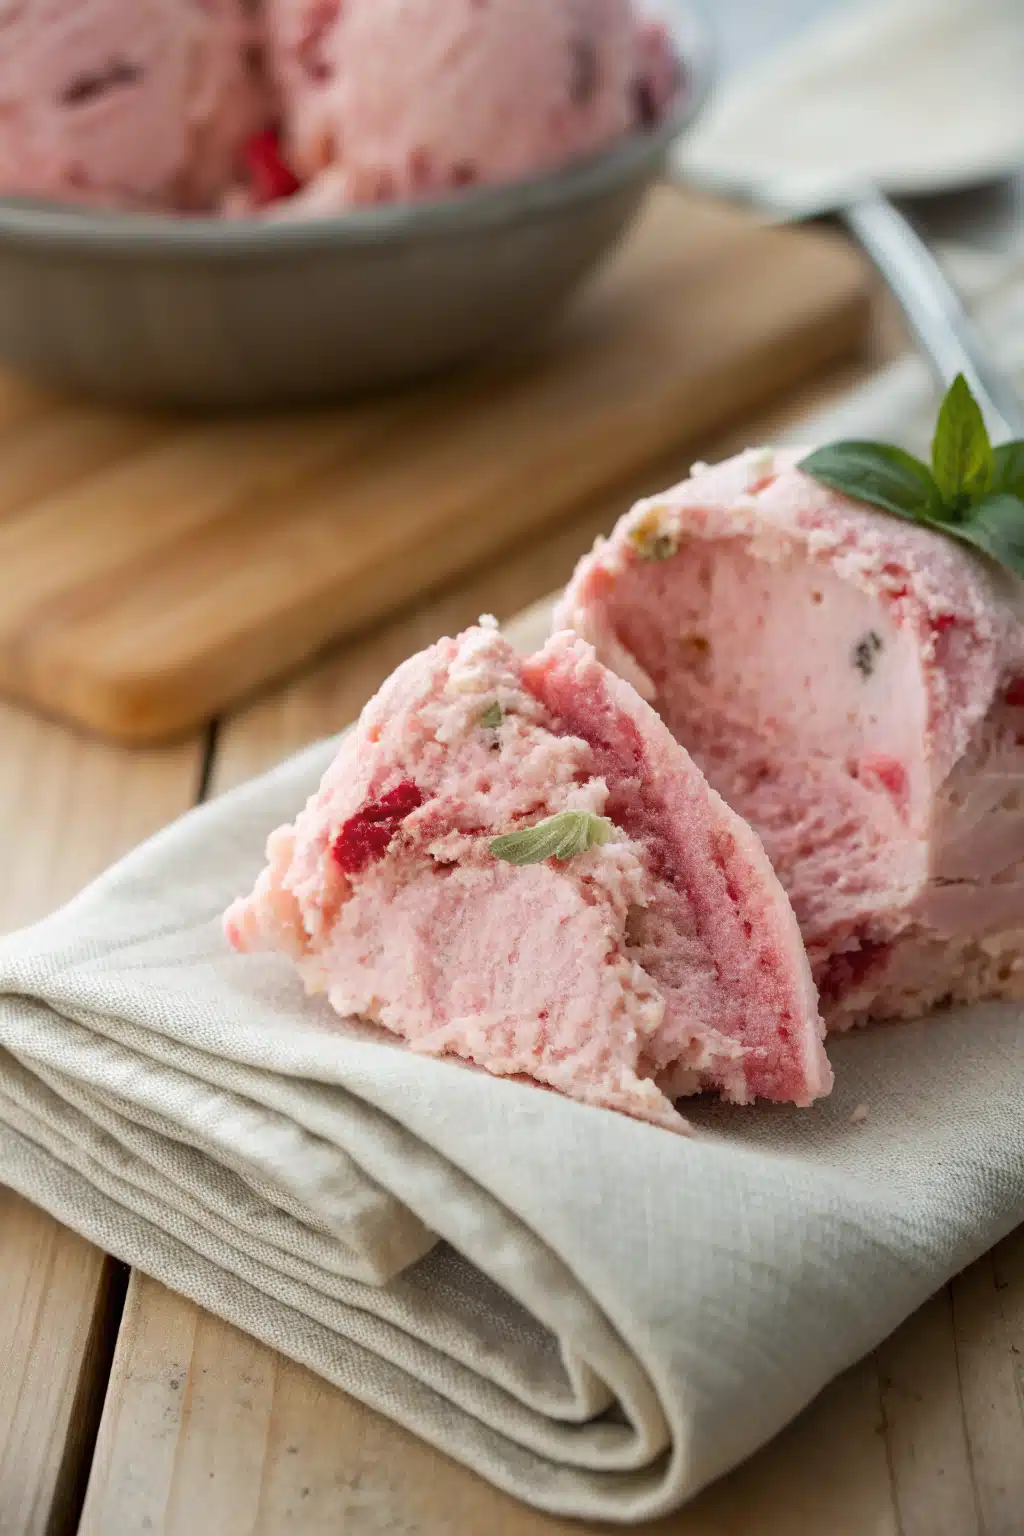
- Optional add-ins: Fresh berries, chocolate chips, caramel sauce, or chopped nuts
Step-by-Step Instructions
Step 1: Preheat & Prep Pan
Begin by preheating your oven to 350°F (175°C). While the oven heats, prepare your baking pan. Choose a sturdy pan that will hold the ice cream well and can withstand temperature changes. If you have a metal loaf pan or a ceramic dish, those work excellently. Line the bottom and sides with parchment paper, leaving some overhang for easy removal later. This step ensures your finished ice cream comes out cleanly and intact.
Step 2: Mix Base Ingredients
In a large mixing bowl, whisk together the heavy cream, whole milk, and sugar until the sugar is completely dissolved. This mixture forms the creamy foundation of your ice cream. For an extra depth of flavour, you can warm this mixture slightly before chilling, though it’s not strictly necessary for this recipe. Add the vanilla extract and a generous pinch of salt, stirring well to combine. The salt is a crucial step—it may seem counterintuitive, but it amplifies the sweetness and brings out the other flavours in a beautiful way.
Step 3: Chill the Mixture
For the smoothest results, it’s essential to chill the mixture thoroughly. Place the bowl in the refrigerator and let it sit for at least 2 hours, or ideally overnight. This allows the flavours to meld and the mixture to reach a very cold temperature, which is key for preventing large ice crystals during churning. A cold base also helps the ice cream freeze more evenly and achieve that coveted creamy texture.
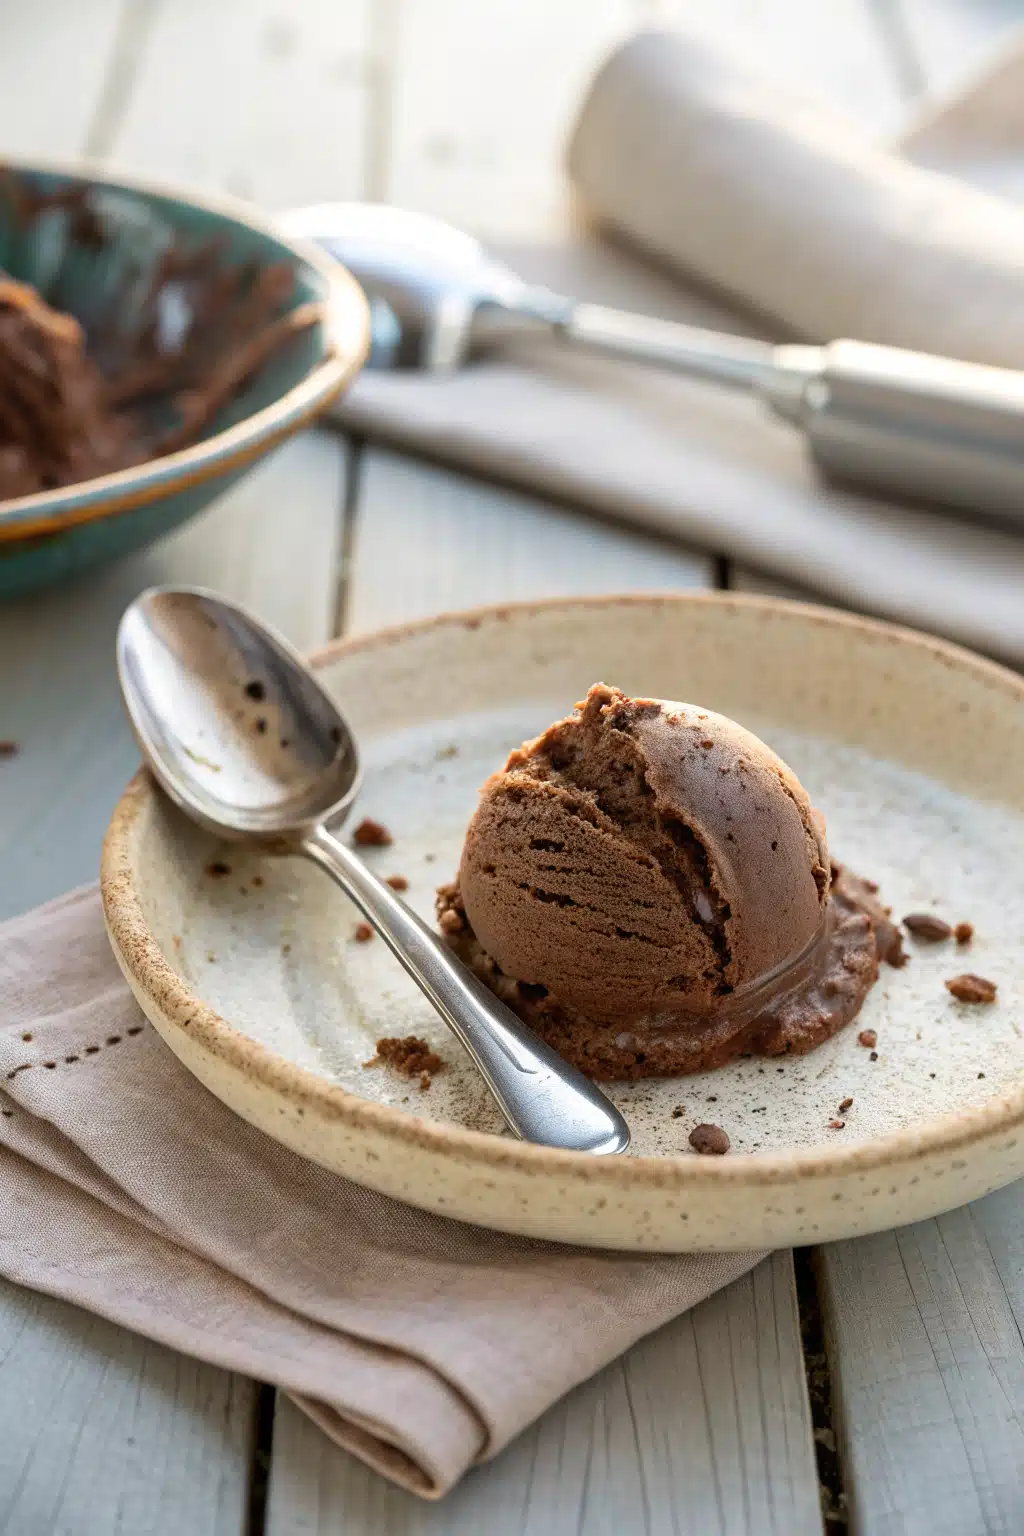
Step 4: Churn the Ice Cream
This is the magic moment! Pour the chilled mixture into your ice cream maker and churn according to the manufacturer’s instructions, usually about 20-25 minutes. The churning process incorporates air and freezes the mixture simultaneously, creating the light yet dense texture we all love. As it churns, you might notice it becoming thicker and smoother. If using any add-ins like berries or chocolate chunks, fold them in during the last few minutes of churning.
Step 5: Freeze Until Firm
Once churned, transfer the ice cream to your prepared pan. Smooth the top with a spatula, making sure it’s level. Cover the surface directly with plastic wrap to prevent ice crystal formation, then place it in the freezer. Let it firm up for at least 4-6 hours, or preferably overnight. This final freezing step solidifies the ice cream, making it easy to scoop and serve.
What to Serve It With
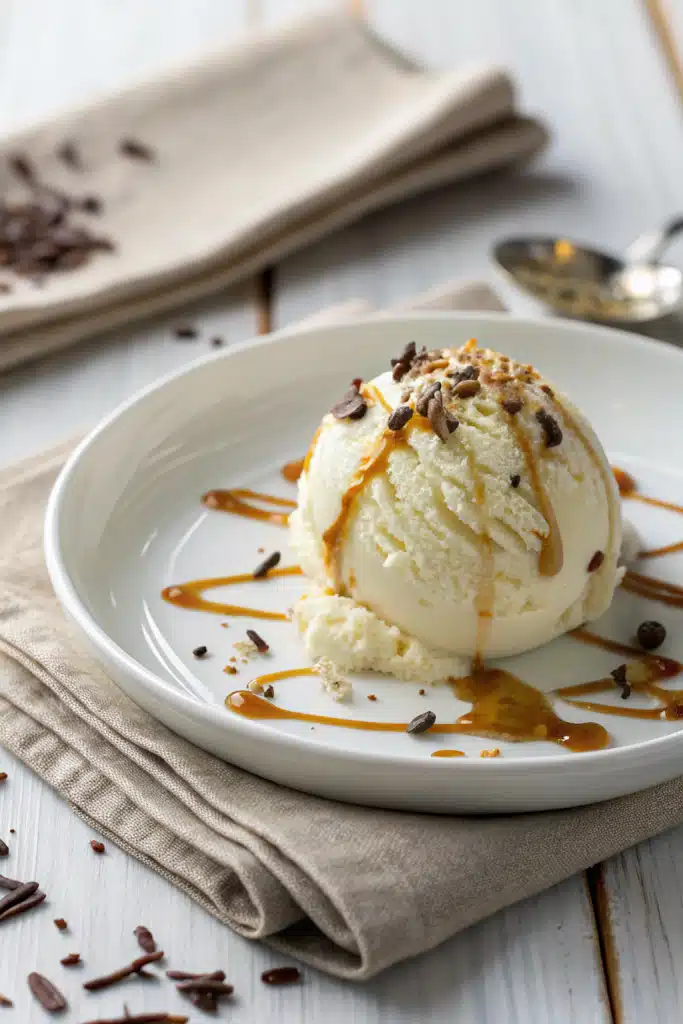
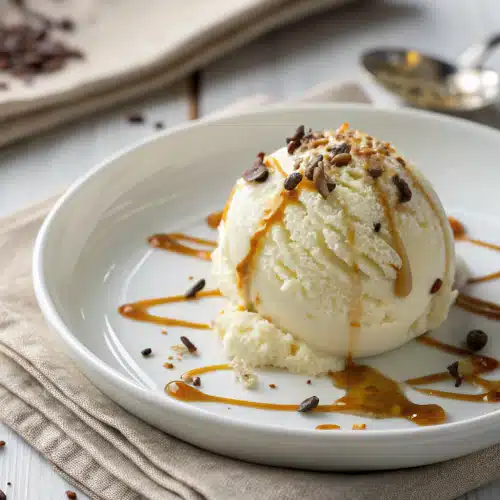
This versatile ice cream is a star on its own, but its potential shines brightest when paired with complementary treats. Imagine a warm slice of apple pie with a dollop melting on top, or a scoop alongside a glass of cold milk for a nostalgic childhood favourite. It pairs wonderfully with fresh seasonal fruit, like sliced strawberries or peaches, adding a juicy contrast to the creamy base. For a decadent experience, drizzle it with hot fudge sauce or caramel, or sprinkle with crushed cookies, toasted nuts, or a dusting of powdered sugar. It can even be used as a filling for whoopie pies or ice cream sandwiches, offering endless possibilities for creative desserts.
Top Tips for Perfecting Your Homemade Ice Cream
Mastering the art of homemade ice cream is a journey, and these tips will help you along the way. Firstly, always use high-quality ingredients, especially for the vanilla—real vanilla beans make a world of difference in flavour. Don’t rush the chilling process; a very cold base is non-negotiable for smooth texture. When churning, ensure your ice cream maker is fully frozen and working properly. If your mixture seems too soft to freeze, extend the churning time slightly. For added richness, you can replace some of the milk with heavy cream or even add a splash of brandy or liqueur after churning. Lastly, remember that the best ice cream is served slightly softened, so take it out of the freezer for 5-10 minutes before scooping for the perfect mouthfeel.
Storing and Reheating Tips
Proper storage is key to maintaining the texture and flavour of your homemade ice cream. Always store it in an airtight container, pressing a piece of plastic wrap directly onto the surface to prevent freezer burn. It can keep well in the freezer for up to two weeks. If you notice ice crystals forming, simply let it soften slightly and give it a quick mix before serving. There’s no need to ‘reheat’ frozen ice cream, but for the ultimate indulgence, allow it to come to room temperature for about 10-15 minutes before serving. This lets the flavours bloom and the texture become even more luxurious. If you’ve made a large batch, consider portioning it into smaller containers for easier grab-and-go enjoyment.
Frequently Asked Questions
Final Thoughts
There’s something profoundly satisfying about creating a delicious treat from scratch, and this homemade ice cream recipe is a testament to that joy. It’s a recipe that invites you to experiment, to add your own twist, and to share a little bit of your heart with everyone who tastes it. So go ahead, gather your ingredients, and let the simple act of churning transform your kitchen into a place of pure delight. Every scoop is a reminder that the best things in life are worth the effort, and that sometimes, the most magical moments happen when we take the time to create something beautiful and delicious for ourselves and our loved ones.
Homemade Ice Cream
Ingredients
Main Ingredients
- 2 cups heavy cream
- 1 cup whole milk
- 0.75 cup granulated sugar
- 1 teaspoon pure vanilla extract
- 0.001 pinch salt
Instructions
Preparation Steps
- In a medium saucepan, combine the heavy cream, whole milk, sugar, and a pinch of salt. Heat over medium heat, stirring occasionally, until the sugar dissolves and the mixture is warm (not boiling), about 5–7 minutes.
- If using egg yolks, whisk them in a separate bowl. Slowly pour about 1/2 cup of the warm cream mixture into the yolks while whisking constantly to temper them. Then return the yolk mixture to the saucepan and cook over low heat, stirring constantly, until the custard thickens enough to coat the back of a spoon (about 5–8 minutes). Do not boil.
- Remove from heat and stir in the vanilla extract. Cover the surface with plastic wrap directly on top to prevent a skin from forming, then refrigerate for at least 2 hours or until completely cold.
- Chill the ice cream base in the freezer for 1 hour before churning. Pour into an ice cream maker and churn according to manufacturer’s instructions, usually 20–25 minutes, until soft-serve consistency.
- Transfer the churned ice cream to an airtight container and freeze for at least 2–4 hours to firm up before serving.


