


The Ultimate Guide to Homemade Brownies
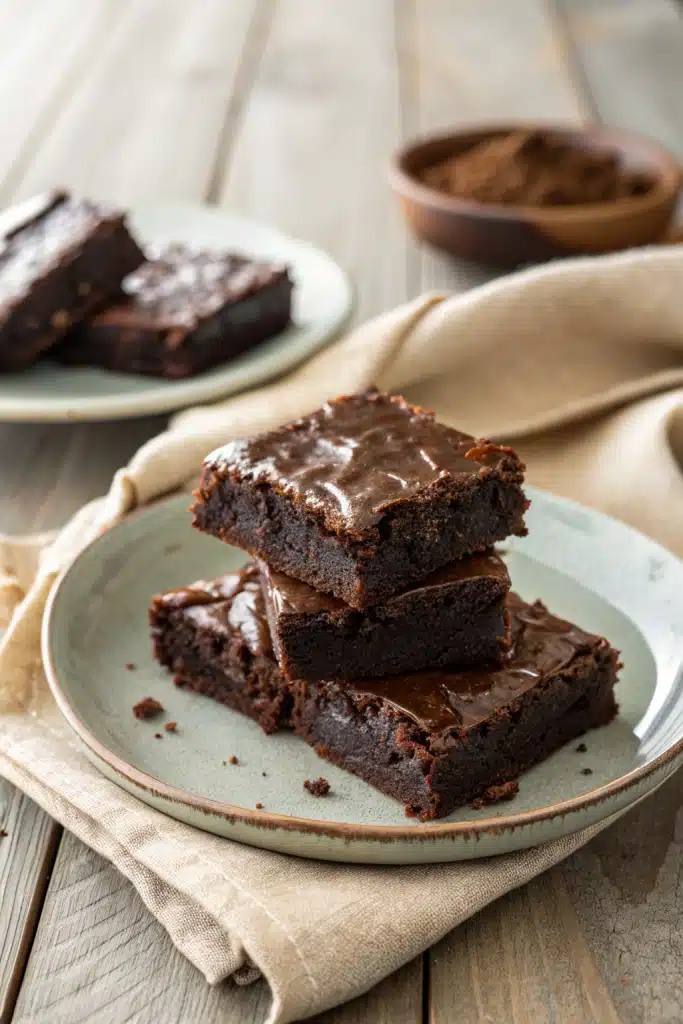
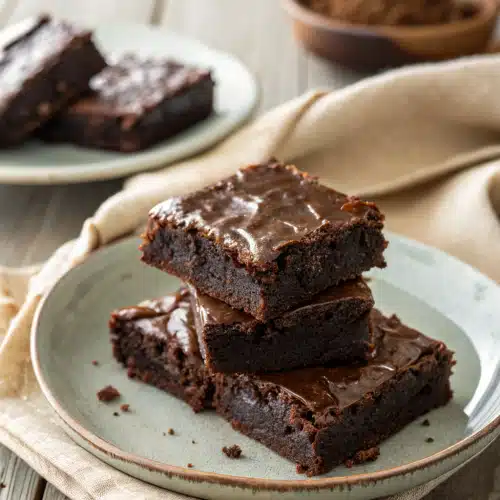
There’s something magical about a warm, fudgy brownie fresh out of the oven. The rich aroma that fills your kitchen, the crackle of the edges as they cool, and that perfect chewy-yet-crisp texture—homemade brownies have a way of turning an ordinary moment into something truly special. Whether you’re baking for a crowd or just treating yourself after a long day, these brownies are guaranteed to impress. They’re not just dessert—they’re comfort in chocolate form.
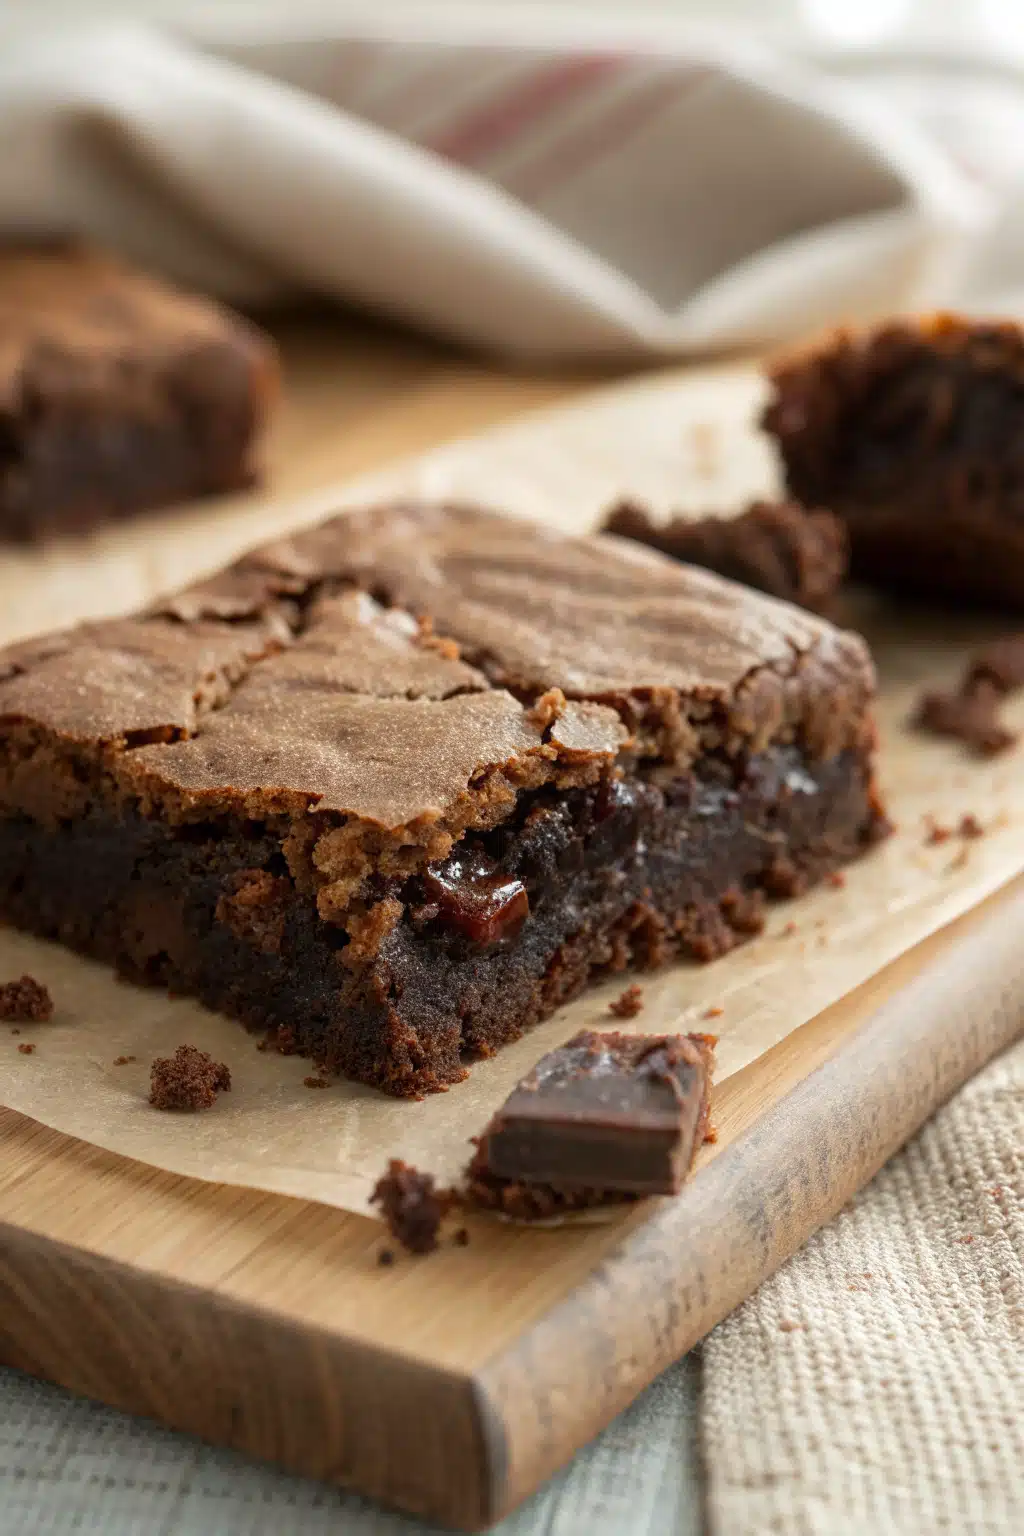
What Is Homemade Brownies?
Homemade brownies are dense, decadent squares made primarily from melted chocolate or cocoa powder, butter, sugar, eggs, and flour. Unlike their boxed counterparts, homemade versions allow for customization—whether you prefer them extra fudgy, cakey, or loaded with nuts and mix-ins. The key lies in balancing wet and dry ingredients so each bite is intensely chocolatey without being overly sweet. Traditionally baked in a square pan, they’re cut into uniform pieces and served as dessert or midday treat.
Why You’ll Love This Recipe
This recipe stands apart because it delivers that signature gooey interior with a crisp top, all while using simple pantry staples. No complicated techniques or specialty equipment needed—just a bowl, a whisk, and a little love. You can easily double the batch for parties or freeze extras for later. Plus, since there are no artificial flavors or preservatives, every bite tastes like it was made with care. I’ve tested variations for years, tweaking ratios until I landed on this foolproof method that never fails. Whether you’re a beginner baker or a seasoned pro, this is one recipe you’ll turn to again and again.
How to Make Homemade Brownies
Quick Overview
Preheat your oven, prepare your pan, mix wet ingredients first (this helps emulsify), then fold in dry components. Bake until edges pull away from sides but center still jiggles slightly. Cool completely before cutting—trust me on this! Total time? About 45 minutes from start to finish.
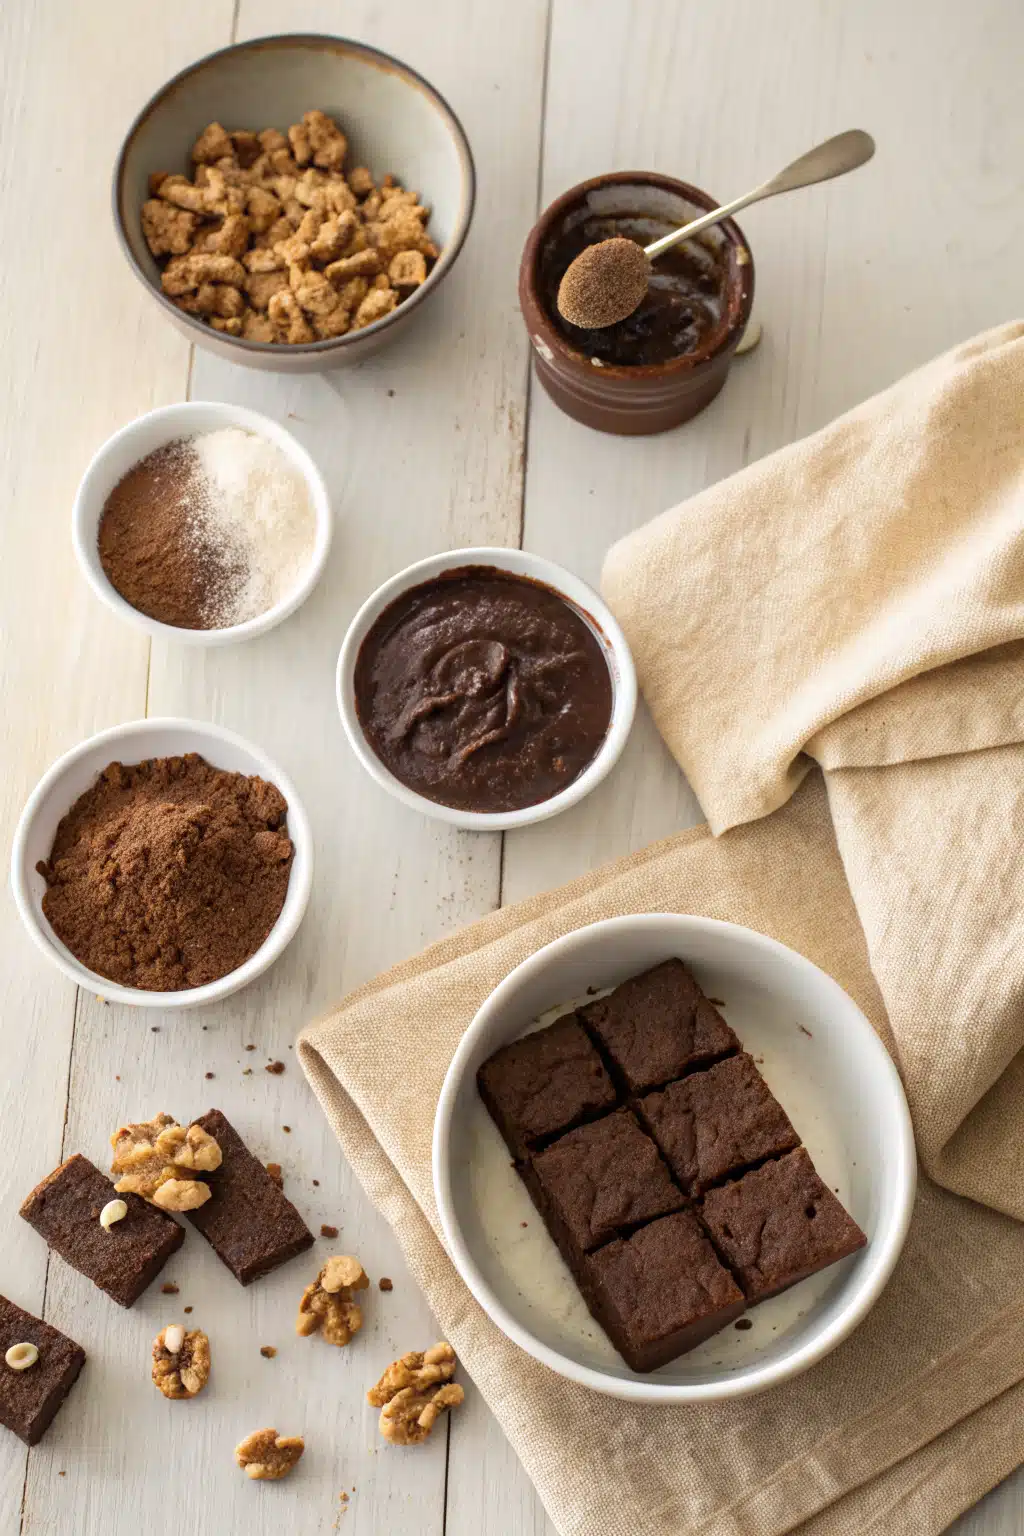
Ingredients
- 1 cup (2 sticks) unsalted butter
- 8 oz (225g) high-quality dark chocolate (70%), chopped
- 1½ cups granulated sugar
- ¾ cup packed light brown sugar
- 4 large eggs, room temperature
- 2 tsp pure vanilla extract
- ⅔ cup unsweetened cocoa powder (Dutch-process preferred)
- ½ tsp salt
- 1 cup all-purpose flour
- Optional add-ins: ½ cup walnuts or chocolate chips
Step-by-Step Instructions
Step 1: Preheat & Prep Pan
Set oven to 350°F (175°C). Line an 8×8-inch metal baking pan with parchment paper, leaving overhang on two sides for easy removal later. Generously grease the parchment—this ensures clean slices when cooled.
Step 2: Melt Chocolate Butter Base
In a medium saucepan over low heat, melt butter and chocolate together, stirring constantly until smooth and glossy. Remove from heat and let cool slightly—you want it warm, not hot, when adding eggs.
Step 3: Combine Wet Ingredients
Whisk granulated and brown sugars into the chocolate mixture until fully combined. Add eggs one at a time, mixing well after each addition. Stir in vanilla. This slow incorporation builds structure and prevents scrambling.
Step 4: Fold In Dry Goods
Sift cocoa powder, salt, and flour directly over the batter. Use a spatula to gently fold until just combined—don’t overmix! If using nuts or chips, stir those in now. The batter will be thick and shiny.
Step 5: Bake Until Set
Pour batter into prepared pan, smoothing top evenly. Bake 28–32 minutes. Test by inserting a toothpick—it should come out with a few moist crumbs, not wet batter. Overbaking = dry brownies!
Step 6: Cool Completely
Let sit at room temperature for at least 2 hours. Rushing this step leads to crumbling. For cleaner cuts, refrigerate 30 minutes before slicing diagonally into 9–12 pieces.
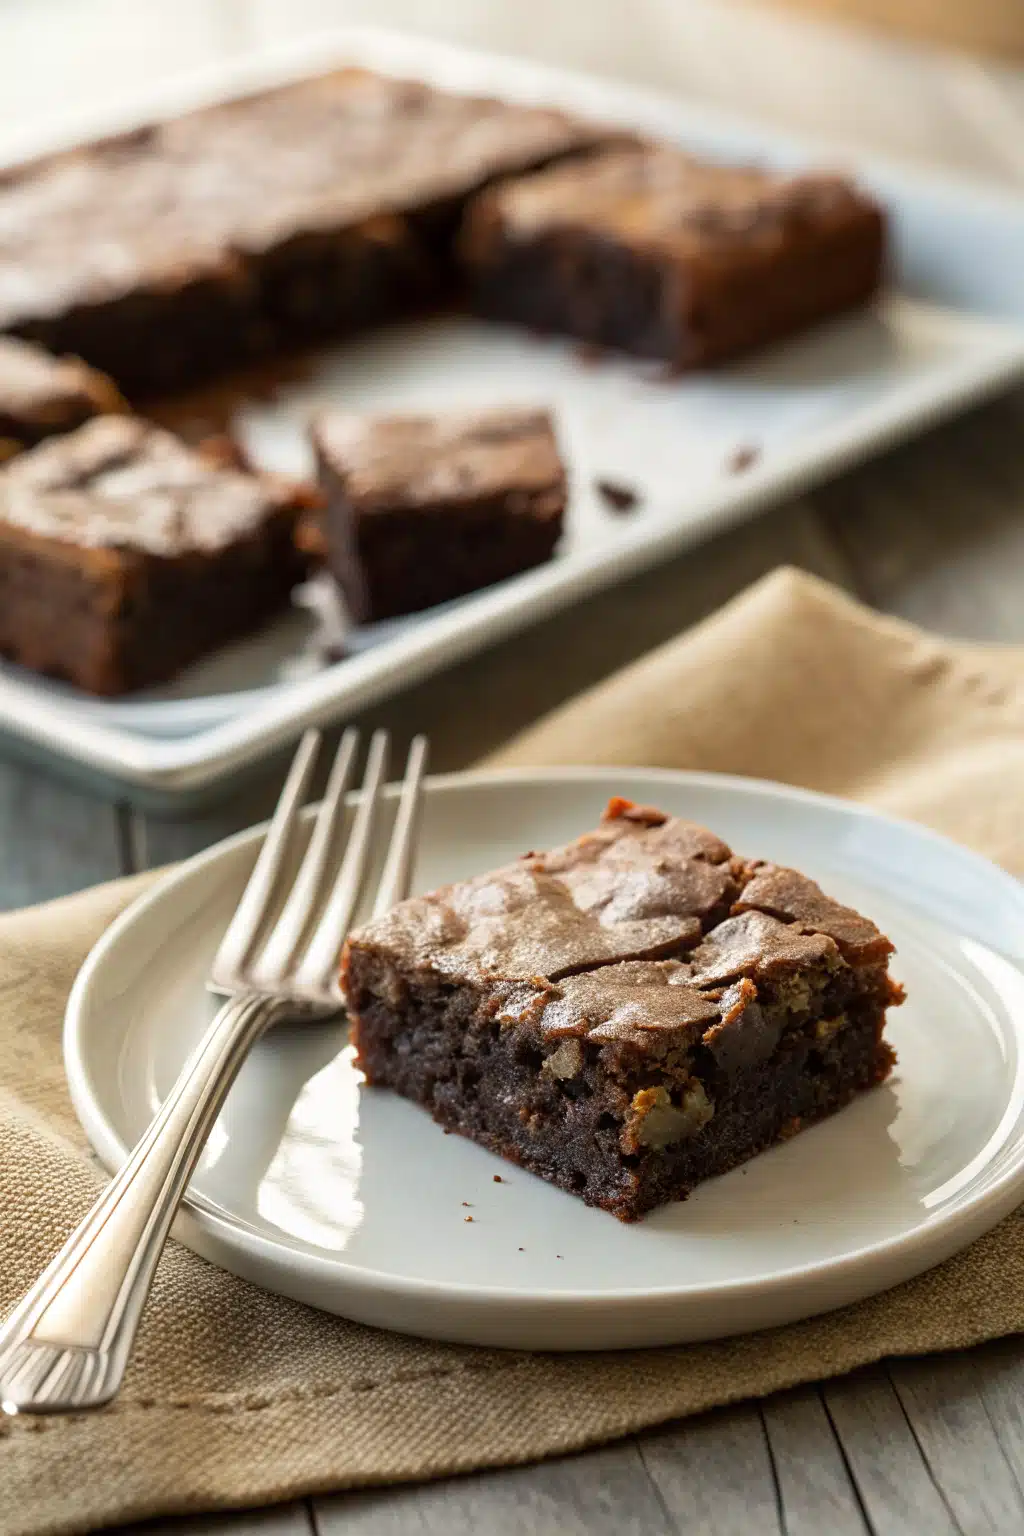
What to Serve It With
These brownies shine alongside a scoop of vanilla bean ice cream—the contrast of cold and warm is heavenly. A dusting of powdered sugar or sea salt flakes elevates presentation. For brunch or potlucks, pair with strong coffee or espresso. They also make fantastic lunchbox treats when wrapped individually. Avoid serving with milk unless you enjoy a serious sugar rush!
Top Tips for Perfecting Your Homemade Brownies
- Room-temp eggs: Prevent seizing when mixed with hot chocolate base.
- Dutch-process cocoa: Gives deeper, less acidic flavor than regular unsweetened.
- Don’t overmix: Folds only until streaks disappear—gluten development = toughness.
- Cool thoroughly: Warm brownies cut like cheese; cooled ones hold shape.
- Quality matters: Cheap chocolate = bitter results. Invest in bars labeled “couverture” if possible.
- Experiment safely: Swap half flour with almond meal for nutty depth, or add espresso powder to intensify chocolate notes.
Storing and Reheating Tips
Store airtight at room temp up to 3 days (if anyone lasts that long!). For longer storage, wrap slices individually and freeze up to 1 month. Thaw overnight in fridge. To reheat, place on microwave-safe plate 15–20 seconds—or warm briefly in 375°F oven for restaurant-quality results. Never store near onions or strong-smelling foods—brownies absorb odors!
Frequently Asked Questions
Final Thoughts
There’s real joy in creating something delicious from scratch, especially when it brings people together. These brownies aren’t just about taste—they’re about memory-making, sharing moments, and indulging in life’s small pleasures. So grab your favorite whisk, fire up that oven, and remember: perfection isn’t required, but happiness is always welcome. Now go enjoy that slice—you’ve earned it!
Homemade Brownies
Ingredients
Main Ingredients
- 0.5 cup unsalted butter
- 1 cup granulated sugar
- 1 teaspoon vanilla extract
- 0.333 cup unsweetened cocoa powder
- 0.5 cup all-purpose flour
- 0.25 teaspoon salt
- 0.25 cup chocolate chips optional
Instructions
Preparation Steps
- Preheat the oven to 350°F (175°C). Grease an 8x8-inch baking pan or line it with parchment paper.
- In a small saucepan, melt the butter over low heat. Remove from heat and stir in the sugar until combined.
- Beat in the eggs one at a time, then mix in the vanilla extract.
- Sift in the cocoa powder, flour, and salt; fold gently until just combined. Do not overmix.
- Fold in chocolate chips if using. Pour the batter into the prepared pan and spread evenly.
- Bake for 20–25 minutes, or until a toothpick inserted in the center comes out with a few moist crumbs (not wet batter).
- Cool completely in the pan on a wire rack before cutting into squares.


