


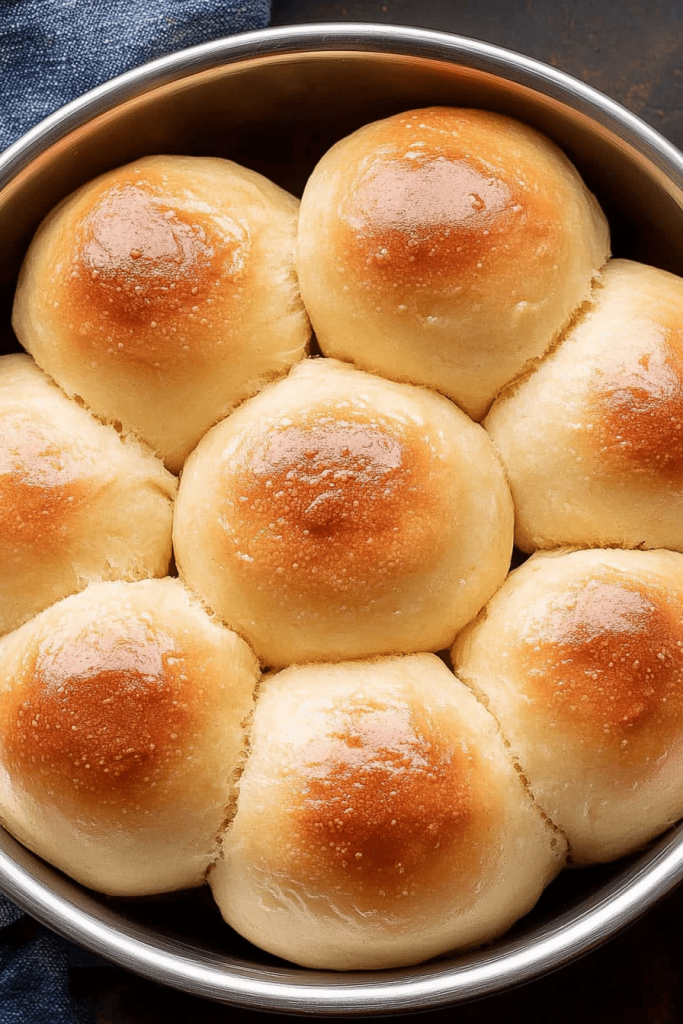
Okay, friends, gather ’round because I’m about to share a recipe that’s been an absolute game-changer in my life. What are gluten-free dinner rolls? I know gluten-free baking can be a little intimidating, and let’s be honest, some people do.. Gluten-free rolls can taste like cardboard. What are some of the rolls? Think of these like the cloud-like softness of traditional dinner rolls, but without gluten. If you love sourdough, but need something gluten-free, you’ll adore these! What is the recipe I always turn to when I want something comforting, warm, and utterly delicious to eat? I think you’re going to love it too. Serve with a big family meal.
What is a gluten-free dinner roll?
What are gluten-free dinner rolls? What are some of the best rolls made without wheat flour? Instead, we use a blend of gluten-free flours, like rice flour, tapioca starch, and potatostarch. What are some of the best ways to do it… Think of them as your go-to bread side for any meal, perfect for soaking up gravy, slathering with butter, and serving with a side salad. How do I make a mini sandwich? What are gluten-free dinner rolls? How safe is gluten for Celiacs? They’re tender, slightly sweet, and have that wonderful yeasty aroma that makes you feel like you’ve just had a beer. What is it like to eat a real, honest-to-goodness dinner roll?
Why you’ll love this recipe?
What are some of the reasons why I’m obsessed with this recipe? What I love most is that it’s genuinely delicious. Why can’t my gluten-loving friends and family tell the difference?
- Flavor:They’re perfectly balanced – slightly sweet, with a hint of yeast that gives them that comforting, smoky sweetness. “Baked bread” flavor. They have a soft, slightly chewy crust. They’re simply divine.
- Simplicity:Even though gluten-free baking can seem tricky, this recipe is surprisingly easy. I’ve streamlined the process to make it as foolproof as possible. I even used a stand mixer and let it do all the work while I prep the rest of the meal!
- Cost-Gluten-free flours are expensive, but this recipe uses a blend that’s readily available in most grocery stores. You might even have some of the ingredients in your pantry already. Is it cheaper to make your own rolls than buying them pre-made?
- Versatility:Can you serve these with practically anything? They’re great with soup, stews, roasts and holiday dinners. What are some good ideas for making a breakfast sandwich? My kids love peanut butter! What are gluten-free cinnamon rolls? What are some of the best rolls in the world?
How do I make gluten-free dinner rolls?
Quick Overview
Let’s get baking! What is the process of activating yeast? ), then mixing all the ingredients together until you have a smooth dough. After a little rising time, we’ll shape the dough into rolls and bake them until golden brown. Is brown and irresistible How do I keep them moist in the oven? Is it hard to wait for them to cool down enough to eat?
Ingredients
For the main battery:
- I usually use whole milk, but you can use any kind of milk you like. I’ve tested this with almond milk, and it works great – the rolls are slightly denser, but I can’t eat it. What is still delicious? If it’s too hot to eat yeast, make sure it isn’t too dry.
- 2 14 teaspoons active dry yeast (1 packet). Make sure your yeast isn’t expired! Is it fun to wait for the dough to rise only to find out that the yeast is dead?
- 2 tablespoons granulated sugar. How do I activate yeast in rolls?
- 4 tablespoons unsalted butter, melted. Adds richness and flavor. I always use a good quality butter for the best results.
- 1 teaspoon salt. Balances sweetness and enhances the other flavors.
- 2 large eggs. Help bind the ingredients together and add moisture.
- 1 12 cups gluten-free all-purpose flour blend (make sure it contains xanthan gum!). I like to use Bob’s Red Mill 1-to-1 Baking Flour.
- 1 cup tapioca starch. This helps to create a light and airy texture.
- 14 cup rice flour. Adds structure and helps to prevent the rolls from being too gummy.
- 1 teaspoon xanthan gum (if your gluten-free flour blend doesn’t already contain it). This is crucial for gluten-free baking as it acts as a binder and helps to give the rolls structure.
How do I follow
Step 1: Preheat & Prep Pan
Preheat your oven to 375°F (190°C). Grease a 9×13 inch baking pan with butter or cooking spray. If you have a large pan, line it with parchment paper for easy removal.
Step 2: Activate the Yeast
In a large bowl or the bowl of your stand mixer, combine the warm milk, yeast, and sugar. Mix well. Let it sit for 5-10 minutes, or until the yeast is foamy. This means that it is alive and active! If it doesn’t foam, your yeast might be expired.
Step 3: Add Wet Ingredients
Add the melted butter and eggs to the yeast mixture and whisk until well combined. Make sure the butter isn’t too hot, or it might cook the eggs.
Step 4: Combine Dry Ingredients
In a separate bowl, whisk together the gluten-free flour, tapioca starch, rice flour and salt. Set aside. What is the best way to prepare gum and salt. I always sift my dry ingredients to make sure there are no lumps. How do I make a smooth batter?
Step 5: Combine Wet and Dry
Gradually add the dry ingredients to the wet ingredients, mixing on low speed until just combined. Do not overmix the dough. It will be sticky.
Step 6: First Rise
Cover the bowl with plastic wrap and let it rise in a warm place for about 1 hour, or until doubled. I like to put mine in the oven with just the light on.
Step 7: Shape the Rolls
Gently punch down the dough (don’t worry, it’s still going to be sticky!). On a lightly floured surface (I use gluten-free flour), turn the dough out and shape it into an inch or two. Cut the log into 12 equal pieces. Roll each piece into a ball and place them in the prepared baking pan, spacing them evenly apart.
Step 8: Second Rise
Cover the pan with plastic wrap and let the rolls rise for another 30 minutes in a warm place.
Step 9: Bake
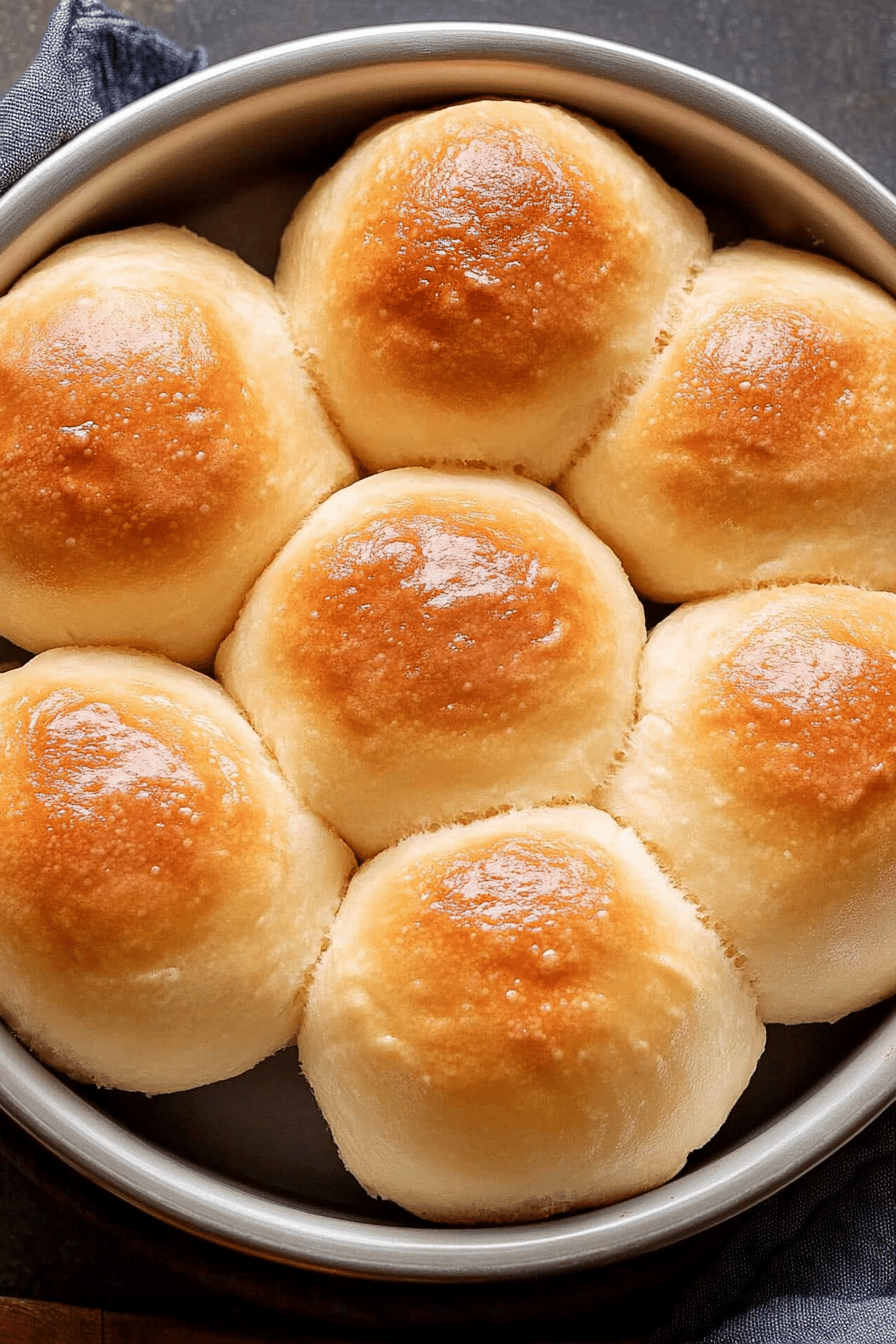
Bake for 20-25 minutes, or until the rolls are golden brown on top. I always check them after 20 minutes with a toothpick. If it comes out clean, they’re done! If they’re browning too quickly, you can loosely cover them with foil.
Step 10: Cool & Serve
Let the rolls cool in the pan for a few minutes before transferring them to another wire rack to cool completely. Serve warm and enjoy!
What should I serve it with?
What do you do with gluten-free dinner rolls? What are some of the best ways to enjoy life?
For Dinner:Slathered with butter and served alongside a hearty roast chicken, roasted potatoes, or grilled ham. What is a bowl of creamy Tomato Soup? I love them with Thanksgiving dinner – they’re perfect for soaking up all that delicious gravy!
For Breakfast:What are the best breakfast sandwiches to make with bacon and eggs? Is it safe to toast almonds and spread them with Nutella?
For Lunch:Use them to make sliders with pulled pork, Shredded Chicken, or even just deli meat and cheese. What are some good dipping sauces for chili?
As Dessert:What are some good side dishes to serve with whipped cream? I’ve had them plain, they’re so good.
Honestly, you can’t go wrong with these rolls. They’re a blank canvas for all your culinary creations!
Top Tips for Perfecting Your Gluten-Free Dinner Rolls
After making these rolls countless times, I’ve learned a few tricks along the way. Here are my top tips for ensuring gluten-free dinner roll perfection:
Use a Good Quality Gluten-Free Flour Blend: Not all gluten-free flour blends are created equal. I highly recommend using a blend that’s specifically designed for baking and that contains xanthan gum. My go-to is Bob’s Red Mill 1-to-1 Baking Flour, but feel free to experiment with others to find your favorite.
Don’t Skip the Xanthan Gum: Xanthan gum is essential for gluten-free baking as it acts as a binder and helps to give the rolls structure. If your gluten-free flour blend doesn’t already contain it, be sure to add it to the recipe.
Warm the Milk: Warming the milk to around 105-115°F (40-46°C) helps to activate the yeast. If the milk is too hot, it can kill the yeast. If it’s too cold, the yeast won’t activate properly. I always use a thermometer to make sure I get it just right.
Don’t Overmix the Dough: Overmixing gluten-free dough can result in tough, dense rolls. Mix the ingredients until just combined, and then let the dough rise. The dough will be sticky, but that’s okay. Resist the urge to add more flour.
Let the Dough Rise in a Warm Place: The dough needs to rise in a warm place in order to double in size. I like to put mine in the oven with just the oven light on. You can also place it in a warm spot in your kitchen, away from drafts.
Bake Until Golden Brown: Bake the rolls until they’re golden brown on top. I always check them after 20 minutes with a toothpick. If it comes out clean, they’re done! If they’re browning too quickly, you can loosely cover them with foil.
Let Them Cool Slightly Before Serving: Let the rolls cool in the pan for a few minutes before transferring them to a wire rack to cool completely. This will help them to firm up and prevent them from being too sticky.
Storing and Reheating Tips
These gluten-free dinner rolls are best enjoyed fresh, but they can also be stored for later. Here’s how to store and reheat them:
Room Temperature: Store the rolls in an airtight container at room temperature for up to 2 days. They might dry out a bit, but they’ll still be delicious. The main thing is that they are covered well to help keep them moist.
Refrigerator Storage: Store the rolls in an airtight container in the refrigerator for up to 5 days. Reheat them in the oven or microwave before serving. They’ll taste almost as good as the day you made them.
Freezer Instructions: Freeze the rolls in a freezer-safe bag or container for up to 2 months. Thaw them overnight in the refrigerator and then reheat them in the oven or microwave. I usually wrap each roll individually so I can grab one or two at a time.
Reheating: To reheat the rolls, wrap them in foil and bake them in a preheated oven at 350°F (175°C) for 10-15 minutes, or until warmed through. You can also microwave them for a few seconds, but be careful not to overheat them or they’ll become tough.
Frequently Asked Questions
Final Thoughts
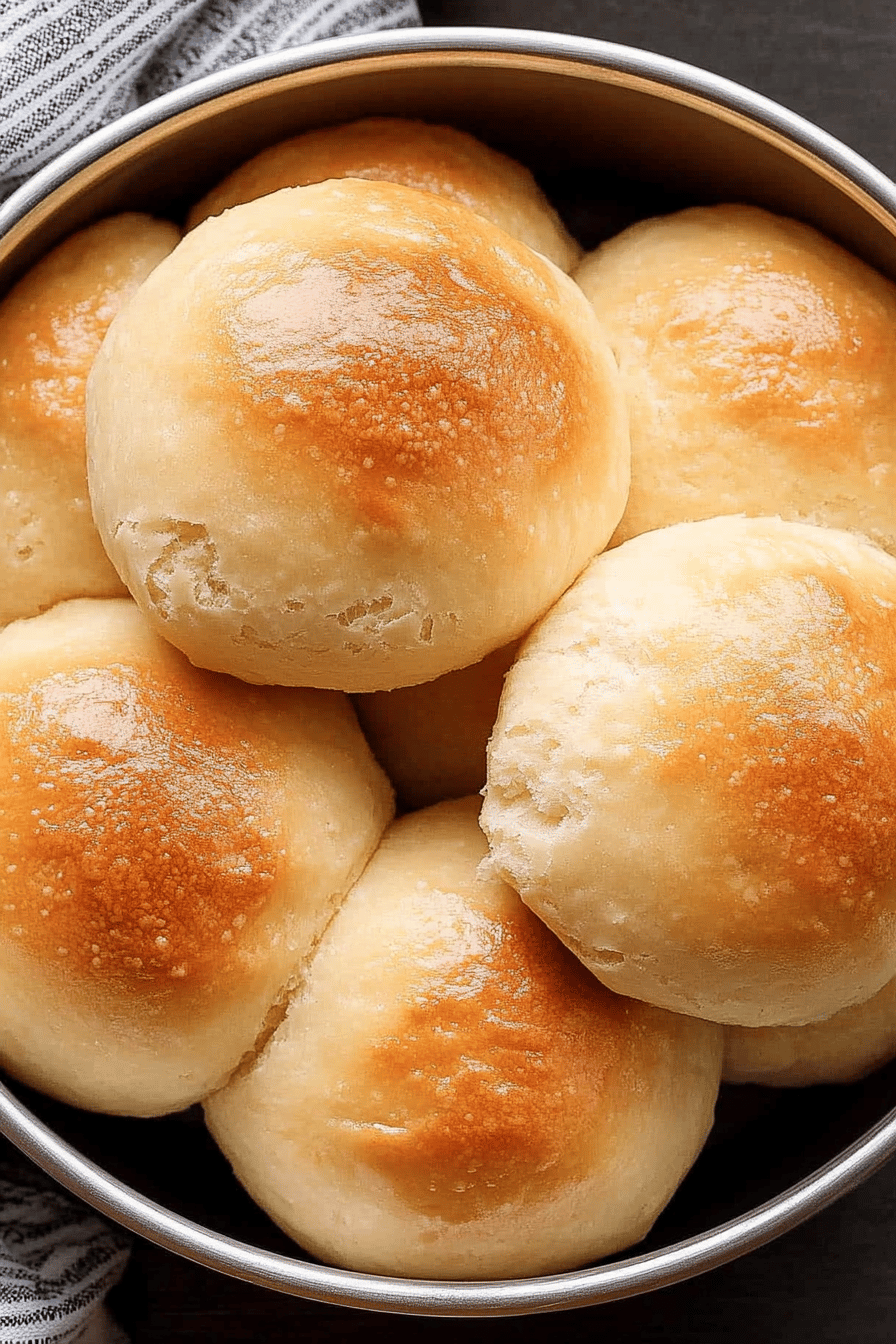
These gluten-free dinner rolls have truly become a staple in my kitchen, and I know they will in yours too! They’re soft, fluffy, and so incredibly delicious that you won’t even miss the gluten. Whether you’re serving them with a cozy weeknight dinner or a special holiday meal, they’re sure to be a crowd-pleaser. If you love these, you absolutely *have* to try my Gluten-Free Pizza crust recipe next – it’s another family favorite! Happy baking, and I can’t wait to hear how yours turn out! Don’t forget to leave a comment and let me know what you think. I love hearing about your baking adventures and any variations you’ve tried. And if you make these, be sure to snap a photo and tag me – I can’t wait to see your creations!
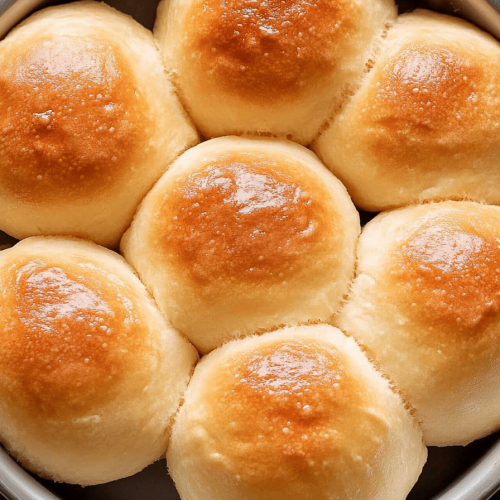
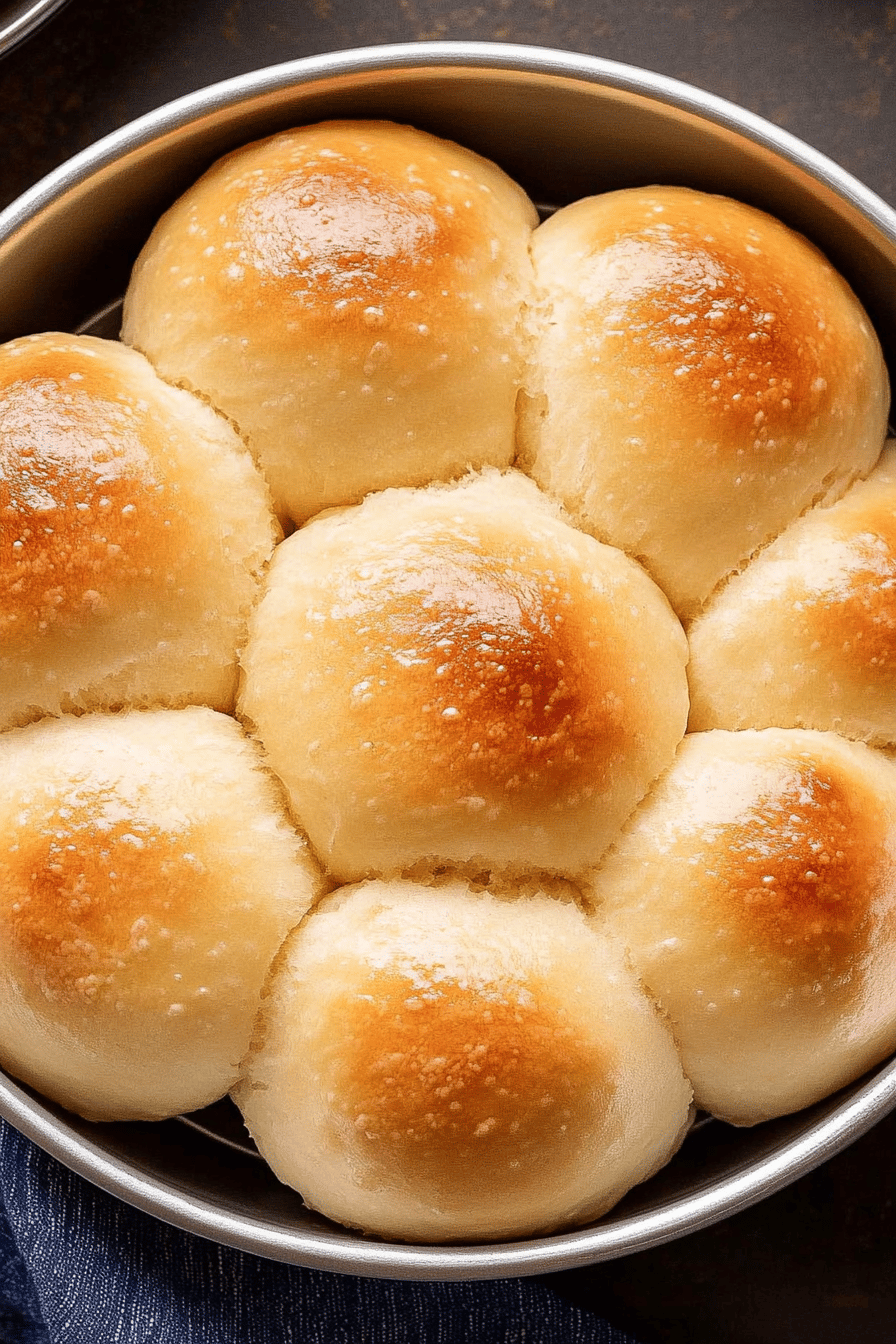
How to Make 8 Perfect Gluten-Free Dinner Rolls That Wow!
Ingredients
Main Ingredients
- 2.25 cups Gluten-Free All-Purpose Flour with xanthan gum
- 2.25 tsp Instant Yeast
- 1 tsp Salt
- 1 tbsp Sugar
- 1 cup Warm Milk (105-115°F)
- 2 tbsp Melted Butter
- 1 large Egg
Topping
- 1 tbsp Melted Butter for brushing
Instructions
Preparation Steps
- In a large bowl, combine the gluten-free flour, instant yeast, salt, and sugar.
- Add the warm milk, melted butter, and egg to the dry ingredients. Mix until a sticky dough forms.
- Cover the dough and let it rise in a warm place for 30 minutes.
- Preheat oven to 375°F (190°C). Grease a 9-inch round baking pan.
- Divide the dough into 8 equal pieces and shape them into rolls. Place the rolls in the prepared pan.
- Brush the rolls with melted butter. Bake for 20-25 minutes, or until golden brown.
- Let the rolls cool slightly before serving.


