


Easy Pie Crust Recipe: The Secret to Flaky, Delicious Homemade Pies
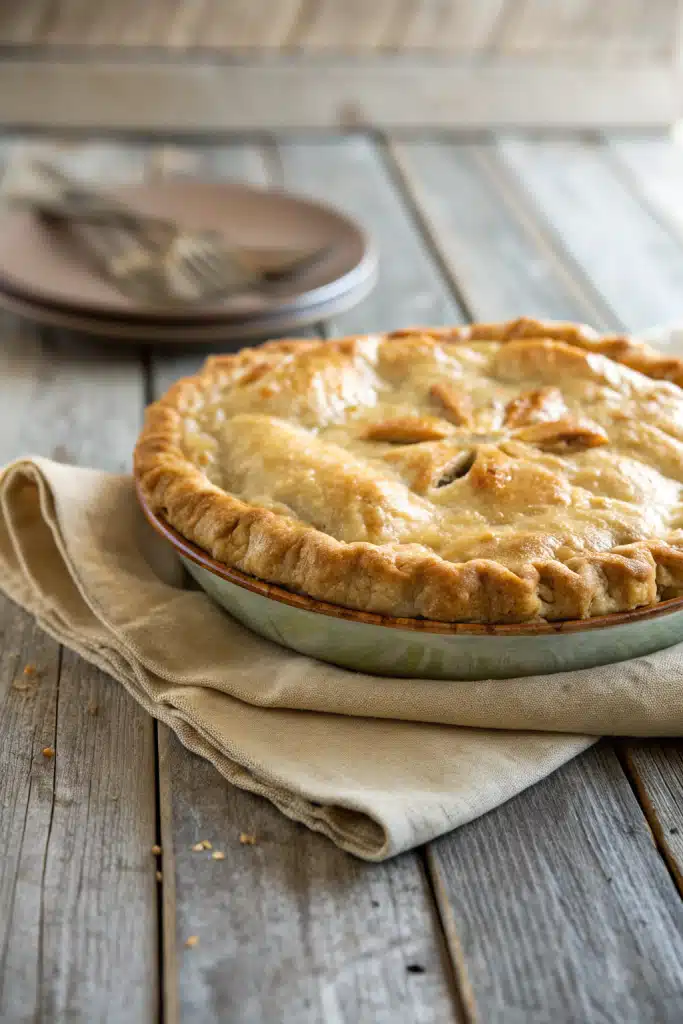
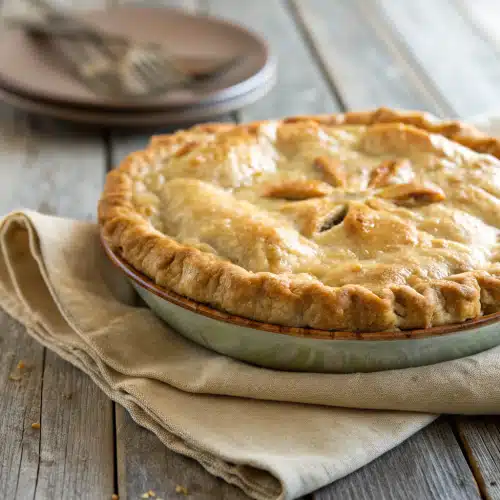
There’s nothing quite like the smell of a homemade pie baking in the oven. It instantly fills your kitchen with warmth and comfort, doesn’t it? And at the heart of every truly great pie is, of course, its crust. But let’s be honest—perfecting a pie crust can feel intimidating. Too often, recipes are complicated, or the results turn out tough, greasy, or just plain disappointing.
That’s why I’m so excited to share my foolproof Easy Pie Crust Recipe. This isn’t one of those overly complex recipes with a dozen ingredients or tricky techniques. Instead, it’s all about simplicity, balance, and a little bit of love. With this recipe, you’ll get a tender, flaky crust that’s easy to roll out, holds its shape beautifully, and delivers that melt-in-your-mouth texture we all crave.
Whether you’re making a classic apple pie, a tangy lemon meringue, or a sweet berry crumble, this versatile crust will never let you down. Plus, it comes together faster than you think—perfect for both beginners and seasoned bakers alike. Trust me, once you try this, you’ll wonder how you ever lived without it!
What Is Easy Pie Crust?
A good pie crust is the foundation of any delicious dessert. It should be tender, not tough; flaky, not dense; and easy to work with, whether rolled thin or pressed into a dish. The “easy” part here means minimal ingredients and no need for special tools—just basic pantry staples and a pinch of patience.
This recipe uses simple components: all-purpose flour, cold butter (or shortening for extra tenderness), salt, sugar, ice water, and a touch of vinegar. The vinegar is a secret ingredient that helps create steam during baking, resulting in those beautiful, separate layers we call “flakiness.” It’s science, but you don’t even need to understand it—just add it and watch the magic happen.
Unlike some crusts that require chilling between steps, this one is streamlined so you can make it quickly without waiting around. You’ll mix, cut in the fat, form a dough ball, chill briefly (just 30 minutes is fine!), and you’re ready to roll. No overworking the dough, no stress—just pure, satisfying baking fun.
Why You’ll Love This Recipe
First off, **it’s incredibly forgiving**. Even if you’re new to pie-making, this recipe works every time. The key is keeping everything cold—cold butter, cold water, even a cold bowl. That ensures the fat stays solid until it hits the hot oven, creating steam pockets that lift the crust into flaky perfection.
Second, **the flavor is pure buttery richness** without being overwhelming. A hint of sugar adds just enough sweetness to complement both sweet and savory fillings, while the vinegar keeps the taste clean and bright. It’s not overly sweetened like some commercial crusts—just right for real fruit pies or quiches alike.
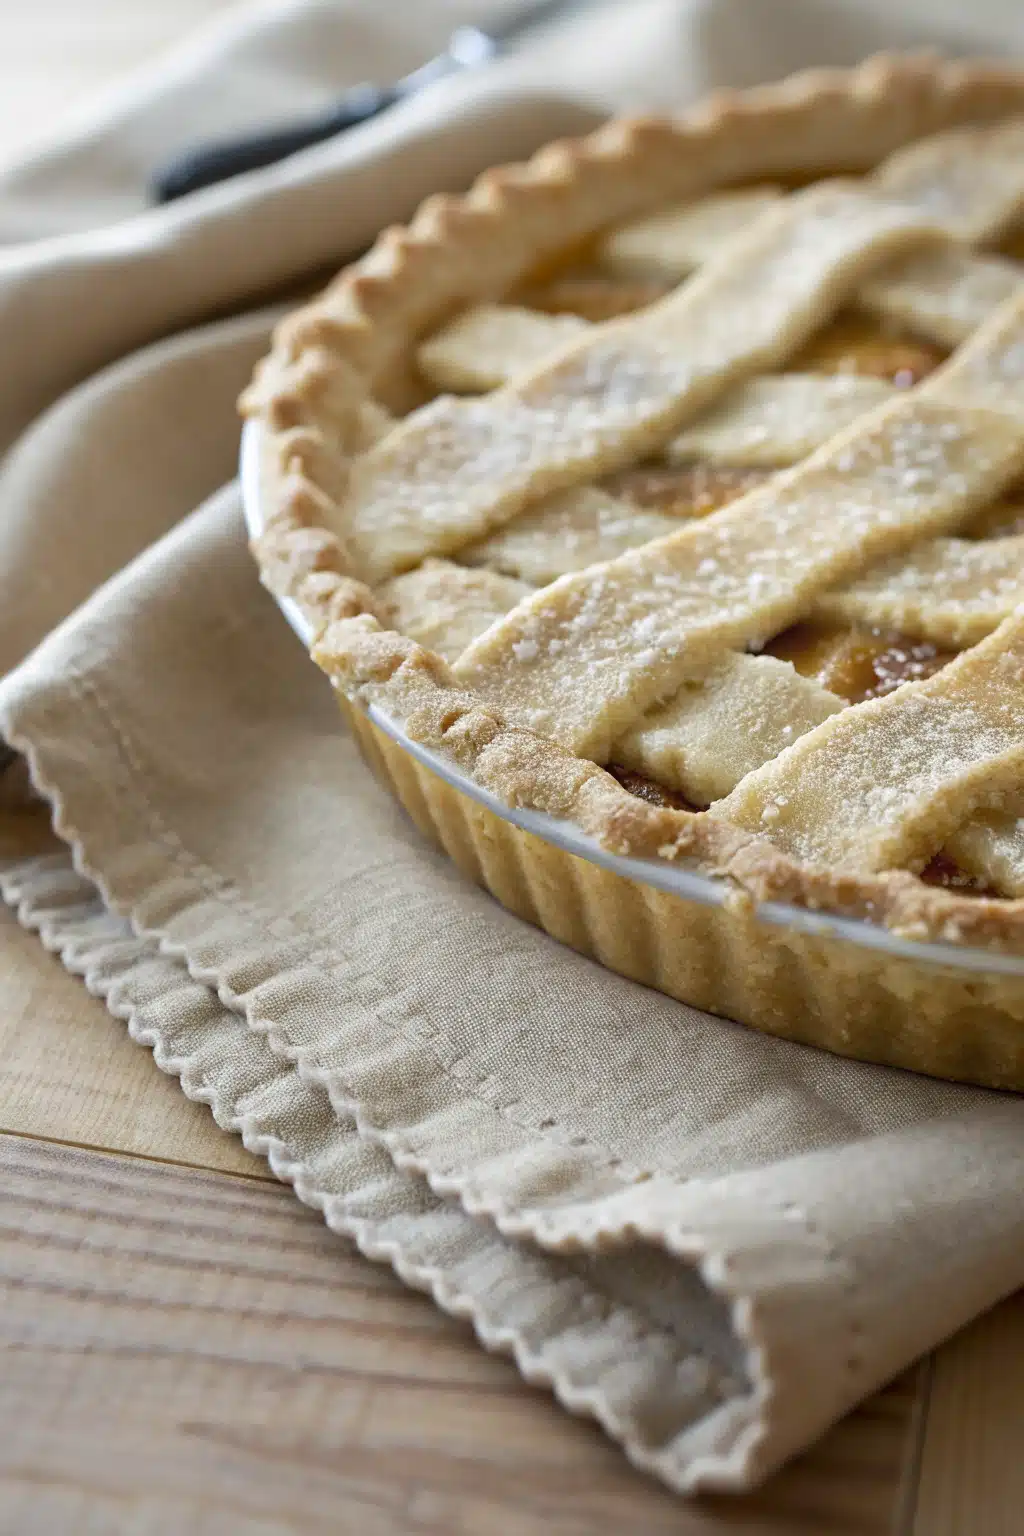
Third, **it rolls out effortlessly**. Many people struggle with sticking dough, but this one holds together well and resists tearing. Whether you’re using a pie dish, tart pan, or even a rustic galette style, it shapes beautifully and bakes evenly.
And finally, **it freezes perfectly**. Make ahead? Absolutely! Form the dough into discs, wrap tightly, and freeze for up to three months. Just thaw overnight before rolling. That means warm summer berries in January? Totally doable.
Oh, and did I mention it’s gluten-free friendly too? Swap half the flour for almond flour if needed—still yields amazing results. So whether you’re baking for holidays, family gatherings, or just because Tuesday deserves pie day, this crust delivers consistent excellence.
How to Make Easy Pie Crust
Quick Overview
Making this easy pie crust takes less than 15 minutes of active prep time. After mixing dry ingredients and cutting in fat until pea-sized pieces remain, combine with ice water just until dough forms. Shape into discs, chill briefly, then roll gently between parchment paper. Transfer to your chosen pan, trim edges, flute or crimp as desired, patch any tears with a little water, and bake blind if needed (with weights or dried beans). Simple, right?
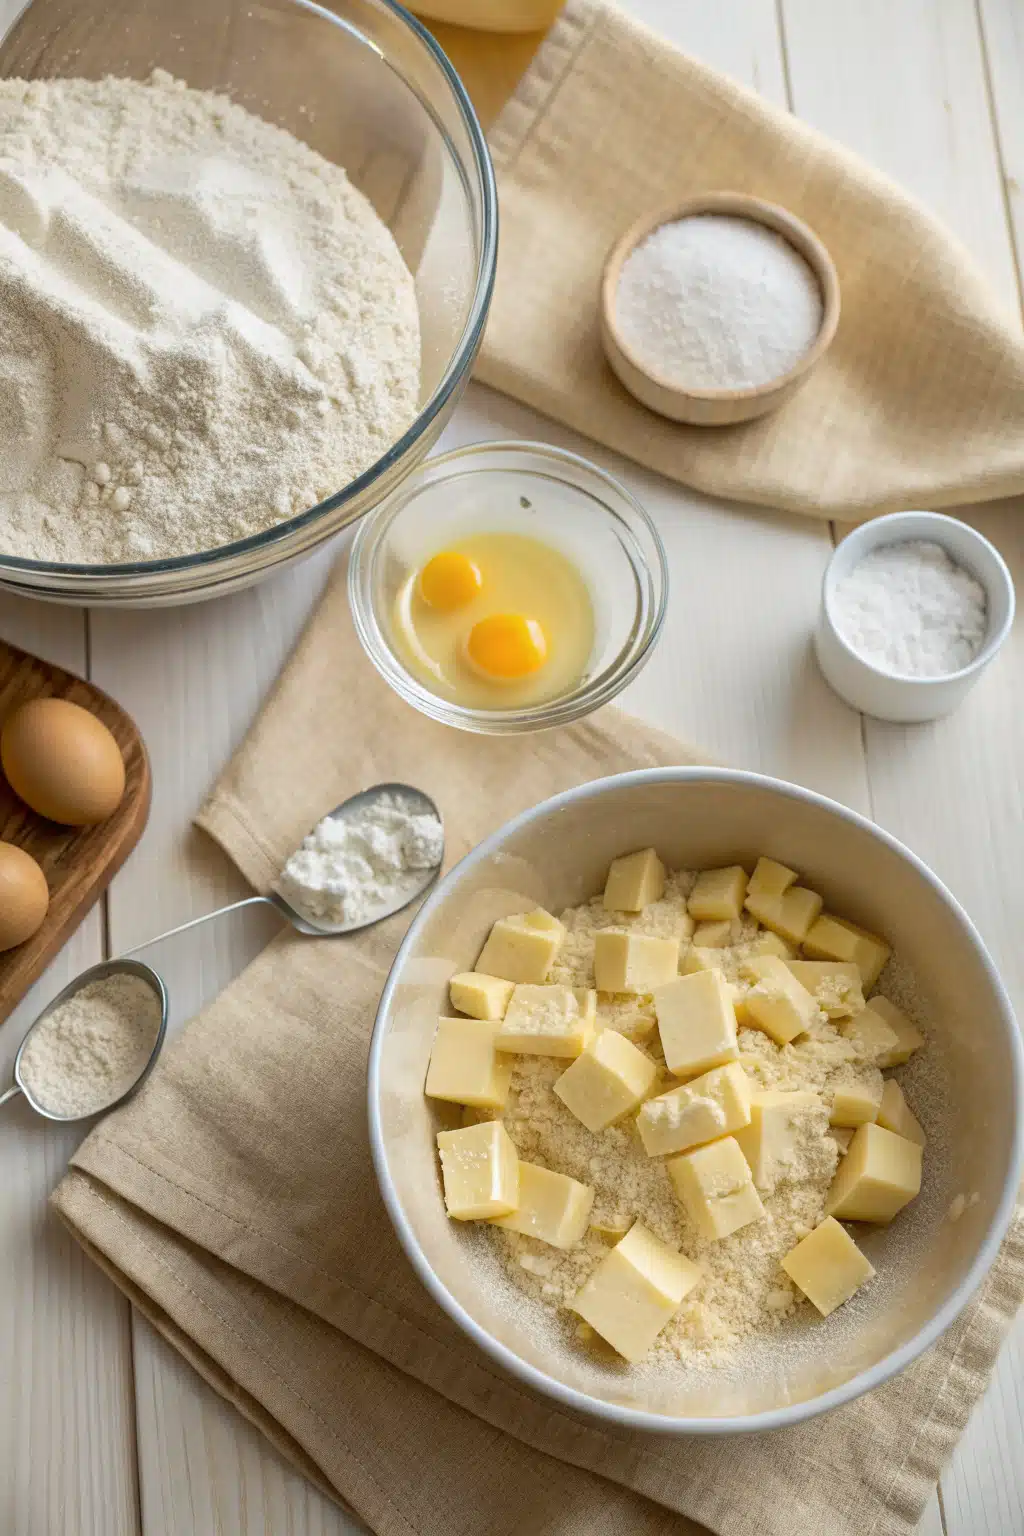
Ingredients
- 2½ cups all-purpose flour (spooned & leveled)
- 1 teaspoon kosher salt
- 1 tablespoon granulated sugar
- 1 cup unsalted butter, very cold and cut into small cubes (or ¾ cup cold vegetable shortening + ¼ cup butter for dairy-free option)
- ½ teaspoon white vinegar
- ⅔–¾ cup ice water
Step-by-Step Instructions
Step 1: Preheat & Prep Pan
Preheat your oven to 375°F (190°C). Lightly grease a 9-inch pie dish or line a baking sheet with parchment paper if rolling free-form. Keep everything else cold—this step sets the stage for success!
Step 2: Mix Dry Ingredients
In a large mixing bowl, whisk together flour, salt, and sugar until fully combined. Think uniform color throughout—no streaks of salt or sugar left behind.
Step 3: Cut In Fat
Add cold cubed butter (or shortening mixture) to the flour blend. Use a pastry cutter, fork, or even clean hands to work the fat into the flour until you have coarse crumbs with visible pea-sized bits of butter throughout. These bits are what create flakiness later!
Step 4: Add Vinegar & Ice Water
Pour vinegar over the mixture, then gradually add ice water, one tablespoon at a time, stirring gently with a spatula or spoon after each addition. Stop when the dough just barely holds together when squeezed—overmixing makes it tough.
Step 5: Form Dough & Chill
Divide dough into two equal portions (for double-crust pies). Gently gather each into a disc, wrap in plastic, and refrigerate for at least 30 minutes. This relaxes the gluten and firms up the fat for easier rolling.
Step 6: Roll Out Dough
On a lightly floured surface (use cornstarch if gluten-sensitive), roll one disc into a circle about 12 inches wide and ⅛ inch thick. Carefully transfer to your prepared pie plate by folding over the edges or lifting from underneath.
Step 7: Shape & Dock
Gently press dough into the bottom and sides of the dish without stretching. Trim excess dough leaving ½ inch overhang. Fold under itself to form a rim, then flute or crimp decoratively using fingers or a fork. Prick bottom and sides several times with a fork—this prevents bubbling.
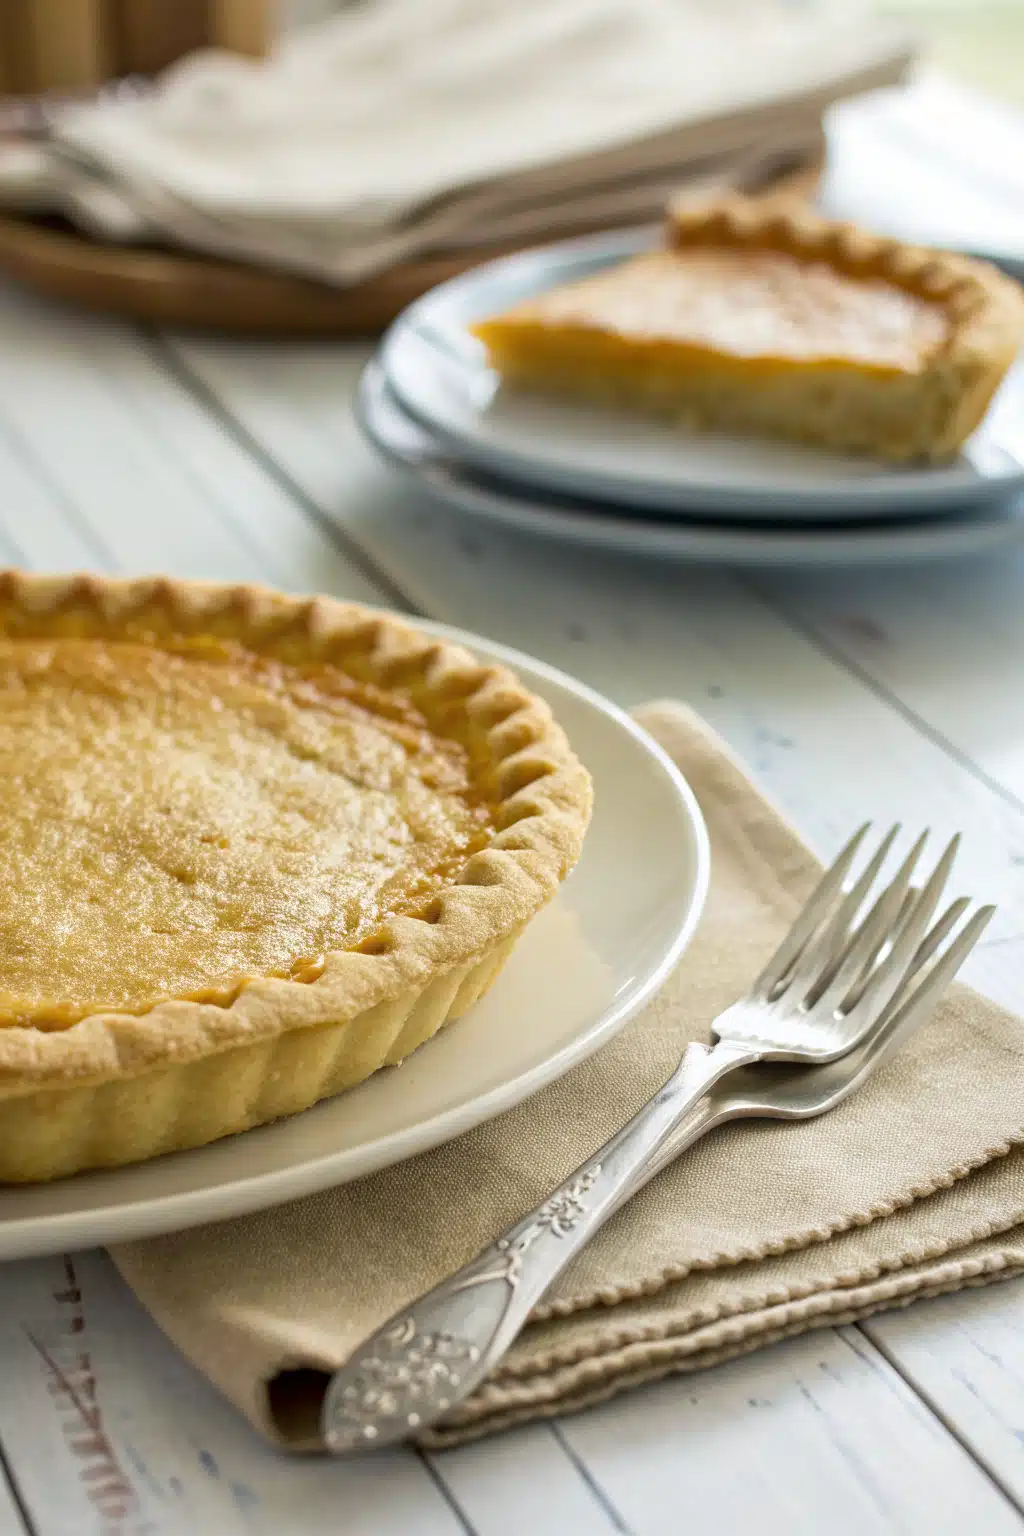
Step 8: Bake Blind (Optional)
If your filling isn’t pre-baked (like custard or cream), line crust with parchment and fill with pie weights or dried beans. Bake at 375°F for 20 minutes, then remove weights and parchment, return to oven, and bake another 10–15 minutes until golden brown. For fruit pies, you may skip blind baking and add filling directly.
What to Serve It With
This versatile crust pairs beautifully with almost anything! Try it with warm apple slices dusted in cinnamon and nutmeg, tangy lemon curd topped with whipped cream, or fresh blueberries tossed with a splash of orange juice. For savory lovers, fill it with spinach and feta, caramelized onions and goat cheese, or even a hearty mushroom risotto base.
It also shines in breakfast pies—think peach cobbler pancakes or berry galettes served with maple syrup. And don’t forget mini hand pies! These are perfect for picnics, school lunches, or quick snacks. Just portion the dough, add your favorite filling, fold, seal, and bake until golden.
No matter the occasion, this crust elevates whatever goes inside. Its neutral yet buttery profile lets the filling take center stage, making it ideal for both bold flavors and subtle ones alike.
Top Tips for Perfecting Your Easy Pie Crust
Keep Everything Cold: Warm butter melts instead of flaking, leading to dense crusts. Chill bowls, utensils, and even your hands while working.
Don’t Overwork the Dough: Once water is added, handle minimally. Overmixing develops gluten, which toughens the crust.
Use Parchment When Rolling: Prevents sticking and makes transferring easier. Plus, cleanup is a breeze!
Chill Before Rolling: Skipping this step leads to shrinking during baking. Even 15 minutes helps.
Crimp Liberally: Not only does it look pretty, but crimped edges seal better and prevent leakage.
Patch Tears Gently: If dough cracks while shaping, wet your finger and press together. Avoid adding extra dough—it changes thickness.
Bake Blind When Needed: Only necessary for wet fillings that might make crust soggy. Use rice or beans as weights.
Freeze Extras Safely: Wrap tightly in plastic, then foil. Label with date. Thaw overnight before use.
Storing and Reheating Tips
Unbaked crusts can be stored in the fridge for up to 3 days or frozen for up to 3 months. Baked, filled pies keep well covered in the refrigerator for 2–3 days. For longer storage, wrap tightly and freeze—up to 2 months. Let thaw at room temperature before serving.
To reheat, place slices in a 350°F oven for 10–15 minutes until warmed through. Avoid microwaving whole pies—it softens the crust. Instead, warm individual portions quickly in the microwave with a damp paper towel nearby to retain moisture.
Leftovers make fantastic breakfast treats! Warm them up with a pat of butter and a drizzle of honey, or top with yogurt and berries.
Frequently Asked Questions
Final Thoughts
There’s something magical about pulling a golden-brown pie from the oven, knowing you made every single ingredient yourself. This Easy Pie Crust Recipe isn’t just another set of instructions—it’s your gateway to confidence in the kitchen, one flaky layer at a time. Whether you’re baking for loved ones or treating yourself, the joy of seeing someone take their first bite and smile is priceless.
So go ahead—grab that rolling pin, embrace the mess, and remember: perfection isn’t required. Sometimes, the best pies are the ones with slightly uneven edges and happy accidents. What matters most is the love you put into it, and trust me, this crust makes that love taste incredible.
Easy Pie Crust Recipe
Ingredients
Main Ingredients
- 1.25 cup all-purpose flour
- 0.5 teaspoon salt
- 0.5 cup unsalted butter, cold and cubed
- 3.5 tablespoon ice water
Instructions
Preparation Steps
- In a large bowl, whisk together the flour and salt.
- Add the cold, cubed butter to the flour mixture. Use a pastry cutter or your fingers to cut the butter into the flour until the mixture resembles coarse crumbs with some pea-sized butter pieces remaining.
- Gradually add ice water, one tablespoon at a time, mixing gently with a fork until the dough begins to come together. You may not need all the water—stop when the dough holds together when pressed.
- Gather the dough into a ball, flatten into a disk, wrap in plastic wrap, and refrigerate for at least 30 minutes.
- On a lightly floured surface, roll the dough into a 12-inch circle. Transfer to a 9-inch pie dish, trim and crimp the edges as desired.
- If pre-baking, prick the bottom with a fork, line with parchment paper, and fill with pie weights. Bake at 375°F (190°C) for 15 minutes, then remove weights and bake 5–10 minutes more until lightly golden. Cool before filling.


