


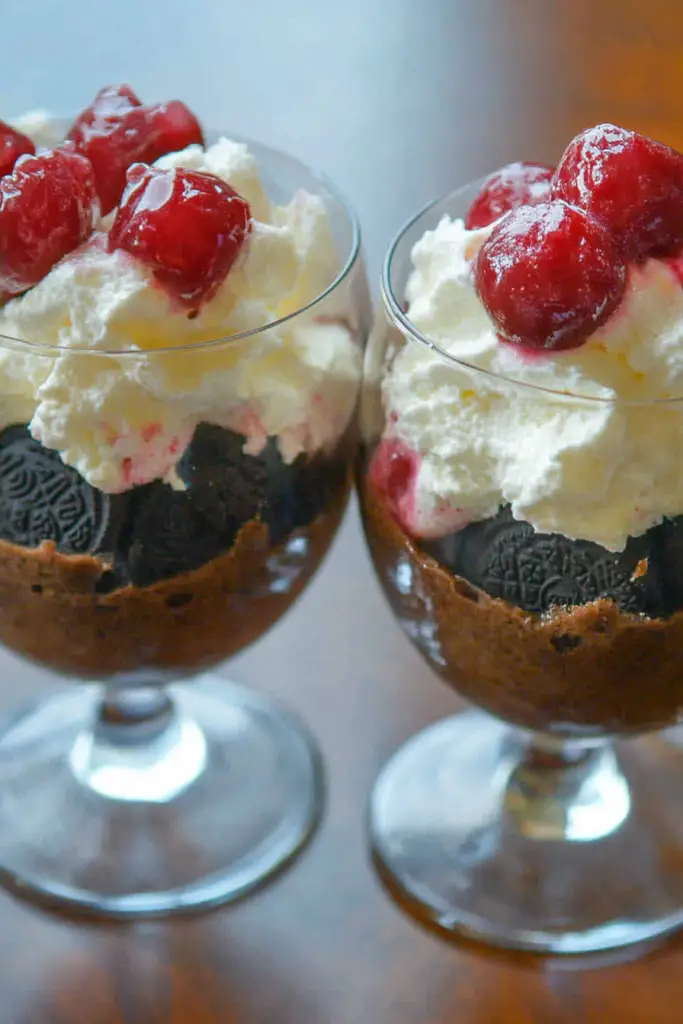
If you’re looking for an irresistible treat that’s both delicious and easy to make, you’re in for a delight with this Cherry Oreo No-Bake Dessert. This dessert requires no baking at all, making it the perfect summer creation that’s light, creamy, and bursting with cherry flavors. Whether you’re craving a quick sweet fix or planning a special treat for your guests, this recipe is sure to impress!

For me, the Cherry Oreo No-Bake Dessert brings back fond memories of family gatherings. I remember my grandmother preparing a similar dessert that we savored after every Sunday dinner. Her kitchen would fill with laughter and chatter as we indulged in each creamy layer. Now, whenever I make this dish, it feels like a sweet embrace from childhood, and I can’t help but share it with everyone I love.
Why You’ll Love This Recipe
This recipe combines the crunch of Oreo cookies with the sweetness of cherries, all held together by a creamy consistency. It’s delightfully simple, requiring no oven time, which makes it perfect for those hot summer days when you crave something cool. Plus, it takes less than 30 minutes to prepare, giving you more time to enjoy with family and friends.
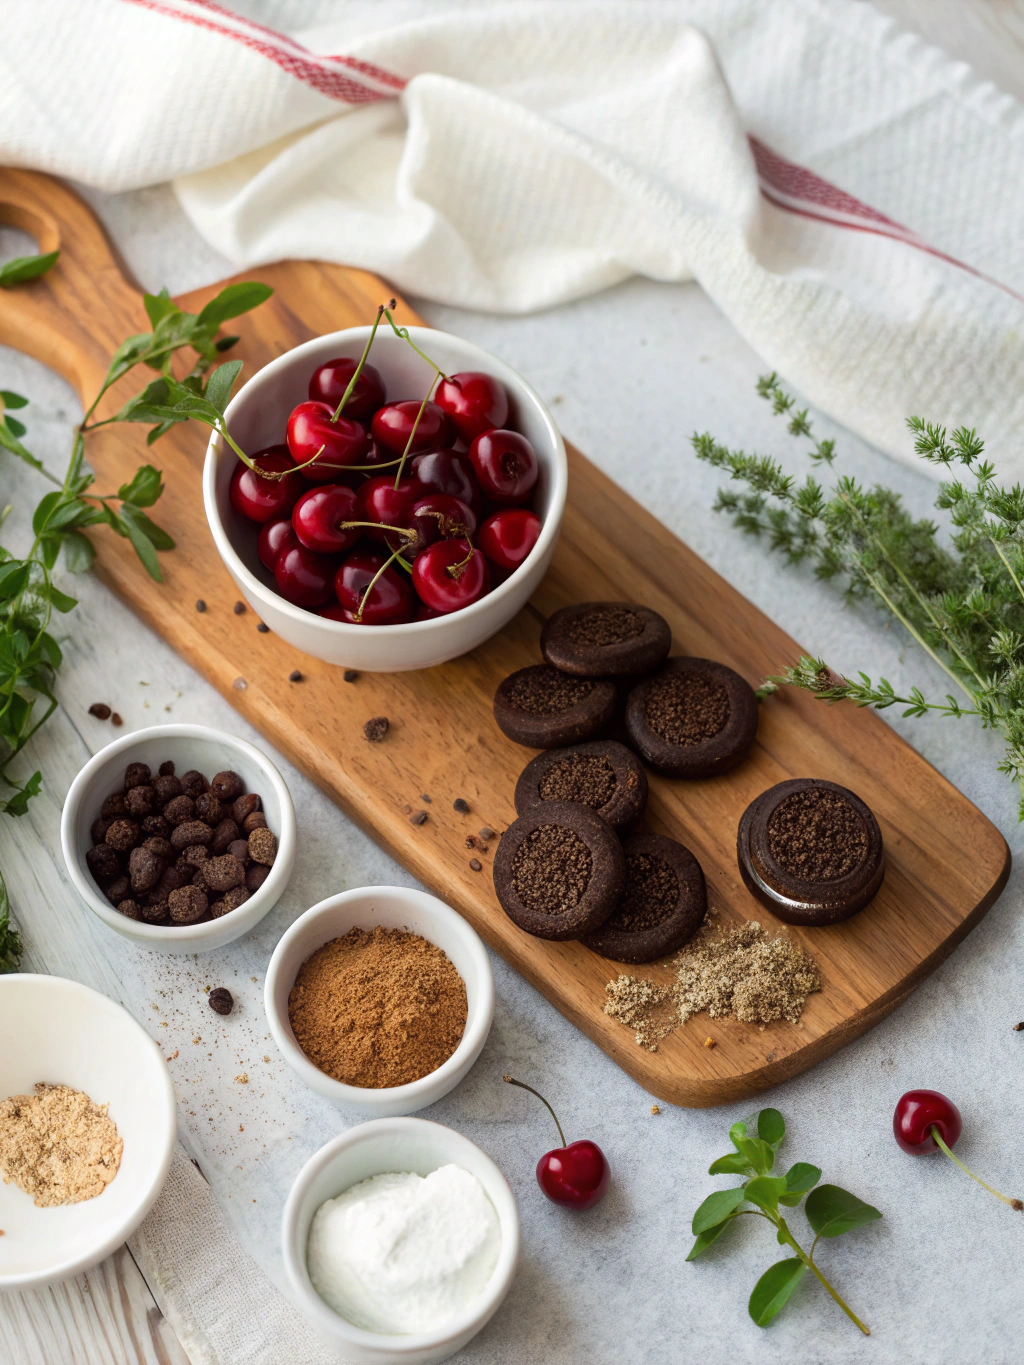
Ingredients Notes
You’ll need a few essential ingredients to create this delightful dessert:
- Oreos: Use classic Oreos for the crust, but feel free to experiment with different flavors like mint or chocolate if you’re feeling creative.
- Cherry Pie Filling: While homemade pie filling is great, canned cherry pie filling works perfectly for convenience. Look for a brand with whole cherries for added texture.
- Cream Cheese: Ensure it’s at room temperature for easy mixing; you might substitute it with mascarpone for a richer taste.
- Whipped Cream: Homemade whipped cream gives you the best texture, but store-bought is fine if time is tight.
Recipe Steps
Step 1
Create the Oreo crust: Crush a pack of Oreos into fine crumbs. Mix them with melted butter and press the mixture into the bottom of your serving dish to form an even crust.
Step 2
Prepare the Cream Cheese mixture: Blend softened cream cheese with sugar and vanilla extract until smooth. Gently fold in the whipped cream, ensuring the mixture stays light and fluffy.
Step 3
Assemble the dessert: Spread half of the Cream Cheese mixture over the Oreo crust, ensuring it’s evenly layered. Add a generous layer of cherry pie filling on top.
Step 4
Repeat the layering: Add the remaining Cream Cheese mixture, followed by another layer of cherry filling. Smooth the top carefully for a neat finish.
Step 5
Chill before serving: Refrigerate the dessert for at least 4 hours or overnight for best results. This allows the layers to set beautifully.
Storage Options
To store, cover the dessert with plastic wrap and keep it in the refrigerator for up to 3 days. For longer storage, you can freeze it in an airtight container for up to a month. Thaw overnight in the fridge and enjoy a fresh-tasting treat.
Variations & Substitutions
Feel free to mix up the flavors by using different fruit fillings such as blueberry or strawberry. For a chocolate twist, add a layer of melted chocolate or sprinkle chocolate chips between the layers. If you’re catering to dietary needs, use gluten-free Oreos and swap out dairy-free Cream Cheese for a vegan-friendly option.
Frequently Asked Questions
Can I make this dessert ahead of time?
This dessert is perfect for making ahead. In fact, it tastes even better when given time for the flavors to meld together. Prepare it the day before your event for an effortless serving that impresses every guest.
What if I don’t have Oreo cookies?
You can use any similar chocolate sandwich cookie or even graham crackers as a substitute. It will affect the taste slightly, but the overall concept will remain delicious.
How can I make this dessert healthier?
Try using reduced-fat Cream Cheese and light whipped topping to cut down on calories. Opt for a sugar-free cherry pie filling for an even healthier version. While it will alter the taste slightly, these changes help keep the indulgence light.


