


7 Layer Dip Recipe: The Ultimate Crowd-Pleaser for Every Occasion
You know that feeling when you walk into a party, and everyone’s already gathered around the snack table? There’s laughter, chips are flying, and in the center of it all—this vibrant, colorful, impossibly delicious-looking dip that just screams “eat me!” That, my friend, is the magic of a classic 7 Layer Dip. I’ve been making this for years—for game days, backyard BBQs, family reunions, even quiet Friday nights when I just want something satisfying without turning on the oven. It’s one of those recipes that never fails to disappear fast (sometimes before it even makes it to the table!). And honestly? Once you try it, you’ll understand why. Layers of creamy refried beans, tangy sour cream, sharp cheddar, fresh tomatoes, crisp lettuce, zesty olives, and a sprinkle of green onions come together in perfect harmony. It’s not just food—it’s an experience. So grab your biggest platter, call your people, and let’s get layering!
What Is 7 Layer Dip?
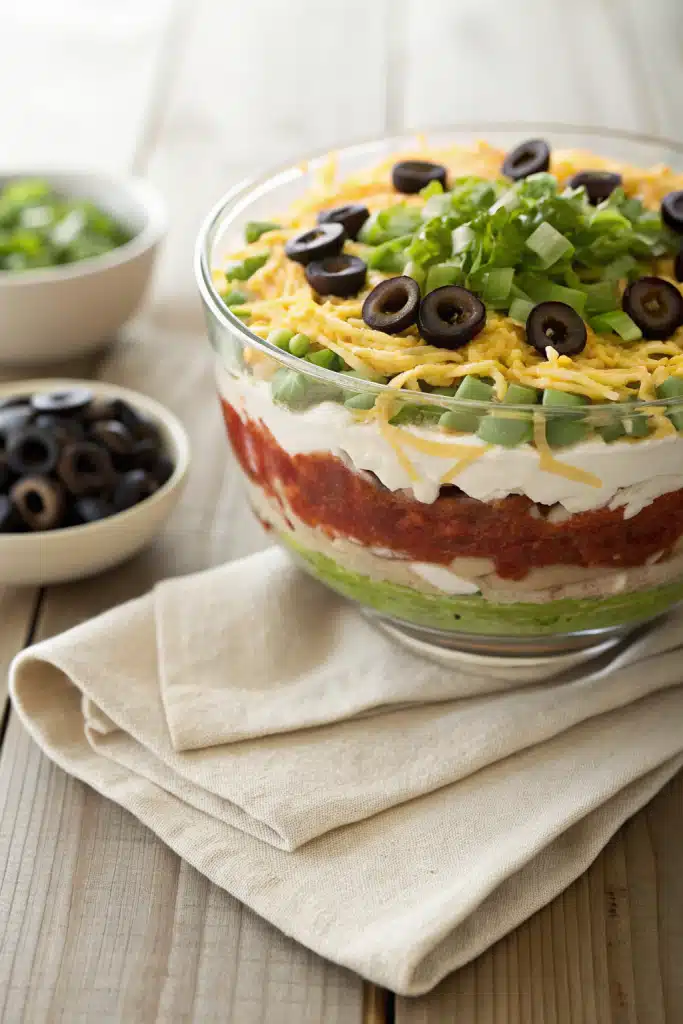
If you’ve never had 7 Layer Dip, imagine a fiesta in a bowl—but better, because it’s served on a platter with endless tortilla chips. This iconic Mexican-American appetizer stacks seven distinct layers of flavor and texture into one stunning dish that’s as fun to make as it is to eat. Traditionally, it starts with a base of refried beans, followed by guacamole or mashed avocado, then sour cream (often mixed with taco seasoning for extra zing), shredded cheese, diced tomatoes, chopped lettuce, black olives, and finally, a generous sprinkle of green onions or jalapeños for a little kick. Some versions swap or add ingredients—like adding ground beef or switching up the cheese—but the soul of the dish remains the same: bold, fresh, and totally customizable. It’s the kind of recipe that travels well, feeds a crowd, and looks impressive without requiring any fancy skills. Whether you’re hosting a Super Bowl bash or just craving something savory after work, this dip delivers every time.
Why You’ll Love This Recipe
Let’s be real—this isn’t just another dip. This is the kind of recipe that becomes a staple in your repertoire because it’s so darn versatile and universally loved. First off, it’s no-cook! That means you can whip it up in under 20 minutes while still looking like a kitchen hero. It’s also incredibly forgiving—don’t have guacamole? Mash up some ripe avocados with lime and salt. Out of sour cream? Greek yogurt works beautifully. Plus, it’s naturally gluten-free (just check your seasoning) and can easily be made vegetarian or vegan with a few swaps. But beyond practicality, there’s something deeply satisfying about building each layer with care—the way the colors pop against each other, the anticipation as you add the final sprinkle of cheese. And when you take that first bite? Creamy, crunchy, tangy, fresh—it’s a flavor explosion that hits all the right notes. Whether you’re feeding picky kids, impressing guests, or just treating yourself, this dip never disappoints. Oh, and did I mention it doubles as a centerpiece? Seriously, people will ask for the recipe before they even finish their first chip.
How to Make 7 Layer Dip
Quick Overview
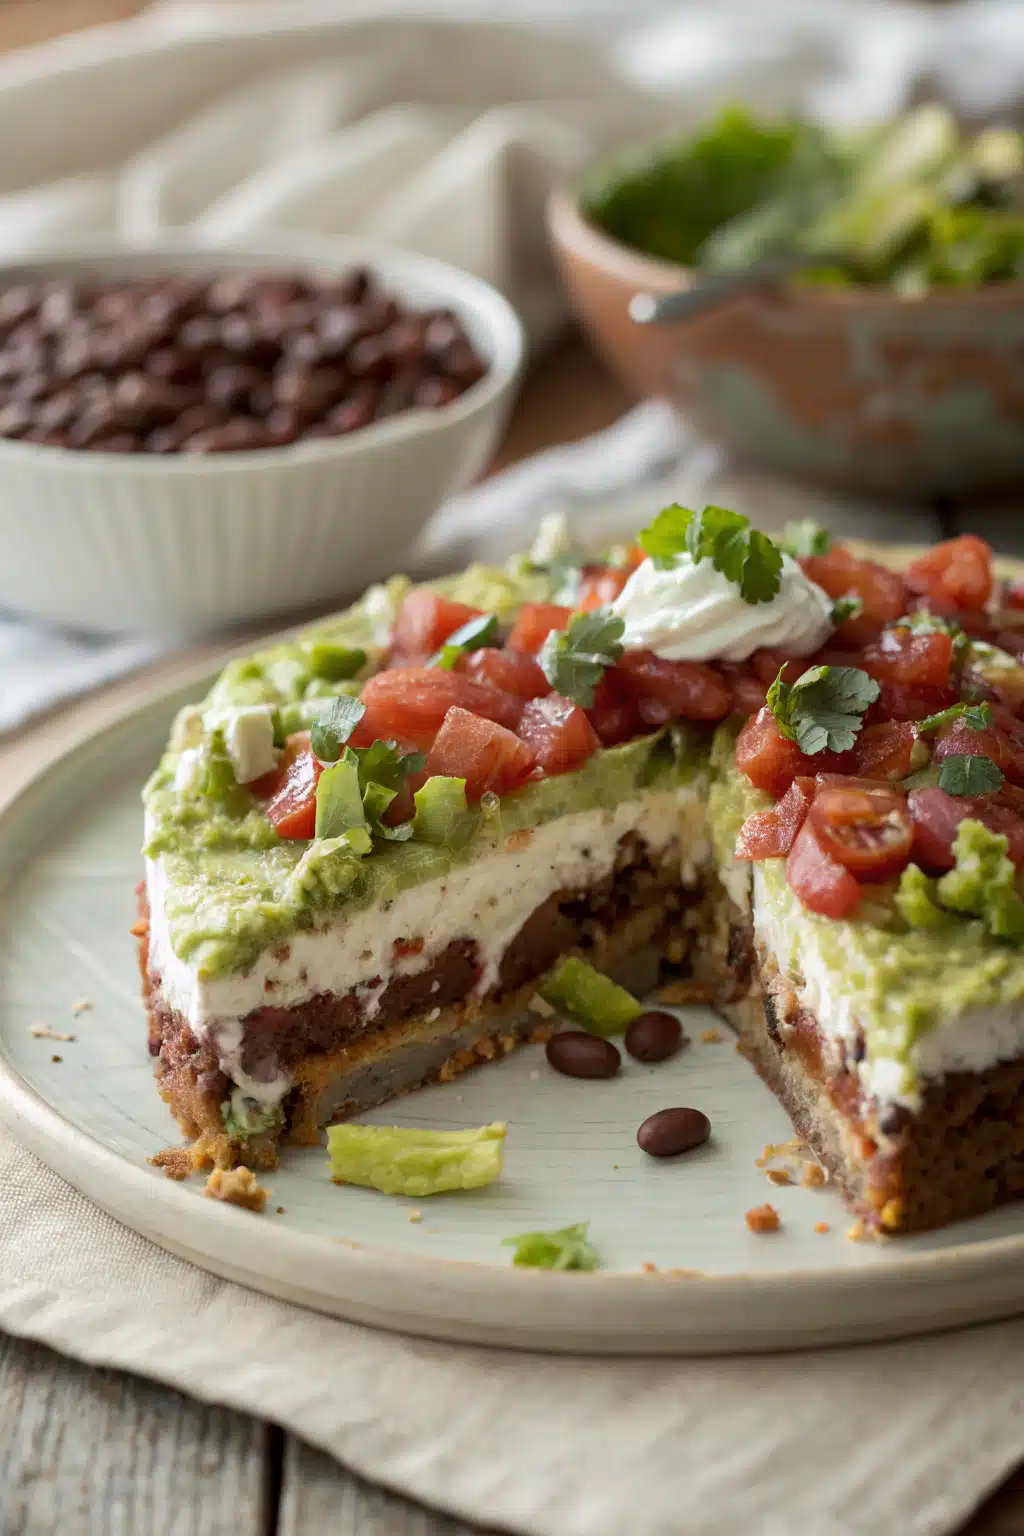
This 7 Layer Dip comes together in just three simple steps: prep your ingredients, layer them in order from heaviest to lightest (so nothing sinks!), and chill before serving. No cooking, no complicated techniques—just assembly-line deliciousness. The key is using a clear glass dish or platter so everyone can see those gorgeous layers. Pro tip: Let it rest in the fridge for at least 30 minutes before serving—this lets the flavors meld and keeps everything neat when scooping.
Ingredients
Here’s what you’ll need for a standard 9×13-inch platter (serves 8–10 generously):
- 1 (16 oz) can refried beans (vegetarian or traditional)
- 1 cup guacamole (store-bought or homemade—just mash 2 ripe avocados with lime juice, salt, and cilantro)
- 1 cup sour cream (or plain Greek yogurt for a lighter option)
- ½ packet taco seasoning (about 1½ tablespoons; use mild or spicy depending on your taste)
- 1½ cups shredded cheddar cheese (Mexican blend works great too)
- 1 cup diced Roma tomatoes (seeds removed for less moisture)
- 1 cup shredded iceberg or romaine lettuce
- ½ cup sliced black olives
- 2 green onions, thinly sliced (or 2 tablespoons chopped fresh cilantro)
- Salt and pepper to taste
- Tortilla chips for serving
Step-by-Step Instructions
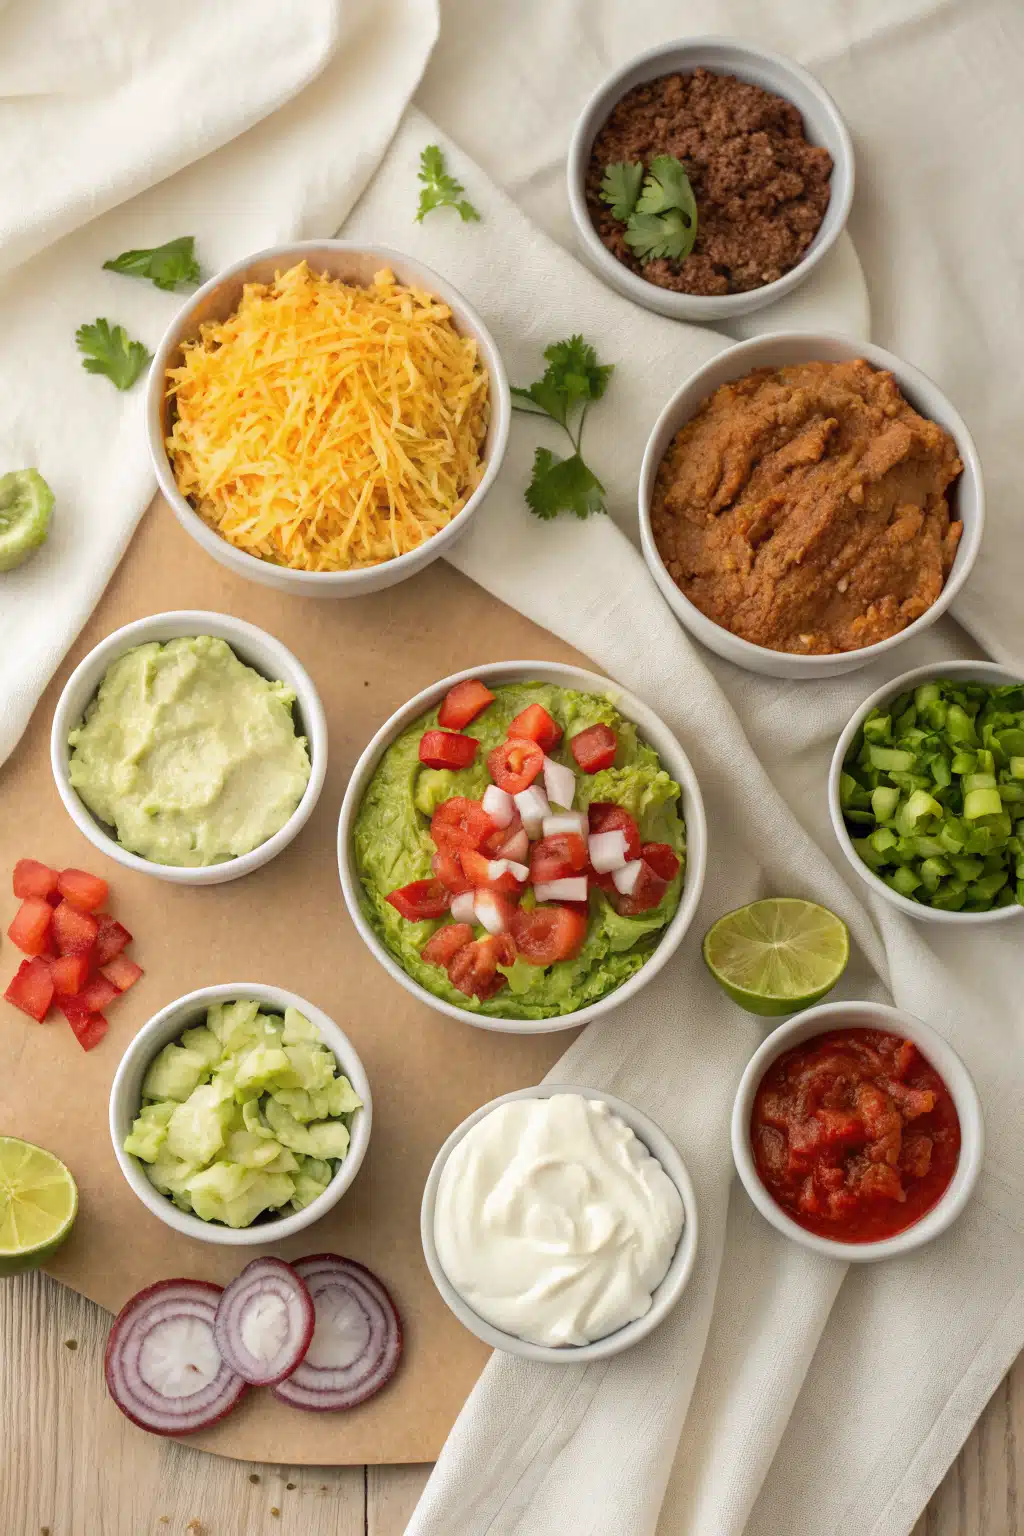
Step 1: Prep Your Ingredients
Start by gathering and prepping everything—this dip comes together fast! Dice your tomatoes (and gently squeeze out excess juice so your dip doesn’t get watery), slice the olives and green onions, shred the cheese if needed, and mash your avocados if making guacamole from scratch. Having everything ready makes the layering process smooth and stress-free.
Step 2: Layer Like a Pro
In a large glass baking dish or serving platter, spread the refried beans evenly across the bottom—this is your sturdy foundation. Next, gently spread the guacamole over the beans. In a small bowl, mix the sour cream with taco seasoning until smooth, then spread it carefully over the guacamole. Sprinkle the shredded cheese evenly on top. Now add the diced tomatoes, followed by the shredded lettuce, then the olives, and finish with green onions. Press down lightly after each layer to help them stick together.
Step 3: Chill and Serve
Cover the dip with plastic wrap and refrigerate for at least 30 minutes (or up to 4 hours) before serving. This chilling time helps the layers set and meld the flavors. When ready, surround the platter with plenty of tortilla chips and watch it disappear!
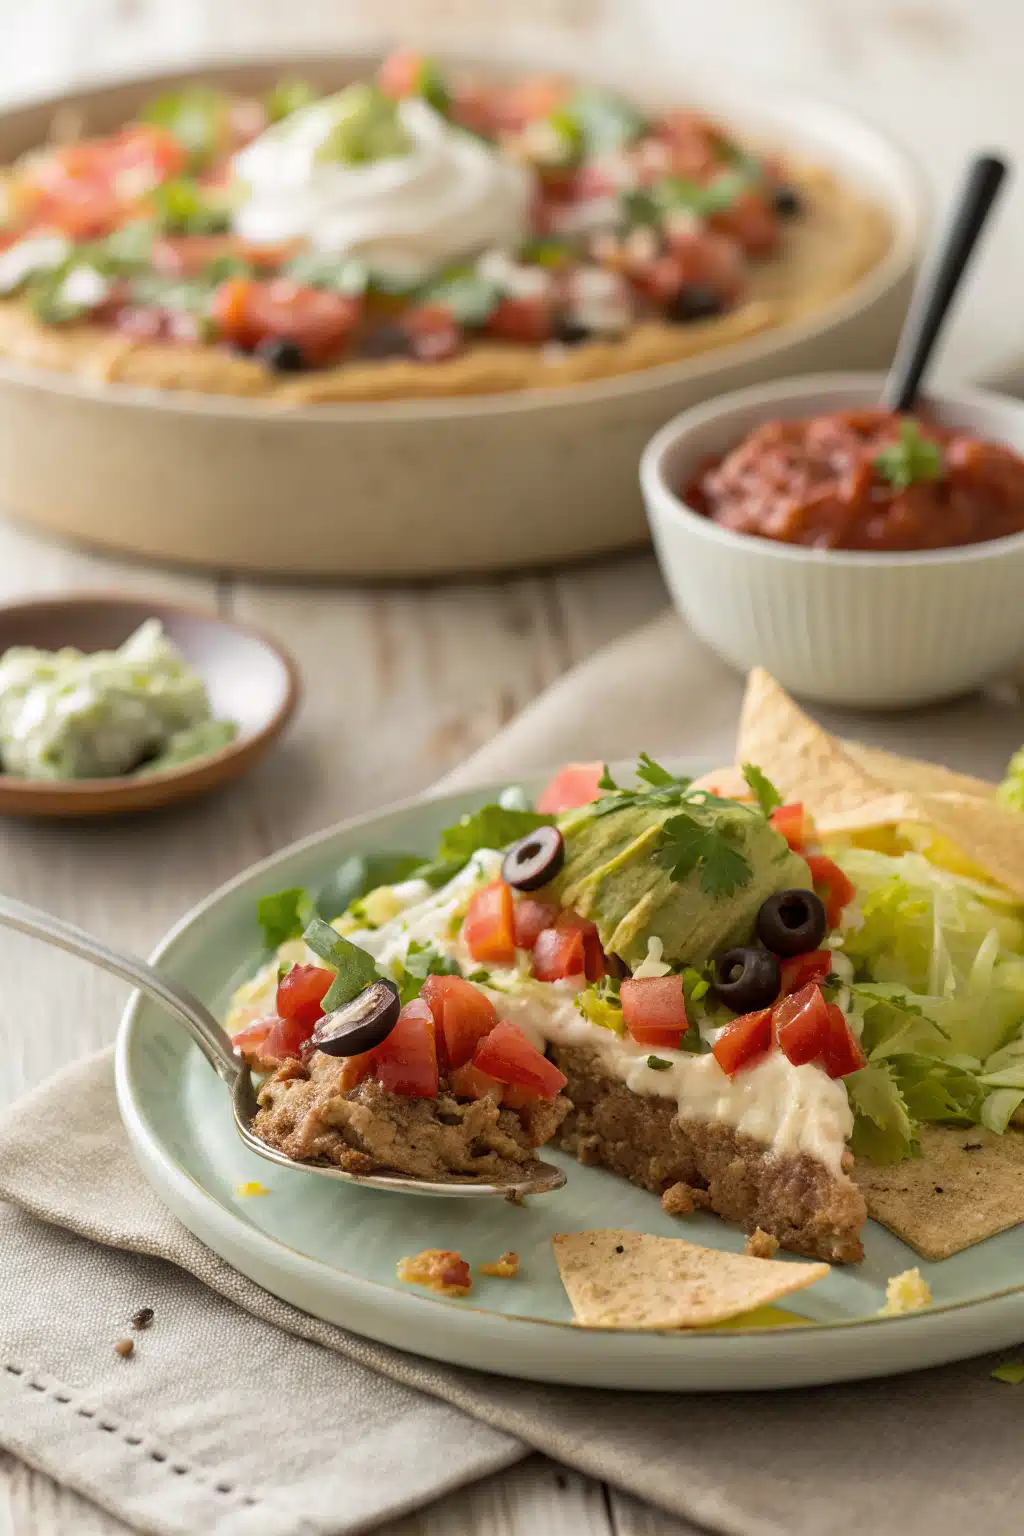
What to Serve It With
This dip is best enjoyed with sturdy tortilla chips—the kind that won’t break under the weight of a loaded scoop. But don’t stop there! Try offering sliced jalapeños, pickled red onions, extra lime wedges, or a side of salsa for dipping. For a heartier meal, serve it alongside grilled chicken tacos, quesadillas, or a simple green salad. It also pairs beautifully with margaritas or a cold beer on a warm evening. And if you’re feeding a crowd, double the recipe and use two platters—it’ll go fast!
Top Tips for Perfecting Your 7 Layer Dip
Want your dip to look as good as it tastes? Here are my insider secrets: First, always use a clear dish—it showcases those beautiful layers and makes everyone excited to dig in. Second, drain your tomatoes well! Excess moisture can make the dip soggy. Third, don’t skip the chill time—it’s essential for clean slicing and flavor blending. Fourth, feel free to customize! Add seasoned ground turkey, swap cheddar for pepper jack, or throw in corn and bell peppers for extra crunch. Finally, if making ahead, assemble up to a day in advance but add the lettuce and green onions just before serving to keep them crisp and bright.
Storing and Reheating Tips
This dip is best served fresh, but leftovers (if you’re lucky enough to have any!) can be stored in an airtight container in the refrigerator for up to 3 days. Note that the lettuce may wilt slightly, so consider storing it separately and adding it fresh when reheating. Speaking of reheating—don’t! This dip is meant to be eaten cold or at room temperature. If it’s been chilled, let it sit out for 10–15 minutes before serving to take the edge off. Never microwave it—the sour cream and cheese will separate, and nobody wants that.
Frequently Asked Questions
Final Thoughts
There’s something truly special about a dish that brings people together—and this 7 Layer Dip does exactly that. It’s more than just a recipe; it’s a tradition, a conversation starter, and a guaranteed hit at any gathering. Whether you’re a seasoned cook or just starting out, this dip is easy, forgiving, and always impressive. So next time you need a dish that’s equal parts delicious and delightful, reach for this layered masterpiece. Your taste buds—and your friends—will thank you. Now go ahead, grab those chips, and dig in!

7 Layer Dip Recipe
Ingredients
Main Ingredients
- 16 oz refried beans
- 1 cup guacamole store-bought or homemade
- 1 cup sour cream
- 1 cup sour cream-based taco sauce or 1 packet taco seasoning mixed into sour cream
- 1.5 cups shredded cheddar cheese
- 1 cup diced tomatoes
- 0.5 cup sliced black olives
- 0.25 cup chopped green onions
- tortilla chips for serving
Instructions
Preparation Steps
- In a 9x13-inch serving dish or a deep platter, spread the refried beans evenly across the bottom as the first layer.
- Spread the guacamole evenly over the refried beans as the second layer.
- In a small bowl, mix the sour cream with taco seasoning (if using dry packet), then spread over the guacamole as the third layer.
- Sprinkle the shredded cheddar cheese evenly over the sour cream mixture as the fourth layer.
- Scatter the diced tomatoes over the cheese as the fifth layer.
- Distribute the sliced black olives over the tomatoes as the sixth layer.
- Top with chopped green onions as the seventh and final layer.
- Cover and refrigerate for at least 1 hour before serving to allow flavors to meld.
- Serve chilled with tortilla chips for dipping.


