


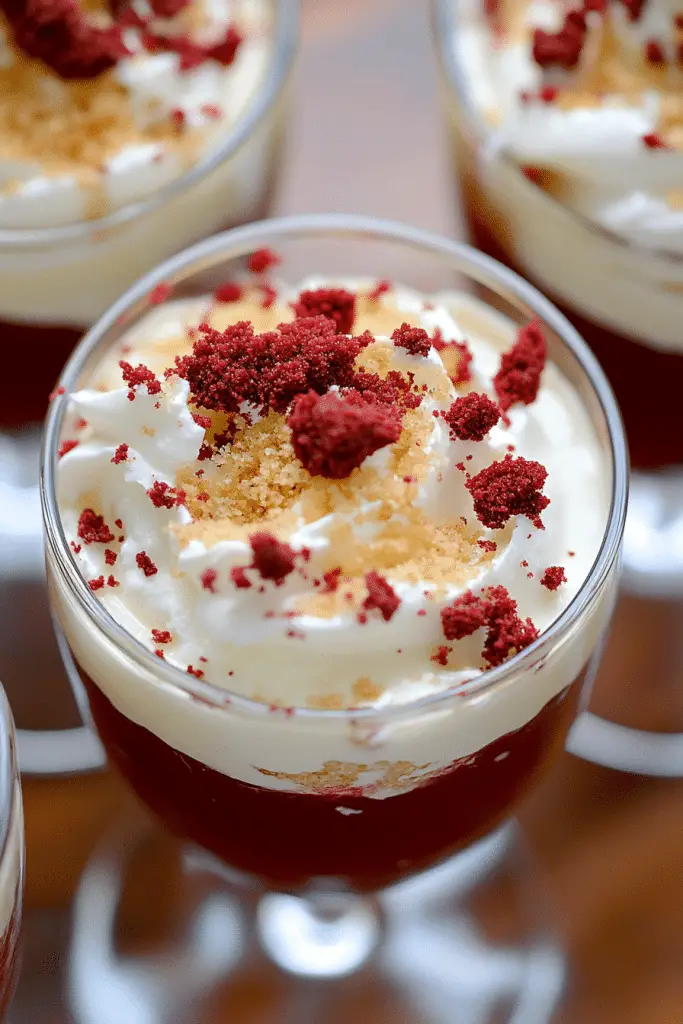
Indulge in the irresistible world of Red Velvet parfaits, a dessert that combines elegance with delicious simplicity. Perfect for any occasion, this delightful treat uses familiar ingredients layered expertly for a truly memorable experience. With its vibrant color and luscious flavor, each spoonful promises to enchant the senses and impress your guests.

Growing up, my grandmother would always bring a plate of red velvet treats to family gatherings, and they quickly became my favorite. Her flair for creating beautiful presentations inspired me to adapt the traditional recipe into parfaits, layering cream cheese with Red Velvet Cake crumbs in a way that elevates my cherished childhood memory. These parfaits have become a tradition of their own, loved by friends and family alike during celebrations and cozy indoor gatherings.
Why You’ll Love This Recipe
This recipe transforms a classic favorite into a visually stunning dessert, perfect for impressing guests or treating yourself. The parfait format means no messy slicing, just beautiful layers of flavor. It’s also conveniently portioned, enabling easy adjustment for larger gatherings or intimate meals. Plus, the recipe is versatile, allowing for dietary adjustments without compromising taste.
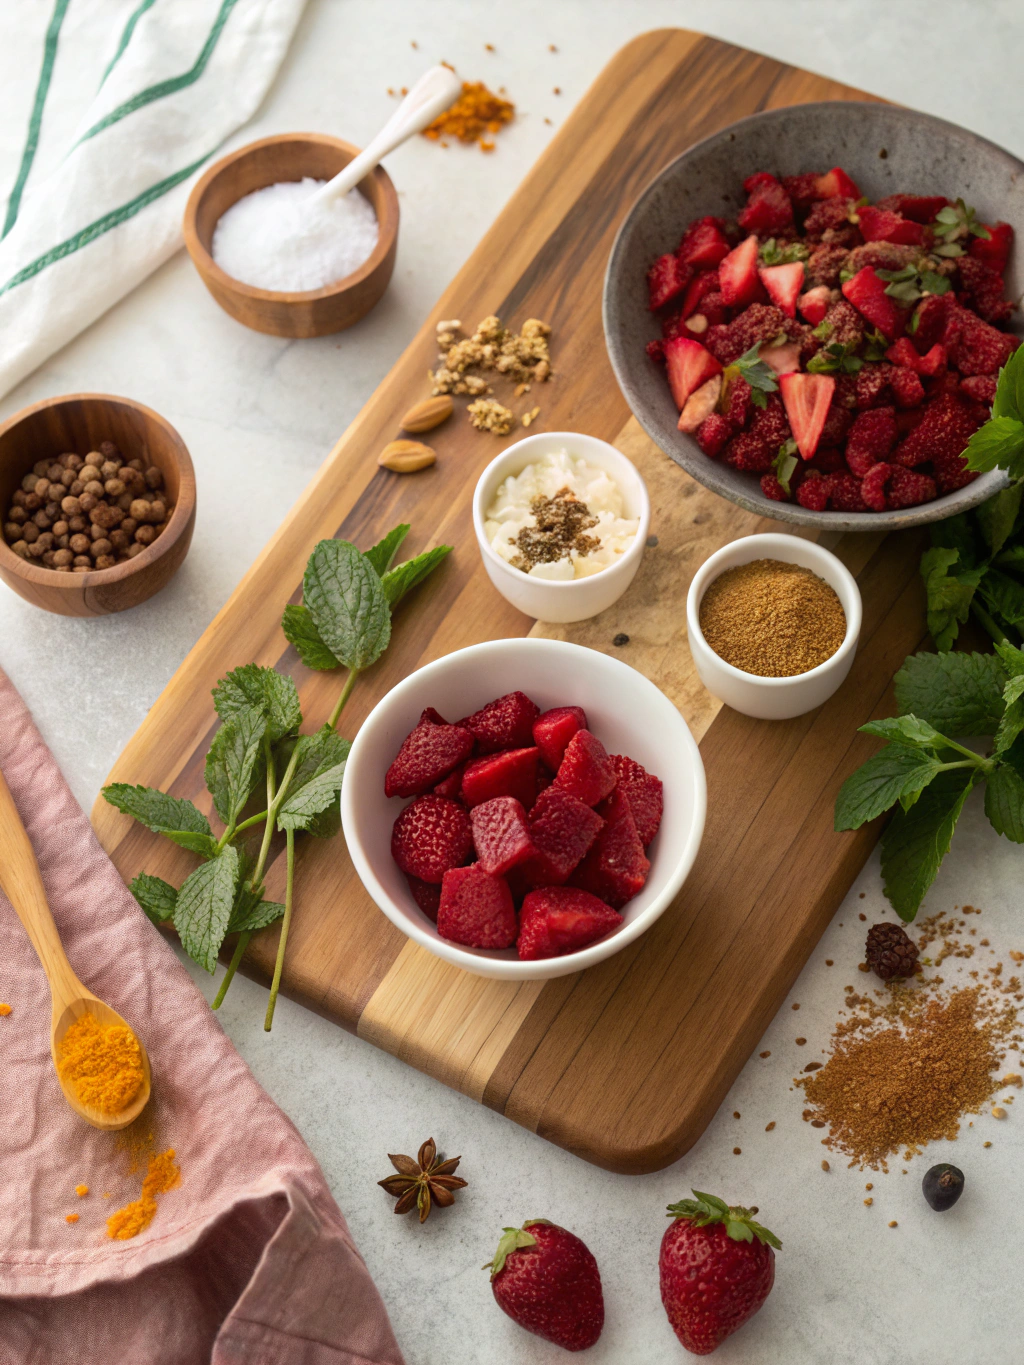
Ingredients Notes
Our Red Velvet parfaits feature simple yet flavorful ingredients. You’ll need red velvet cake, cream cheese, whipping cream, and sugar. For easy preparation, consider buying pre-made red velvet cake or cake mix, though a homemade version brings a personal touch. If you’re short on cream cheese, mascarpone can be a delightful alternative. Remember to let the cream cheese soften before mixing for a smooth texture.
Recipe Steps
Step 1
Prepare the Cake: Bake your Red Velvet Cake as per package instructions or your favorite recipe. Let it cool completely before crumbling it into small, even pieces. This forms the base of your parfait layers.
Step 2
Mix the Cream: Beat the Cream Cheese with sugar until smooth. In a separate bowl, whip the cream until soft peaks form, then gently fold it into the cream cheese mixture until fully combined.
Step 3
Layer the Parfaits: Begin layering by placing Red Velvet crumbs at the bottom of your serving glasses. Add a layer of the cream mixture, then repeat, finishing with a top layer of cream. Ensure layers are even for an impressive look.
Step 4
Chill the Parfaits: Once assembled, refrigerate the parfaits for at least two hours. This allows the layers to set and flavors to meld beautifully, enhancing the overall taste and texture.
Step 5
Garnish and Serve: Before serving, add a garnish of your choice. Options include chocolate shavings, fresh berries, or a dusting of cocoa powder. Serve chilled and enjoy!
Storage Options
Place leftover parfaits in an airtight container and refrigerate them for up to three days. If you plan on keeping them longer, consider freezing the parfaits, omitting any fresh berry garnishes until ready to serve. When reheating, allow them to thaw naturally in the fridge overnight to preserve texture.
Variations & Substitutions
For a lighter version, substitute the Cream Cheese with Greek yogurt. To accommodate dairy-free diets, use vegan cream cheese and coconut cream. Add a twist by incorporating flavors like orange zest or a layer of melted white chocolate for a sophisticated touch that still respects the dish’s beloved origins.
Frequently Asked Questions
Can I make this recipe ahead of time? Yes, you can prepare the parfaits up to two days in advance. This dessert actually benefits from time in the fridge, allowing flavors to deepen and textures to set correctly. Just keep them chilled until serving.
What can I use instead of Red Velvet cake? If red velvet isn’t available, a chocolate or vanilla cake can act as substitutes, though they will change the overall flavor. Red velvet’s unique color and mild cocoa taste are hard to replicate, so use red food coloring and cocoa if looking to mimic the original look and feel.
Are there any nuts in this recipe? The base recipe is nut-free, perfect for those with allergies. However, you can incorporate chopped pecans or walnuts into the layers for a crunchy texture if desired, or sprinkle some on top as a garnishing option.


