


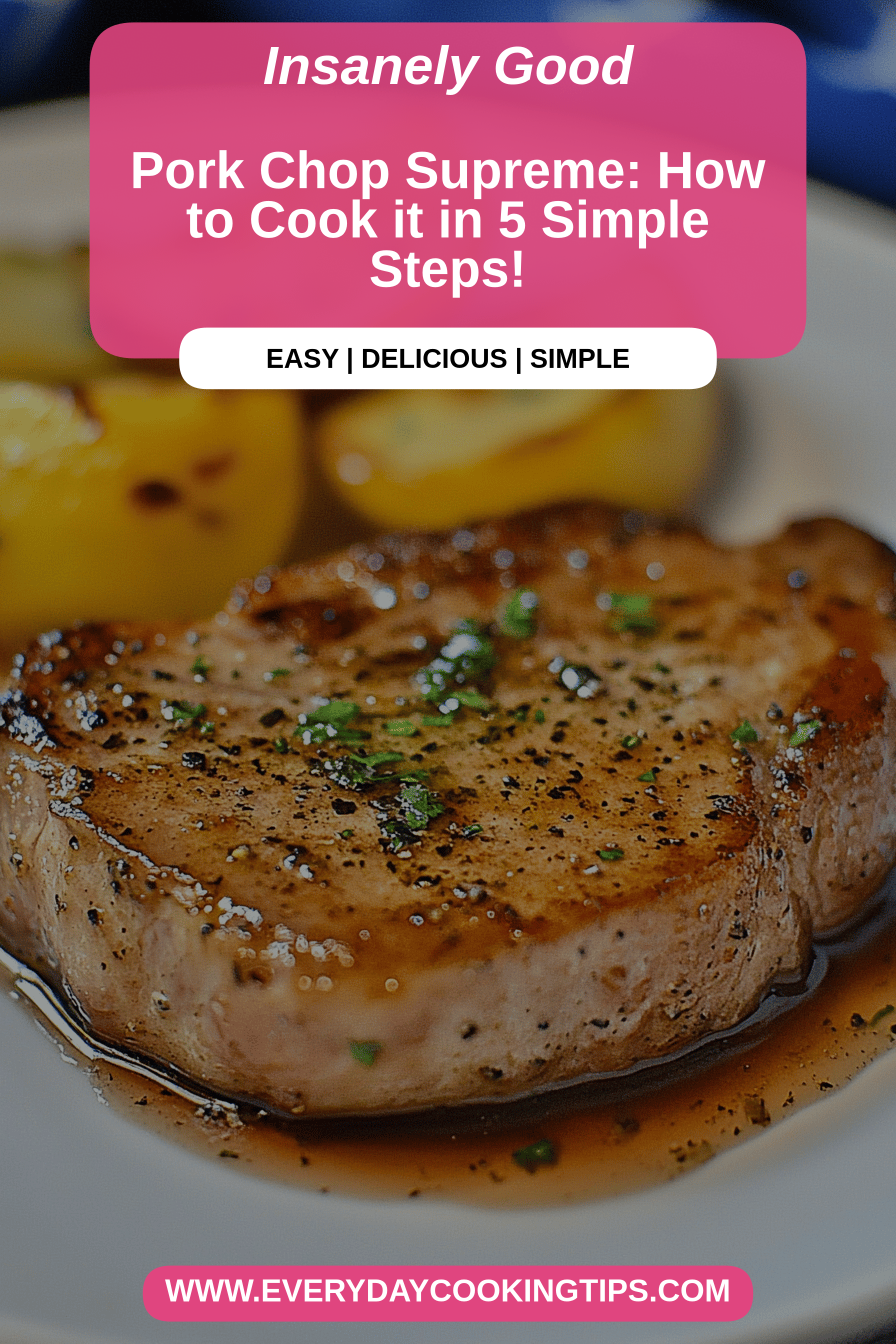
Oh, I am SO excited to share this with you today! This isn’t just any Pork Chop Recipe; it’s my absolute favorite, the one I pull out when I need a guaranteed win for dinner, or when I’m just craving something that feels like a warm, comforting hug. You know those nights? The ones where the kids are buzzing with energy and you just need something delicious and satisfying that doesn’t require a culinary degree or hours in the kitchen? Yeah, this is that recipe. It’s so incredibly simple, but the flavors are just out of this world. Honestly, it rivals some of the fanciest pork chops I’ve ever had, but with a fraction of the fuss. It’s the kind of dish that makes the whole house smell amazing and has everyone gathering around the table, asking for seconds before they’ve even finished their first bite. If you’ve ever felt intimidated by cooking pork chops, or just looking for a reliable go-to, trust me, this pork chop recipe is going to be your new best friend.
What are some good recipes for crispy pork chops?
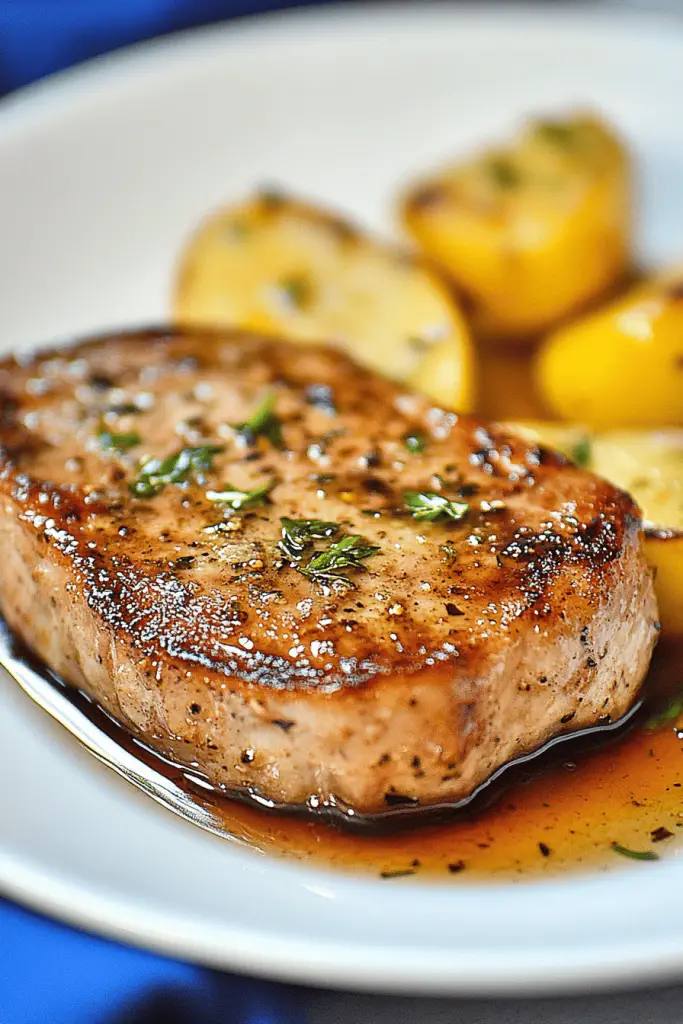
So, what exactly *is* this magic? Think of it as the ultimate Comfort Food, elevated. It’s a wonderfully tender, juicy pork chop that gets this unbelievably crispy, golden-brown exterior from a simple, yet genius, coating. It’s not a heavy breading, mind you, but something much lighter that just sears up beautifully. We’re talking a perfectly balanced savory flavor that hints at a little something special without being complicated. It’s essentially a beautifully cooked pork chop that manages to be both incredibly satisfying and surprisingly light. The name “Go-To Crispy Pork Chop” kind of just stuck because, well, it’s the first one I reach for! It’s the kind of recipe that feels rustic and homemade, yet elegant enough for company. It’s pure pork chop perfection in my book.
Why you’ll love this recipe?
Honestly, where do I even begin with why this pork chop recipe is so fantastic? Let’s break it down, because there are so many reasons I keep coming back to it, and I just know you will too!
First and foremost, the FLAVOR. Oh my goodness, the flavor! You get this incredible savory depth that’s just so satisfying. The outside gets wonderfully crisp, and then you bite into the most tender, juicy pork. It’s like a symphony in your mouth! It doesn’t rely on fancy sauces or complicated marinades; the flavor comes from simple, quality ingredients treated just right.
Then there’s the SIMPLICITY. This is a lifesaver on those busy weeknights when you want a home-cooked meal but have zero time or energy. I can honestly whip this up in under 30 minutes, start to finish, and that includes the cooking time. No fuss, no muss, just pure deliciousness. It’s the kind of meal that makes you feel like a culinary rockstar without breaking a sweat.
And let’s talk about COST-EFFICIENCY. Pork Chops are usually pretty budget-friendly, especially when you compare them to other proteins. This recipe uses pantry staples that most of us already have on hand, so you’re not looking at a huge grocery bill. It’s a way to make a really special meal feel accessible and affordable.
What I love most about this pork chop recipe, though, is its VERSATILITY. While it’s amazing on its own, it pairs beautifully with almost anything. Mashed potatoes, roasted veggies, a simple side salad – it all works. You can even jazz it up with different herbs or a sprinkle of chili flakes if you like a little heat. It’s a solid foundation that you can build upon. Compared to a baked pork chop, which can sometimes turn out dry, or a breaded one that can be heavy, this hits that perfect sweet spot of crispy, juicy, and flavorful every single time. It’s truly a winner.
How do I make my go-to crispy pork chop recipe?
Quick Overview
The whole idea here is to get a beautiful crust on the outside of the pork chop while keeping the inside wonderfully moist and tender. We’ll start by patting our chops nice and dry (this is key for crispiness!), then giving them a quick dredge in a flavorful mixture. Then, it’s a quick sear in a hot pan until they’re golden brown and cooked through. The entire process is designed for maximum flavor with minimum effort. It’s so straightforward, you’ll wonder why you ever bought Pork Chops from a restaurant!
Ingredients
For Pork Chops: For the Pork Chops: For the Pork Chops: For the Pork Chops:
You’ll want about 4 bone-in or boneless pork chops, about 3/4 to 1 inch thick. Bone-in tends to stay a little juicier, but boneless works beautifully too! Look for nice marbling – that little bit of fat equals flavor and moisture. I usually pick up a family pack when they’re on sale. Just make sure they’re not too thin, or they’ll cook too quickly and can dry out easily. About 3/4 to 1 inch thickness is perfect for getting that lovely sear.
For the Flavorful Dredge:
This is where the magic happens! You’ll need 1/2 cup all-purpose flour. This isn’t for a thick coating, but just enough to help everything stick and get that golden crust. Then, we’ve got 1 teaspoon salt – don’t skip this, it’s crucial for flavor! – 1/2 teaspoon black pepper, and for a little something extra, I love adding 1/2 teaspoon garlic powder and 1/4 teaspoon onion powder. Sometimes, if I’m feeling fancy or have it on hand, I’ll toss in a pinch of smoked paprika for an extra layer of smoky goodness. You can even add your favorite dried herbs here, like thyme or rosemary.
For Searing:
You’ll need about 2 tablespoons of a neutral cooking oil, like vegetable, canola, or even avocado oil. You want something with a high smoke point so it doesn’t burn when it gets hot. A good quality olive oil can work too, just watch the heat. I usually use what I have in the pantry, and it always turns out great.

Step-by-Step Instructions
Step 1: Preheat & Prep Pan
Alright, first things first, let’s get our pan ready. You’re going to need a good, heavy-bottomed skillet. Cast iron is my absolute favorite for this because it holds heat so evenly, giving you that perfect, consistent sear. If you don’t have cast iron, a sturdy stainless steel skillet will work just fine. Place your skillet over medium-high heat. We want it nice and hot, but not smoking like crazy. Let it heat up for a good 2-3 minutes. While the pan is heating, it’s also the perfect time to pat your pork chops completely dry with paper towels. Seriously, don’t skip this! The drier the surface, the crispier your pork chops will get. Moisture is the enemy of crispiness, remember that!
Step 2: Mix Dry Ingredients
Now, let’s get our dredge mixture ready. Grab a shallow dish or a plate – something wide enough to easily coat your pork chops. Into this dish, add your 1/2 cup of all-purpose flour. Then, sprinkle in the 1 teaspoon of salt, 1/2 teaspoon of black pepper, 1/2 teaspoon of garlic powder, and 1/4 teaspoon of onion powder. If you’re adding any other dried herbs or spices, now’s the time to toss them in. Give everything a good whisk with a fork or a small whisk until it’s all well combined. You want to make sure all those seasonings are evenly distributed throughout the flour so every bite gets that lovely flavor.
Step 3: Mix Wet Ingredients
This step is super simple, as we’re not really mixing wet ingredients in the traditional sense for the chops themselves. The “wet” component comes from the residual moisture on the pork chops after patting them dry, which is just enough to help the flour dredge stick without turning into a paste. We’ll add our cooking oil to the hot pan in the next step. So, just make sure your pork chops are as dry as can be, and your dredge is mixed and ready to go!
Step 4: Combine
Now for the fun part – coating those chops! Take one pork chop at a time and gently press it into the flour mixture, making sure both sides are evenly coated. Don’t pack it on too thick; we’re looking for a light, even dusting. Gently shake off any excess flour. It’s important not to let them sit in the flour for too long before cooking, as the moisture from the pork can start to make the flour clumpy. Work quickly here! Once coated, set the dredged chop aside on a clean plate or cutting board while you coat the others. You might have a little bit of flour mixture left over, which is perfectly fine.
Step 5: Prepare Filling
For this particular pork chop recipe, there isn’t a separate “filling” in the way you might think of for a stuffed dish. The deliciousness is all in the exterior crust and the juicy interior of the pork chop itself. However, if you wanted to get a little creative, you could absolutely infuse some extra flavor into your dredge. For example, you could add a tablespoon of finely grated Parmesan cheese to the flour mixture for a cheesy crust, or some chili flakes for a little heat. The “filling” here is the pork chop itself, and we’re focusing on making its exterior shine!
Step 6: Layer & Swirl
This step is actually all about getting that pan nice and hot for searing! Once your pan is preheated for a couple of minutes, add your 2 tablespoons of cooking oil. Let the oil heat up for about 30 seconds to a minute until it shimmers. You don’t want it smoking, but you do want it hot enough to immediately start that beautiful sear on the pork chops. We aren’t layering or swirling in this recipe, but rather carefully placing the pork chops into the hot, oiled pan to achieve that perfect golden-brown crust.
Step 7: Bake
We’re actually not baking these pork chops in the oven! The beauty of this recipe is that it’s all done on the stovetop in one pan. So, carefully place your dredged pork chops into the hot, shimmering oil. Don’t overcrowd the pan; if you have more than two chops, you might want to cook them in batches so they have enough space to sear properly and don’t steam. Let them cook undisturbed for about 4-5 minutes per side. You’re looking for a deep golden-brown crust. Resist the urge to move them around too much initially – that’s how you get a great crust! Once they’re nicely seared on both sides, reduce the heat to medium-low, cover the pan (if you have a lid), and let them cook for another 5-8 minutes, or until the internal temperature reaches 145°F (63°C) on an instant-read thermometer. This gentle cooking ensures they’re juicy on the inside.
Step 8: Cool & Glaze
Once your pork chops have reached that perfect internal temperature of 145°F (63°C) and are beautifully golden brown, carefully remove them from the pan and place them on a clean plate or cutting board. Now, here’s a crucial tip that makes all the difference: let them rest! Tent them loosely with foil and let them rest for at least 5-10 minutes. This resting period allows the juices to redistribute throughout the meat, ensuring every bite is incredibly moist and tender. We aren’t really glazing these as they are, but if you wanted a little something extra, you could drizzle a little pan sauce (made by deglazing the pan with a splash of broth or wine after the chops are out) over them. Or, a tiny drizzle of honey or maple syrup right at the end can add a touch of sweetness without being a full glaze. For this recipe, the natural juices and the crust are usually enough!
Step 9: Slice & Serve
After your pork chops have had a good, long rest (seriously, don’t skip this part!), they are ready to be sliced and served. If you’re serving them whole, you can just place them directly onto your plate. If you prefer to slice them, you can cut them against the grain. You’ll see the beautiful, juicy interior and that amazing crust. The smell alone will have everyone reaching for their forks! Serve them immediately while they’re hot and that crust is at its crispiest. It’s a simple presentation, but the quality of the food speaks for itself. Pure pork chop bliss!
What to Serve It With
This is where the fun really begins, because this crispy pork chop recipe is like a blank canvas for deliciousness! It pairs beautifully with so many things, making it perfect for any meal or occasion.
For Breakfast: Yes, you read that right! A leftover pork chop, sliced and served alongside some scrambled eggs and maybe some pan-fried potatoes? It’s a hearty and satisfying start to the day. I love doing this on a weekend morning when I have a little extra time. A good cup of black coffee is the perfect accompaniment.
For Brunch: Elevate your brunch game! Serve these pork chops alongside some fluffy pancakes or waffles, maybe with a side of home fries and a fresh fruit salad. The savory pork chops are a wonderful contrast to the sweet elements of a brunch spread. A mimosa or a bloody mary would be fantastic here!
As Dessert: Okay, this one might sound a bit unusual, but hear me out! If you’re having a more savory-focused dessert course or a tapas-style meal, a small, perfectly cooked pork chop can be surprisingly delightful. It’s not a sweet dessert, of course, but it’s a satisfying savory bite. Maybe pair it with a sharp cheddar cheese and some crusty bread. It’s definitely a conversation starter!
For Cozy Snacks: Sometimes, I just want a little bite of something delicious. A leftover pork chop, reheated gently, can be a fantastic snack. You can even shred it and use it in a small slider bun with some coleslaw. It’s so much more satisfying than chips!
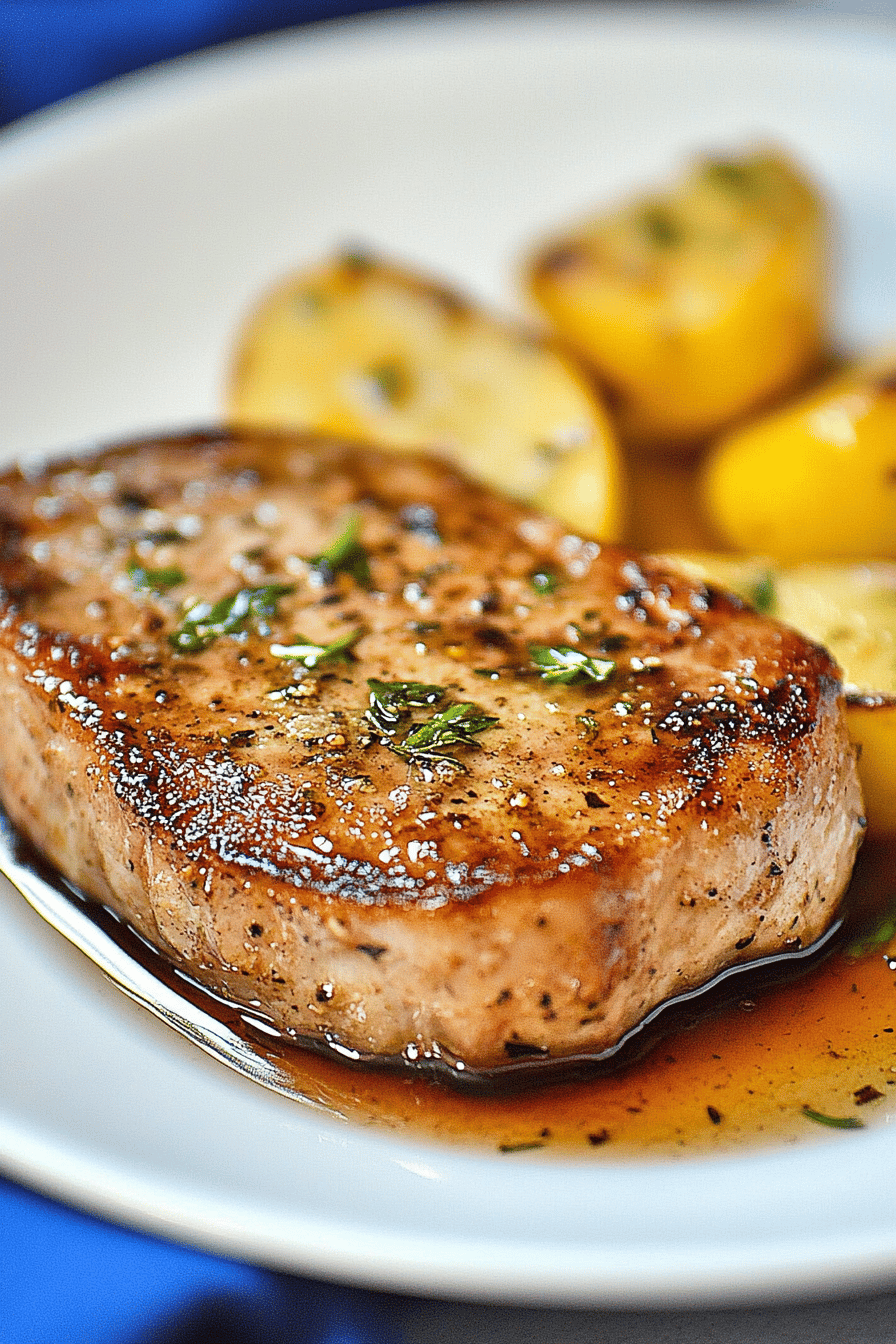
My family absolutely adores these with classic mashed potatoes and some steamed green beans. It’s simple, comforting, and always a hit. Another favorite is serving them with roasted sweet potatoes – the sweetness of the potatoes complements the savory pork chop so well. And don’t underestimate the power of a good side salad with a light vinaigrette to cut through the richness. It’s all about balance, and this pork chop recipe is so adaptable!
Top Tips for Perfecting Your Crispy Pork Chop Recipe
I’ve made this pork chop recipe more times than I can count, and over the years, I’ve picked up a few tricks that I think make all the difference in getting that perfect, restaurant-quality result every single time. I’m happy to share them with you!
Pork Chop Prep: This is probably the MOST important tip I can give you. Patting your pork chops completely dry with paper towels before dredging is non-negotiable. Seriously, get them bone dry! If there’s any moisture on the surface, the flour dredge will turn into a paste, and you won’t get that glorious crisp. I usually press down firmly with a few sheets of paper towel. For thickness, aim for 3/4 to 1 inch. Thinner chops will cook too fast and can easily overcook, becoming dry. Thicker chops give you a better window to achieve that perfect crust while keeping the inside juicy.
Mixing Advice: When you’re mixing your flour and seasonings, make sure everything is well combined. A quick whisk ensures the salt, pepper, and garlic powder are evenly distributed. You want that flavor to be consistent with every bite. When you’re dredging the pork chops, use a light hand. You’re not breading them like fried chicken; you just need a thin, even coating to help them brown and crisp up. Gently shake off any excess flour – too much flour can clump and burn. Don’t let the dredged chops sit around for too long before they hit the pan, as the moisture from the meat can start to soften the flour coating.
Swirl Customization: While this recipe is fantastic as is, you can absolutely customize the flavor. If you love a garlicky kick, feel free to add an extra teaspoon of garlic powder. A pinch of smoked paprika adds a wonderful depth and subtle smokiness. For a bit of heat, chili flakes are your friend! I’ve also experimented with adding dried herbs like thyme or rosemary right into the flour mixture, and they work beautifully. The key is to keep the amount of seasoning balanced with the flour so it doesn’t overpower the pork itself.
Ingredient Swaps: For the oil, any neutral oil with a high smoke point will work. Vegetable, canola, grapeseed, or avocado oil are all great options. If you don’t have all-purpose flour, a gluten-free all-purpose blend should work, though you might need to experiment slightly with the texture. For the pepper, freshly ground black pepper always has the best flavor. If you don’t have garlic or onion powder, you could use a very finely minced garlic clove or a tiny bit of onion powder, but the powdered versions distribute more evenly in the dredge.
Baking Tips: We’re not baking here, but searing! Make sure your pan is nice and hot before adding the oil and the chops. A medium-high heat is ideal to start. Once the chops are in, resist the urge to move them for the first few minutes. Let them develop that beautiful crust. After searing both sides, reducing the heat to medium-low and covering the pan (if possible) helps them cook through evenly without burning the exterior. Using a meat thermometer is the absolute best way to ensure they’re cooked perfectly – 145°F (63°C) is the magic number.
Glaze Variations: As I mentioned, this recipe doesn’t typically use a glaze. The crust and the natural juices are what make it so special. However, if you are craving a little something extra, you could deglaze the pan after the chops are cooked and rested. Add a splash of chicken broth or white wine to the hot pan, scraping up any browned bits from the bottom. Let it reduce for a minute or two. You can then drizzle this flavorful jus over your sliced pork chops. A tiny drizzle of honey or maple syrup right at the very end of cooking can also add a lovely hint of sweetness, but be careful not to burn it!
Storing and Reheating Tips
One of the best things about this pork chop recipe is how well leftovers hold up. They’re almost as good the next day, which is a serious win in my book.
Room Temperature: It’s best to let your cooked pork chops cool down a bit before storing them. You can leave them at room temperature for no more than two hours. After that, it’s really important to get them into the refrigerator to prevent any bacterial growth. They’re delicious fresh, but for safety, don’t leave them out for too long.
Refrigerator Storage: Once cooled, wrap your leftover pork chops tightly in plastic wrap or place them in an airtight container. They’ll stay fresh and delicious in the fridge for about 3 to 4 days. I usually find they are best eaten within the first two days, but they’re still perfectly good for longer. Make sure the container is truly airtight to prevent them from drying out.
Freezer Instructions: If you know you won’t be eating them within a few days, freezing is a great option. Wrap each cooled pork chop individually and tightly in plastic wrap, then place them in a freezer-safe bag or container. They can be stored in the freezer for up to 2-3 months. For the best quality, try to use them sooner rather than later.
Thawing: When you’re ready to enjoy your frozen pork chops, the safest way to thaw them is in the refrigerator overnight. You can also thaw them on the counter for a shorter period, but be sure they are completely thawed before reheating. Never thaw at room temperature for extended periods.
Glaze Timing Advice: Since this recipe doesn’t really involve a glaze applied during cooking, this advice is more for when you’re serving leftovers. If you’ve made a pan sauce or jus, store that separately in the refrigerator. When reheating, you can warm the pork chops gently and then spoon the sauce over them. If you’re reheating a whole chop without sauce, the storage method of wrapping it tightly is key to keeping it moist. Reheat gently to avoid drying it out – a quick sauté or a low oven temperature is usually best.
Frequently Asked Questions
Final Thoughts
So there you have it – my absolute favorite, go-to crispy pork chop recipe! I really hope you give this one a try. It’s more than just a meal; it’s that reliable, comforting dish that always brings smiles to the table. It proves that you don’t need complicated steps or fancy ingredients to make something truly spectacular. The simplicity, the incredible flavor, and the satisfying crunch make this pork chop recipe a winner every single time. It’s the kind of recipe that becomes a staple in your kitchen, the one you can always count on. If you loved this, you might also enjoy my recipe for lemon herb roasted chicken or my easy weeknight salmon, both of which offer that perfect blend of flavor and simplicity! I can’t wait to hear what you think. Please leave a comment below and let me know how your pork chops turned out, or if you tried any fun variations! Happy cooking, everyone!
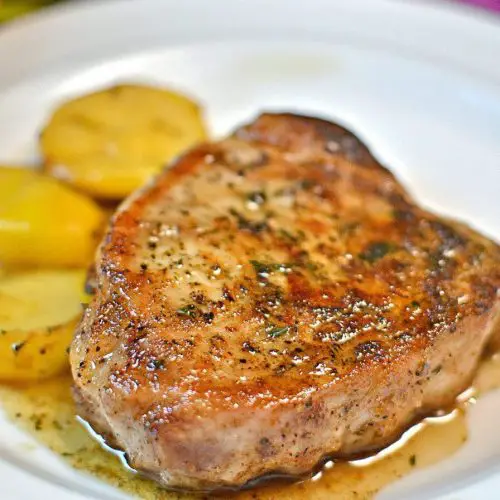
Simple Pan-Seared Pork Chops
Ingredients
Main Ingredients
- 4 bone-in pork chops pork chops about 1 inch thick
- 1.5 tablespoon olive oil
- 1 teaspoon salt
- 0.5 teaspoon black pepper
- 2 cloves garlic minced
- 1 tablespoon butter
Instructions
Preparation Steps
- Pat the pork chops dry with paper towels. This helps create a better sear.
- Season both sides of the pork chops generously with salt and black pepper.
- Heat the olive oil in a large skillet over medium-high heat until shimmering.
- Carefully place the pork chops in the hot skillet, ensuring not to overcrowd the pan. Cook for about 4-5 minutes per side, or until golden brown and an internal temperature of 145°F (63°C) is reached.
- In the last minute of cooking, add the minced garlic and butter to the skillet. Tilt the pan and spoon the melted butter over the pork chops.
- Remove the pork chops from the skillet and let them rest on a plate for 5-10 minutes before serving. This allows the juices to redistribute.


