


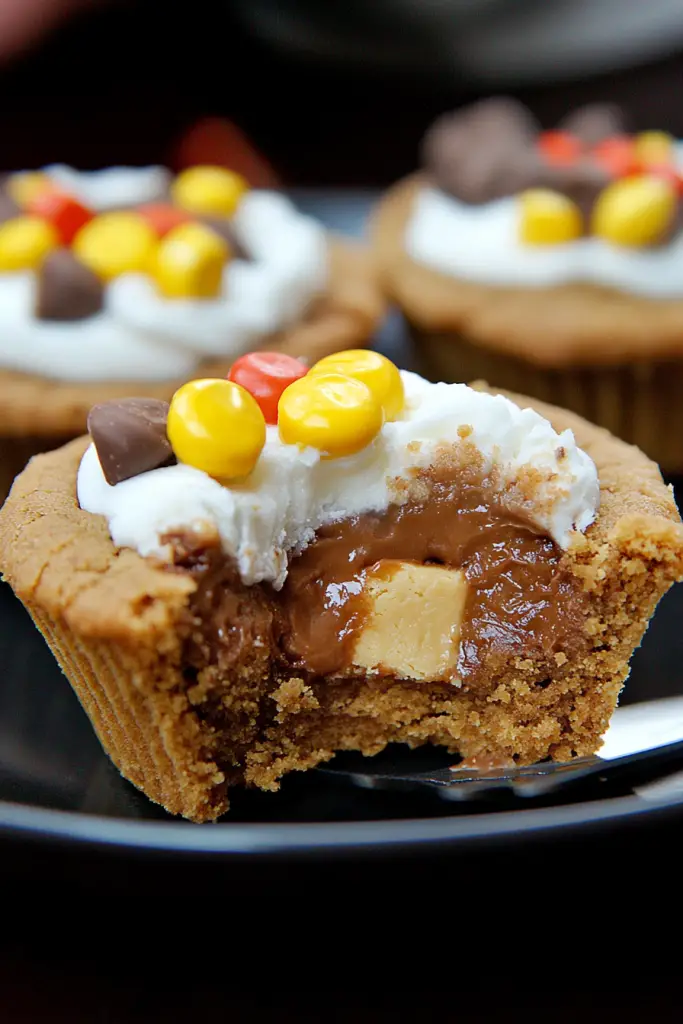
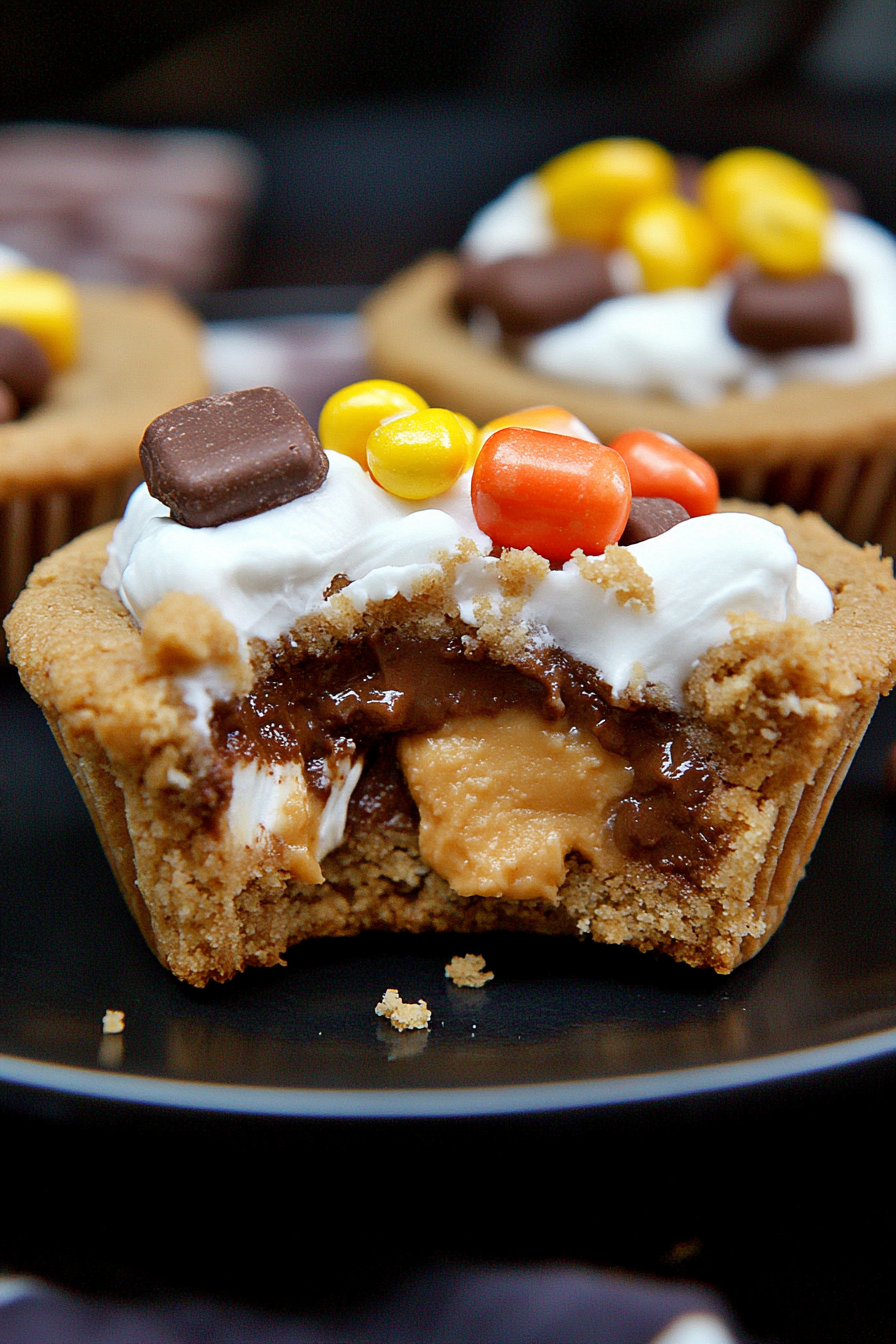
If you’re on the hunt for a dessert recipe that combines the gooey delight of s’mores with the buttery richness of cookies, look no further than these delectable Peanut Butter Cookie S’mores Cups. These treats are a whimsically delicious way to bring a hint of summer camp nostalgia right into your kitchen.
Growing up, our family often gathered around the campfire with a stash of marshmallows, chocolate, and graham crackers. I vividly remember the joy on my siblings’ faces as we crafted our s’mores. Inspired by those sweet retreats, I wanted to create a version that didn’t require a campfire, and so the Peanut Butter cookie s’mores cups born in my kitchen have become a cherished family favorite.
Why You’ll Love This Recipe
This recipe is more than just a sweet treat; it’s an experience. You’ll love how these cups capture the essence of traditional s’mores with the sophistication of a bakery-style cookie. With a melty chocolate center and a crispy marshmallow topping, these cups are not only delicious but easy and fun to make. They are perfect for impressing guests without spending hours in the kitchen.
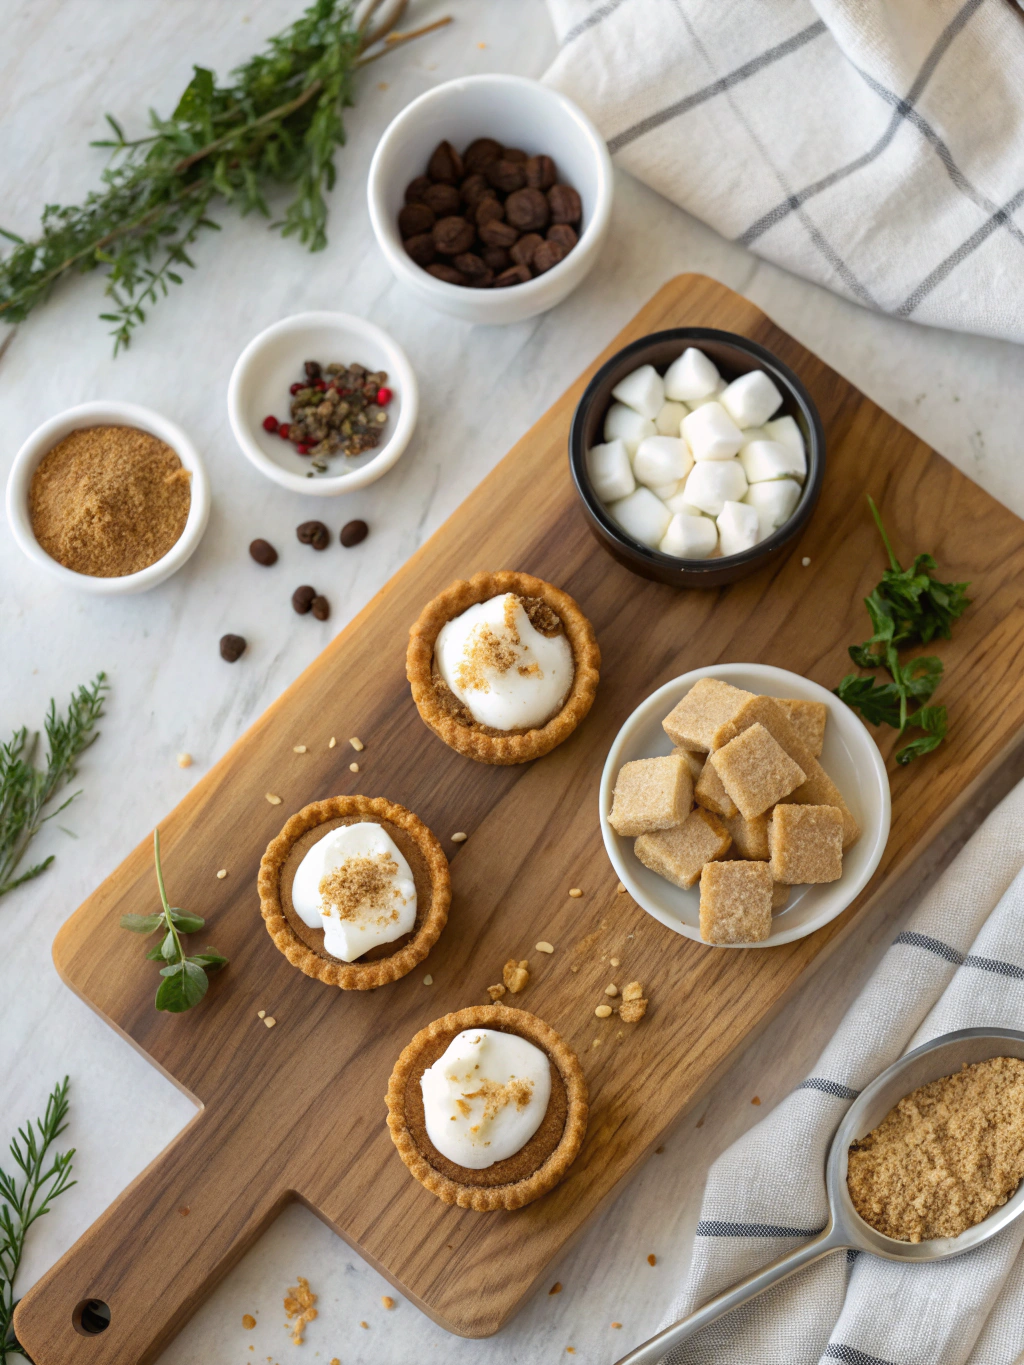
Ingredient Notes
These mini delights require simple, easily available ingredients. While you might have most of what you need in your pantry, here are a few notes for more successful baking.
- Peanut Butter: Opt for creamy peanut butter for a smooth texture. If you like a crunch, chunky peanut butter works wonderfully too.
- Chocolate: Use high-quality chocolate chips or chunks for a richer flavor. Dark chocolate adds a sophisticated, less sweet element to these cups.
- Marshmallows: Mini marshmallows melt perfectly into the cups. In a pinch, large marshmallows cut into smaller pieces work just as well.
Recipe Steps
Step 1
Preheat your oven to 350°F (175°C). Prepare a muffin tin by lightly greasing or lining it with muffin cases to prevent sticking.
Step 2
In a mixing bowl, cream together the sugar and butter until light and fluffy. Add in the egg and vanilla extract, mixing until combined. Then, incorporate the Peanut Butter until the mixture is smooth.
Step 3
Gradually add the flour and baking soda to the Peanut Butter mixture while stirring constantly. Fold in the chocolate chips gently until evenly distributed.
Step 4
Portion the dough into balls and place them in the muffin tin. Bake for 10-12 minutes before quickly adding the marshmallow topping.
Step 5
Return to the oven for an additional 2-3 minutes until the marshmallows are golden and puffy. Cool in the tin before transferring to a wire rack.
Storage Options
These cups are best stored in an airtight container at room temperature where they will remain fresh for up to 5 days. For longer storage, freeze them in a single layer before transferring to a freezer bag. When ready to eat, reheat them in a microwave for a few seconds to revive the gooey nature of the marshmallows and chocolate.
Variations & Substitutions
If you’re catering to dietary restrictions or want to change up the flavor profile, these cups are versatile. Substitute almond or sunflower butter for a nut-free option. For a twist, sprinkle sea salt over the top before baking or experiment with different chocolate varieties.
Frequently Asked Questions
Can I use almond butter instead of Peanut Butter? Absolutely! Almond butter is a great substitute. It has a slightly nuttier flavor and pairs perfectly with chocolate, maintaining that creamy texture. Ensure that your almond butter is creamy and well-stirred to avoid oil separation.
How can I make these cups gluten-free? Substitute the all-purpose flour with a gluten-free flour blend suitable for baking. Additionally, ensure that all other ingredients like chocolate chips are certified gluten-free to prevent cross-contamination.
Can I prepare the dough in advance? Yes, the dough can be made a day in advance and stored in the refrigerator. Before baking, allow it to return to room temperature for easier handling. You can also freeze the dough balls for up to one month.


