

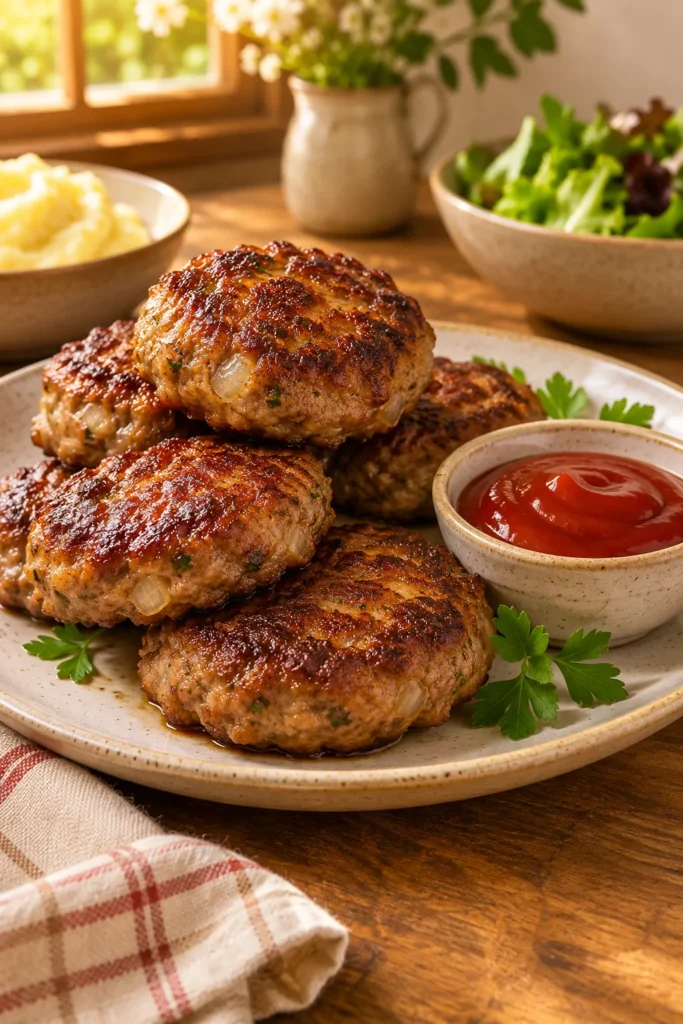
These juicy beef rissoles turn a simple bowl of mince, grated vegetables, and pantry seasonings into a fast, family-friendly skillet dinner. The onion and breadcrumbs help hold the patties together while the zucchini keeps the center tender, and a shallow indent helps each rissole cook evenly. With 15 minutes of preparation and about 15 minutes at the stove, you can serve 10 to 12 golden patties with tomato ketchup, mash, salad, or steamed vegetables.
What beef rissoles are
Beef rissoles are compact, flattened meat patties with a texture between a burger and a meatball. Grated onion, zucchini, and carrot distribute moisture through the beef rather than leaving large vegetable pieces that make shaping difficult. The finished patties are browned in a skillet in batches so the pan stays hot and the crust develops instead of steaming.
Why this recipe works
Breadcrumbs absorb the juices released by the grated onion and vegetables, giving the mixture enough structure to shape. Worcestershire sauce adds savory depth, while thyme and oregano keep the flavor balanced. The center indent is useful because it reduces the tendency of a patty to puff as it cooks. Gentle pressure with the spatula protects the juices.
How to make beef rissoles
Start with the vegetables finely grated and keep the beef mixture cold enough to handle. Mix just until combined; overworking can make the patties dense.
Ingredients
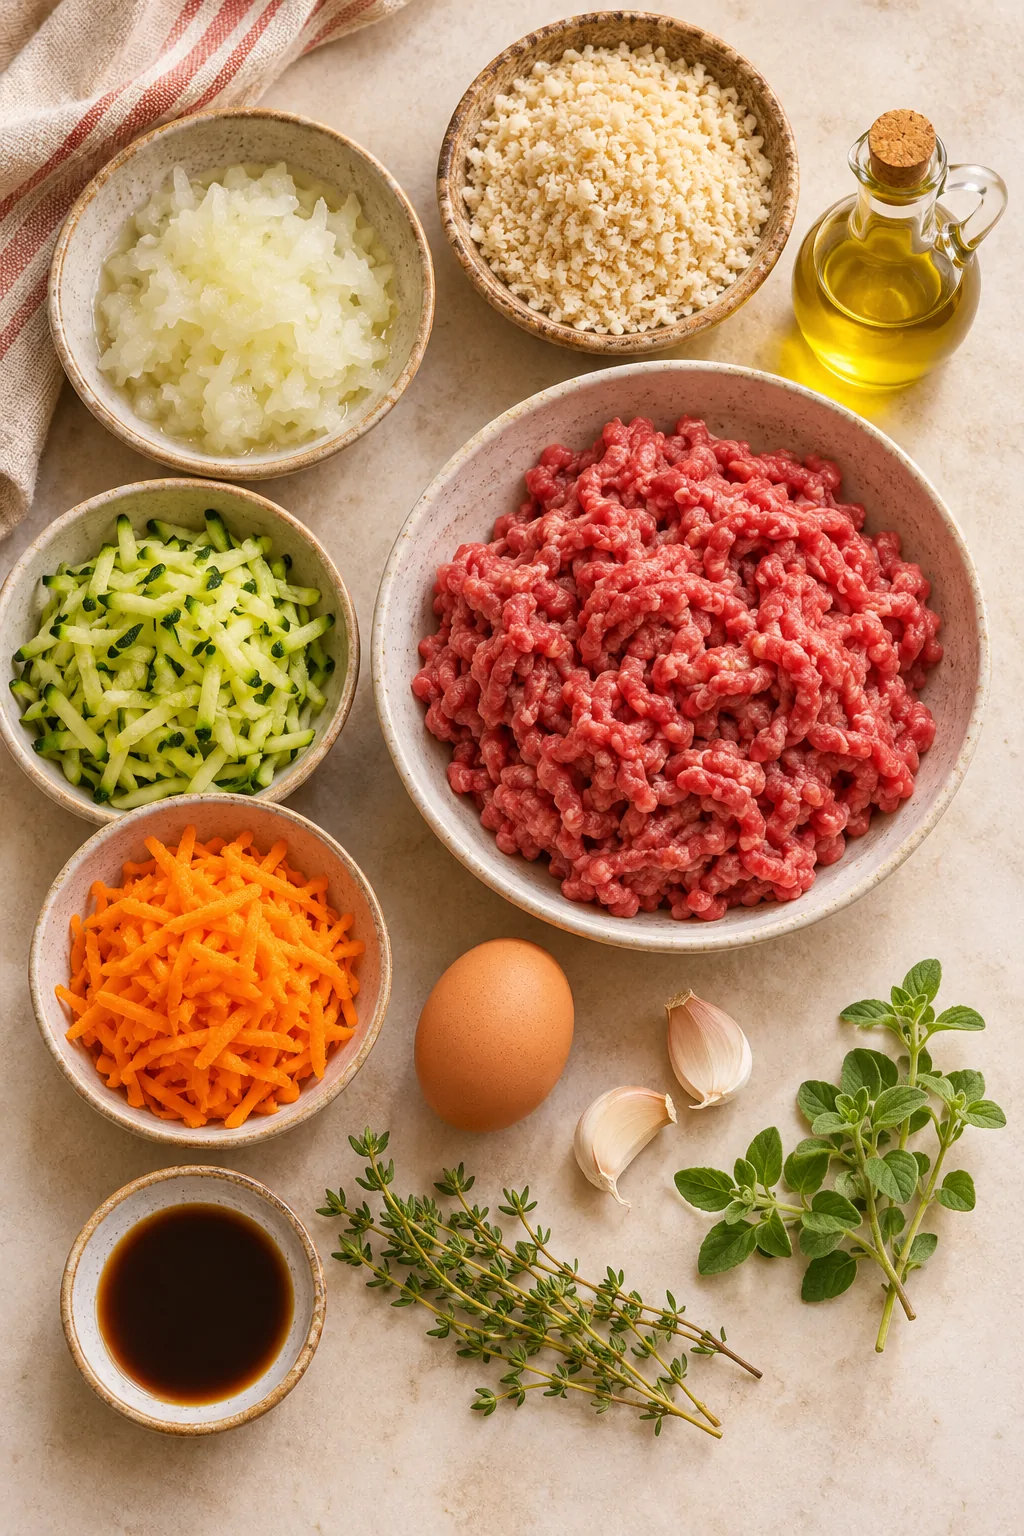
- 1 small grated brown onion
- 1/2 cup panko breadcrumbs, or regular breadcrumbs
- 500 g beef mince
- 1 small grated zucchini
- 1 small grated carrot
- 1 beaten egg
- 1 large minced garlic clove
- 1/2 teaspoon dried thyme
- 1/2 teaspoon dried oregano
- 1/2 teaspoon salt and 1/2 teaspoon black pepper
- 2 teaspoons Worcestershire sauce
- 1 to 2 tablespoons oil for frying
- Tomato ketchup, optional, for serving
Method
- Grate the onion into a large bowl. Add the breadcrumbs and mix briefly so they absorb the onion juices.
- Grate the zucchini and carrot into the bowl. Add the beef, egg, garlic, thyme, oregano, salt, pepper, and Worcestershire sauce. Mix well. Scoop out about 1/4 cup at a time, shape into 1.7 cm thick patties, and make a shallow indent in the center. Form 10 to 12 rissoles.
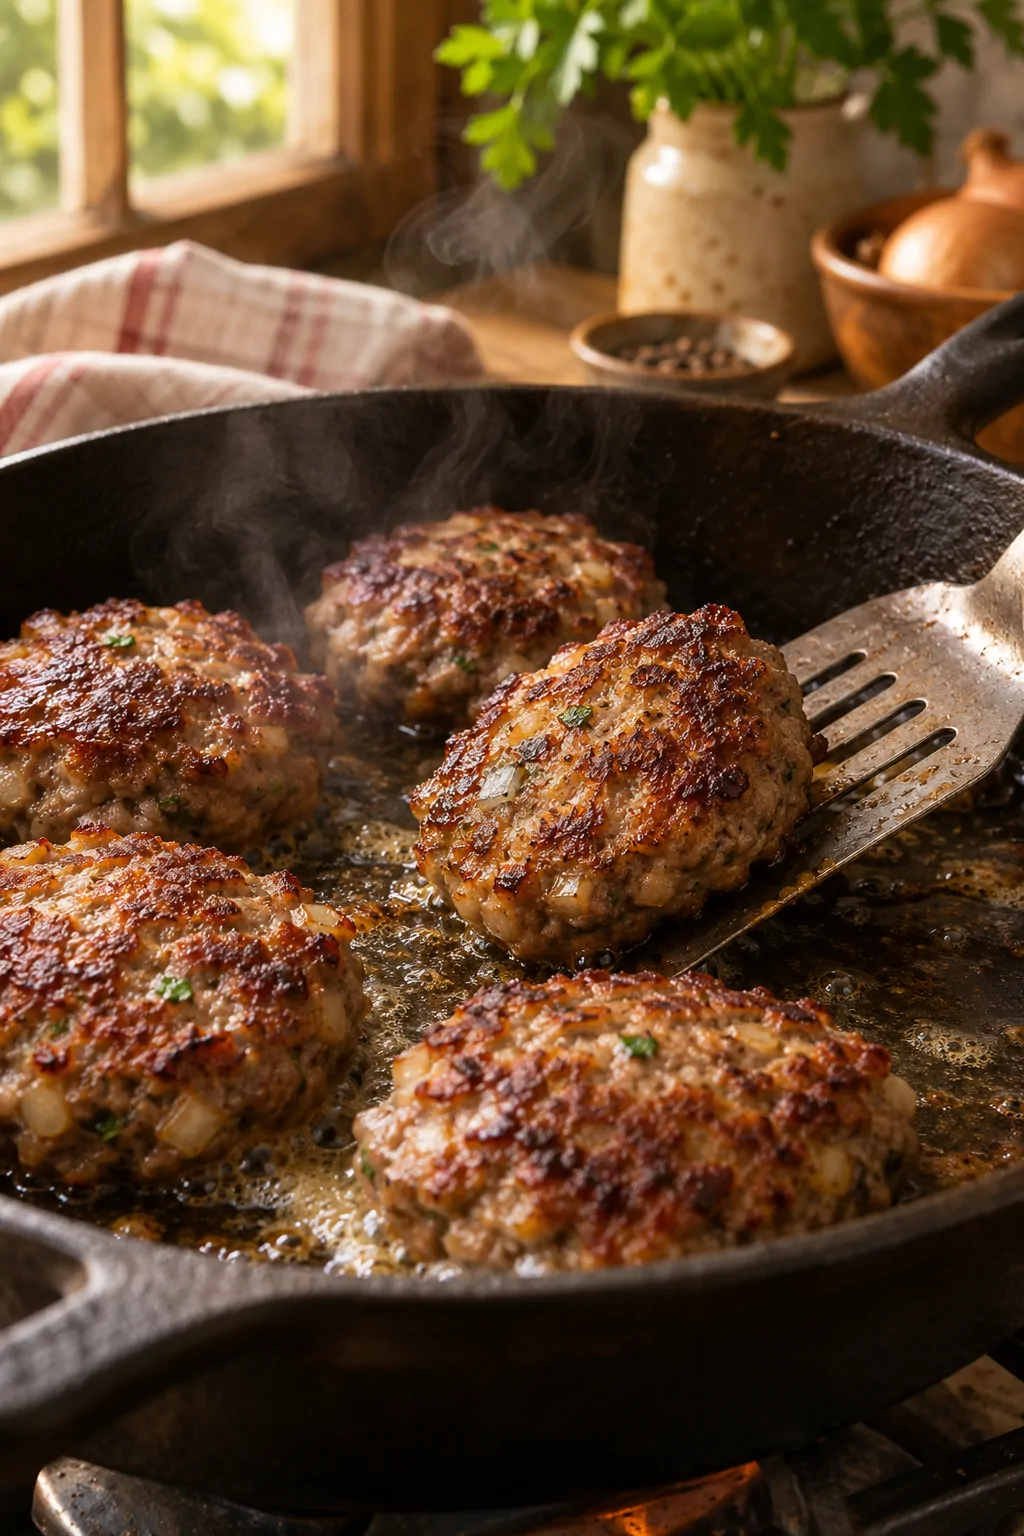
- Heat the oil in a skillet over medium heat. Cook half the patties for about 4 minutes, pressing only lightly, until the underside is deeply golden.
- Flip and cook the other side for 3 to 4 minutes until golden and cooked through.
- Transfer to a plate, cook the remaining rissoles, and serve with tomato ketchup.
Serving ideas
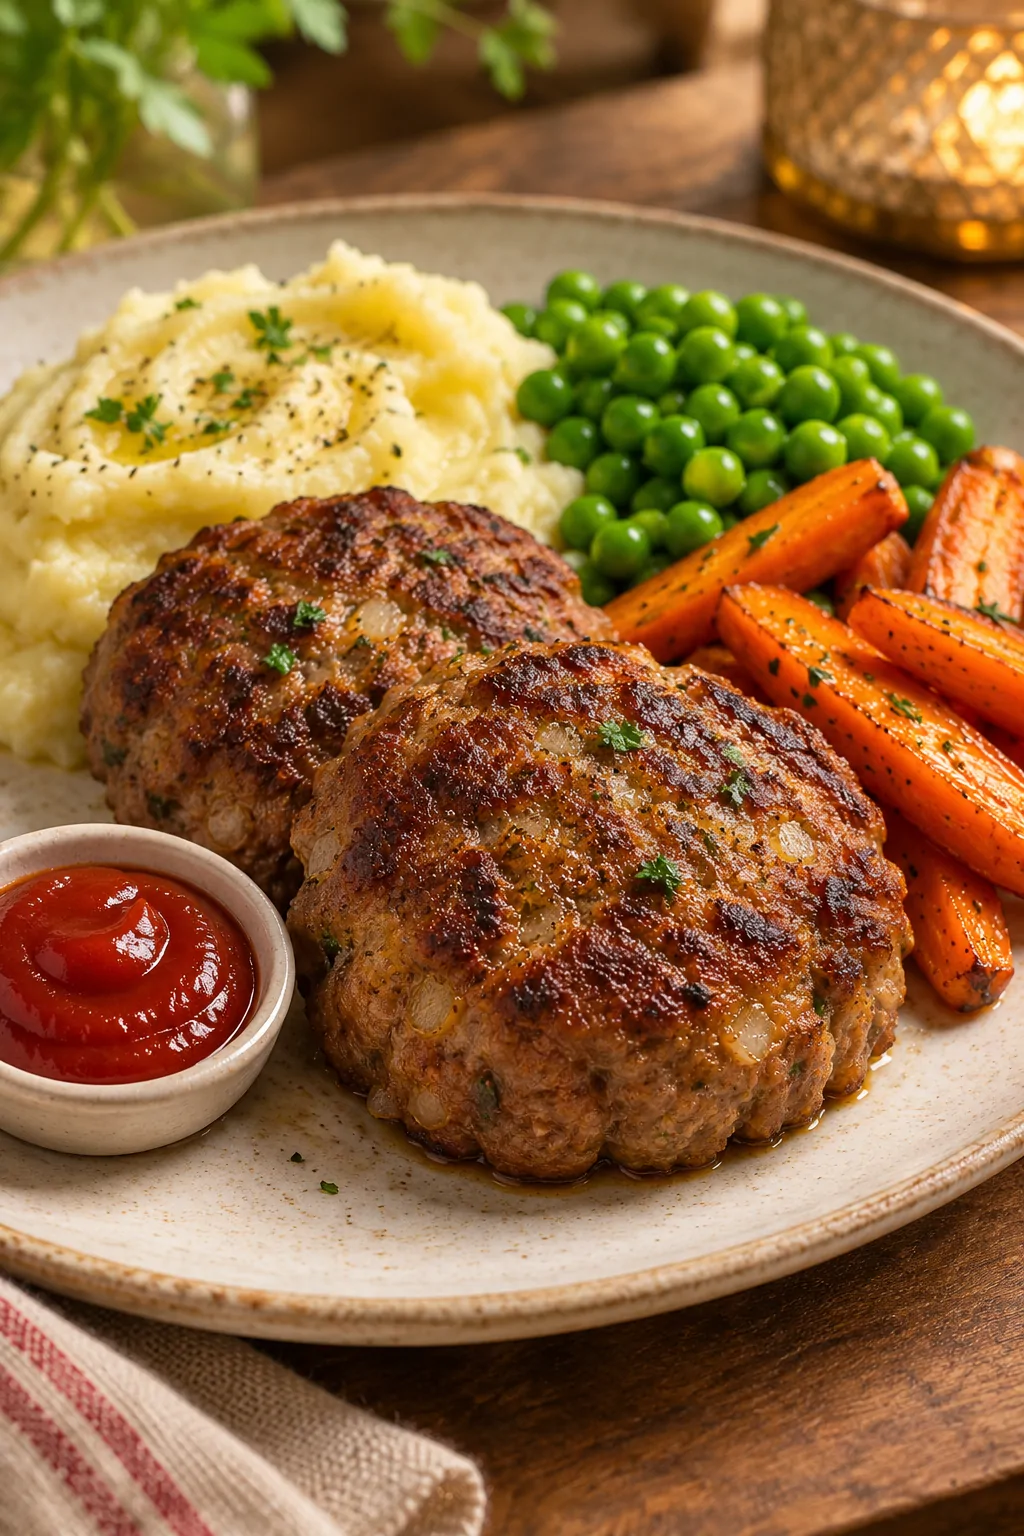
Serve the rissoles with mashed potato and peas for a classic plate, or tuck them into soft rolls with lettuce and tomato. A crisp cucumber salad or roasted carrots balances the savory patties. They also work well in lunchboxes once chilled and sliced.
Tips and optional variation
Use a box grater for the onion, zucchini, and carrot so the pieces blend into the mixture. If the mixture feels loose, let it stand for five minutes so the breadcrumbs can absorb more moisture. Keep the pan at medium heat: high heat can brown the outside before the center cooks.
Optional variation: Replace the beef with lamb, pork, chicken, or turkey mince, keeping the same shaping method. The cooking time may vary with patty thickness, so check that the center is fully cooked before serving.
Storage and reheating
Refrigerate cooked rissoles in a covered container for up to three days. Reheat them in a covered skillet over medium-low heat with a splash of water, or warm them gently in the oven until hot. Freeze cooled cooked patties in a sealed container, separating layers with parchment, and thaw them in the refrigerator before reheating.
Search-query answers
How do you keep beef rissoles juicy?
Grated zucchini and onion add moisture, while breadcrumbs hold that moisture in the mixture. Avoid pressing the patties firmly while they fry.
Why do rissoles fall apart?
They may need more mixing to distribute the egg and breadcrumbs, or they may be too wet from large-grated vegetables. Shape them firmly and allow the mixture to stand briefly before cooking.
What goes with beef rissoles?
Mashed potato, peas, salad, roasted vegetables, bread rolls, and tomato ketchup are all practical pairings.
These beef rissoles are at their best when browned gently and served while warm. Keep the patties modest in thickness, protect their juices in the pan, and pair them with something fresh or creamy for an easy complete meal.
Cooking and shaping cues
The mixture should hold together when pressed but still feel soft. If you scoop with a quarter-cup measure, the patties stay close in size, which means the first batch and the second batch finish at roughly the same time. Make the shallow center indent with your thumb after shaping; it should be visible but not go all the way through.
Give the skillet enough space for the patties to sit flat. Crowding lowers the pan temperature and traps steam around the edges. If your skillet is small, cook in three batches and add a little more oil only when the surface looks dry. Let the first side develop a dark golden crust before turning, then use a thin spatula to lift the patties cleanly.
Beef rissoles FAQ
For the most reliable result, use a quick visual check along with the cooking time. Patties should be evenly browned, firm at the edges, and fully cooked in the center. Because mince and skillet temperatures vary, the thickest rissole is the best one to check before serving.
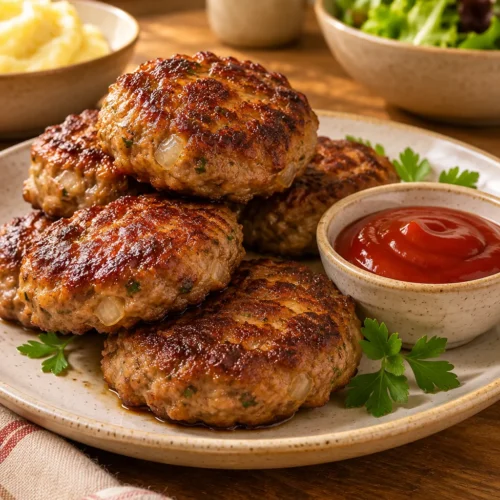
Juicy Beef Rissoles
Adjust the serving amount to scale the ingredient list. Written quantities in the steps refer to the original recipe; adjust them in the same proportion. Timing may vary with batch size.
Ingredients
Ingredients
- 1 small brown onion grated
- 1/2 cup panko breadcrumbs or regular breadcrumbs
- 500 g beef mince ground beef
- 1 small zucchini grated
- 1 small carrot grated
- 1 large egg beaten
- 1 large clove garlic minced
- 1/2 teaspoon dried thyme
- 1/2 teaspoon dried oregano or another favorite herb
- 1/2 teaspoon salt
- 1/2 teaspoon black pepper
- 2 teaspoons Worcestershire sauce
- 1 to 2 tablespoons oil for frying
- tomato ketchup for serving
Instructions
Instructions
- Grate the onion into a large bowl. Add the breadcrumbs and mix briefly so they absorb the onion juices.
- Grate the zucchini and carrot into the bowl. Add the beef, egg, garlic, thyme, oregano, salt, pepper, and Worcestershire sauce. Mix well. Scoop out about 1/4 cup at a time, shape into 1.7 cm thick patties, and make a shallow indent in the center. Form 10 to 12 rissoles.
- Heat the oil in a skillet over medium heat. Cook half the patties for about 4 minutes, pressing only lightly, until the underside is deeply golden.
- Flip and cook the other side for 3 to 4 minutes until golden and cooked through.
- Transfer to a plate, cook the remaining rissoles, and serve with tomato ketchup.