Sometimes you just need a little something sweet that takes you right back to your childhood. What is your childhood like What is Nilla Wafers? What are some of the best vanilla-flavored cookies you’ve ever eaten? When I found out I had to go gluten-free, I thought my Nilla Wafer days were over. I’ve spent ages perfecting this recipe for a sweet potato. It turned out, I was wrong!Gluten-Free Nilla WaferI think they’re even better than the original. Is this a cookie like Madeline cookies? What are some of the most addictive foods? My kids practically inhale them the moment they come out of the oven! Is it true that these cookies are Gluten Free?

What is gluten free Nilla Wafers?
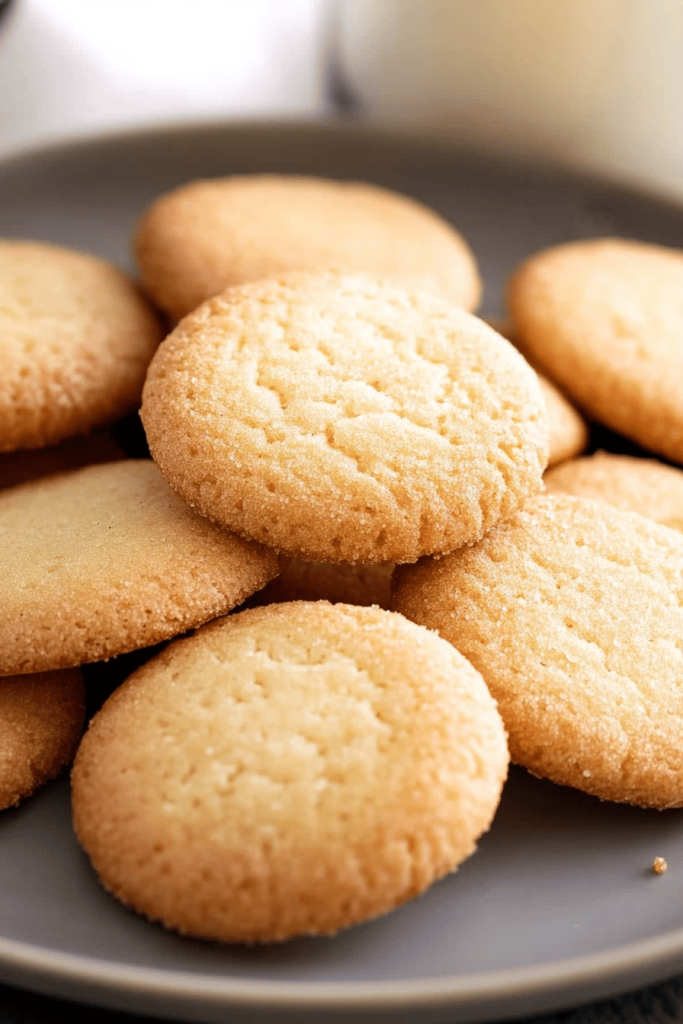
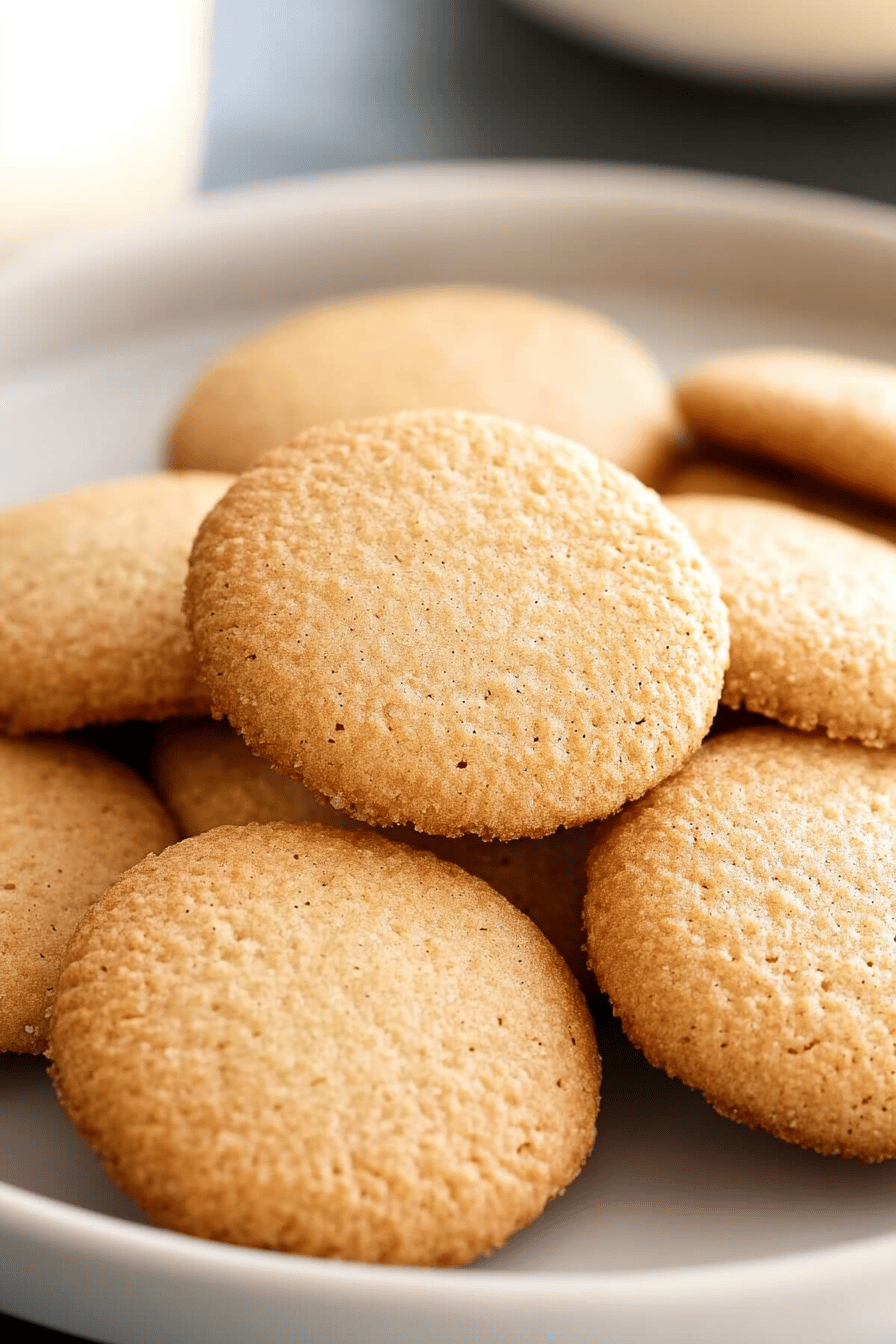
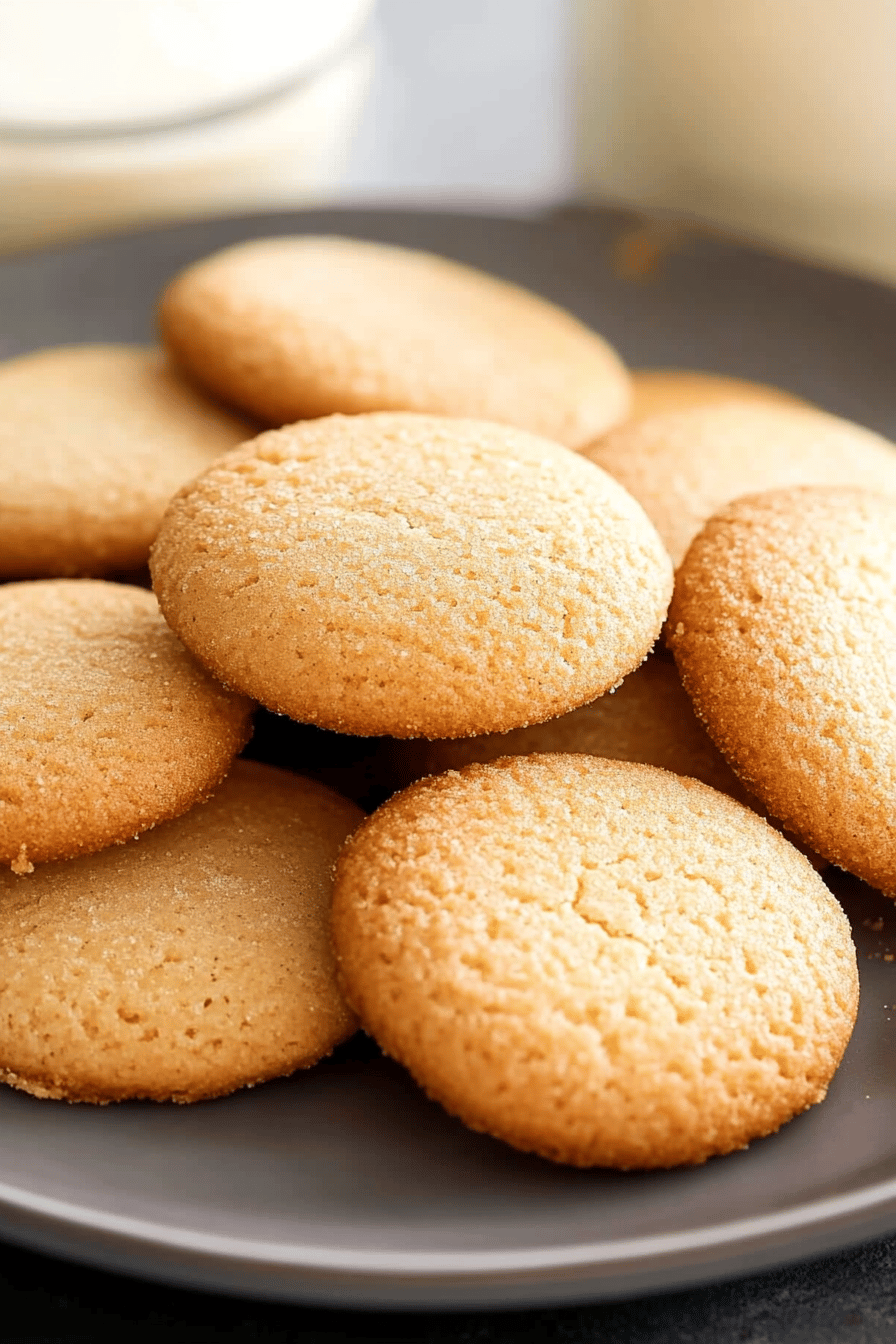
Think of them as tiny vanilla clouds of happiness!Gluten-Free Nilla WaferAre gluten-free versions of the Nilla Wafer cookie? It’s a small, round, slightly crisp cookie with .02% vanilla flavor. What are some good snacks to snack on while dunking in milk? ), or using as a base for desserts like Banana Pudding. The name “Nilla Wafer” is just a fun, shortened way of saying “vanille wafer.” What are gluten-free recipes? Plus, they bring back all those warm, fuzzy childhood memories, which, let’s face it, we all need. How do you make homemade cookies?
Why you’ll love this recipe?
Where do I start? What I love most about this is how it perfectly captures the *essence* of a Nilla Wafer without any other flavor. What is the breakdown?
- Flavor:I love vanilla. The flavor is spot on. I use vanilla extract and vanilla bean paste for an extra punch. Is it like a tiny burst of vanilla in every bite?
- Simplicity:What is the secret of being gluten free? The ingredients are straightforward, and the steps are easy to follow. I’ve simplified it as much as possible to be less intimidating.
- Cost-Gluten-free baking can feel expensive, but this recipe uses relatively affordable ingredients. What are some of the best ingredients that you can find in a grocery store?
- Versatility:What are some of the most versatile cookies? Can you snack on them as is, dunk them in coffee or milk, use them for a base for desserts, or even make them yourself? What are some gluten free pie crusts?
If you like Shortbread Cookies or those crispy little biscotti, you’ll absolutely adore these. What is the taste of Nilla Wafers? What are some of the best gluten free recipes? After a few tweaks and tests, these now taste better than the original. I’ve had my sister ask for a gluten free recipe. Is there any recipe for this?
How do I make gluten-free Nilla Wafers?
Quick Overview
Making these Gluten-Free Nilla WaferIs it easier than you think? You’ll start by mixing the dry and wet ingredients separately, then combining them to form a smooth, creamy consistency. After a short chill, you’ll roll out the dough, cut out wafers, and bake them until they’re golden brown. Golden brown and perfectly crisp. What is the key to a Nilla Wafer snap? Do not worry if they’re not perfectly round – that’s part of their charm. I promise, even if you’re a beginner baker, you can nail this recipe.
Ingredients
What is gluten free Nilla Wafers?
- 1 12 cups gluten-free all-purpose flour blend (I prefer a blend with xanthan gum already added, like almond flour). Bob’s Red Mill 1-to-1 Baking Flour. What is the importance of texture?
- 12 teaspoon baking powder (make sure it’s fresh)
- 14 teaspoon salt (just a pinch to balance the sweetness)
- 12 cup (1 stick) unsalted butter, softened (make sure it’s *actually* softer, not melted!)
- 34 cup granulated sugar (gives them that classic sweetness)
- 1 large egg (room temperature is best)
- What is the best vanilla extract?
- What is the best vanilla bean paste? Can you find it at most baking supply stores or online)?
- 2 tablespoons milk (any kind of milk will do, but I’ve tested this with almond milk and it actually made it).
What are the steps to
Step 1: Preheat & Prep Pan
Preheat oven to 325°F (160°C). Line a baking sheet with parchment paper. Why do wafers stick? Don’t skip the parchment paper! I learned that the hard way after scraping cookies off a baking sheet for what felt like hours.
Step 2: Mix Dry Ingredients
In a medium bowl, whisk together the gluten-free flour, baking powder, and salt. Set aside. How do I distribute baking powder evenly? I always give it a good whisk for at least 30 seconds.
Step 3: Cream Butter & Sugar
In a large bowl, cream together the softened butter and sugar until light and fluffy. Set aside. Can you use a stand mixer or hand mixer for this step? The key is to cream them for several minutes until the mixture is pale and airy. This incorporates air into the dough, which helps create a tender cookie. I usually cream mine for about 3-4 minutes.
Step 4: Add Egg & Vanilla
Beat in the egg, vanilla extract, and vanilla bean paste (if using) until well combined. Make sure to scrape down the sides of the bowl to ensure everything is evenly mixed. I always do this – it helps prevent any pockets of unmixed ingredients.
Step 5: Gradually Add Dry Ingredients
Gradually add the dry ingredients to the wet ingredients, mixing on low speed until just combined. How do you not overmix dough? Overmixing can develop gluten (even in gluten-free flour blends! ), resulting in tough cookies. I usually stop mixing as soon as the flour is incorporated, even if there are still a few streaks of flour.
Step 6: Add Milk
How do you stir together the flour and milk until the dough is smooth and sticky? If the dough is too dry, add a teaspoon of milk to it. I’ve found that humidity can affect the amount of milk needed, so just use your best judgment.
Step 7: Chill Dough
Wrap the dough in plastic wrap and chill in the refrigerator for at least 30 minutes. What is gluten free flour? How does it make it easier to roll out? I often chill mine for an hour or even longer – it really helps!
Step 8: Roll & Cut
Preheat oven to 325. On a lightly floured surface (use gluten-free flour! ), roll out the dough to about 1/8 inch thickness. Use a small cookie cutter (about 1-inch diameter) to cut out wafers. What are some good cookie cutters to use? I sometimes use a mini heart-shaped cutter for fun twists!
Step 9: Bake
Place the wafers on the prepared baking sheet, leaving a little space between each one. Bake for 8-10 minutes, or until the edges are lightly brown. Keep a close eye on them, as they can burn easily. I always check them after 7 minutes just to be safe.
Step 10: Cool
Let the wafers cool on the baking sheet for a few minutes before transferring them to another wire rack. How do I cool completely As they cool, they’ll crisp up. I know it’s tempting to eat them right away, but trust me, they’re much better when they are. Is it cool to
What do you serve it with?
These Gluten-Free Nilla Wafer are incredibly versatile and can be enjoyed in so many ways! Here are some of my favorite ways to serve them:
- For Breakfast: Dunk them in your morning coffee or tea. The vanilla flavor pairs perfectly with coffee! I also love crumbling them over yogurt or oatmeal for a little extra crunch and sweetness.
- For Brunch: Serve them as part of a brunch platter with fresh fruit, cheese, and other sweet treats. They add a touch of elegance to any brunch spread.
- As Dessert: Use them as a base for mini cheesecakes or parfaits. Layer them with whipped cream, berries, and chocolate shavings for a decadent dessert. Or, crush them up and use them as a topping for ice cream!
- For Cozy Snacks: Enjoy them straight from the bag (or homemade container!) with a glass of cold milk. It’s the perfect comforting snack for a cozy night in. My kids love taking them in their lunchboxes, too.
My grandma used to make a simple Banana Pudding using Nilla Wafers, and I’ve adapted it using these gluten-free ones. It’s a family favorite that always brings back happy memories. Seriously, you can’t go wrong with these cookies!
Top Tips for Perfecting Your Gluten-Free Nilla Wafers
Here are a few tips and tricks I’ve learned over the years for making the perfect Gluten-Free Nilla Wafers:
- Gluten-Free Flour Blend: Using the right gluten-free flour blend is crucial for the texture of these cookies. I highly recommend using a blend that already contains xanthan gum, as it helps bind the ingredients together and prevent the cookies from becoming crumbly. Bob’s Red Mill 1-to-1 Baking Flour is my go-to choice.
- Softened Butter: Make sure your butter is properly softened before creaming it with the sugar. The butter should be soft enough to easily cream, but not melted. If the butter is too cold, it won’t cream properly, and if it’s too melted, the cookies will spread too much.
- Chilling the Dough: Don’t skip the chilling step! Chilling the dough allows the gluten-free flour to hydrate and makes the dough easier to roll out. It also helps prevent the cookies from spreading too much in the oven. I usually chill mine for at least 30 minutes, but longer is even better.
- Rolling the Dough: Roll the dough out thinly for that signature Nilla Wafer snap. I aim for about 1/8 inch thickness. If the dough is too thick, the cookies will be soft and chewy instead of crisp.
- Baking Time: Keep a close eye on the cookies while they’re baking, as they can burn easily. Bake them until the edges are lightly golden brown. The exact baking time will depend on your oven, so start checking them after 7 minutes.
- Cooling Time: Let the cookies cool completely on a wire rack before serving. They’ll crisp up as they cool. I know it’s tempting to eat them right away, but trust me, they’re much better when they’re completely cool.
I’ve even experimented with adding a touch of lemon zest to the dough for a slightly citrusy flavor. It’s a fun twist that adds a little extra something special. And if you’re feeling adventurous, try dipping the cooled wafers in melted chocolate for an extra decadent treat. Get creative and have fun with it!
Storing and Reheating Tips
These Gluten-Free Nilla Wafers are best enjoyed fresh, but they can also be stored for later. Here’s how to store them to maintain their freshness and crispness:
- Room Temperature: Store the cooled wafers in an airtight container at room temperature for up to 3-4 days. Make sure the container is tightly sealed to prevent them from becoming stale. I usually put a piece of parchment paper between layers to prevent them from sticking together.
- Refrigerator Storage: While I don’t recommend storing them in the refrigerator (as they can become soft), you can if you live in a very humid climate. If you do, store them in an airtight container with a piece of parchment paper between layers for up to a week.
- Freezer Instructions: For longer storage, you can freeze the wafers. Place them in a single layer on a baking sheet and freeze for about 30 minutes, or until solid. Then, transfer them to a freezer-safe bag or container and freeze for up to 2-3 months. When ready to eat, let them thaw at room temperature for about 30 minutes. They might lose a little bit of their crispness after freezing, but they’ll still be delicious.
I usually make a double batch of these cookies and freeze half for later. It’s so convenient to have them on hand whenever I’m craving a sweet treat. Plus, they’re a lifesaver when unexpected guests arrive! I just thaw them out and serve them with coffee or tea, and everyone is happy.
Frequently Asked Questions
Final Thoughts
These Gluten-Free Nilla Wafers are a true taste of nostalgia, reimagined for the modern, gluten-free kitchen. They’re easy to make, incredibly versatile, and utterly delicious. Whether you’re gluten-free or not, I guarantee you’ll love these cookies. They’re perfect for snacking, dunking, or using as a base for your favorite desserts. And honestly, they’re just so much fun to make! If you enjoy these, I encourage you to check out my other gluten-free baking recipes, including my gluten-free chocolate chip cookies and my gluten-free banana bread. Both are family favorites that I know you’ll love. Happy baking! And please, let me know how your Gluten-Free Nilla Wafers turn out in the comments below. I can’t wait to hear about your variations and serving ideas!

How to Make the Perfect Gluten-Free Nilla Wafers at Home
Ingredients
Main Ingredients
- 1.5 cups Gluten-Free All-Purpose Flour Use a blend that contains xanthan gum.
- 0.75 cup Granulated Sugar
- 0.5 cup Unsalted Butter Softened
- 2 tablespoons Milk
- 1 teaspoon Vanilla Extract
- 0.25 teaspoon Baking Powder
- 0.125 teaspoon Salt
Instructions
Preparation Steps
- Preheat oven to 350°F (175°C). Line baking sheets with parchment paper.
- In a large bowl, cream together the softened butter and sugar until light and fluffy.
- Beat in the milk and vanilla extract. Gradually add the gluten-free flour, baking powder, and salt. Mix until just combined.
- Drop by rounded teaspoons onto the prepared baking sheets. Bake for 10-12 minutes, or until edges are lightly golden.
- Let cool on baking sheets for a few minutes before transferring to a wire rack to cool completely.