


What’s something about a crumbly, slightly sweet biscuit that makes everything better, isn’t it? I remember my grandmother always having a tin of digestive biscuits on hand, perfect for dunking in the microwave. How do I find a good gluten-free diet?Gluten-free digestive biscuits are madeI’ve tried to crack a recipe, but I don’t know how to do it. I want to make it! Think of this as your classic digestive biscuit, but with a lovely nutty flavor and an easy to clean up. Is there a gluten-free cookie that melts in your mouth? Is it Gluten Free?
What are gluten-free biscuits?
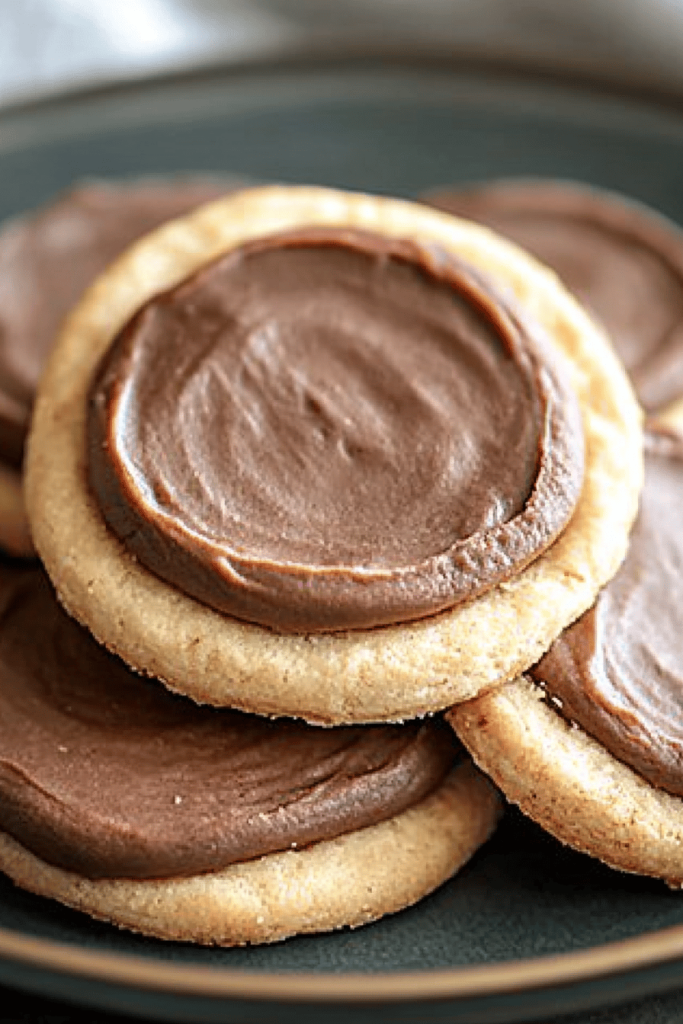
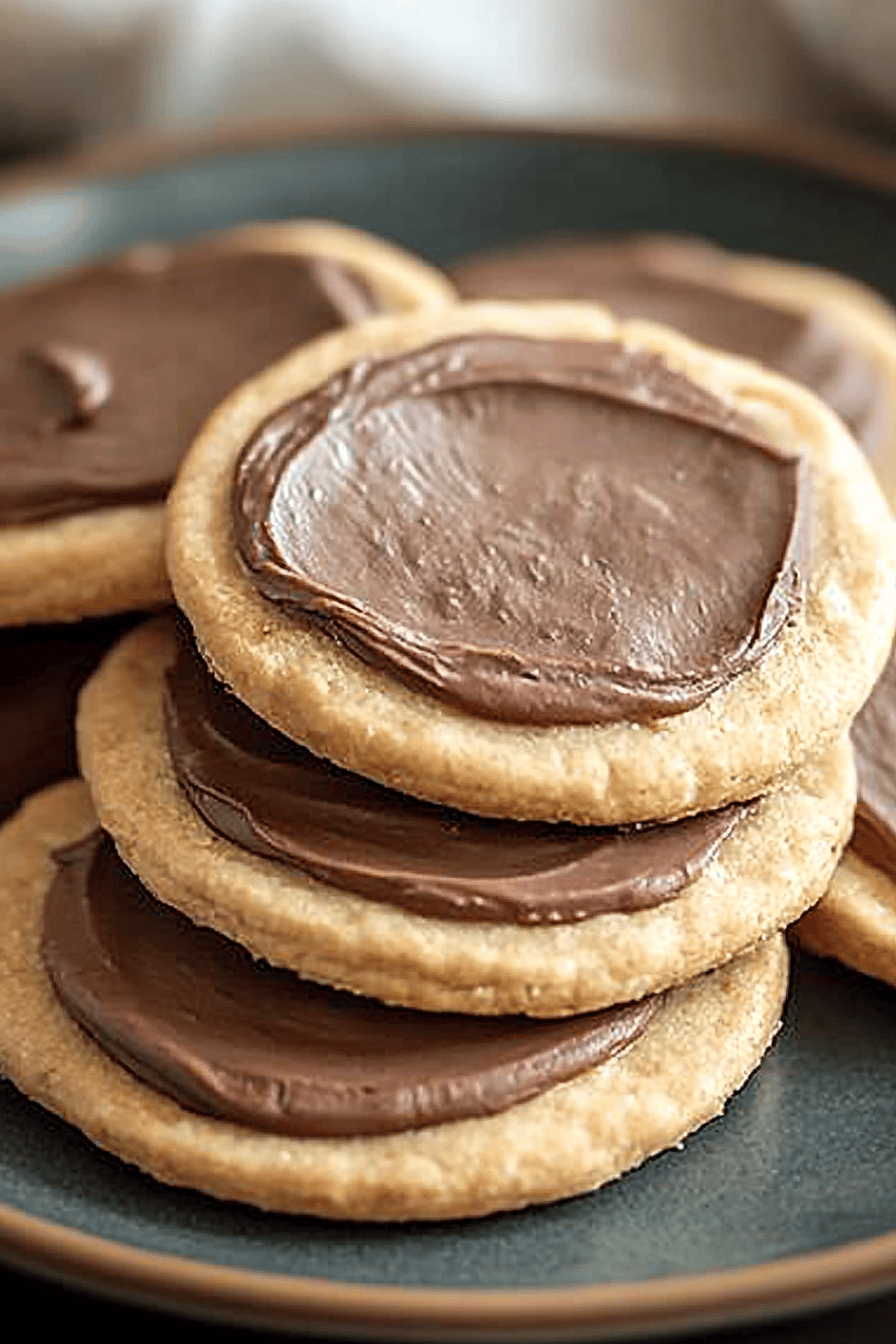
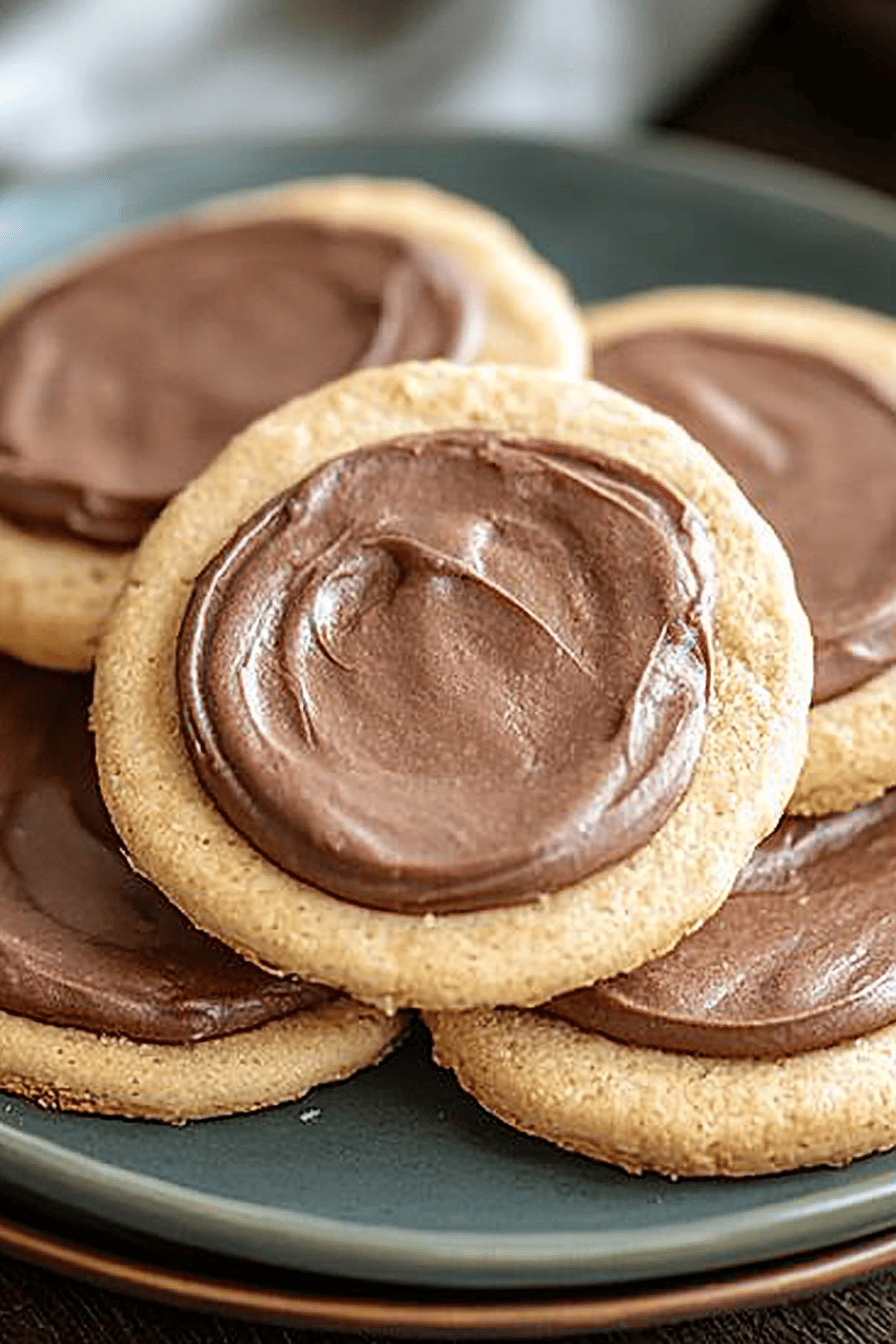
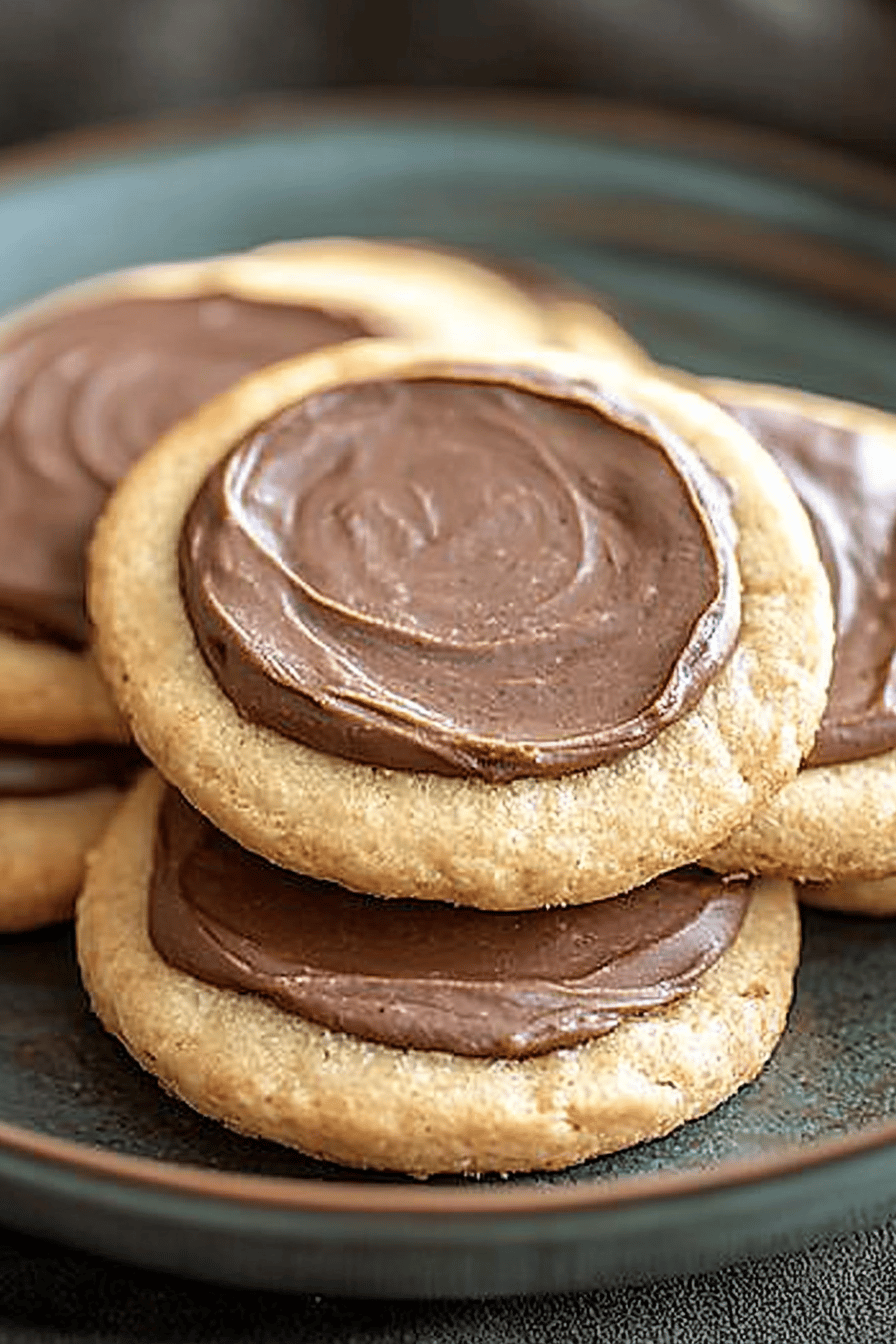
What exactly are “digestive biscuits”? What are semi-sweet biscuits? Traditionally, they are made with whole wheat flour, which gives them that characteristic slightly slightly. What is coarse texture? Since we are making a movie, why should we care?Gluten-free digestive biscuits.In the new version, we’re swapping out the wheat flour for a blend of gluten-free flours. It’s essentially a hearty, less-sweet cookie that is perfect for snacking, dunking, or enjoying with friends. Think of it as a cross between Graham Cracker and shortbread – comforting, satisfying, and sweet. What are some of the
Why you will love this recipe?
Where do I start? What I love about this recipe is how close it comes to the original recipe. You get that familiar crumbly texture and subtle sweetness, but without any of the gluten. What are some of the easiest recipes to make? What are some of the reasons why you’ll love these mugs?Gluten-free digestive biscuits.:
- Flavor:What is the perfect balance of sweet and savory, with a hint of nuttiness from the gluten-free flour blend? Is there any other way to describe
- Simplicity:What are some of the easiest recipes to whip up? Even if you’re not a seasoned baker, you can nail this recipe.
- Cost-Gluten-free baking can be expensive, but this recipe uses readily available and affordable ingredients.
- Versatility:Serve them with tea, crumble them over yogurt, or use them as a base for cheesecakes. What are the endless possibilities?
I’ve tried other gluten-free biscuit recipes before, and they always seemed to miss the mark. Too dry, too sweet, or just lacking that classic digestive biscuit flavor. This one is a keeper. Is it gluten-free?
How do I make gluten-free biscuits?
Quick Overview
Let’s get down to business! Making these!Gluten-free digestive biscuits are madeIs it easier than you think to get a job? We’re basically mixing together dry ingredients, combining wet ingredients and then bringing them together. What are some ways to make dough? A little bit of rolling, cutting, baking, and you’ll be rewarded with a batch of delicious, non-GMO cheese. Gluten free biscuits. Is the aroma worth the effort?
Ingredients
For the Main Batter: What is it?
- 1 1/2 cups gluten-free all-purpose flour (I like Bob’s Red Mill 1-to-1 Baking Flour)
- 1/2 cup rolled oats (certified gluten-free) (can be
- 1/4 cup brown sugar, packed.
- 1/2 teaspoon baking soda. 1/4 teaspoon salt.
- 1/4 teaspoon salt. 1 teaspoon pepper.
- 1/2 cup (1 stick) unsalted butter, cold and cubed.
- 1/4 cup milk (dairy) or non-dry milk.
- 2 tablespoons honey or maple syrup. 1 tablespoon salt or 1 teaspoon sugar.
- 1 teaspoon of vanilla extract. 1 tablespoon of nut
What are the steps to
Step 1: Preheat & Prep Pan
First things first, preheat your oven to 350°F (175°C). While it’s heating up, line a baking sheet with parchment paper. How do I clean biscuits?
Step 2: Mix Dry Ingredients
In a large bowl, whisk together the gluten-free flour, rolled oats, Brown Sugar, baking powder, and salt. Set aside. Make sure everything is well combined so that the baking soda is evenly distributed. How do you make biscuits rise?
Step 3: Cut in Butter
Add the cold, cubed butter to the dry ingredients. Use a pastry blender or your fingertips to cut the butter into the flour mixture until it resembles an egg. The smaller the butter pieces, the more tender your biscuits will be.
Step 4: Add Wet Ingredients
In a separate bowl, whisk together the milk, honey, and vanilla extract. Mix wet ingredients into dry ingredients and mix until just combined. Pour the dry mixture into a large bowl and set aside. Do not overmix biscuits, as this can result in tough biscuit.
Step 5: Form Dough & Chill
How do you shape dough into a disc, wrap it in plastic wrap, and chill in the refrigerator for at least 2 days? At least 30 minutes. How do you roll dough?
Step 6: Roll & Cut
On a lightly floured surface (use gluten-free flour), roll out the dough to about 1/4 inch. Use a biscuit cutter or knife to cut out the biscuits. Can you re-roll scraps, but keep in mind that they might be a little tougher the second time.
Step 7: Bake
Place the biscuits on the prepared baking sheet and bake for 12-15 minutes, or until they are golden brown. Lightly golden brown around the edges. Keep an eye on them, as baking times can vary depending on your oven.
Step 8: Cool
Remove the biscuits from the oven and let them cool on the baking sheet for a few minutes before serving. How do I transfer them to a wire rack to cool completely. How do I stop my shoes from becoming soggy?
Step 9: Serve
Enjoy your freshly baked bread!Gluten-free digestive biscuits.With a cup of tea, coffee, or dollop of your favorite jam. Can you make mini cheesecakes?
What should I serve it with?
These gluten-free digestive biscuits are incredibly versatile and can be enjoyed in so many ways. Here are a few of my favorite pairings:
For Breakfast: Dunk them in your morning coffee or tea. They’re also delicious with a smear of Peanut Butter or almond butter.
For Brunch: Serve them alongside a cheese board or a fruit platter. They’re a great addition to any brunch spread.
As Dessert: Crumble them over a bowl of ice cream or use them as a base for mini cheesecakes. They add a lovely texture and flavor to any dessert.
For Cozy Snacks: Enjoy them with a warm cup of milk or hot chocolate on a chilly evening. They’re the perfect comfort food.
My family loves to have them with a simple cup of tea in the afternoon. It’s a tradition we’ve carried on for years, and these gluten-free versions make it possible for everyone to enjoy!
Top Tips for Perfecting Your Gluten-Free Digestive Biscuits
Over the years, I’ve learned a few tricks that can help you achieve the perfect batch of gluten-free digestive biscuits. Here are my top tips:
Gluten-Free Flour: Not all gluten-free flour blends are created equal. I highly recommend using a 1-to-1 baking flour blend, as it will give you the best results. My personal favorite is Bob’s Red Mill 1-to-1 Baking Flour.
Cold Butter: Make sure your butter is cold and cubed before you add it to the dry ingredients. This will help create a tender, crumbly texture.
Don’t Overmix: Overmixing the dough can result in tough biscuits. Mix until just combined, and then stop.
Chill the Dough: Chilling the dough is essential for preventing the biscuits from spreading too much in the oven. Don’t skip this step!
Baking Time: Keep an eye on the biscuits while they’re baking, as baking times can vary depending on your oven. They’re done when they’re lightly golden brown around the edges.
Cooling Time: Let the biscuits cool completely on a wire rack before storing them. This will prevent them from becoming soggy.
I’ve experimented with different gluten-free flours, and I’ve found that the 1-to-1 blends consistently produce the best results. I also learned the hard way that overmixing is a big no-no! Trust me on this one – less is more when it comes to mixing the dough.
Storing and Reheating Tips
These gluten-free digestive biscuits are best enjoyed fresh, but they can also be stored for later. Here’s how:
Room Temperature: Store them in an airtight container at room temperature for up to 3 days. They might lose some of their crispness, but they’ll still be delicious.
Refrigerator Storage: Store them in an airtight container in the refrigerator for up to 1 week. Let them come to room temperature before serving.
Freezer Instructions: Freeze them in a single layer on a baking sheet, and then transfer them to a freezer-safe bag or container. They can be frozen for up to 2 months. Thaw them at room temperature before serving.
I usually make a big batch and freeze half of them for later. They thaw beautifully and are perfect for those moments when you need a little something sweet to go with your tea.
Frequently Asked Questions
Final Thoughts
So, there you have it – my go-to recipe for gluten-free digestive biscuits. It’s a recipe I’ve perfected over time, and it’s one that I know you’ll love. Whether you’re gluten-free or not, these biscuits are a delicious and comforting treat that everyone can enjoy. I really hope you try them!
If you’re a fan of this recipe, you might also enjoy my gluten-free shortbread cookies or my gluten-free graham crackers. They’re all equally delicious and easy to make.
Happy baking, and I can’t wait to hear how yours turn out! Be sure to leave a comment below and let me know what you think. Also, don’t hesitate to share any variations you come up with – I’m always looking for new ideas!
How to Make 7 Best Gluten-Free Digestive Biscuits on a Budget
Ingredients
Main Ingredients
- 1.5 cups Gluten-Free Oat Flour Finely ground
- 0.5 cup Almond Flour Blanched
- 0.5 cup Brown Sugar Lightly packed
- 0.5 cup Unsalted Butter Cold, cubed
- 2 tbsp Milk Almond or dairy
- 1 tsp Baking Soda
- 0.5 tsp Salt
Instructions
Preparation Steps
- Preheat oven to 350°F (175°C). Line a baking sheet with parchment paper.
- In a large bowl, combine oat flour, almond flour, brown sugar, baking soda, and salt.
- Cut in cold butter using a pastry blender or your fingers until the mixture resembles coarse crumbs.
- Add milk and mix until a dough forms.
- Roll out the dough to about 1/4 inch thickness. Cut out biscuits using a cookie cutter.
- Place biscuits on the prepared baking sheet and bake for 18-20 minutes, or until golden brown.
- Let cool on the baking sheet for a few minutes before transferring to a wire rack to cool completely.


