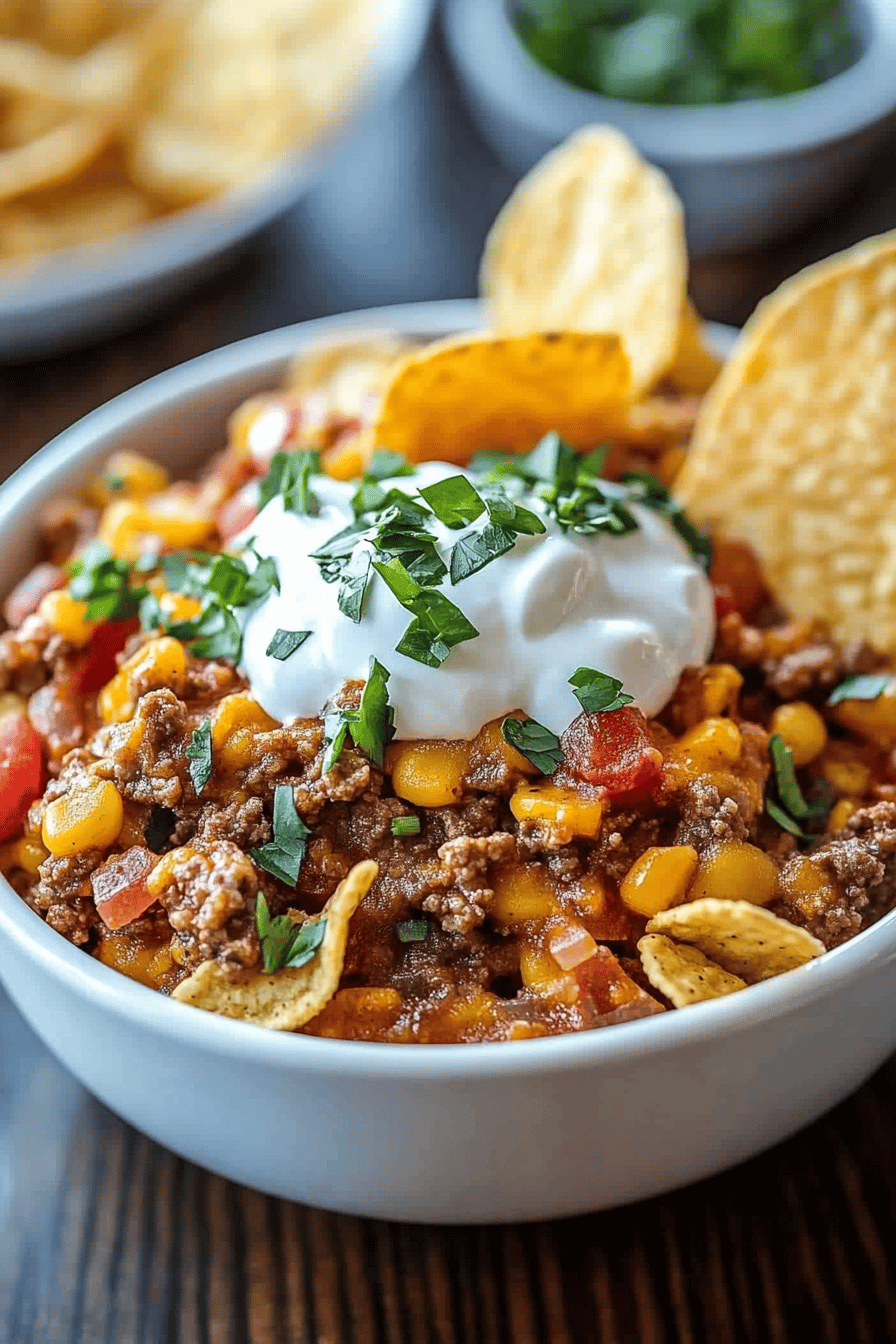
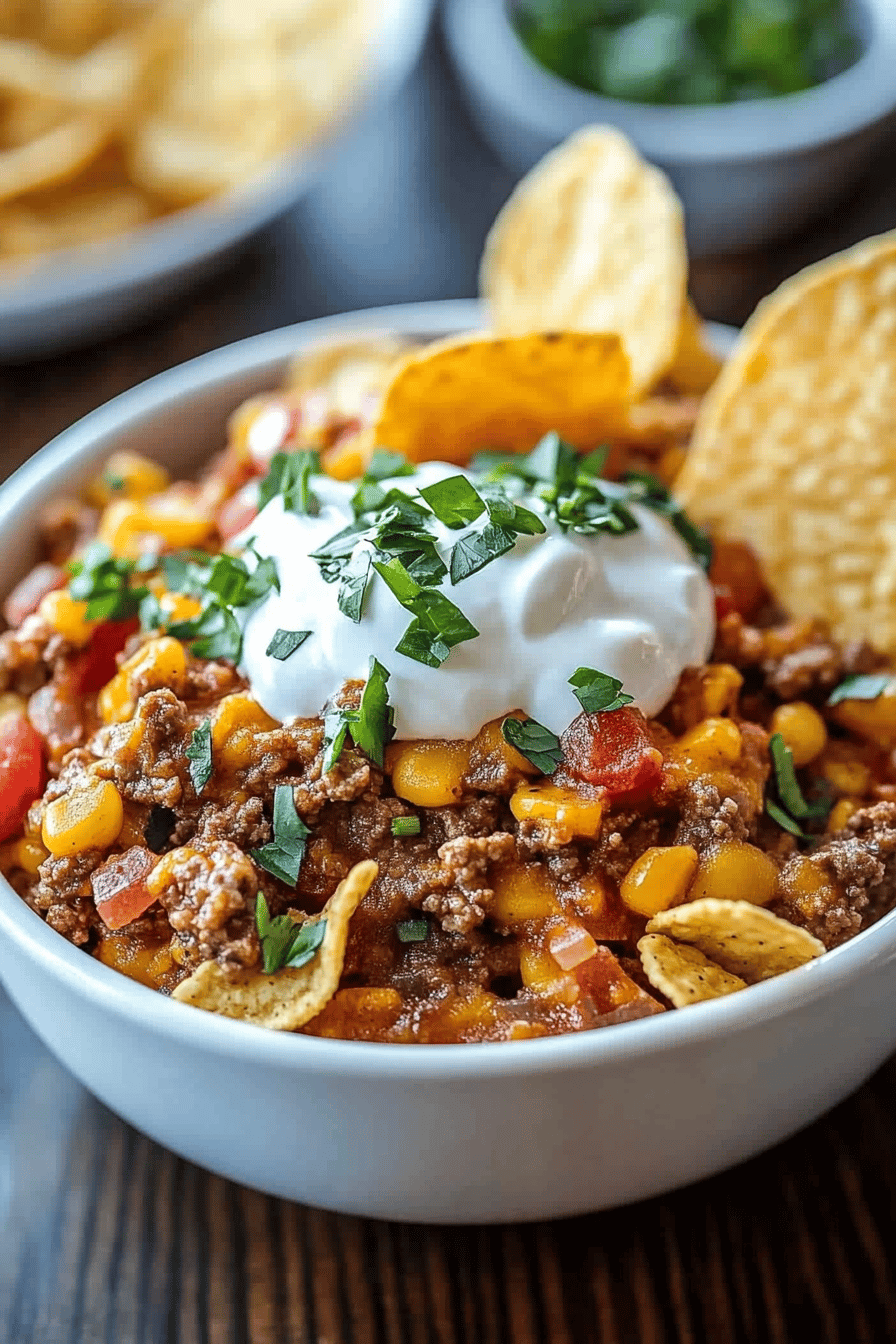
Oh, Frito Pie! Just the name brings back such vivid memories. Growing up, it was our go-to for quick weeknight dinners when Mom was just too tired to cook anything elaborate, or for those chaotic family gatherings where everyone’s pitching in. There’s just something incredibly satisfying about the combination of crunchy, salty Fritos, rich chili, and gooey cheese. It’s pure, unadulterated comfort food, and honestly, it never, ever disappoints. If you’ve ever had a craving for something hearty and flavorful without all the fuss, this Frito pie recipe is an absolute lifesaver. It’s so much more than just chips and chili; it’s a nostalgic hug in a bowl, and I’m so thrilled to share my version with you today. It’s my favorite way to make Frito pie, and I think you’re going to love it too.

What is Frito Pie?
So, what exactly is this magical dish we call Frito pie? At its heart, it’s a deceptively simple casserole made with layers of crunchy corn chips, a savory chili, and plenty of melted cheese. The “pie” part comes from how it’s traditionally served – often right out of the Frito bag slit open lengthwise, creating a personal-sized portion. But you can absolutely make it in a baking dish for sharing, which is how I usually do it when we have company. It’s the ultimate crowd-pleaser because everyone loves those salty, crispy Frito chips mingling with warm, hearty chili. Think of it as a deconstructed taco or a Chili Cheese nacho’s cozy cousin. It’s casual, it’s delicious, and it’s ridiculously easy to whip up. It’s the kind of meal that instantly makes a house feel like a home, full of laughter and good food.
Why you’ll love this recipe?
There are so many reasons why this Frito Pie recipe has earned a permanent spot in my recipe rotation. First off, the flavor is just out of this world. You get that amazing salty crunch from the Fritos, followed by the deep, savory notes of the chili, and then the creamy, melty cheese that ties it all together. It’s a symphony of textures and tastes that’s incredibly satisfying. And the simplicity? Oh my goodness, it’s a lifesaver on those busy nights when you barely have time to blink, let alone cook a complicated meal. Most of the magic happens in the oven, meaning less time hovering over the stove and more time with your family. It’s also incredibly budget-friendly, using ingredients that are easy to find and won’t break the bank. Plus, it’s so versatile! You can easily adapt the chili to your liking, add your favorite toppings, or even serve it in individual bags for a fun party twist. What I love most about this Frito pie is that it’s a dish that brings people together. It’s nostalgic for me, and it always brings smiles to the faces of my kids and anyone who tries it. It’s like a warm hug in a bowl, perfect for chasing away the blues or celebrating a small victory.
How do I make Frito Pie?
Quick Overview
Making this Frito Pie is delightfully straightforward. We’ll start by preparing a simple, flavorful chili base that’s hearty and satisfying. Then, we’ll layer everything together – crunchy Fritos, that delicious chili, and a generous blanket of cheese – before baking it until it’s bubbly and golden. The whole process takes minimal active time, making it perfect for busy weeknights or casual get-togethers. It’s all about building layers of flavor and texture for a truly comforting experience.
Ingredients
For the Chili:
1 tablespoon olive oil. 1 tablespoon olive oil. 1 tablespoon olive oil. 1 tablespoon olive oil. 1 tablespoon olive oil. 1 tablespoon olive oil. 1
1 pound ground beef (or turkey for a lighter option)
1 large onion, chopped
2 cloves garlic, minced
1 (15-ounce) can diced tomatoes, undrained
1 (15-ounce) can kidney beans, rinsed and drained
1 (15-ounce) can pinto beans, rinsed and drained
1 (8-ounce) can tomato sauce
2 tablespoons chili powder (adjust to your spice preference!)
1 teaspoon cumin
½ teaspoon smoked paprika
Salt and freshly ground Black Pepper to taste
For Assembling:
2 (9-ounce) bags Fritos corn chips (original flavor is my favorite!)
2 cups shredded cheddar cheese (or a cheddar-jack blend)
Optional Toppings:
Sour cream
Chopped fresh cilantro
Diced red onion
Sliced jalapeños

Step-by-Step Instructions
Step 1: Preheat & Prep Pan
First things first, let’s get the oven preheated to 375 degrees Fahrenheit (190 degrees Celsius). This is a good, moderate temperature that will heat everything through nicely without burning the chips. I like to use a 9×13 inch baking dish for this recipe. It’s the perfect size to hold all the goodness and makes for easy serving. If you’re feeling extra adventurous and want to serve individual portions right from the bag, you can skip this step and just prep your bags later.
Step 2: Cook the Meat and Aromatics
In a large skillet or Dutch oven, heat the olive oil over medium-high heat. Add the ground beef and cook, breaking it up with a spoon, until it’s nicely browned. Drain off any excess grease – nobody likes a greasy Frito pie! Add the chopped onion to the skillet and cook until it starts to soften, about 5-7 minutes. Then, stir in the minced garlic and cook for another minute until fragrant. Trust me, that little bit of garlic adds so much depth.
Step 3: Simmer the Chili
Now for the chili base! Add the undrained diced tomatoes, rinsed and drained kidney beans, rinsed and drained pinto beans, and tomato sauce to the skillet. Stir in the chili powder, cumin, and smoked paprika. Give it a good mix to combine everything. Season generously with salt and pepper. Bring the mixture to a simmer, then reduce the heat to low, cover, and let it cook for at least 15-20 minutes. This allows all those wonderful flavors to meld together beautifully. If you have more time, letting it simmer longer, even up to an hour, will make it even more flavorful!
Step 4: Combine
Once the chili has simmered and the flavors have developed, it’s time to assemble! If you’re using a baking dish, spread about half of the Fritos evenly across the bottom. Don’t be afraid to break some of them up a bit to fill in the gaps. Spoon about half of the chili mixture evenly over the Fritos. Then, sprinkle about half of the shredded cheese over the chili. Repeat the layers: the remaining Fritos, the rest of the chili, and finally, the remaining cheese on top. Make sure that cheese is spread all the way to the edges!
Step 5: Prepare Filling (If serving in bags)
If you’re going for the individual bag method, this is where you’ll need to prep your Frito bags. Carefully cut each 9-ounce bag of Fritos lengthwise down one side, creating a large opening. You want to make sure the bags stand up okay, so don’t cut them all the way through. Then, you’ll simply spoon the chili and cheese directly into the opened bags. This is always a huge hit at parties and kids absolutely love it!
Step 6: Layer & Swirl (if applicable for bag method)
For the bag method, after spooning in the chili, top generously with cheese. The heat from the chili will start to melt it. You can give the bag a gentle shake to help distribute the cheese, but I usually just let it do its thing in the oven.
Step 7: Bake
Place the baking dish (or the prepared Frito bags, standing them up as best you can on a baking sheet) into the preheated oven. Bake for 15-20 minutes, or until the cheese is completely melted and bubbly, and the edges of the Fritos are starting to get a little toasty. You’re looking for that beautiful, gooey, golden-brown cheese. If you’re using individual bags, keep an eye on them to make sure they don’t get too hot or scorch. A baking sheet underneath is a good idea for stability and catching any drips.
Step 8: Cool & Glaze (not applicable for this recipe)**
This step is usually for cakes and pies that have a separate glaze. Since Frito pie is all about savory goodness, there’s no glaze needed here. You’ll just let it rest for a few minutes after it comes out of the oven.
Step 9: Slice & Serve
Once it’s out of the oven and the cheese is perfectly melted, let the Frito pie rest for about 5-10 minutes. This is crucial! It allows everything to set up a bit, making it easier to serve and preventing it from being a soupy mess. Then, you can scoop out generous portions (or hand out the bags!). Serve hot, and let everyone add their favorite toppings like a dollop of sour cream, some fresh cilantro, or a few pickled jalapeños for an extra kick. Enjoy the crunchy, savory, cheesy goodness!
What to Serve It With
Honestly, this Frito pie recipe is a meal in itself, a complete package of comfort and flavor. But if you’re looking to round things out or present it a bit differently, I’ve got a few ideas! For breakfast, though unusual, a small portion can be surprisingly satisfying alongside a strong cup of coffee. I sometimes get a craving for it on a lazy weekend morning. For a more conventional brunch, it pairs wonderfully with a fresh green salad dressed with a zesty vinaigrette to cut through the richness. Think of it as the hearty, grounding element on the table. As a dessert? Well, this isn’t exactly dessert territory, but if you’re serving it as a fun, savory appetizer at a game night, I love to have some simple fruit slices like apples or pears available for a palate cleanser. For cozy snacks, especially on a chilly evening, I often just pair it with a cold glass of milk or a craft beer for the adults. My family’s absolute favorite way to have it is on its own, with just a big dollop of sour cream and some fresh cilantro. It’s just perfect as is!
Top Tips for Perfecting Your Frito Pie
I’ve made this Frito pie recipe more times than I can count, and over the years, I’ve picked up a few tricks that I think make it even better. When it comes to the chili, don’t skimp on the simmering time! Letting it bubble away on low heat for at least 30 minutes, or even an hour if you have it, really deepens the flavors. It makes a world of difference. For the Fritos, I almost always use the original, classic flavor. They have the perfect salty crunch that holds up well to the chili. If you’re worried about them getting soggy, you can even lightly toast them in the oven for a few minutes before assembling the pie – it gives them a little extra crispness. When it comes to the cheese, shredding your own from a block is always best. Pre-shredded cheese often has anti-caking agents that can make it melt a little less smoothly. I usually go for a sharp cheddar or a Mexican blend; the sharper the cheese, the more flavor! If you’re serving in individual bags, make sure to place them on a sturdy baking sheet so they don’t tip over in the oven. And for those of you who like a little heat, don’t be afraid to add a pinch of cayenne pepper to the chili or sprinkle some diced jalapeños on top. A little tip I learned after one too many bland pies: taste your chili before you add the beans and adjust the seasonings. Sometimes the beans can dilute the flavor a bit, so a little extra chili powder or salt might be needed. Finally, and this is crucial, let the Frito pie rest for at least 5-10 minutes after it comes out of the oven. It might be tempting to dive right in, but this little bit of patience ensures the cheese is perfectly gooey and the chili has thickened up just right, making it easier to serve and enjoy without making a mess.
Storing and Reheating Tips
Leftover Frito pie? Lucky you! It reheats beautifully and is almost as good, if not sometimes even better, the next day. If you have any of the baking dish version left, cover it tightly with plastic wrap or aluminum foil and store it in the refrigerator. It should stay fresh for about 3-4 days. For individual bags, you can try to wrap them as best as possible, or just transfer the leftovers to an airtight container. When you’re ready to reheat, you have a few options. The easiest way is to pop a portion (or the whole dish) back into a preheated oven at around 350 degrees Fahrenheit (175 degrees Celsius) until it’s heated through and the cheese is melty again. This usually takes about 15-20 minutes. If you’re in a real hurry, you can microwave individual servings, but be aware that the Fritos might lose some of their crunch. For the microwave method, I like to cover it loosely with a paper towel to prevent splattering. I wouldn’t recommend storing it at room temperature for more than a couple of hours, just to be safe. Freezing Frito pie isn’t my usual go-to because the Fritos can get a bit soggy upon thawing, but if you really want to, let the baked pie cool completely, then cover it very well with plastic wrap and then foil, and freeze for up to a month. Thaw it overnight in the refrigerator and then reheat in the oven. If you’re storing leftovers from the baking dish, I recommend adding a bit more cheese on top before reheating if you want that fresh, gooey texture back.
Frequently Asked Questions
Final Thoughts
There you have it – my absolute favorite Frito pie recipe! It’s more than just a meal; it’s a memory maker, a comfort bringer, and a guaranteed hit with pretty much everyone. The satisfying crunch of the Fritos, the robust flavor of the chili, and the gooey, melted cheese create a culinary experience that’s both simple and incredibly delicious. It’s the kind of dish that makes you want to gather around the table, share stories, and just enjoy each other’s company. I truly hope you give this Frito pie recipe a try in your own kitchen. I have a feeling it might just become a new favorite for your family too! If you love comforting, easy casseroles, you might also want to check out my recipes for {link to another comfort food recipe like baked ziti or shepherd’s pie}. They have that same heartwarming appeal. I can’t wait to hear how yours turns out! Please leave a comment below and let me know your thoughts, or share your own favorite Frito pie variations. Happy cooking!


Frito Pie Recipe
Ingredients
Main Ingredients
- 1 pound ground beef
- 1 tablespoon chili powder
- 0.5 teaspoon cumin
- 1 can diced tomatoes 14.5 ounce
- 1 can kidney beans 15 ounce, drained and rinsed
- 1 bag Fritos corn chips 9 ounce
- 0.5 cup shredded cheddar cheese
Instructions
Preparation Steps
- In a large skillet, brown the ground beef over medium heat. Drain off any excess grease.
- Stir in the chili powder and cumin. Cook for 1 minute until fragrant.
- Add the diced tomatoes and kidney beans. Bring to a simmer, then reduce heat and cook for 10-15 minutes, stirring occasionally.
- Preheat your oven to 375°F (190°C).
- Pour the meat and bean mixture into a 9x13 inch baking dish. Top with the Fritos corn chips.
- Sprinkle the shredded cheddar cheese over the top.
- Bake for 10-15 minutes, or until the cheese is melted and bubbly.
- Serve hot.


