


When the morning sun slides softly across the kitchen and the scent of vanilla and sugar drifts through the room, I reach for my favorite little project: DIY Sprinkles Art. It’s the kind of treat that feels like a celebration, even on a Tuesday. I remember making something very similar with my grandmother, sprinkling tiny candy confetti and watching cousins lean in for a closer look at the colorful marbling. This version is simpler, friendlier, and somehow more magical—a cake that doubles as a canvas. The first bite coats your mouth with warmth, while the rainbow sprinkles wink on the glaze like tiny confetti from a party you didn’t even know you were having. DIY Sprinkles Art is an edible reminder that food can be playful without losing comfort. I’ve made this countless times and it never fails to spark smiles—and yes, it’s as fun to decorate as it is to eat. This is what I reach for when I want to bake something that feels intentional but doesn’t demand a cookbook’s worth of steps.
What is sprinkle art?
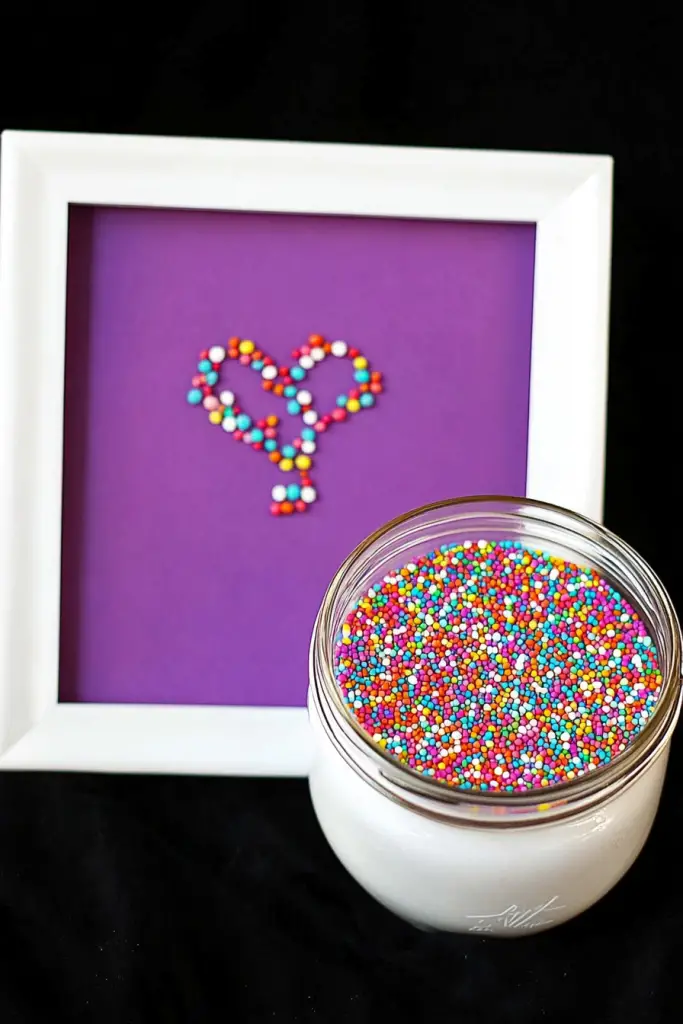
Think of it as a vanilla cake that doubles as a canvas. DIY Sprinkles Art is essentially a small sheet-cake or cupcake setup decorated with a creamy swirled filling and a glossy glaze, all framed by rainbow sprinkles tucked between the layers. The name comes from the way you decorate: you layer batter, dollop a lush filling, and swirl in color to create an edible work of art. It’s approachable enough for a midweek bake, but special enough to photograph for a weekend post. I love that it’s not just about the taste—though the buttery vanilla, tangy Cream Cheese, and that gleaming glaze are unforgettable—it’s about the moment: the kids arranging sprinkles, the family admiring the marbling, and the kitchen smelling like a tiny celebration. DIY Sprinkles Art is a little ritual that says, “Let’s make something beautiful together.”

Why you’ll love this recipe?
What I love most about this DIY Sprinkles Art is how it feels both nostalgic and fresh at the same time. It’s the kind of dessert that invites you to press a little creativity into your day, even if you’re short on time. Here’s what makes it so satisfying:
- Flavor: The batter stays tender and mellow, the cream cheese filling adds a gentle tang, and the glaze ties everything together with a satin-smooth sweetness. The sprinkle medley brings pops of color with every bite, creating a balanced, festive finish.
- Simplicity: You don’t need fancy equipment or elaborate piping skills. This is a straightforward bake that rewards patience and a little
- Cost-efficiency: What is the best way to measure cost-efficiency?: Most pantry staples live in your cupboard, and you can stretch a few cups of batter into several servings. Sprinkles are a budget-friendly way to turn ordinary into extraordinary.
- Versatility: Change the color story with the seasons, swap in different fillings (peanut butter, lemon curd, or jam), or play with the glaze to echo a holiday palette. It adapts to birthdays, potlucks, or a cozy family night in.
What I find most heartwarming is the ritual—measuring, whisking, and watching the batter come together as the first scents drift through the house. My kids actually ask for seconds, and friends always comment on how pretty it looks when it’s plated with a little extra swirl of glaze. If you’re chasing a recipe that welcomes creativity while still delivering a reliable dessert, this one is a lifesaver on busy nights and a gentle reminder that home baking can feel like a celebration.
How to Make DIY Sprinkles Art
Quick Overview
Here’s the essence: whip up a light vanilla batter, lay it into a prepared pan, then layer in a dreamy Cream Cheese filling in dollops. The key is to swirl the filling with a knife or skewer to create marbled lines; as it bakes, the colors mingle and the sprinkles invite the eye as much as the palate. Once baked and cooled, you glaze in a glossy, pourable sugar coating and finish with a shower of rainbow sprinkles. The result is a forgiving, playful cake that feels dressed up without being fussy. If you’re short on time, you can bake this as cupcakes—same batter, shorter bake, equally charming results.
Ingredients
For the Main Batter:
- 1 1/2 cups all-purpose flour, sifted for a lighter crumb
- 1/2 cup granulated sugar
- 2 teaspoons baking powder
- 1/4 teaspoon salt
- 1/2 cup unsalted butter, softened
- 2 large eggs
- 3/4 cup milk (dairy or non-dairy like almond milk)
- 1 teaspoon vanilla extract
- Optional: 2 tablespoons plain yogurt or Sour Cream for extra moisture
For the Filling:
- 8 ounces Cream Cheese, softened
- 1/3 cup powdered sugar, sifted
- 1 teaspoon vanilla extract
- 1 tablespoon milk or cream (to loosen, if needed)
- Optional: a pinch of lemon zest or a dash of almond extract for a twist
For the Glaze:
- 1 cup powdered sugar
- 2–3 tablespoons milk or cream
- 1/2 teaspoon vanilla extract
- Food coloring or natural colorants (optional)
Step-by-Step Instructions
Step 1: Preheat & Prep Pan
Preheat your oven to 350°F (175°C). Line an 8×8-inch square pan with parchment, letting a bit of overhang for easy removal. A quick spray with nonstick holds everything in place, but parchment is my go-to to avoid any crusty edges. I always double-check that the pan is evenly coated—nothing ruins a morning faster than a sticky bottom lid sticking to the pan.
Step 2: Mix Dry Ingredients
In a medium bowl, whisk flour, baking powder, and salt until well combined. This step is small but mighty—airier dry ingredients mean lighter cake. I like to sift once or twice; it’s the tiny thing that pays off in texture.
Step 3: Mix Wet Ingredients
In a separate bowl, cream the butter and sugar until pale and fluffy. Beat in eggs one at a time, then add vanilla and the yogurt or sour cream if you’re using it. Alternate adding the dry ingredients with milk, starting and ending with the dry ingredients, just until the batter comes together. It should look smooth and a little glossy, not thick like bread batter.
Step 4: Combine
Fold wet and dry together with a gentle hand until just combined. Overmixing steals the tenderness you want in a cake. If you see a few lumps, that’s okay—they’ll vanish with a gentle stir and a few folds.
Step 5: Prepare Filling
In a small bowl, beat the cream cheese with powdered sugar and vanilla until silky. If it’s too stiff, add a splash of milk to loosen to a spreadable consistency. For a citrusy lift, a teaspoon of lemon juice or zest brightens the filling beautifully.
Step 6: Layer & Swirl
Pour half of the batter into the pan and smooth. Drop spoonfuls of the cream cheese filling over the batter in a few spots. Add the remaining batter on top and gently spread. Now the fun part: swirl with a knife or skewer in loose, sweeping motions to create marble lines. Sprinkle a handful of rainbow sprinkles in an artful scatter across the top. The visual effect should resemble a painter’s palette—colorful, inviting, and a little chaotic in the best way.
Step 7: Bake
Bake for 25–30 minutes, or until a toothpick inserted in the center comes out with a few moist crumbs. Ovens vary; if your edges are browning quickly but the center looks pale, tent the pan with a piece of foil to prevent over-browning. Let the cake rest in the pan about 10 minutes before transferring to a rack to cool completely. The aroma will be irresistible—the kitchen will smell like happy chaos.
Step 8: Cool & Glaze
Once fully cooled, whisk together glaze ingredients until smooth. If you want a more opaque glaze, add a bit more powdered sugar; for a thin, drizzle-worthy glaze, add milk a teaspoon at a time. Pour or spoon the glaze over the top, letting it cascade to the edges. Scatter a final shower of sprinkles while the glaze is still tacky so they stick in place and shine.
Step 9: Slice & Serve
Let the glaze set for a few minutes, then cut into squares or generous wedges. A clean knife, wiped between slices, makes the finish neat and pretty. Serve as a dessert with a scoop of vanilla ice cream or a cup of coffee or tea—whatever your ritual calls for. If you’re sharing, I love placing a small rainbow of sprinkles on each plate for a playful touch. The first bite is soft and tender, with just enough tang from the cream cheese to keep things interesting, and the glaze offers a sweet kiss that lingers pleasantly. This is the kind of treat that disappears in minutes at my house, yet somehow leaves everyone feeling satisfied and a touch inspired.
What to Serve It With
This cake is a chameleon, and it shines in a few different moments. Here are ideas that have become family favorites around our table:
For Breakfast: A slice with black coffee or a latte, the glaze catching the morning light as a little edible sun. Serve with fresh berries and a dollop of whipped cream for a special weekend brunch vibe.
For Brunch: Set out a platter with citrus zest, extra sprinkles, and a couple of whipped creams so guests can curate their own mini art pieces on a plate. A small glass of sparkling juice or a Mimosa elevates the moment.
As Dessert: A slice with a scoop of vanilla bean ice cream and a few sprinkles for good measure makes every bite feel festive. I’ve learned that a light dusting of citrus zest on top brightens the sweetness and adds a sunny note.
For Cozy Snacks: Thin squares alongside hot chocolate or a chai latte after a long day. The colors make the afternoon feel a touch magical, a tiny celebration of getting through the day.
My family loves to gather around the counter, plates in hand, trading colors and ideas for the next batch. This is the kind of recipe that becomes a little tradition: try a new color palette for holidays, switch the filling to a seasonal fruit compote, or swap the glaze for a chocolate ganache for a deeper finish. DIY Sprinkles Art invites you to make something beautiful together, and that shared moment is the sweetest part of all.
Top Tips for Perfecting Your DIY Sprinkles Art
Here are practical tricks I’ve learned from plenty of practice, arranged by technique:
Sprinkles Prep: Have sprinkles in small bowls organized by color family. Pat the sprinkles dry if they’re a little damp from condensation; moisture can cause clumping on top of the glaze. If you’re avoiding extra sugar, you can press a light dusting of sanding sugar instead for a bit of sparkle without adding weight to the glaze.
Mixing Advice: Beat the butter and sugar until fluffy but not fluffy to within an inch of its life. Overmixing the batter after adding flour leads to a tougher crumb. I look for a smooth, pale batter with just a hint of sheen; that’s my cue to stop.
Swirl Customization: For a bolder marble, drop a few more dollops of the cream cheese mixture in strategic spots and swirl with a gentle figure-eight pattern. If you want a more uniform look, pull the swirl through in a single wide motion. The goal is to see color lines that feel organic, not forced.
Ingredient Swaps: Try yogurt in place of sour cream for extra moisture and a tangy note, or use dairy-free cream cheese and milk for a vegan-friendly version. Apple sauce or mashed banana can replace part of the butter for a lighter texture, but expect a tad more crumbly texture—still delicious in its own right.
Baking Tips: If your oven runs hot, try baking at 335°F (170°C) and check a bit earlier. Position the rack in the middle to avoid scorching the edges. A shallow pan yields a crisper top, while a deeper pan yields a moister crumb—so choose based on your texture preference.
Glaze Variations: A brighter glaze comes from a splash of lemon or orange juice; a chocolate glaze pairs beautifully with the vanilla cake. For color, use a few drops of gel food coloring rather than liquid, which can thin the glaze. If you want an ultra-smooth sheen, whisk well and let the glaze rest for a few minutes before applying.
Over the years I’ve found that the best tweaks are simple: a pinch more vanilla for warmth, a splash of citrus to cut sweetness, or a drizzle of chocolate to anchor the colors. The mistakes I’ve learned—undercooked centers, runny glaze, or overly heavy fillings—taught me to trust the batter’s feel and to let the colors guide the design rather than force them into a rigid pattern. This recipe isn’t just about pretty sprinkles; it’s about a process that invites you to slow down, taste as you go, and share the joy with people you love. Trust me on this one—your kitchen will feel like a tiny studio, and the whole house will smell like a celebration.
Storing and Reheating Tips
Storage is easy and forgiving, which is exactly what you want when you’re juggling life and dessert. Here’s how I handle DIY Sprinkles Art after the party ends:
Room Temperature: Cover lightly with foil or store in an airtight container for up to 2 days. If your room stays a touch warm, keep it in the coolest spot you have and enjoy within a day or two for the best texture.
Refrigerator Storage: Keeps beautifully for 4–5 days when sealed well. Chilled cake firms a touch, which makes slicing neater and the glaze extra glossy when brought back to room temperature before serving.
Freezer Instructions: Slice into squares or keep whole, wrap tightly in plastic wrap, then foil. Freeze up to 2–3 months. Thaw overnight in the fridge or on the counter for a few hours and re-glaze if desired to refresh the surface.
Glaze Timing Advice: If you’re storing unfrosted, glaze just before serving. If you’re freezing, skip the glaze and add it after thawing for the best texture. The sprinkles stay best when the glaze is fresh, so plan to glaze within a day of serving for maximum shine and color.
In practice, I often bake a batch on a Sunday and portion it into portions for quick weekday treats. A small square in a lunchbox makes the day feel special, and the glaze remains bright and glossy after a quick reheat or fresh glaze addition.
Frequently Asked Questions
Final Thoughts
DIY Sprinkles Art isn’t just a dessert; it’s a moment you gift to the people you love. The cake’s tenderness, the tang of the filling, and the glossy glaze all come together to create something that feels special yet completely doable in a busy life. It’s the kind of recipe that invites you to press pause, breathe in the vanilla, and let color guide your plate. If you try this, I’d love to hear how you tailored the color palette or filling to your own memories—did you reach for a citrus-touched glaze for spring, or go deeper with a chocolate swirl for a winter party? Share your variations in the comments, rate the recipe, and tag me in your photos. Happy baking! And if you know a friend who loves playful desserts as much as you do, share this post and spread a little edible art today.
DIY Sprinkles Art
Ingredients
Main Ingredients
- 0.5 cup Powdered Sugar
- 2 tablespoon Corn Syrup
- 1 tablespoon Water
- 0.5 teaspoon Vanilla Extract
- 0.25 teaspoon Almond Extract
- Food Coloring (various colors)
Instructions
Preparation Steps
- In a medium bowl, whisk together the powdered sugar, corn syrup, and water until smooth. Add the vanilla and almond extracts and stir well.
- Divide the mixture into as many small bowls as you have food coloring colors. Add a few drops of food coloring to each bowl and mix until evenly colored.
- Transfer each colored mixture into separate piping bags (or sturdy zip-top bags with a tiny corner snipped off).
- On a parchment-lined baking sheet, pipe small dots or lines of the colored mixtures to create your desired sprinkle shapes. Work quickly as the mixture will start to set.
- Let the sprinkles dry completely at room temperature for at least 12-24 hours, or until hardened.
- Once dry, gently break up any larger pieces and store your homemade sprinkles in an airtight container.


