


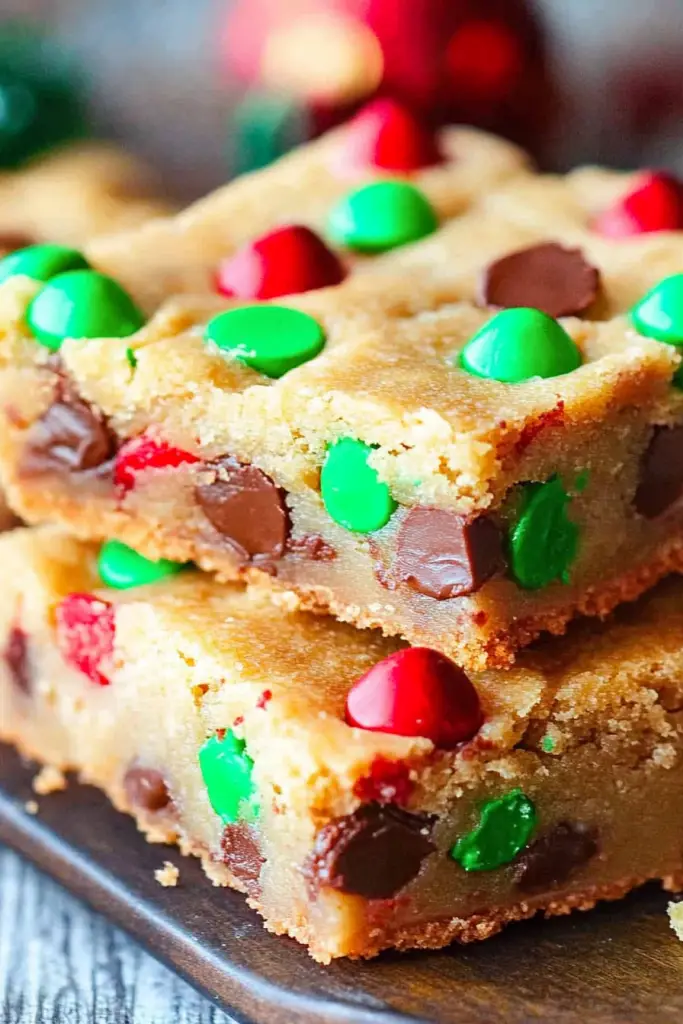
The holiday season is the perfect time to indulge in the delightful flavors of Christmas Cookie Bars. These treats combine the comforting taste of traditional Christmas cookies with the convenience of a bar format, making them a festive addition to your holiday dessert table.

Growing up, my family always gathered around the kitchen during Christmas time to make a wide array of festive treats. My grandmother used to say that these Cookie Bars were her secret to gathering everyone together around the table. The delectable aroma that filled the house as they baked is a fond memory for us all. It was a time of laughter, joy, and the occasional friendly argument over who got the last piece!
Why You’ll Love This Recipe
- Simplicity: This recipe involves minimal steps and ingredients, making it ideal for busy holiday schedules.
- Versatility: Suitable for various occasions, whether it’s a casual family gathering or a formal holiday party.
- Delicious Layers: Each bite combines flavors and textures, from the soft, chewy center to the slightly crispy edges.
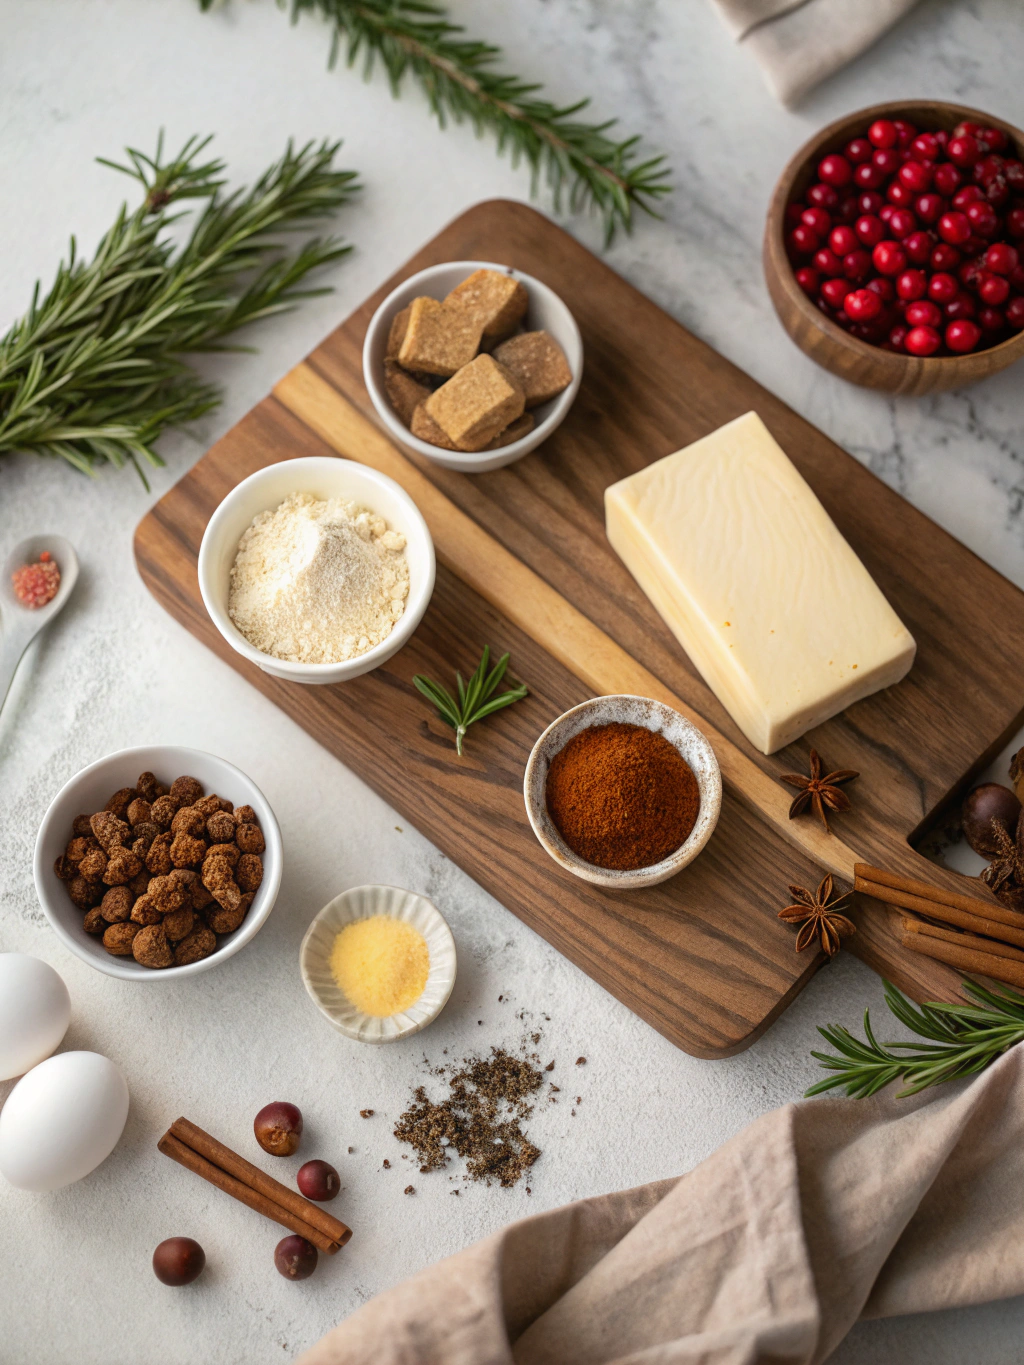
Ingredients Notes
This recipe uses common pantry ingredients, making it accessible at any time. Consider using high-quality vanilla extract for the best flavor and unsalted butter to control the salt level in the Cookie Bars. For a festive twist, you can mix different types of sprinkles or nuts into the batter.
Recipe Steps
Step 1
Preheat your oven to 350°F (175°C) and line a baking dish with parchment paper, leaving some overhang for easy lifting later. This will ensure your Cookie Bars don’t stick to the pan.
Step 2
Cream together the butter and sugar in a large bowl until light and fluffy. This can take between 3-5 minutes. Add vanilla extract and eggs, mixing well after each addition.
Step 3
In another bowl, whisk together flour, baking powder, and salt. Gradually add the dry ingredients to the wet mixture, combining just until a dough forms. Be careful not to overmix to maintain softness.
Step 4
Spread the dough evenly into the prepared baking dish. Use a spatula to smooth out the top and sprinkle with a topping of your choice, like festive sprinkles or crushed nuts.
Step 5
Bake in the preheated oven for 20-25 minutes, or until the edges are golden brown. Allow the bars to cool completely in the pan before lifting them out using the parchment paper. Cut into squares and serve.
Storage Options
To store, place the Cookie Bars in an airtight container at room temperature, where they will stay fresh for up to a week. For extended storage, these cookie bars can be frozen. Layer them between sheets of parchment paper in a freezer-safe container. When ready to enjoy, thaw at room temperature or warm in a low oven.
Variations & Substitutions
- Gluten-Free: Replace all-purpose flour with a gluten-free flour blend.
- Vegan Option: Substitute butter with coconut oil or vegan butter and use a flax egg instead of a regular egg.
- Flavor Twist: Add a teaspoon of cinnamon or a handful of chocolate chips for extra richness and flavor.
Frequently Asked Questions
Can I make these cookie bars ahead of time? Absolutely! You can prepare the dough in advance and refrigerate it for up to 2 days before baking. This is a great option to help manage your time during the busy holiday season. Just remember to bake them fresh before serving for the best texture and flavor.
How do I prevent the cookie bars from becoming too hard? Ensuring you don’t over-bake the bars is key to keeping them soft. They should be slightly golden at the edges while the center might look a bit underdone. They will continue to cook in the pan as they cool. Also, make sure to seal them in an airtight container if not serving immediately.
What can I serve with these cookie bars? These treats pair perfectly with a warm cup of holiday-spiced tea or hot cocoa. You can also serve them with Ice Cream for a decadent dessert experience. If hosting a party, consider adding them to a dessert platter alongside other festive treats.


