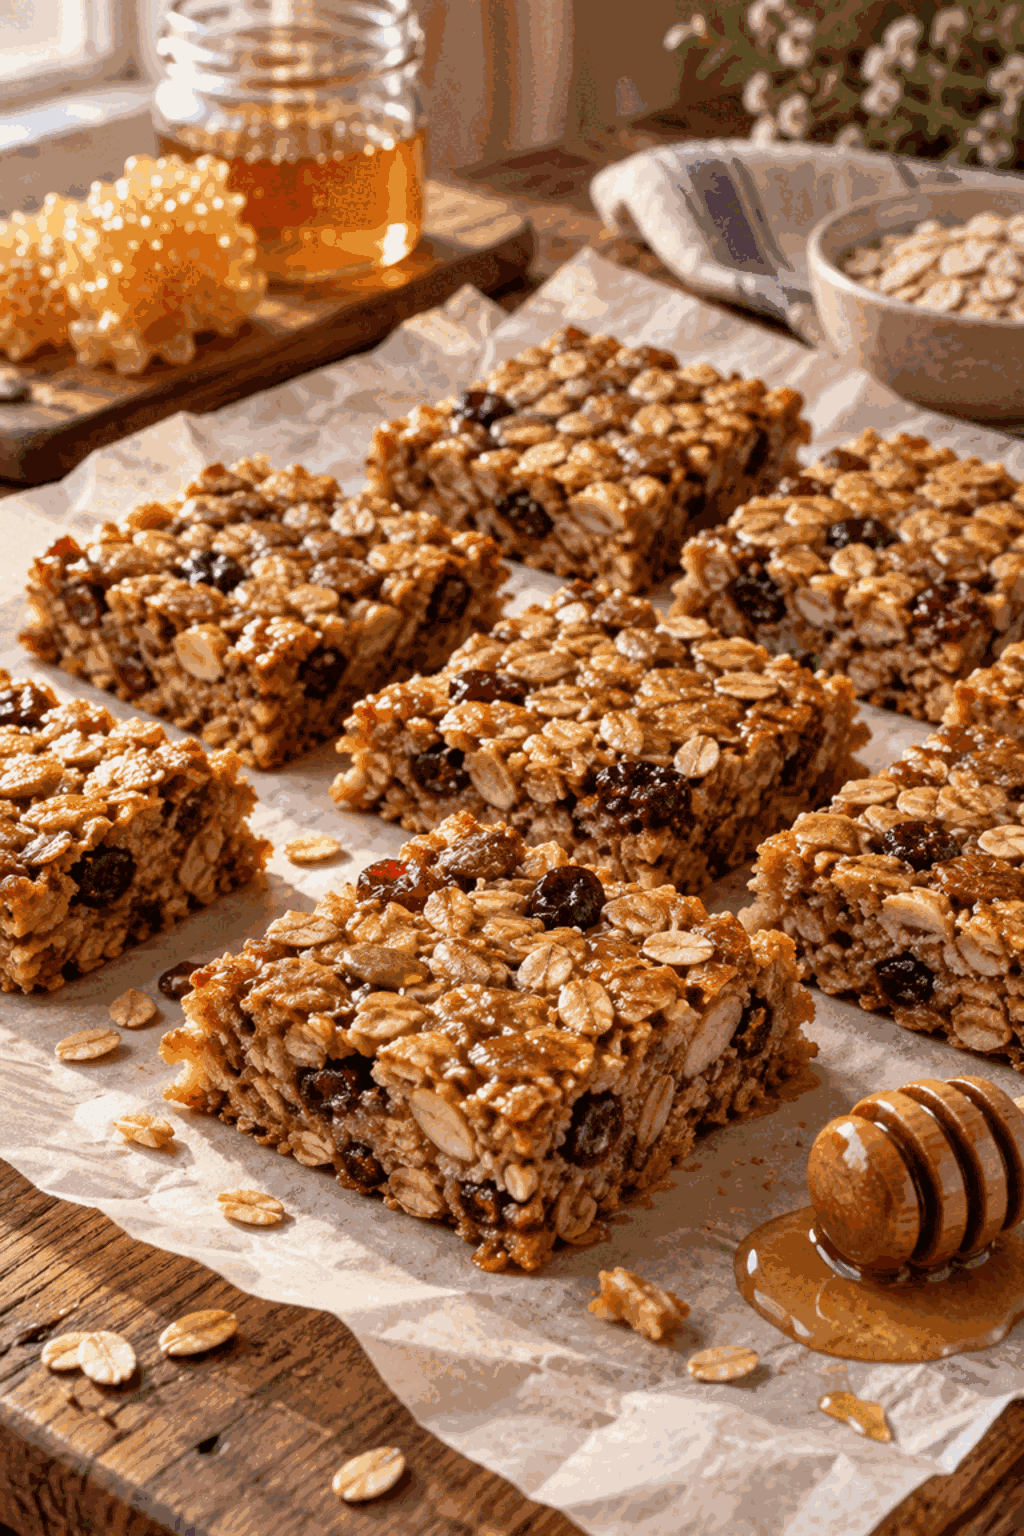


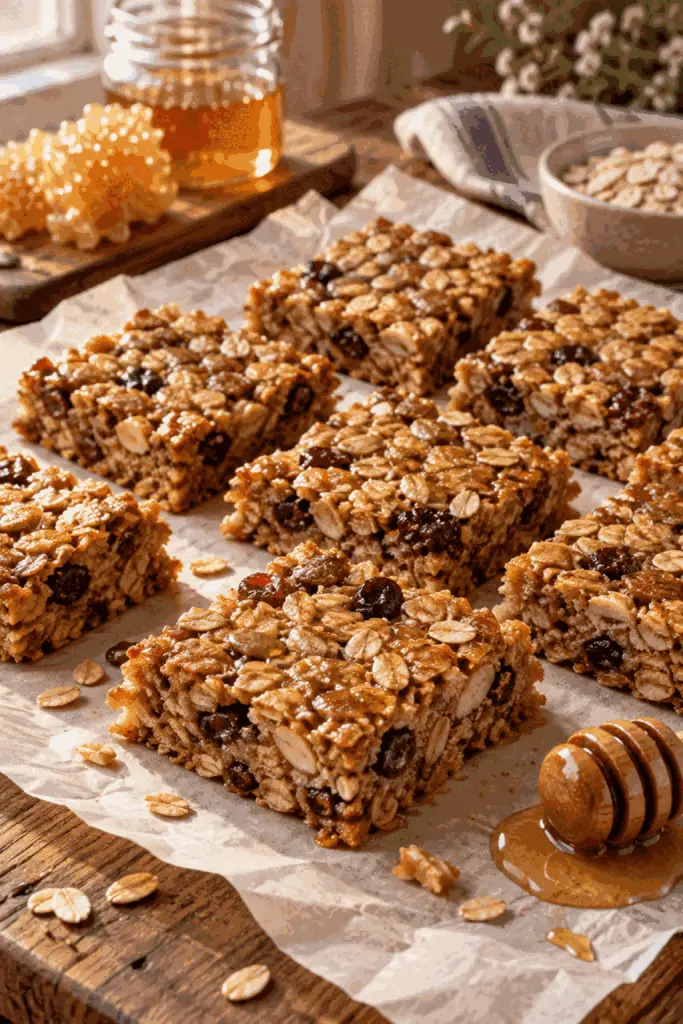
Granola bars are an easy make-ahead snack when you want something chewy, lightly crisp at the edges, and sturdy enough for a lunch box. This version uses rolled oats, honey, brown sugar, and melted butter for a simple mixture that presses into one pan. The exact focus is granola bars, and the method is forgiving: press firmly, bake until the edges turn golden, then wait for the slab to cool before slicing.
What makes these granola bars work
The oats provide texture while flour helps the bars hold together. Honey adds stickiness and a gentle floral sweetness, and brown sugar keeps the center tender. Melted butter coats the dry ingredients evenly without requiring a mixer. Cooling is part of the recipe, not an afterthought: the syrupy mixture firms as it loses heat, giving each bar clean edges.
Ingredients for granola bars
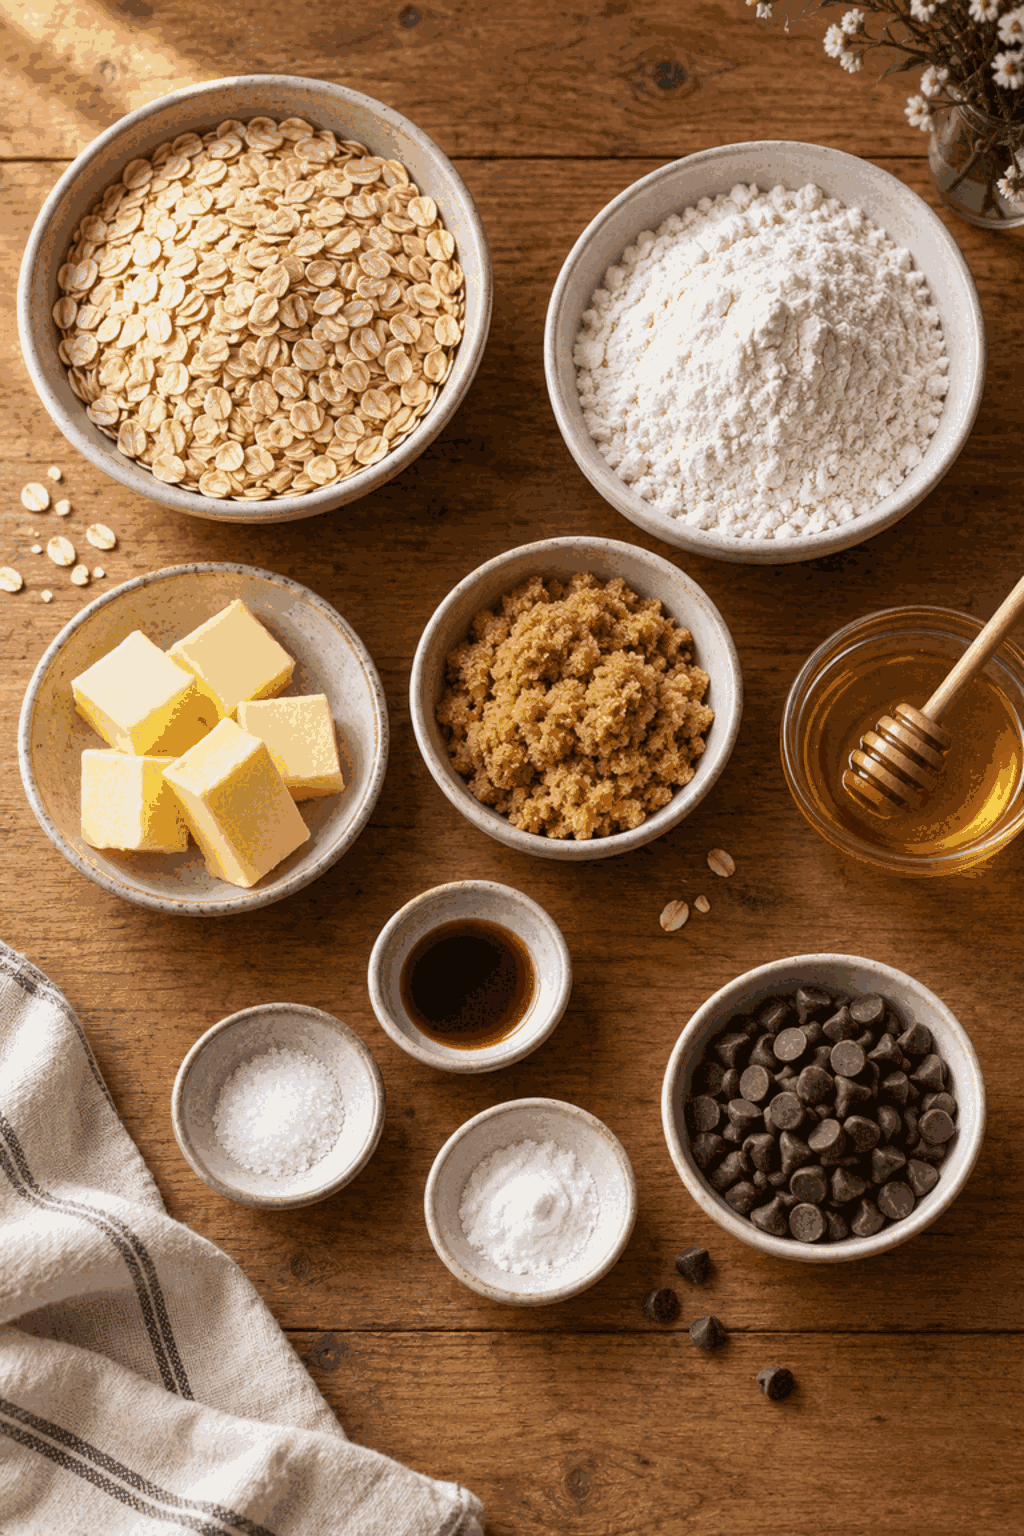
- 2 1/2 cups old-fashioned rolled oats
- 1/2 cup all-purpose flour
- 1/2 cup packed light brown sugar
- 1/2 teaspoon baking soda
- 1/2 teaspoon fine salt
- 1/2 cup melted butter
- 1/3 cup honey
- 1 teaspoon vanilla extract
- 1/2 cup mini chocolate chips, optional
How to make granola bars
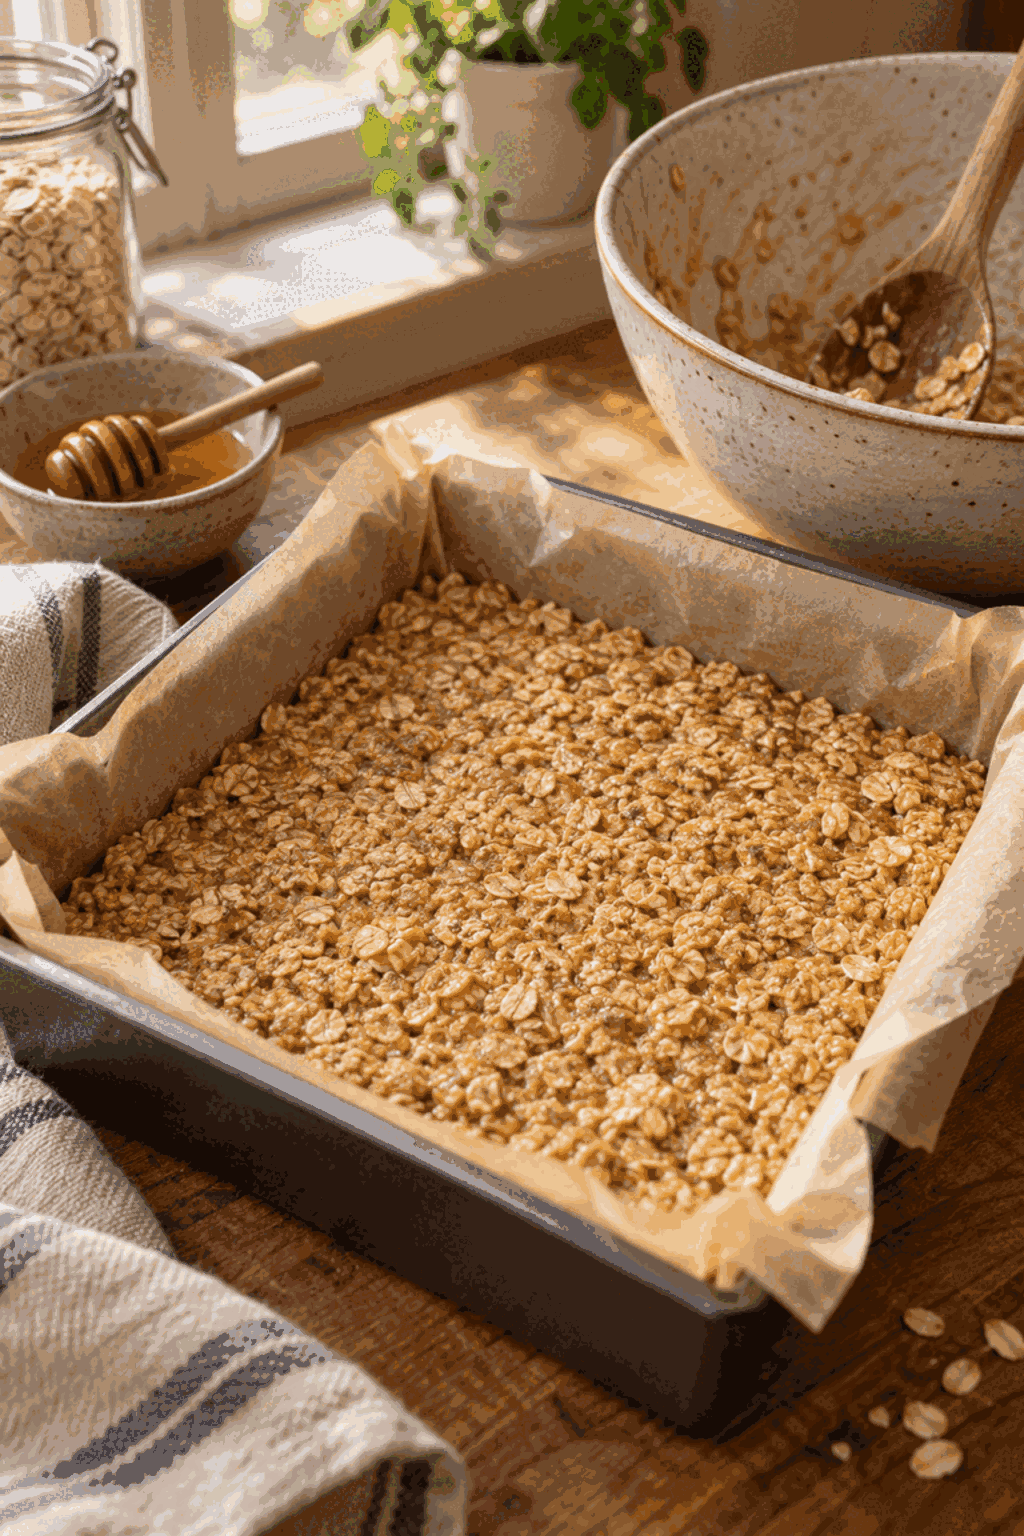
- Heat the oven to 350°F. Line an 8-inch square pan with parchment, leaving a little overhang for lifting.
- Stir the oats, flour, brown sugar, baking soda, and salt in a large bowl.
- Whisk the melted butter, honey, and vanilla together, then pour into the oat mixture and stir until evenly coated.
- Fold in the optional chocolate chips, press the mixture firmly into the prepared pan, and smooth the top.
- Bake for 20 to 22 minutes, until the edges are golden and the center looks set.
- Cool completely in the pan, then lift out with the parchment and cut into 16 bars.
Why this recipe works
The combination of oats, flour, and a warm honey-butter binder gives these bars enough structure to travel while keeping the middle pleasantly chewy. Baking drives off excess moisture and lightly toasts the edges. The pan size matters because a thicker layer stays soft, while firm pressure keeps the mixture connected as it cools.
Texture and doneness cues
Look for lightly golden edges and a center that no longer looks wet or loose. The bars will still feel somewhat soft when they come out of the oven. That is expected. They continue setting as they cool, so slicing early can make the pieces seem underbaked even when the final texture is correct.
Planning a batch
Prepare the pan before mixing because the oat mixture is easiest to press while warm and freshly coated. For a concrete use case, wrap individual bars in parchment for weekday school or office snacks. The recipe makes 16 modest pieces, and the bars can be cut smaller for a snack tray.
Troubleshooting
If the mixture seems dry before baking, check that the butter and honey were measured accurately and stir until no dry flour remains. If the bars are too soft after cooling, chill the slab for 20 minutes before cutting. If the edges darken quickly, check the pan position and begin checking at 20 minutes.
Make-ahead notes
The baked slab can cool overnight before cutting. Keep parchment between layers if stacking. For a firmer chilled texture, refrigerate the wrapped bars briefly, then bring them back to room temperature for serving.
More ways to serve
Cut the bars into narrow fingers for a snack board, or keep the squares larger when they will be packed individually. A small piece pairs well with coffee, tea, milk, or a piece of fruit. The neutral oat base also makes the recipe useful for different occasions: breakfast preparation, a hiking snack, or a simple after-school treat. Keep the optional add-in modest so the bars still hold together and the honey-butter mixture can coat the oats. When transporting them, wrap each piece once the surface is fully cool. This prevents the bars from sticking together and helps preserve the lightly crisp edges.
For the cleanest finish, use a pan with straight sides and press the mixture into the corners. Let the parchment overhang act as handles, and wipe the knife between cuts if the center clings slightly. These small details make the same straightforward recipe look neat enough for a snack table while keeping the inside tender.
Serving ideas
Pack one bar with fruit for breakfast, tuck bars into lunch boxes, or serve them alongside yogurt for an afternoon snack. Let them cool fully before wrapping so condensation does not soften the edges.
Tips and optional variation
Press the mixture with the bottom of a glass or a flat measuring cup. Loose packing is the most common reason bars crumble. Optional variation: replace the chocolate chips with an equal amount of dried cranberries, but keep the primary recipe quantities unchanged.
Storage and reheating
Store cooled bars in an airtight container at room temperature for up to five days. For a softer texture, warm one bar briefly in the microwave; do not overheat, because the honey-sugar binder can become very hot.
FAQ
Search-query answers
How do you keep granola bars from falling apart?
Press the mixture firmly into the lined pan and cool it completely before cutting.
Are homemade granola bars baked?
This version is baked until the edges are golden and the center is set.
Can you add chocolate chips?
Yes. Fold them in as an optional addition before pressing the mixture into the pan.
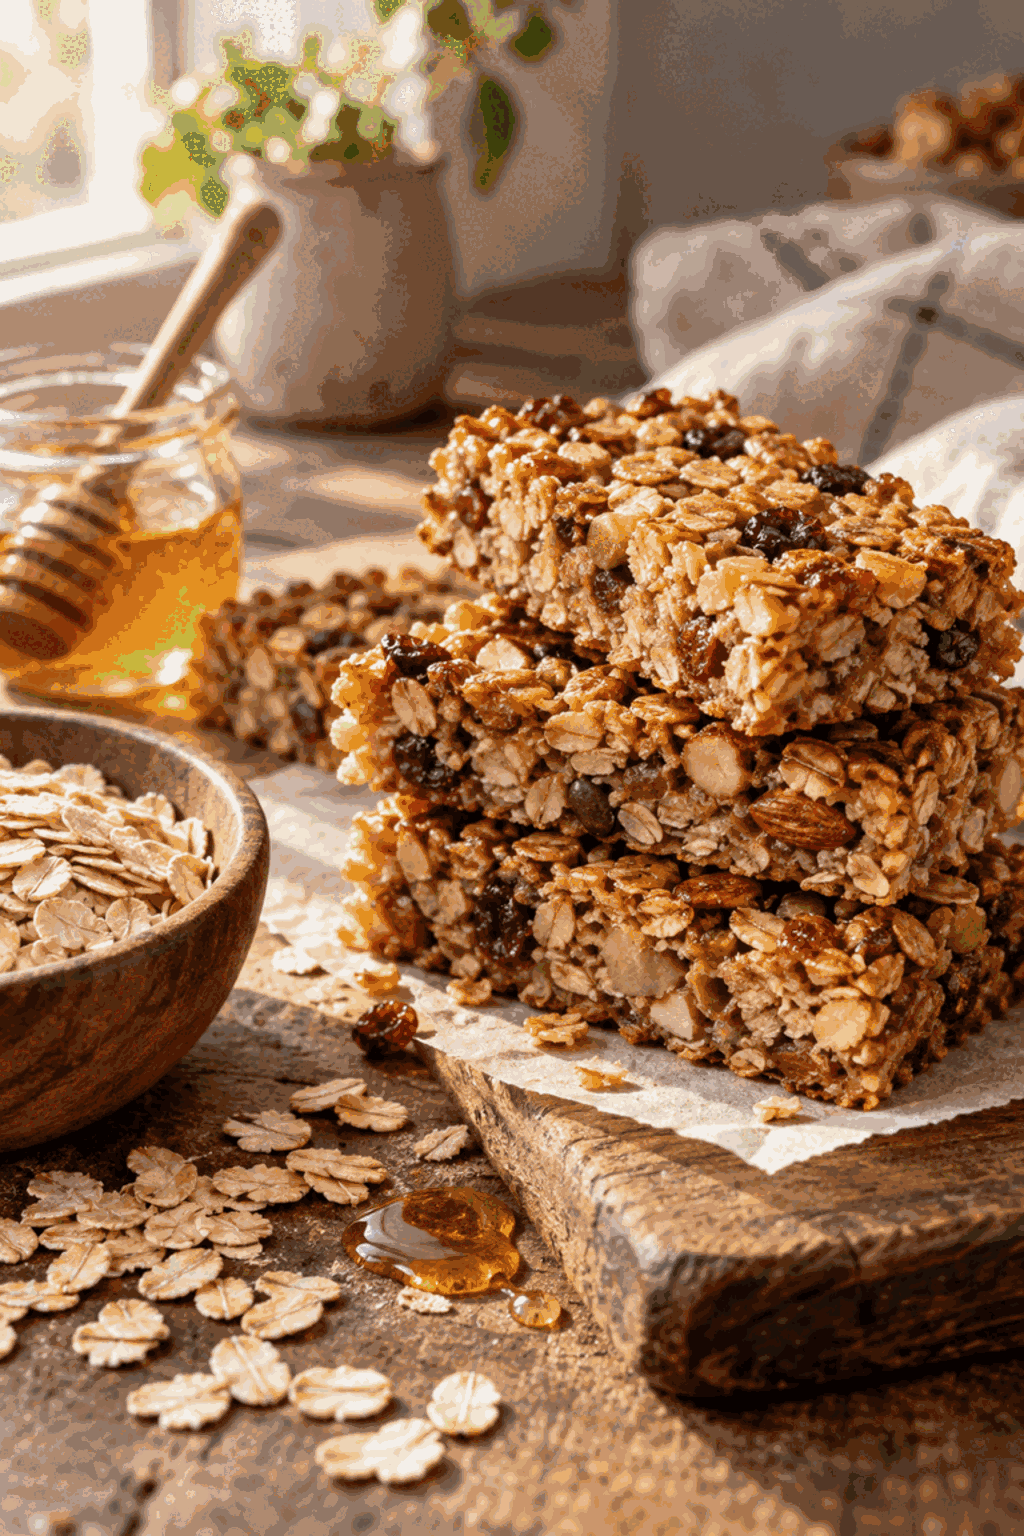
These granola bars are practical because the mixture comes together in one bowl and the finished slab travels well. Give the bars time to cool, and you will have a dependable homemade snack with a chewy center and golden edges.

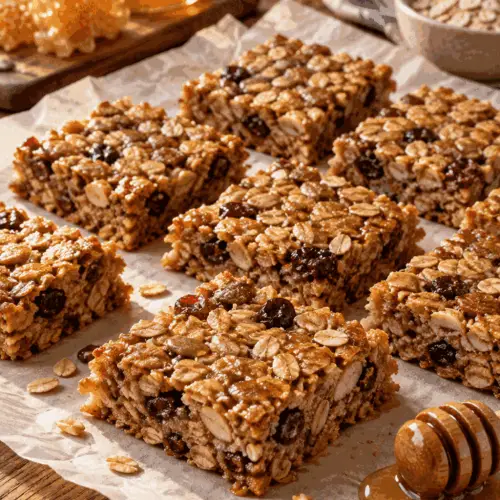
Chewy Homemade Granola Bars
Ingredients
Ingredients
- 2 1/2 cups old-fashioned rolled oats
- 1/2 cup all-purpose flour
- 1/2 cup packed light brown sugar
- 1/2 teaspoon baking soda
- 1/2 teaspoon fine salt
- 1/2 cup butter melted
- 1/3 cup honey
- 1 teaspoon vanilla extract
- 1/2 cup mini chocolate chips optional
Instructions
Instructions
- Heat the oven to 350°F. Line an 8-inch square pan with parchment, leaving a little overhang for lifting.
- Stir the oats, flour, brown sugar, baking soda, and salt in a large bowl.
- Whisk the melted butter, honey, and vanilla together, then pour into the oat mixture and stir until evenly coated.
- Fold in the optional chocolate chips, press the mixture firmly into the prepared pan, and smooth the top.
- Bake for 20 to 22 minutes, until the edges are golden and the center looks set.
- Cool completely in the pan, then lift out with the parchment and cut into 16 bars.