


There’s something universally satisfying about biting into a well-crafted cheeseburger. But imagine all those flavors and textures elevated in a different form—a new take on the classic, the Cheeseburger Subs Recipe. This unique twist brings together the beloved elements of a cheeseburger into a sub form, making it not just delicious but also incredibly easy to serve for a crowd.
When I was a child, cheeseburgers were a weekly tradition in our family, reserved for lively Friday nights. My mom would lovingly prepare patties while we watched TV, a scene lit by flickering lights and filled with infectious laughter. My siblings and I would crowd the kitchen counter, eagerly assembling our perfect burgers. As family gatherings grew larger, my mom began experimenting with presentation, leading to the creation of scrumptious cheeseburger subs—an innovation that allowed everyone to experience our cherished tradition effortlessly.
Why You’ll Love This Recipe
This cheeseburger Subs Recipe is bound to become a family favorite for several reasons. First, the transformation from the conventional burger into a sub form offers a delightful twist that makes the meal stand out at any gathering, picnic, or potluck. These subs are incredibly simple to assemble, ensuring you spend less time in the kitchen and more time enjoying the company of your loved ones. Additionally, the texture combination of a soft sub roll and melting cheese is an unbeatable, comforting unity of flavors.
What’s more, this recipe is versatile and easily customizable, allowing you to cater to various dietary preferences and tastes. It’s practical and saves on cleanup, making it perfectly suitable for busy weeknights or when you’re in need of an impressive, yet stress-free dish.
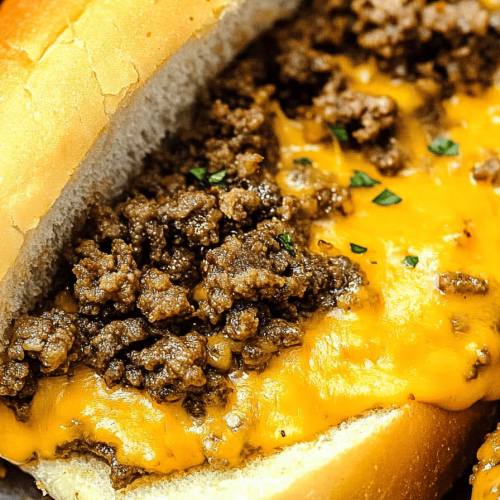
Ingredients Notes
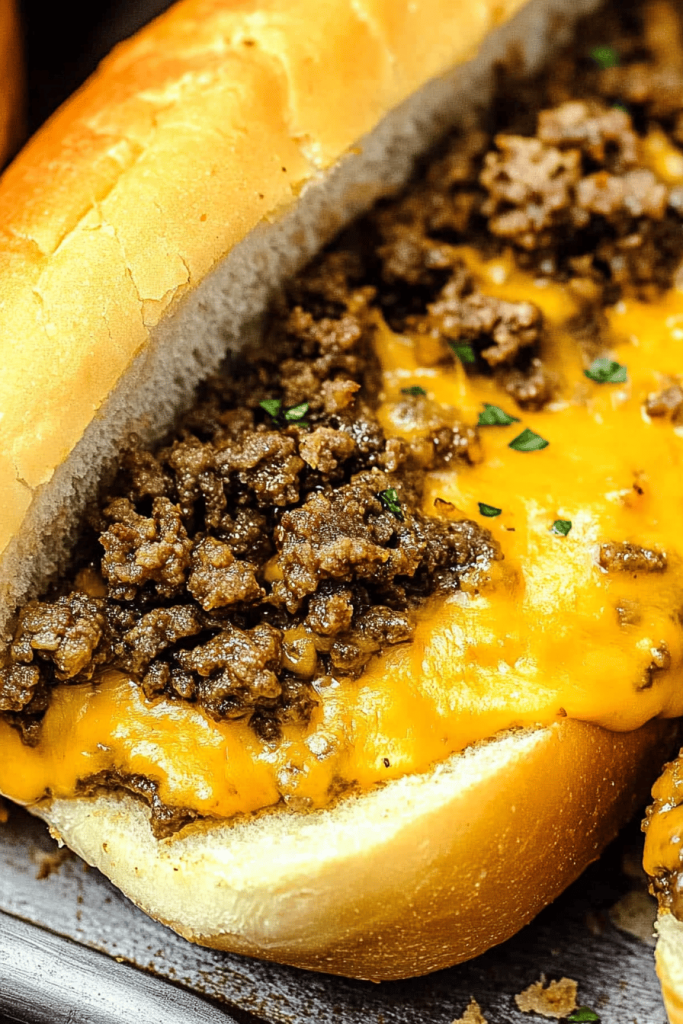
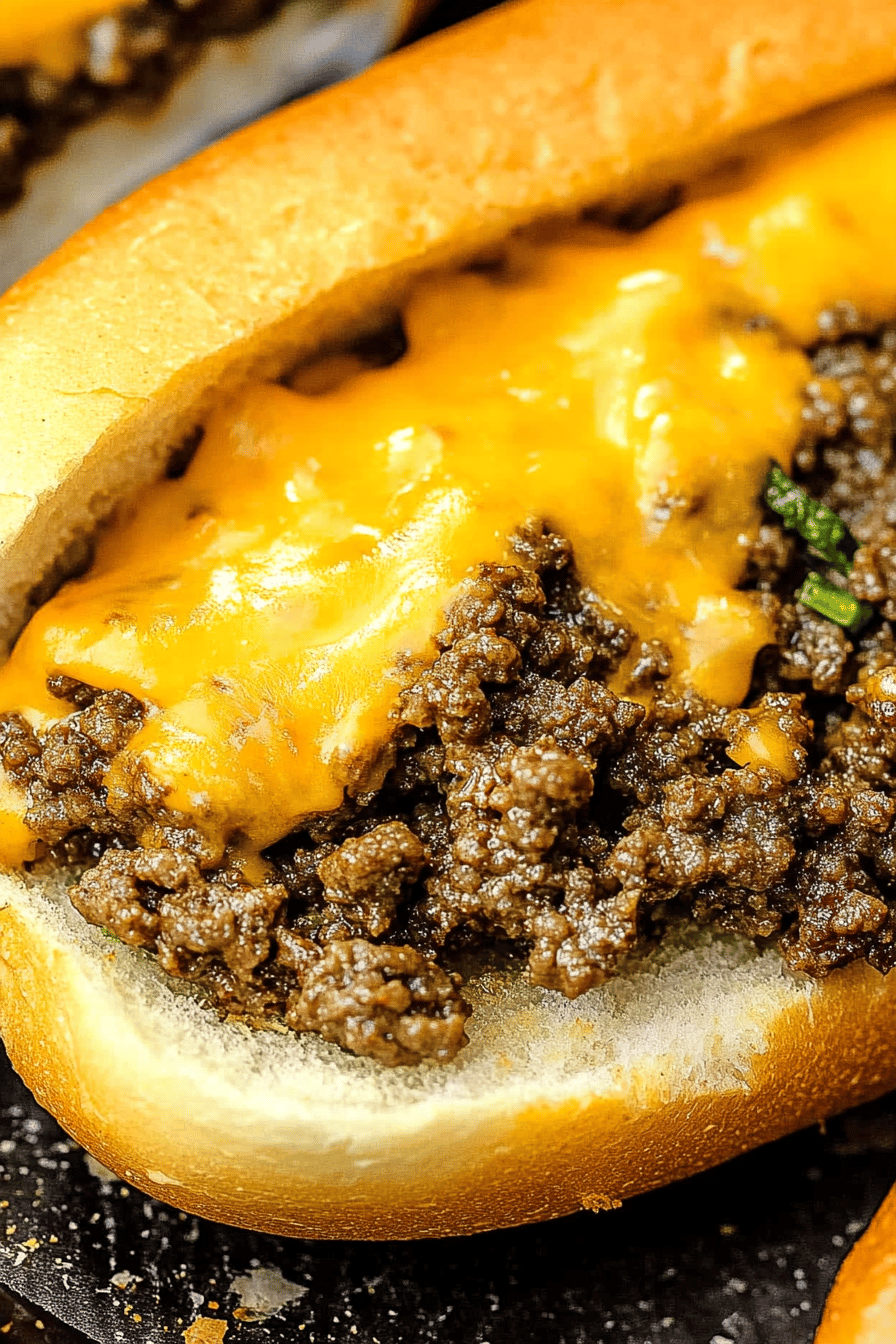
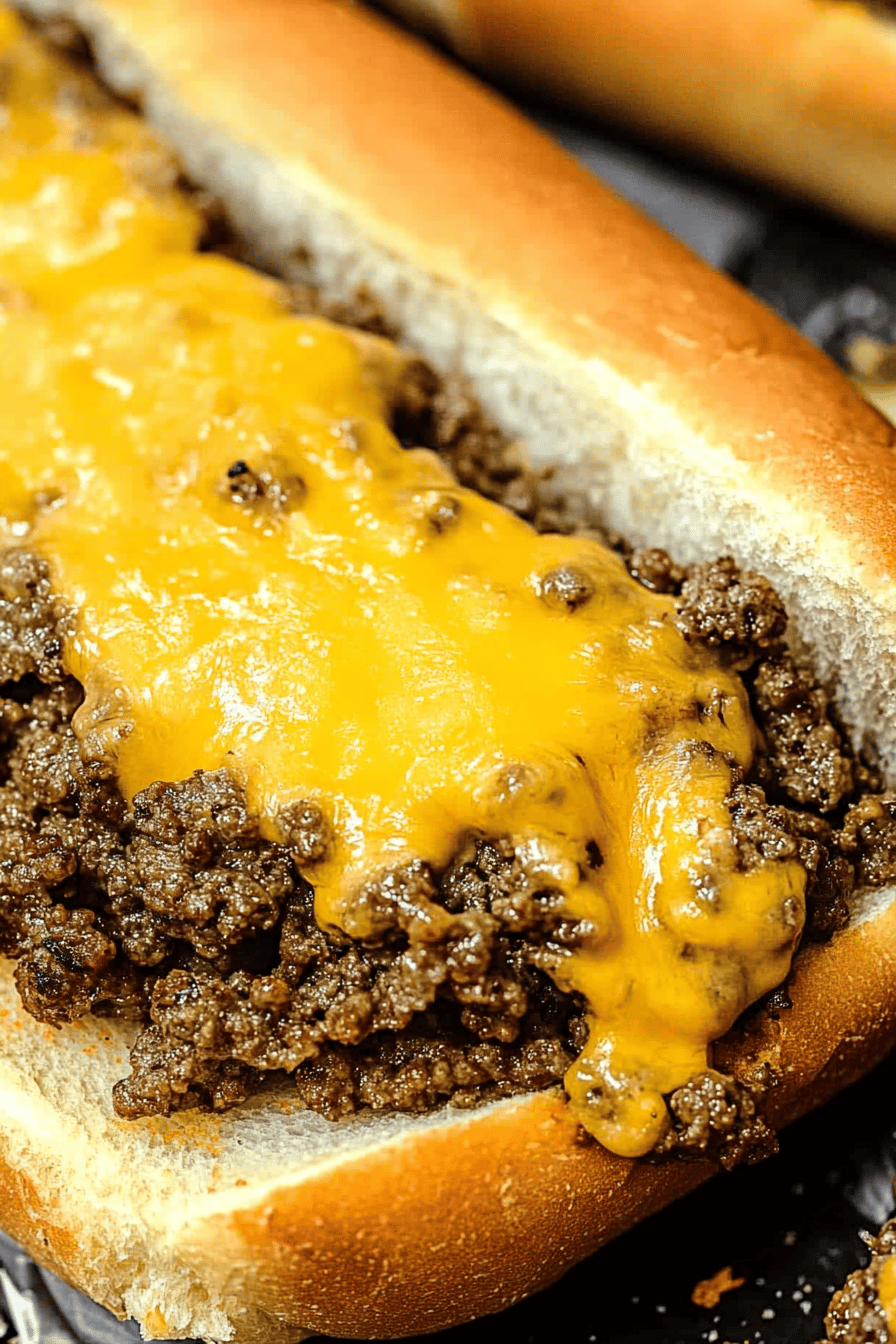
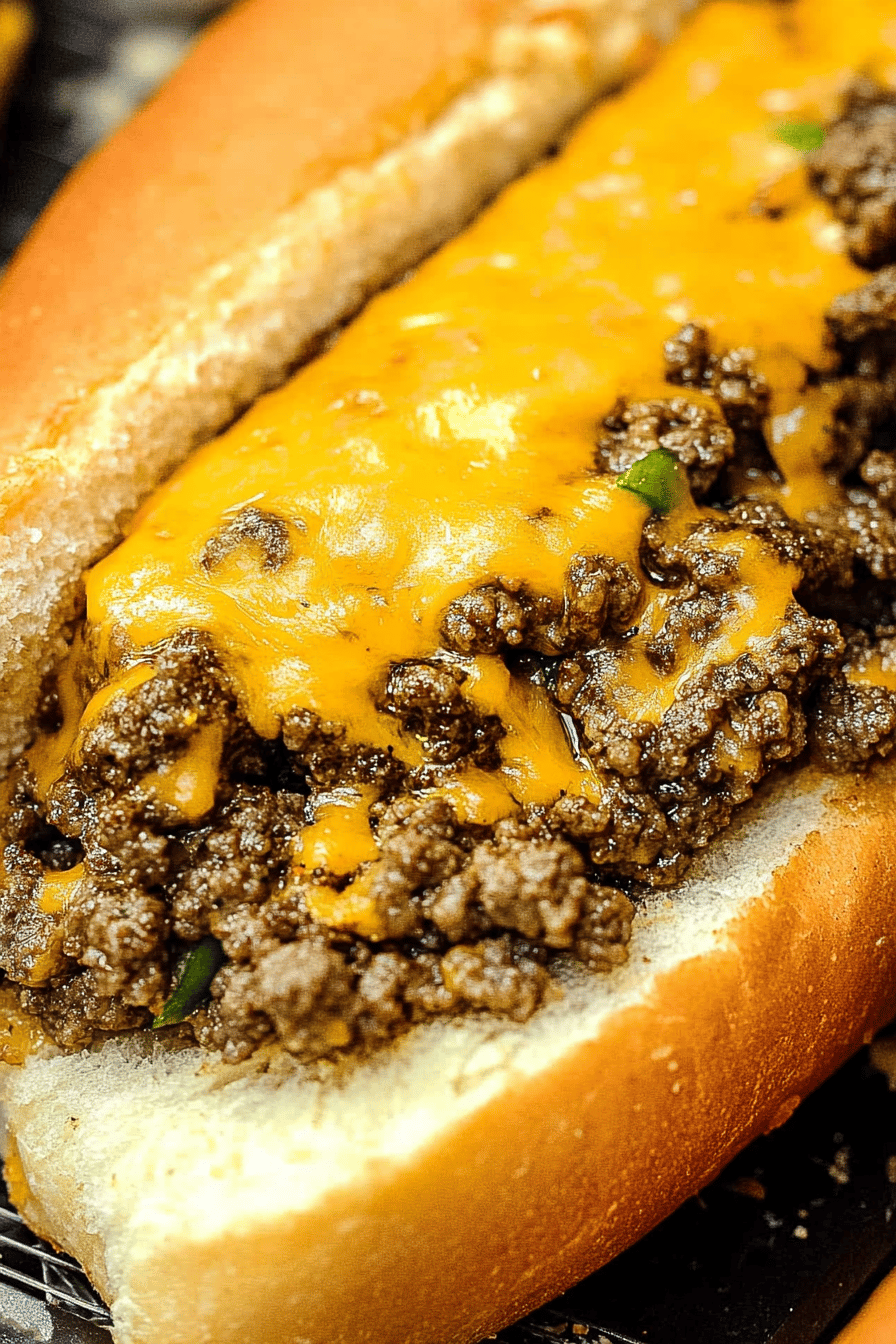
Each ingredient in this recipe plays an essential role. For the beef, choose ground chuck for its ideal fat content that guarantees juicy perfection. The type of cheese is equally important—for the quintessential cheeseburger flavor, opt for American cheese, as it melts smoothly and adds incredible creaminess to the dish. If you want a grown-up twist, sharp cheddar works charmingly.
When it comes to sub rolls, fresh bakery or homemade ones are preferred for their soft, airy texture that beautifully absorbs juices without becoming soggy. Feel free to add traditional cheeseburger toppings like sliced pickles, onions, or jalapeños for some heat. For condiments, pick hearty ketchup and mustard to achieve that classic flavor profile. Remember, these cheeseburger subs are adaptable, so don’t hesitate to add your favorite ingredients to suit your preferences.
Recipe Steps
Step 1
Preheat your oven to 375°F. As it heats, turn your attention to the Ground Beef. Start by seasoning with salt and pepper. In a large skillet over medium heat, cook the ground beef until browned, making sure to break it into small pieces using a spatula. Once cooked, drain any excess grease.
Step 2
Meanwhile, prepare your sub rolls by cutting them in half lengthwise. Lay them open-faced on a sheet of aluminum foil for easy serving later. Place a slice of cheese on each half of the roll. This forms the cheesy barrier that locks in flavors and prevents the rolls from becoming soggy with extra juices.
Step 3
Spoon the cooked beef mixture over each cheese-topped sub. At this point, you can choose to layer additional toppings, such as sliced onions, pickles, or jalapeños, based on your preference. These toppings get warm and slightly soft in the oven, enhancing the overall texture of the subs.
Step 4
Top each sub with another cheese slice and carefully close the rolls. Wrap each sub tightly in aluminum foil. This ensures even cooking, enabling the cheese to melt perfectly and ingredients to heat through without drying.
Step 5
Transfer the wrapped subs onto a baking sheet. Bake in the preheated oven for about 10 minutes, a long enough period to ensure all components are heated across and cheese achieves the desired gooey melt. Carefully unwrap each sub and serve hot with your choice of condiments such as ketchup, mustard, or mayonnaise.
Storage Options
If you have any leftovers, these cheeseburger subs store quite well. Wrap each sub tightly in foil and store in an airtight container to maintain moisture and flavor. You can refrigerate them for up to 3 days. For longer storage, place the wrapped subs in a freezer-safe ziplock bag and freeze for up to 2 months.
For reheating, if refrigerated, simply unwrap and microwave the subs for 60-90 seconds, being mindful to ensure the center is hot. If previously frozen, thaw overnight in the fridge for optimal results and then proceed with microwaving them. Alternatively, reheating in an oven at 350°F delivers a crispier roll if you prefer the bread not soaked.
Variations & Substitutions
For a healthier twist, swap Ground Beef for ground turkey or chicken; this substitution offers a leaner protein while maintaining flavor integrity. Add a Mediterranean flair by incorporating feta cheese and fresh spinach, providing a unique fusion. A plant-based interpretation is entirely achievable with plant-based ground meat, easily available and quickly gaining popularity among vegetarians.
If you’re inclined towards Italian flavors, add marinara sauce and provolone cheese for a meatball-sub-inspired twist that both kids and adults will adore. Experimenting with seasoned bread crumbs can bring about a delightful texture contrast that rivals popular street sandwiches.
Serving Suggestions
These cheeseburger subs shine at casual gatherings, offering a novel dish similar yet different from your standard barbecue fare. Serve them alongside fresh-cut fries or potato chips for a complete meal. They’re equally appropriate for game days, as they are crowd-pleasers, and those on-the-go activities where quick meals are appreciated.
Consider coupling these subs with a refreshing beverage like homemade lemonade or iced tea, especially on a hot day, to balance flavors. Energetic parties or quiet family dinners equally benefit from a side of coleslaw or simple side salad that offers a touch of freshness alongside rich subs.
Frequently Asked Questions
Can I make these subs ahead of time? Absolutely! You can prepare the beef mixture in advance and store it in the refrigerator for up to two days. Assemble the subs before baking when you’re ready to serve. This enables you to spend more time with your guests or family without the stress of last-minute cooking.
What’s the best type of bread for these subs? Fresh sub rolls or hoagie rolls are ideal selections for cheeseburger subs due to their balance of structure and tenderness. Breadboard rolls are another option that willingly accommodates various toppings and retains warmth nicely when wrapped.
Are there any vegetarian options? Certainly! Swap the ground meat with plant-based alternatives that effectively mimic traditional textures. Add slices of grilled mushroom or avocado for additional substance and taste. This adaptation will enjoyably satisfy vegetarian preferences while keeping the essence of a classic sub.
Cheeseburger Subs Recipe
Ingredients
Main Ingredients
- 1.5 pounds ground beef preferably 80% lean
- 4 pieces submarine sandwich rolls toasted if desired
- 8 slices cheddar cheese use your favorite type
- 2 cups lettuce shredded
- 1 large tomato sliced
Instructions
Preparation Steps
- Preheat a skillet over medium-high heat and brown the ground beef until fully cooked. Drain excess fat.
- Place cooked beef on each submarine roll, topping evenly with cheddar cheese slices.
- Bake in an oven at 350°F for 5 minutes or until the cheese has melted.
- Garnish each sub with shredded lettuce and tomato slices. Serve immediately.


