


There are some dishes that just feel like a warm hug, aren’t there? For me, that’s always been a truly stellar casserole. It’s more than just a meal; it’s a memory. I remember my grandma making a sort of baked pudding-like casserole when I was little, and while this recipe is a bit different, it brings back that same cozy feeling. When life gets hectic, and the thought of slaving over a hot stove feels impossible, this is my absolute savior. It’s the kind of thing that feels wonderfully indulgent but is surprisingly simple to pull off. Forget those complicated, multi-step recipes that promise the world and deliver stress – this one is all about delicious results with minimal fuss. If you’re looking for a fantastic addition to your repertoire of easy Casserole Recipes that will have everyone asking for seconds, you’ve found it!
What is this glorious casserole?
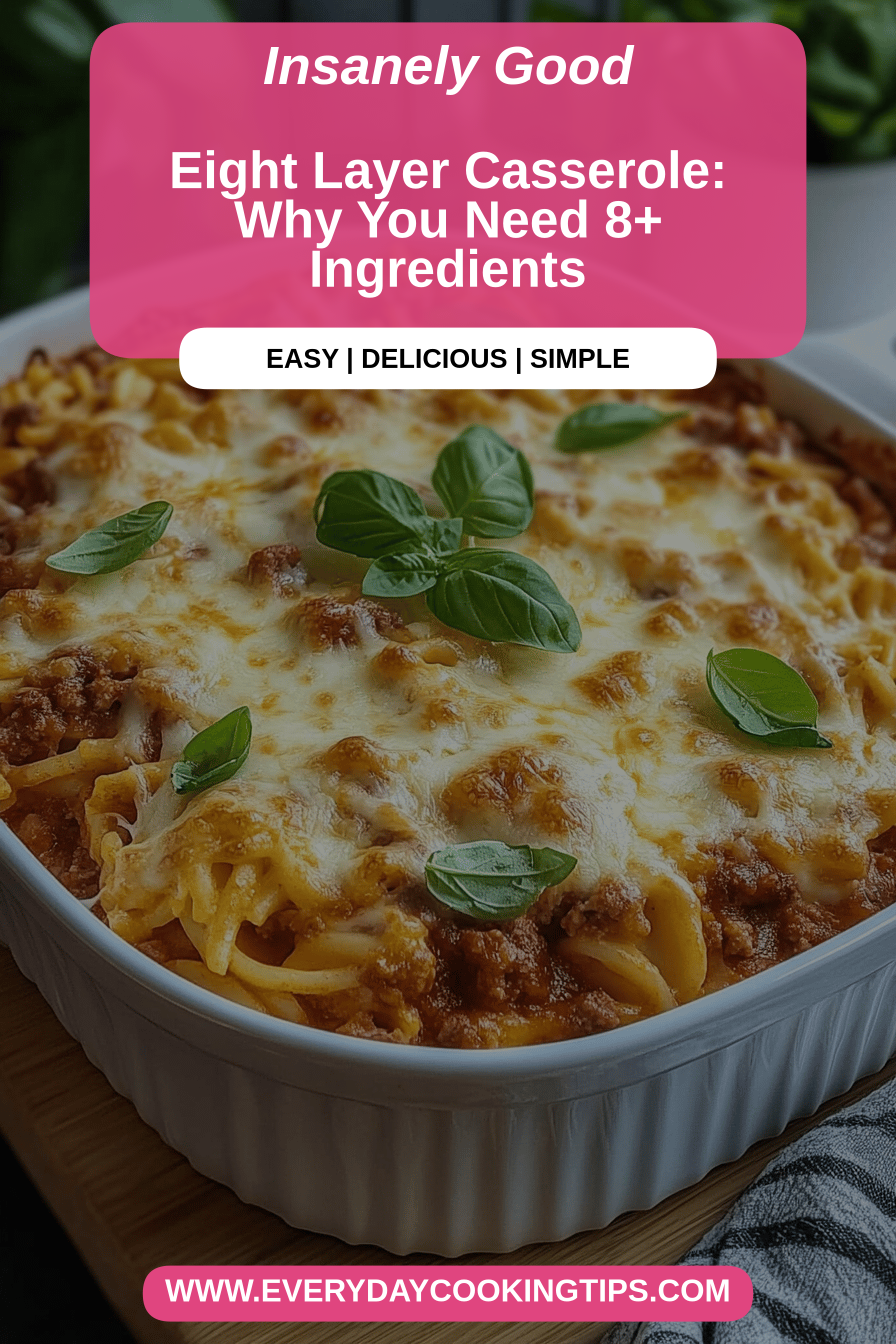
So, what exactly is this magical creation? Think of it as a perfectly balanced, incredibly satisfying baked dish that’s somewhere between a sweet bread and a rich, comforting pudding. It’s often made with simple pantry staples you probably already have on hand, making it a lifesaver when you need to whip something up on short notice. The name itself doesn’t really do it justice because it hints at something basic, but the flavors and textures are anything but. It’s essentially a delightful baked concoction that’s incredibly versatile – you can dress it up or down depending on your mood and what you have available. It’s the kind of dish that truly celebrates Comfort Food at its finest, and I can’t wait for you to try it.
Why you’ll love this recipe?
Honestly, there are so many reasons why this recipe has become a staple in my kitchen, and I’m betting it will in yours too. First and foremost, the flavor is just out of this world. It’s got this perfect balance of sweet, a little bit savory, and a wonderfully tender texture that’s incredibly satisfying. It’s not overly sweet, which I really appreciate, making it adaptable for different times of the day. Secondly, the simplicity is a game-changer. You can mix most of it up in one bowl, and the baking process is completely hands-off. I’ve had evenings where I’ve been exhausted, and the thought of cooking felt overwhelming, but pulling out the ingredients for this felt like a breeze. It’s also incredibly cost-efficient. The ingredients are humble but work together to create something truly spectacular, which is always a win in my book. And the versatility! Oh, the versatility is amazing. You can serve this for breakfast, brunch, dessert, or even as a cozy snack. It’s a fantastic alternative to a classic Breakfast Casserole when you want something a little different, or even as a rustic dessert when you’re craving something sweet but don’t want to make a whole cake. What I love most about this is how it makes you feel – it’s pure comfort and joy in every bite.
How do I make a dreamy casserole?
Quick Overview
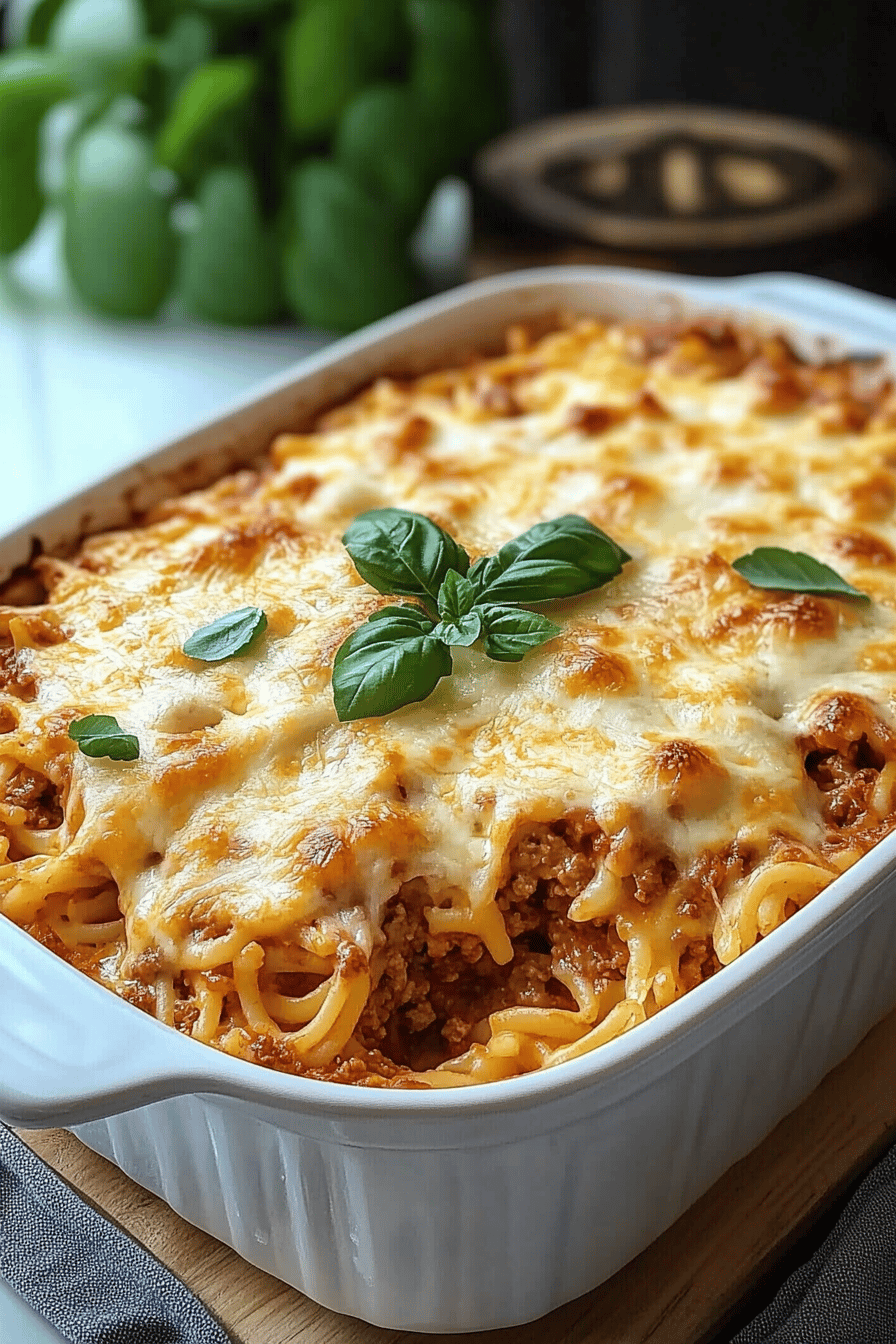
The beauty of this casserole lies in its straightforward approach. You’ll be whipping up a simple batter, combining it with a delightful, subtly sweet filling, and then baking it until golden and bubbly. The whole process, from gathering ingredients to popping it in the oven, takes less time than you might think, and the results are consistently delicious. It’s designed to be forgiving, so even if you’re new to baking, you’ll find this incredibly approachable. Get ready for a baking adventure that’s as enjoyable as it is rewarding!
Ingredients
For the Main Batter:
2 cups all-purpose flour (or a gluten-free blend, see tips below!)
1 teaspoon baking powder
½ teaspoon baking soda
¼ teaspoon salt
¾ cup granulated sugar (adjust to your sweetness preference)
½ cup unsalted butter, melted and slightly cooled
2 large eggs, at room temperature
1 cup milk (whole or 2% works best, but I’ve tested almond milk and it was surprisingly creamy!)
1 teaspoon vanilla extract
For the Filling:
2 cups grated zucchini, excess moisture squeezed out (this is key!)
½ cup chopped nuts (walnuts or pecans are fantastic here)
¼ cup dried cranberries or raisins (optional, but adds a lovely chewiness)
For the Glaze:
1 cup powdered sugar
2-3 tablespoons milk or lemon juice (for a tangier finish)
½ teaspoon vanilla extract
Step-by-Step Instructions
Step 1: Preheat & Prep Pan
Start by preheating your oven to 350°F (175°C). Grab an 8×8 inch baking dish or a similar-sized oven-safe casserole dish. Lightly grease it with butter or non-stick cooking spray. This little step ensures your beautiful casserole slides right out after baking, no drama required!
Step 2: Mix Dry Ingredients
In a large mixing bowl, whisk together the flour, baking powder, baking soda, salt, and granulated sugar. Give it a good stir to make sure everything is evenly distributed. This ensures your leavening agents are well-mixed, leading to a consistent rise.
Step 3: Mix Wet Ingredients
In a separate medium bowl, whisk together the melted butter, eggs, milk, and vanilla extract until well combined. The mixture should be smooth and slightly emulsified. Make sure your butter isn’t too hot, or it might scramble the eggs!
Step 4: Combine
Pour the wet ingredients into the dry ingredients. Using a spatula or wooden spoon, gently fold everything together until *just* combined. It’s really important not to overmix here. A few lumps are perfectly fine and actually preferable – overmixing can lead to a tough texture. We’re aiming for a lovely, pourable batter.
Step 5: Prepare Filling
In a small bowl, combine your grated zucchini (remember to squeeze out as much water as you can – this is crucial for texture!), chopped nuts, and dried cranberries or raisins (if using). Toss them together gently. This simple filling adds bursts of flavor and texture throughout the casserole.
Step 6: Layer & Swirl
Pour about half of the batter into your prepared baking dish. Sprinkle the zucchini mixture evenly over the batter. Then, gently pour the remaining batter over the filling. For a bit of visual flair, you can run a knife or skewer through the batter a few times to create a marbled effect. It’s not strictly necessary, but it looks so pretty when it’s done!
Step 7: Bake
Pop the dish into your preheated oven. Bake for 30-40 minutes, or until a toothpick inserted into the center comes out clean, and the top is golden brown and slightly puffed. The exact baking time can vary depending on your oven, so keep an eye on it!
Step 8: Cool & Glaze
Once baked, remove the casserole from the oven and let it cool in the dish for at least 15-20 minutes. This allows it to set up properly. While it’s cooling, whisk together the powdered sugar, 2 tablespoons of milk or lemon juice, and vanilla extract for the glaze. Add more liquid, a teaspoon at a time, until you reach your desired drizzling consistency. Drizzle generously over the slightly cooled casserole.
Step 9: Slice & Serve
Once the glaze has set a bit, slice the casserole into squares and serve warm. The smell that fills your kitchen at this point is pure bliss!
What to Serve It With
The beauty of this casserole is its chameleon-like ability to fit into any mealtime. For breakfast, it’s absolutely divine served warm with a hot cup of coffee or a refreshing glass of orange juice. The subtle sweetness is just enough to get your day started without being overwhelming. If you’re going for a weekend brunch vibe, present it sliced on a pretty platter. A dollop of Greek yogurt or a sprinkle of fresh berries can elevate it even further, and it pairs wonderfully with mimosas or a light sparkling cider. As a dessert, it’s a revelation! Serve it with a scoop of vanilla bean Ice Cream or a dollop of whipped cream, and it feels truly decadent. It’s also perfect for cozy evenings or even an afternoon pick-me-up snack. I’ve even served it with a side of crispy bacon when I’ve wanted something a little more substantial, and my family devoured it! It really is that adaptable.
Top Tips for Perfecting Your Casserole
Over the years, I’ve picked up a few tricks that make this casserole absolutely perfect every single time. Let’s dive into them so you can achieve casserole perfection too!
Zucchini Prep: This is arguably the MOST important step. Grating the zucchini and then squeezing out every last drop of moisture is critical. I usually do this by wrapping the grated zucchini in a clean kitchen towel or cheesecloth and wringing it out over the sink. If you skip this, you’ll end up with a watery casserole, and nobody wants that! It also helps the other flavors meld better. Fresh zucchini is always best, but if you’re using zucchini that’s been in the fridge for a bit, make sure to really give it a good squeeze.
Mixing Advice: As I mentioned, don’t overmix the batter. Just combine the wet and dry ingredients until you don’t see any big streaks of dry flour. A few lumps mean you’ve achieved the right texture for a tender crumb. Overmixing develops the gluten too much, resulting in a dense, chewy casserole instead of a light, fluffy one.
Swirl Customization: While the swirl isn’t essential for taste, it does add a lovely visual element. After you pour the second half of the batter, gently run a knife or a skewer through the mixture a few times in a swirling motion. Don’t over-swirl, or the colors will blend too much. You want distinct ribbons!
Ingredient Swaps: If you don’t have zucchini, don’t fret! Grated carrots or even finely chopped apples (though this will make it sweeter) can work as a substitute for the filling. For the nuts, almonds or even sunflower seeds provide a nice crunch. If you don’t have dried cranberries, raisins are a classic choice, or you can omit them entirely. For the milk in the batter, any kind will work in a pinch, but full-fat dairy or a good quality plant-based milk like almond or oat milk will give you the creamiest texture.
Baking Tips: Always place your casserole dish on the center rack of your oven for even heat distribution. If you notice the top browning too quickly before the center is cooked, you can loosely tent it with aluminum foil for the remainder of the baking time. Use the toothpick test as your guide – when it comes out clean, it’s done!
Glaze Variations: For a tangier glaze, use lemon juice instead of milk. You can also add a pinch of cinnamon or a tiny bit of nutmeg to the glaze for a warmer flavor profile. If you prefer a less sweet glaze, reduce the amount of powdered sugar and add more liquid. If you’re not a fan of glaze, a simple dusting of powdered sugar right before serving is also lovely.
Storing and Reheating Tips
This casserole is fantastic for leftovers, making it an excellent candidate for meal prep or for when you just want something comforting on hand. At room temperature, it’s best to consume it within about 2 hours to maintain its freshness and safety, especially if it’s warm. For refrigerator storage, let the casserole cool completely before covering it tightly with plastic wrap or transferring it to an airtight container. It should keep well in the fridge for up to 3-4 days. The flavor often deepens overnight, which is a nice bonus! If you’re planning to freeze it, make sure it’s completely cooled. You can freeze the entire casserole or individual portions. Wrap it tightly in plastic wrap, then in aluminum foil, or place it in a freezer-safe container. It will last in the freezer for up to 2-3 months. When you’re ready to reheat, the best method depends on how you stored it. For refrigerated portions, you can gently warm it in the microwave or a toaster oven until heated through. If reheating from frozen, thaw it in the refrigerator overnight first, then warm as usual. For the glaze, it’s usually best to add it after reheating, or you can store it separately and drizzle it on just before serving to prevent it from becoming too sticky.
Frequently Asked Questions
Final Thoughts
This casserole is more than just a recipe; it’s a testament to how simple ingredients can create something truly memorable. It’s the kind of dish that makes your kitchen smell incredible and your heart feel full. I hope you give this recipe a try, and I truly believe it will become one of your go-to Casserole Recipes for those moments when you need comfort, ease, and a whole lot of deliciousness. It’s perfect for busy weeknights, relaxed weekend brunches, or even as a satisfying dessert. If you love this recipe, you might also enjoy exploring other comforting baked dishes or easy breakfast casseroles on the blog! I can’t wait to hear what you think and how it turns out in your kitchen. Don’t be shy about sharing your own variations or any tips you discover – that’s what makes cooking such a wonderful, shared experience. Happy baking!


Cheesy Chicken and Broccoli Casserole
Ingredients
Main Ingredients
- 2 pounds cooked chicken, shredded
- 4 cups broccoli florets, fresh or frozen if frozen, thaw and drain
- 1 can cream of chicken soup 10.5 ounce can
- 0.5 cup milk
- 2 cups shredded cheddar cheese divided
- 1 cup crushed crackers like Ritz, for topping
- 0.25 cup butter, melted
Instructions
Preparation Steps
- Preheat oven to 375°F (190°C). Lightly grease a 9x13 inch baking dish.
- In a large bowl, combine the shredded chicken, broccoli florets, cream of chicken soup, milk, and 1.5 cups of the shredded cheddar cheese. Stir until well combined.
- Pour the mixture into the prepared baking dish and spread evenly.
- In a small bowl, mix the crushed crackers with the melted butter.
- Sprinkle the buttered cracker mixture evenly over the top of the casserole. Then sprinkle the remaining 0.5 cup of cheddar cheese over the crackers.
- Bake for 25-30 minutes, or until bubbly and golden brown on top.
- Let stand for a few minutes before serving.


