


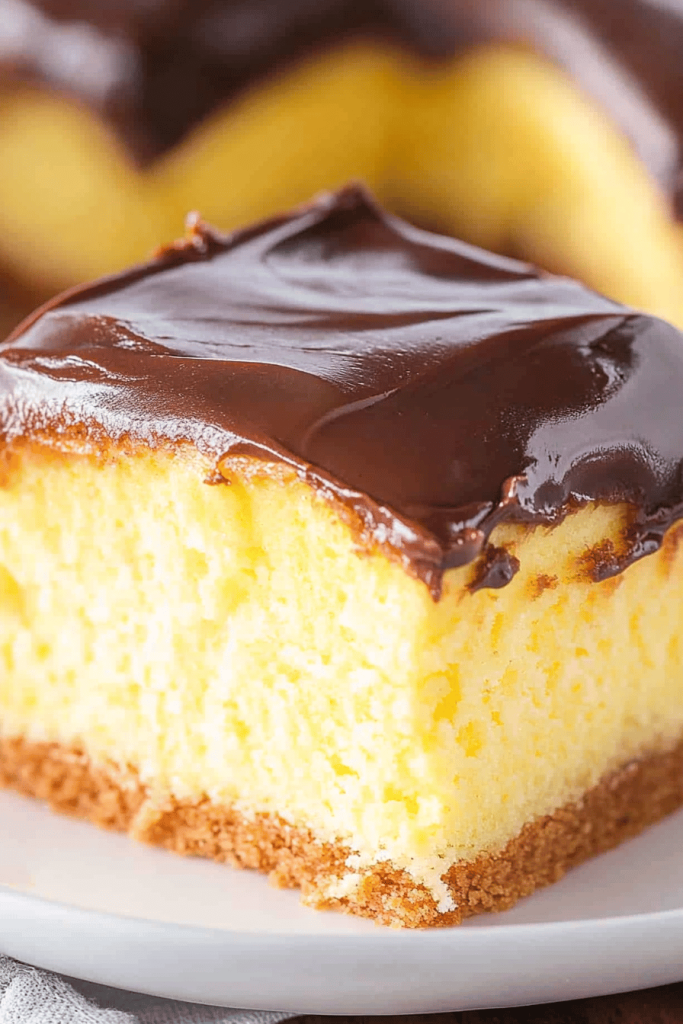
There’s something incredibly comforting about indulging in a homemade Boston Cream Poke Cake. With its rich chocolate glaze and creamy vanilla custard, this dessert is a delightful treat that combines simplicity with elegance. Creating each slice to be an experience that tantalizes your taste buds, it truly stands out as one of those timeless recipes that you will return to again and again.
I remember the first time my grandmother and I baked it together during the buildup to Thanksgiving. She effortlessly combined ingredients, narrating delightful stories of her childhood kitchen. It soon became our little tradition. That cake wasn’t just dessert; it was a heartfelt connection through generations, sparking joy and laughter at every family gathering. Whenever I bake it, those memories warm my heart, making this recipe more than just a favorite—it’s a part of my family history.
Why You’ll Love This Recipe
This cake is more than just another dessert choice—it’s an experience. Here’s why you’ll absolutely adore it:
- Effortlessly Delicious: You get the charm of Boston cream pie with the ease of a poke cake. This means a richer flavor profile without all the fuss.
- Perfect for Any Occasion: Whether it’s a birthday, holiday celebration, or just a regular weekday, the Boston Cream Poke Cake adds a touch of elegance and delicious nostalgia.
- Customize Your Sweetness: Prefer a less sweet treat? Adjust the glaze or custard sweetness to your liking, making each bite tailored to your taste.
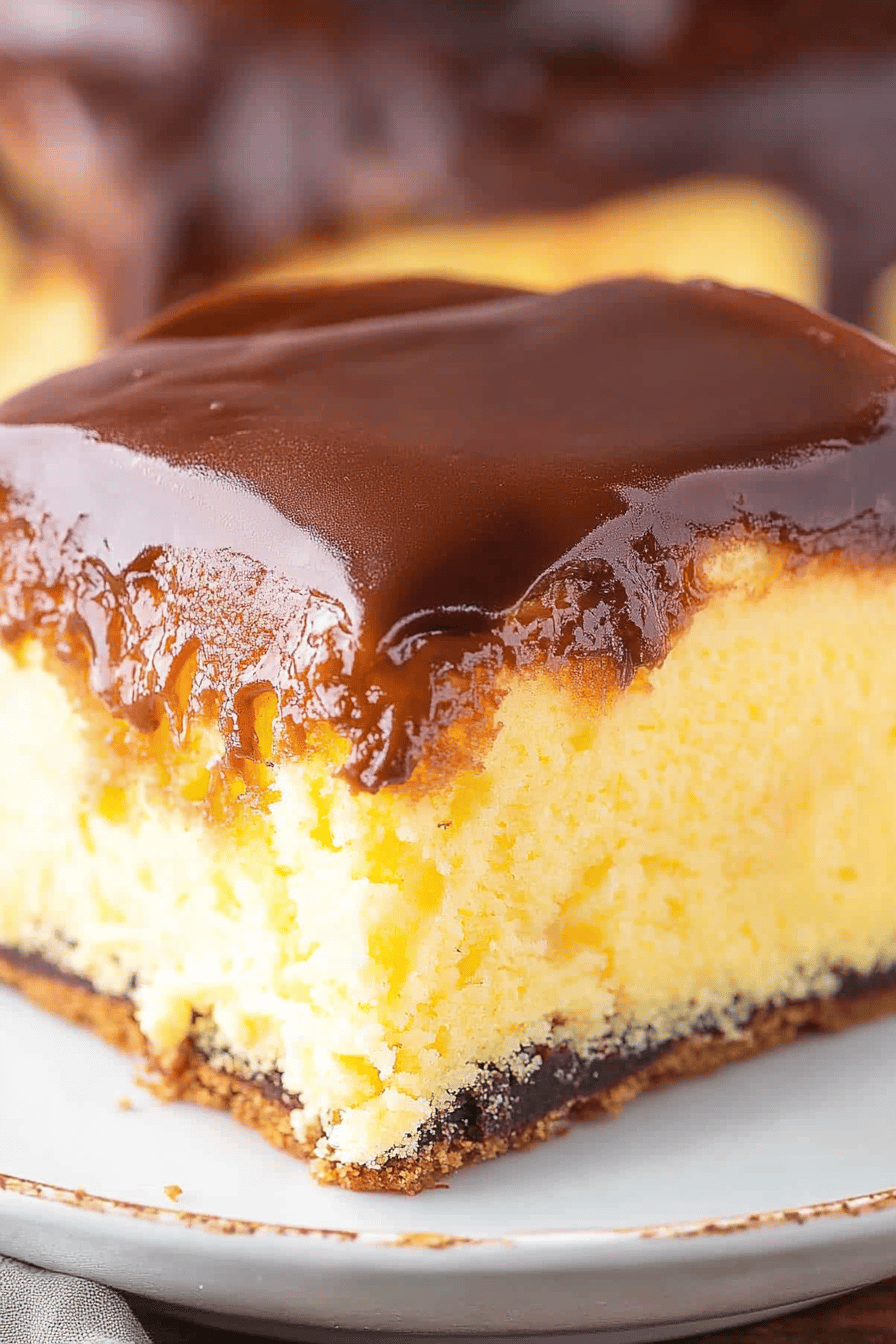
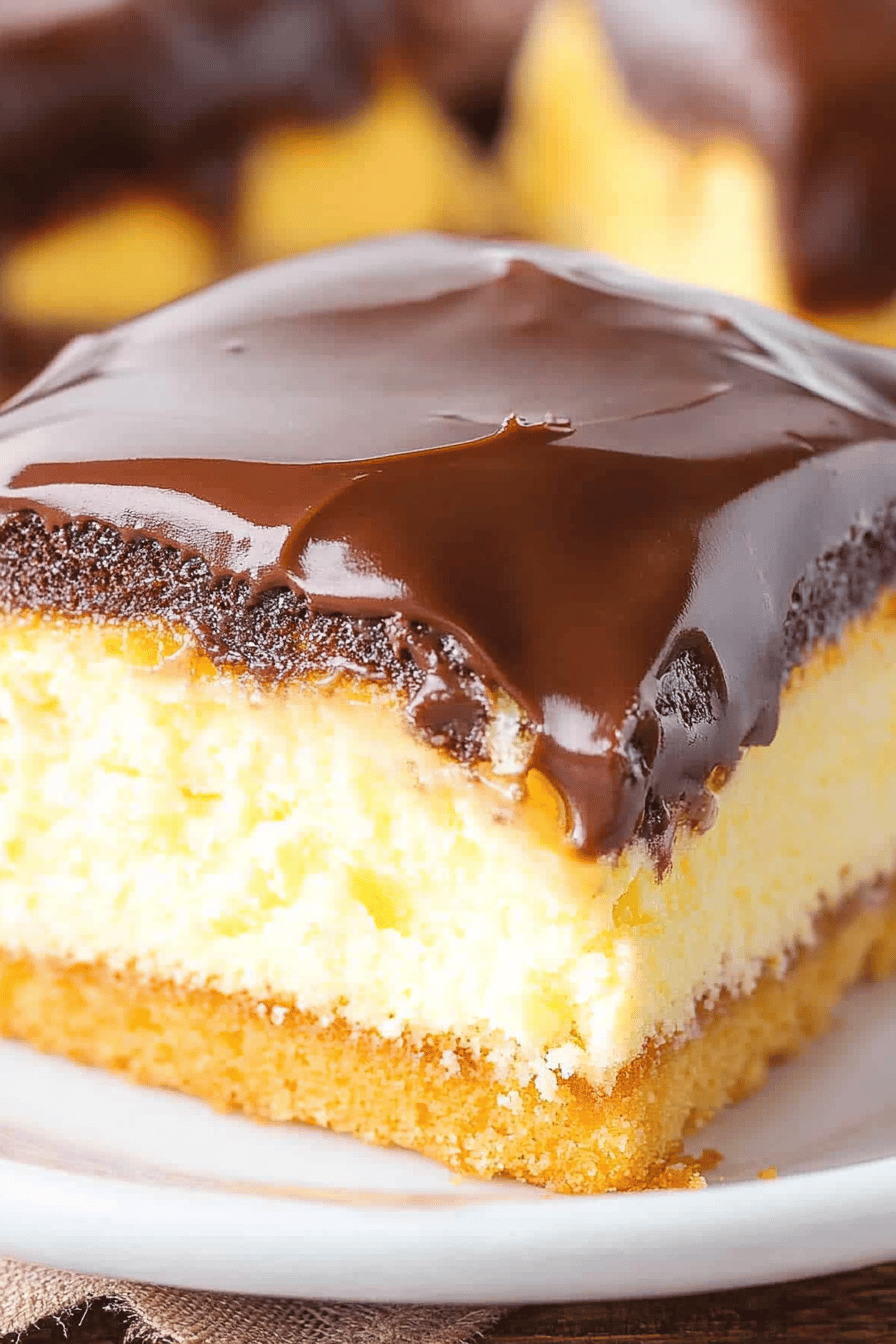
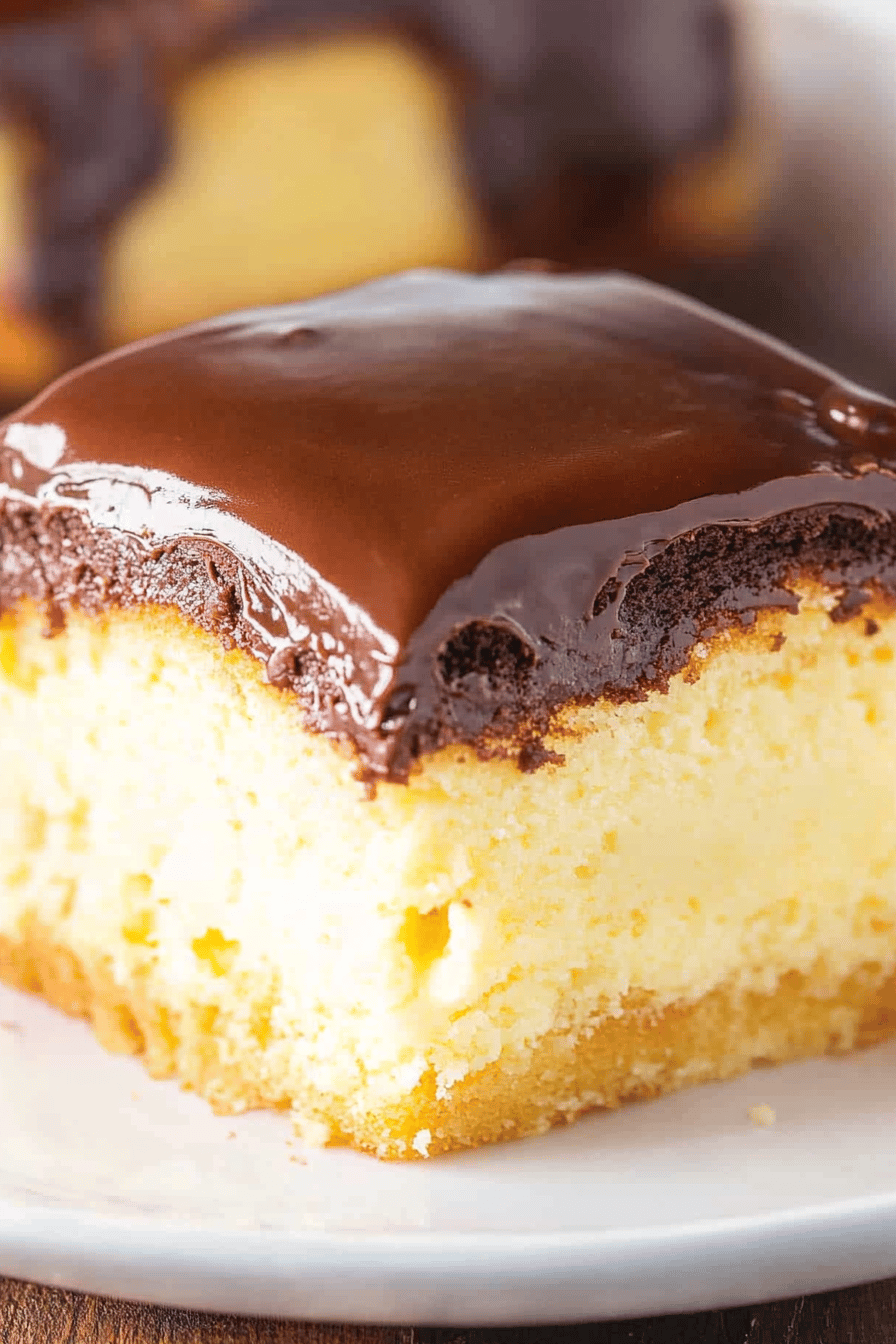
- Rich and Creamy: This cake marries flavors and textures: the moist vanilla cake, creamy custard, and silky chocolate topping.
Ingredients Notes
The beauty of this cake lies in the simplicity of its ingredients. Here’s what you need:
- Vanilla Cake Mix: While a boxed mix speeds up your preparation, trying from-scratch recipes can heighten flavor.
- Instant Vanilla Pudding Mix: This complements the custard layer perfectly. Make sure it’s the instant type, as it sets faster.
- Milk: Whole milk gives a creamier texture, but 2% works if you’re watching calories.
- Chocolate Ganache: Look for high-quality semi-sweet chocolate chips. You’ll taste the difference!
- Unsalted Butter: It enriches the cake, providing a smoother texture without extra salt.
Recipe Steps
Step 1
Start by preparing your vanilla cake according to the package instructions. Bake in a 9×13 inch pan until it’s golden brown and a toothpick inserted comes out clean.
Step 2
Allow the cake to cool slightly. Use a wooden spoon’s handle to poke holes over the entire cake. Be generous, as these holes will hold the delightfully smooth vanilla pudding.
Step 3
Whisk together the instant vanilla pudding mix and milk in a medium-sized bowl. Once it starts to thicken, pour it over the cake, ensuring all holes are filled. This adds an incredibly creamy texture to each bite.
Step 4
Refrigerate the cake for at least two hours. This step ensures the pudding sets perfectly and melds with the cake base results in a moist, flavorful treat.
Step 5
While the cake chills, prepare your ganache. Gently melt the chocolate chips and butter until smooth. Pour this decadent topping over the set cake and allow it to cool completely before serving.
Storage Options
Once you’ve thoroughly enjoyed your delicious creation, storing leftovers is effortless:
- Refrigeration: Store the cake in an airtight container for up to 4 days. The pudding’s moisture keeps it fresh longer than most cakes.
- Freezing: Wrap individual slices in plastic wrap and store in the freezer for up to 3 months. This cake can be thawed in the refrigerator overnight before serving.
- Reheating: Enjoy cold from the fridge or let it reach room temperature for about 30 minutes. Avoid microwaving, as it could alter the texture.
Variations & Substitutions
This recipe is versatile, allowing you to adapt ingredients based on preferences:
- Chocolate Options: Swap the semi-sweet chocolate for dark or even milk chocolate, depending on desired richness and sweetness.
- Custard Flavors: Experiment with different instant pudding flavors, such as chocolate or butterscotch, for a fun twist.
- Dietary Adjustments: Look for gluten-free cake mixes and lactose-free milk and pudding options if catering to dietary restrictions.
- Fruit Additions: Add fresh berries or bananas to your pudding layer for a fruitful flavor boost.
Serving Suggestions
Elevate your serving experience by considering these suggestions:
- Special Occasions: Serving this cake at celebratory gatherings makes for wonderful memories, especially when paired with a classic vanilla or cinnamon-spiced whipped cream.
- Tea & Coffee Pairings: The cake’s rich custard complements a hot cup of coffee or a delicate, aromatic tea.
- Decadent Toppings: Add a scoop of vanilla bean ice cream on the side or drizzle caramel sauce over the top for extra elegance.
Frequently Asked Questions
Can I make this cake advance?
Absolutely! This cake benefits from being made a day ahead, allowing flavors to meld beautifully. Just ensure it is stored in the refrigerator and covered to maintain its freshness.
How can I ensure my cake is moist?
To achieve optimal moisture, ensure not to overbake your cake. Adding instant pudding to your mix will also help to lock in moisture while injecting additional flavor depth.
What is the best way to cut this cake?
Use a sharp, thin knife to neatly slice through the cake, especially when serving a large crowd. Wiping the blade clean between cuts will ensure clean, visually appealing servings.
Can I customize the topping?
Certainly! Consider adding slivered almonds, grated chocolate, or flavored sprinkles atop your ganache for added texture and flavor.
What if my pudding doesn’t set properly?
Ensure you’re using instant pudding mix and not the cook-and-serve type. Also, consider refrigerating for a longer time if needed, as temperature affects setting.

Boston Cream Poke Cake
Ingredients
Main Ingredients
- 1 box yellow cake mix Follow box instructions for preparation
- 3 cups milk divided
- 2 packages instant vanilla pudding 3.4 oz each
- 1 can chocolate frosting complimentary flavor for topping
Instructions
Preparation Steps
- Preheat oven and prepare yellow cake mix according to package instructions. Pour into a 9x13 inch pan and bake.
- Once baked, allow cake to cool slightly then use the handle of a wooden spoon to poke holes all over the cake.
- In a bowl, whisk together instant pudding and 2 cups of milk for 2 minutes. Pour over the cake, filling the holes.
- Microwave the chocolate frosting for 20-30 seconds until pourable. Spread evenly over the top of the cake.


