


Craving a delightful treat that’s both simple to make and deliciously indulgent? Enter Red Velvet Cake Mix Cookies – a quick and easy solution to homemade cookies using a cake mix that adds extra fluffiness and flavor to your desserts. These cookies are bound to steal the show at any gathering!

In our family, baking Red Velvet Cake Mix Cookies has always been a treasured tradition, especially during the holiday season. I remember the first time my grandmother showed me how to whip up a batch using her signature shortcuts that made the flavor pop. To this day, baking these cookies brings back cherished memories of laughter and stories shared over warm, freshly-baked treats.
Why You’ll Love This Recipe
These cookies are more than just easy to bake; they’re a show-stopper in terms of flavor and texture. Here’s why you’re going to love them:
- Quick and Easy: Use a cake mix as a base, perfect for when you’re short on time but want maximum flavor.
- Rich and Flavorful: Red velvet delivers a unique blend of cocoa and vanilla tastes, topped with creamy goodness.
- Crowd-Pleaser: These cookies are a hit at parties and potlucks, disappearing in no time.
- Versatile: Customize these cookies to suit different tastes and dietary needs.
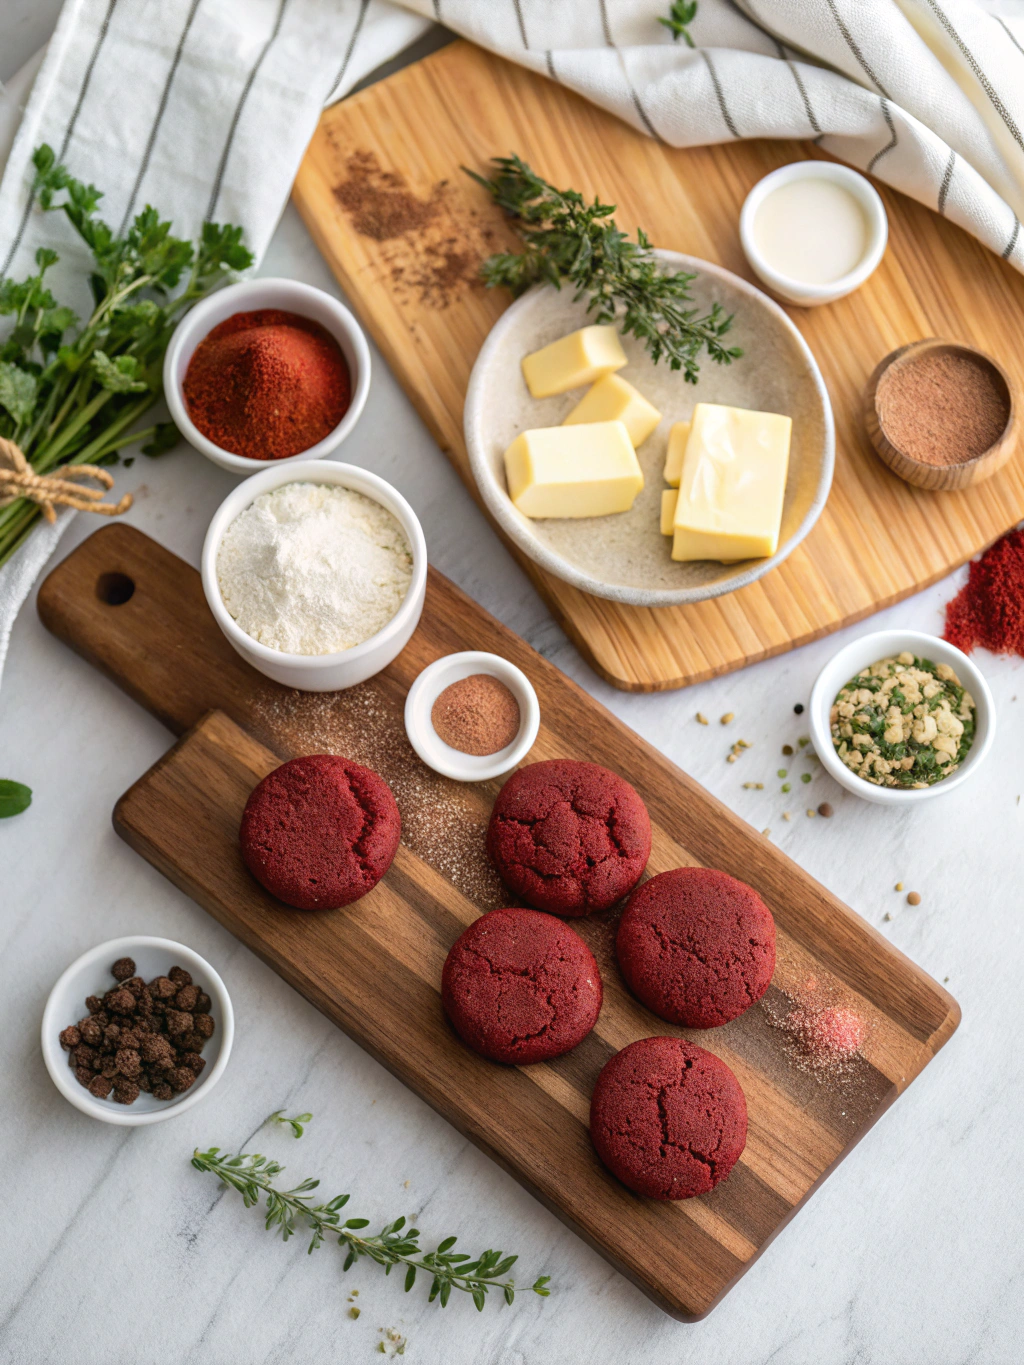
Ingredients Notes
Understanding your ingredients can significantly shape your baking success. Here’s what you need to know:
- Red Velvet Cake Mix: Opt for a premium brand for a richer flavor. If unavailable, any red velvet mix will do.
- Eggs: Ensure they are at room temperature for better mixing.
- Butter: Unsalted is preferable, providing you control over the saltiness.
- Cream Cheese: Softened cream cheese is key for the filling or added richness.
- Chocolate Chips: Optional, but dark or white chocolate chips can add a wonderful contrast in each bite.
Recipe Steps
Step 1
Preheat your oven to 350°F (175°C) and line a baking sheet with parchment paper to prevent sticking.
Step 2
In a large mixing bowl, combine the Red Velvet cake mix, eggs, and melted butter. Stir until fully combined to form a thick dough.
Step 3
Fold in chocolate chips gently into the dough, distributing them evenly for a burst of flavor in each cookie.
Step 4
Scoop tablespoon-sized balls of dough onto the prepared baking sheet, leaving enough space between each.
Step 5
Bake in the preheated oven for 10-12 minutes. Allow cookies to cool slightly on the baking sheet before transferring them to a wire rack to cool completely.
Storage Options
Store your cookies in an airtight container at room temperature for up to a week. For a longer shelf life, freeze them in a single layer on a baking sheet until solid, then transfer to a ziplock bag, removing excess air. Thaw at room temperature before serving.
Variations & Substitutions
Looking to put your own spin on these cookies? Consider these variations:
- Gluten-Free: Use a gluten-free red velvet cake mix to cater to dietary restrictions without compromising on taste.
- Nutty Twist: Add chopped pecans or walnuts for a crunchy texture.
- Chocolate Drizzle: Drizzle melted white or dark chocolate over cooled cookies for extra indulgence.
Frequently Asked Questions
Can I use oil instead of butter? Yes, you can substitute melted butter with an equal amount of vegetable oil. The texture might slightly change making the cookies a bit softer and chewier, but the flavor will still be fantastic.
What should I do if my dough is too sticky? If your dough feels too sticky to handle, chill it in the refrigerator for 30 minutes before scooping onto the baking sheet. This will firm up the dough and make it easier to work with.
Can I add food coloring to enhance the red color? Absolutely! While most mixes have a good depth of color, adding a few drops of red food coloring can intensify the hue, making it even more vibrant.


