


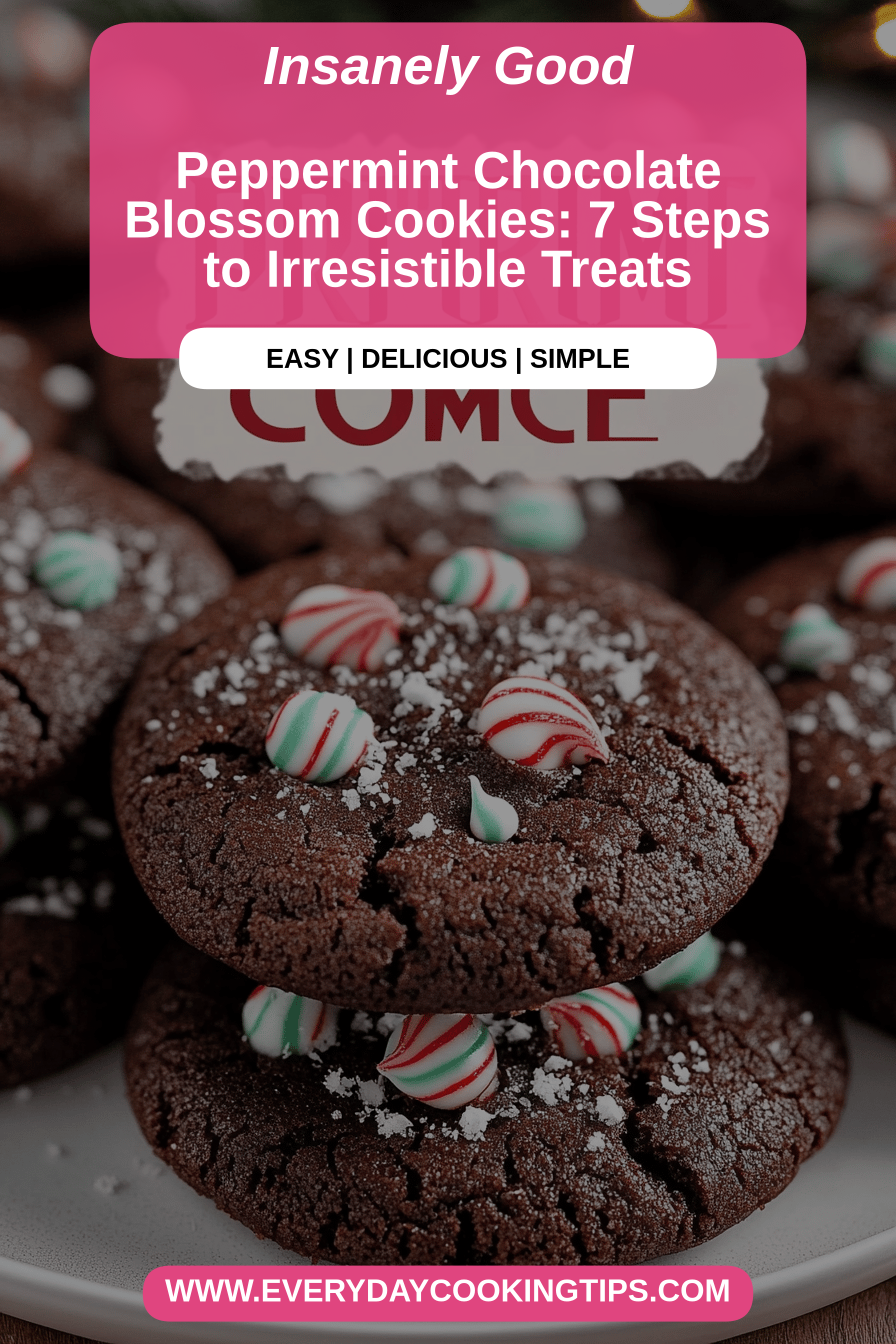
Oh, these Peppermint Chocolate Cookies… where do I even begin? They’re like a warm hug on a cold winter day, but in cookie form! If you’re a fan of those classic chocolate cookies, but crave a little something extra, then get ready to be obsessed. Imagine the deep, rich chocolate of your favorite treat, swirled with the cool, refreshing zing of peppermint. My grandma used to make these every Christmas, and the smell alone would fill the whole house with holiday cheer. Now, I make them for my own family, and they’re gone in a flash every single time. It’s the perfect blend of cozy comfort and festive fun!
What is Peppermint Chocolate Cookies?
Peppermint Chocolate Cookies are essentially the best of both worlds: a rich, fudgy chocolate cookie base elevated with a swirl of creamy peppermint. Think of it as a chocolate cookie’s sophisticated cousin, all dressed up for the holidays! The peppermint isn’t just stirred in; it’s swirled, creating these beautiful, marbled patterns that are as pleasing to the eye as they are to the taste buds. It’s not just about the flavor; it’s about the whole experience, from the aroma that fills your kitchen to the satisfyingly soft and chewy texture. It’s the kind of cookie that makes you want to slow down, savor each bite, and maybe even share with someone special (if you can resist eating them all yourself!).
Why you’ll love this recipe?
Okay, let’s get real: why are these Peppermint Chocolate Cookies about to become your new favorite? First, the flavor. We’re talking deep, Dark Chocolate that melts in your mouth, perfectly balanced by the bright, refreshing coolness of peppermint. It’s a flavor combination that just *works*, especially around the holidays. But beyond the amazing taste, these cookies are surprisingly easy to make. Seriously! I’ve simplified the process so you can whip up a batch even on a busy weeknight. No fancy equipment or complicated techniques required – just simple ingredients and a little bit of love. What I love most about this is how budget-friendly they are. You probably already have most of the ingredients in your pantry, which means you can satisfy that sweet tooth without breaking the bank.
And let’s talk versatility! You can serve these cookies with a big glass of milk, a warm cup of cocoa, or even crumble them over Ice Cream for an extra-special treat. They’re perfect for holiday parties, cookie exchanges, or just a cozy night in by the fire. I’ve even been known to sneak one (or two!) with my morning coffee. For me, these stand out because they bring back so many amazing memories of Christmas with my family. Every time I bake them, I’m instantly transported back to my grandma’s kitchen, surrounded by the warmth of the oven and the laughter of loved ones. And honestly, that’s a flavor you just can’t beat!
How do I make Peppermint Chocolate Chip Cookies?
Quick Overview
Making these Peppermint Chocolate Cookies is easier than you might think! We’ll start by whipping up a rich chocolate dough, then create a creamy peppermint filling. The magic happens when we swirl the two together, creating those gorgeous marbled patterns. Then it’s into the oven for a quick bake, followed by a decadent glaze. Don’t worry, even if you’re not a baking pro, this recipe is totally doable. I’ve broken it down into simple steps so you can achieve cookie perfection every time!
Ingredients
For the Main Batter: What are some ideas?
* 1 cup (2 sticks) unsalted butter, softened: Make sure it’s *softened*, not melted, for the best texture. I usually leave mine out for about an hour before baking.
* 1 cup granulated sugar
* 1 cup packed Brown Sugar: Light or dark for a richer flavor!
* 2 large eggs
* 1 teaspoon vanilla extract: Don’t skimp on the vanilla! It adds so much depth of flavor. Pure vanilla extract is always best.
* 2 cups all-purpose flour: Spoon and level your flour for accurate measurement.
* ¾ cup unsweetened cocoa powder: Use a high-quality cocoa powder for the best chocolate flavor. Dutch-processed is my go-to!
* 1 teaspoon baking soda
* ½ teaspoon salt
For the filling:
* 4 ounces cream cheese, softened: Again, Softened is key! This will ensure a smooth and creamy filling.
* ¼ cup powdered sugar
* 12 teaspoon peppermint extract: A little goes a long way! Start with 12 teaspoon and add more to taste. Be careful not to overdo it!
For the Glaze:
* 2 cups powdered sugar
* 14 cup milk: I’ve tested this with almond milk and it actually made it even creamier!
* ½ teaspoon peppermint extract
* Red food coloring (optional): Just a drop or two for a festive touch!
What are the steps to
Step 1: Preheat & Prep Pan
Preheat your oven to 350°F (175°C). Line a baking sheet with parchment paper. How do I clean cookies? What is the best way to skip this step?
Step 2: Mix Dry Ingredients
In a medium bowl, whisk together the flour, cocoa powder, baking soda, and salt. Whisking ensures that everything is evenly distributed, which is super important for the texture of the cookies. Set this aside for now.
Step 3: Mix Wet Ingredients
In a large bowl, cream together the softened butter, granulated sugar, and brown sugar until light and fluffy. This usually takes about 3-5 minutes with an electric mixer. Then, beat in the eggs one at a time, followed by the vanilla extract. Make sure to scrape down the sides of the bowl to ensure everything is well combined.
Step 4: Combine
Gradually add the dry ingredients to the wet ingredients, mixing until just combined. Be careful not to overmix! Overmixing can lead to tough cookies. Mix until you no longer see streaks of flour.
Step 5: Prepare Filling
In a small bowl, beat together the cream cheese, powdered sugar, and peppermint extract. Set aside. How do you make a smooth, creamy sauce? What is peppermint extract? Remember, you can always add more, but you cannot take it away!
Step 6: Layer & Swirl
Do not overdo the chocolate dough. Drop rounded tablespoons onto the prepared baking sheet. How do you sprinkle peppermint filling on a cookie? Use a toothpick or knife to swirl the filling into the chocolate dough. This creates an uneven marbled effect. Don’t over-swirl, or you’ll lose the definition between the chocolate and peppermint layers.
Step 7: Bake
Bake for 9-11 minutes, or until the edges are set and the centers are still slightly soft. Keep a close eye on them! Every oven is different, so baking times may vary. The cookies will continue to set as they cool.
Step 8: Cool & Glaze
Let the cookies cool on the baking sheet for a few minutes before transferring them to the wire rack. To cool completely. While cookies are cooling, prepare the glaze. In a medium bowl, whisk together the powdered sugar, milk, and peppermint extract. Set aside. Add red food coloring if desired. Once the cookies are completely cool, drizzle the glaze over the top.
Step 9: Slice & Serve
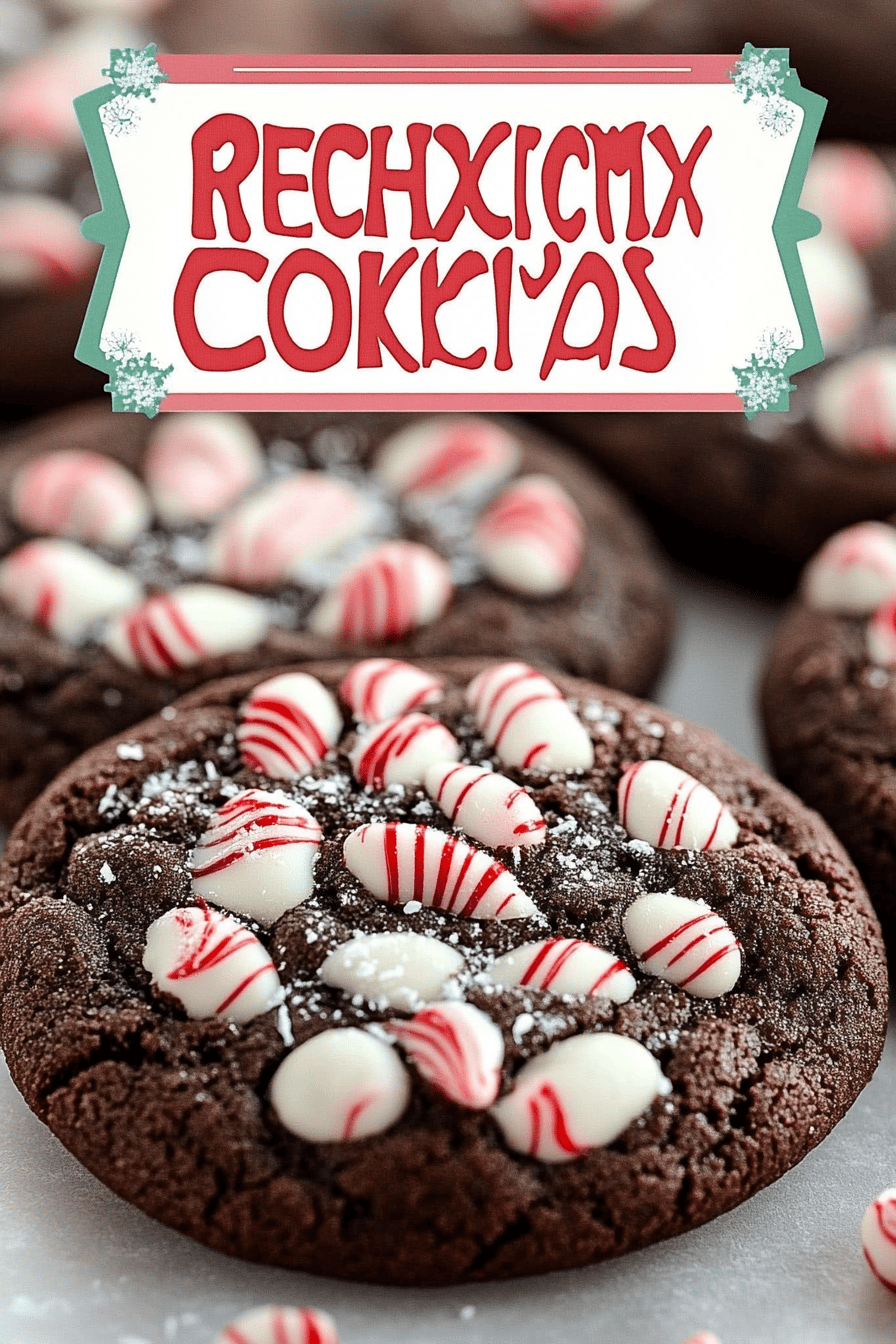
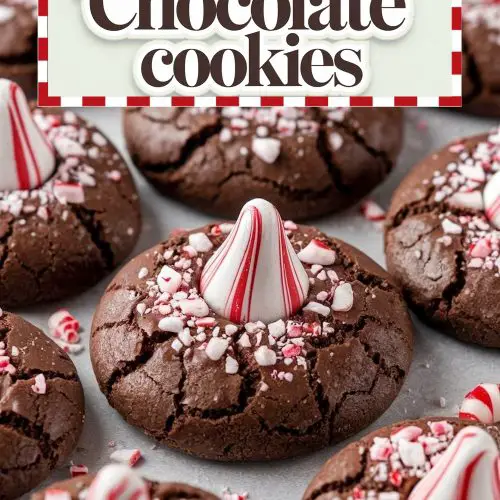
Let the glaze set before serving. Can you store these cookies in an airtight container? I like to serve them with crushed peppermint candies for an extra festive touch!
What should I serve it with?
What are some good Peppermint Chocolate Cookies? With the right accompaniments.
For Breakfast:Imagine enjoying these with a strong cup of coffee or peppermint mocha. The warmth of coffee perfectly complements the peppermint flavor of the cookie.
For Brunch:What are some of the best cookies to serve at brunch? They add a touch of elegance and holiday cheer.
As Dessert:Serve with vanilla ice cream or whipped cream. What is the difference between cold ice cream and warm cookies?
For Cozy Snacks: Curl up on the couch with a blanket, a mug of hot chocolate, and a plate of these cookies. It’s the perfect way to unwind on a chilly evening. My family tradition is to have them with a classic Christmas movie.
Top Tips for Perfecting Your Peppermint Chocolate Cookies
Want to take your Peppermint Chocolate Cookies to the next level? Here are some of my tried-and-true tips:
Mixing Advice: Don’t overmix the dough! Overmixing develops the gluten in the flour, which can result in tough cookies. Mix until just combined, and then stop. I always use a rubber spatula to fold in the last bits of flour.
Swirl Customization: Get creative with your swirling! Use a toothpick, a knife, or even a chopstick to create different patterns. You can swirl in a circular motion, a zig-zag motion, or even create a marble effect. The possibilities are endless!
Ingredient Swaps: If you’re feeling adventurous, try adding a pinch of cinnamon to the chocolate dough for a warm, spicy flavor. Or, substitute white chocolate chips for the peppermint filling for a twist on the classic recipe.
Baking Tips: Keep a close eye on the cookies while they’re baking. Every oven is different, so baking times may vary. The cookies are done when the edges are set and the centers are still slightly soft. I always rotate my baking sheet halfway through baking to ensure even cooking.
Glaze Variations: Get creative with your glaze! Add a few drops of peppermint oil for an extra-intense peppermint flavor. Or, add a tablespoon of cocoa powder for a chocolate glaze. You can even add a pinch of salt to the glaze to balance out the sweetness.
I made these once when I was half asleep, and I forgot the baking soda! They came out flat and dense. It taught me a valuable lesson: baking is a science, and every ingredient plays a crucial role. But even my baking fails are usually edible (and sometimes surprisingly delicious!).
Storing and Reheating Tips
Want to keep your Peppermint Chocolate Cookies fresh and delicious for as long as possible?
Room Temperature: Store the cookies in an airtight container at room temperature for up to 3 days. To keep them extra-fresh, place a piece of bread in the container with the cookies. The bread will absorb excess moisture and keep the cookies from drying out.
Refrigerator Storage: For longer storage, you can refrigerate the cookies in an airtight container for up to a week. However, the cookies may become slightly drier in the refrigerator, so be sure to wrap them tightly.
Freezer Instructions: These cookies freeze beautifully! Wrap them individually in plastic wrap, then place them in a freezer-safe bag or container. They can be stored in the freezer for up to 2 months. To thaw, simply remove the cookies from the freezer and let them sit at room temperature for about 30 minutes.
Glaze Timing Advice: I prefer to glaze my cookies right before serving for the best flavor and appearance. If you’re storing the cookies, you can glaze them after they’ve thawed.
Frequently Asked Questions
Final Thoughts

These Peppermint Chocolate Cookies are more than just a recipe; they’re a taste of holiday magic. From the rich chocolate flavor to the refreshing peppermint swirl, every bite is a delight. They’re easy to make, budget-friendly, and sure to be a hit with everyone who tries them. Whether you’re baking for a holiday party, a cookie exchange, or just a cozy night in, these cookies are the perfect choice. If you love this recipe, be sure to check out my other holiday cookie recipes for more festive baking inspiration!
I truly hope you give these Peppermint Chocolate Cookies a try. They’re a family favorite for a reason, and I know you’ll love them as much as we do. Happy baking! And I can’t wait to hear how yours turn out! Feel free to leave a comment below with your own variations and tips. I love hearing from you!
Peppermint Chocolate Cookies
Ingredients
Main Ingredients
- 1 cup unsalted butter
- 0.75 cup granulated sugar
- 0.5 cup packed brown sugar
- 2 large eggs
- 1 teaspoon vanilla extract
- 2.5 cups all-purpose flour
- 1 teaspoon baking soda
- 0.5 teaspoon salt
- 2 cups semi-sweet chocolate chips
- 1 cup crushed peppermint candies
Instructions
Preparation Steps
- Preheat oven to 375°F (190°C).
- Cream together butter and sugars until light and fluffy.
- Beat in eggs, then vanilla.
- In a separate bowl, whisk together flour, baking soda, and salt.
- Gradually add dry ingredients to wet ingredients, mixing until just combined.
- Stir in chocolate chips and crushed peppermint candies.
- Drop by rounded tablespoons onto ungreased baking sheets.
- Bake for 10-12 minutes, or until edges are lightly golden.
- Let cool on baking sheets for a few minutes before transferring to a wire rack to cool completely.


