


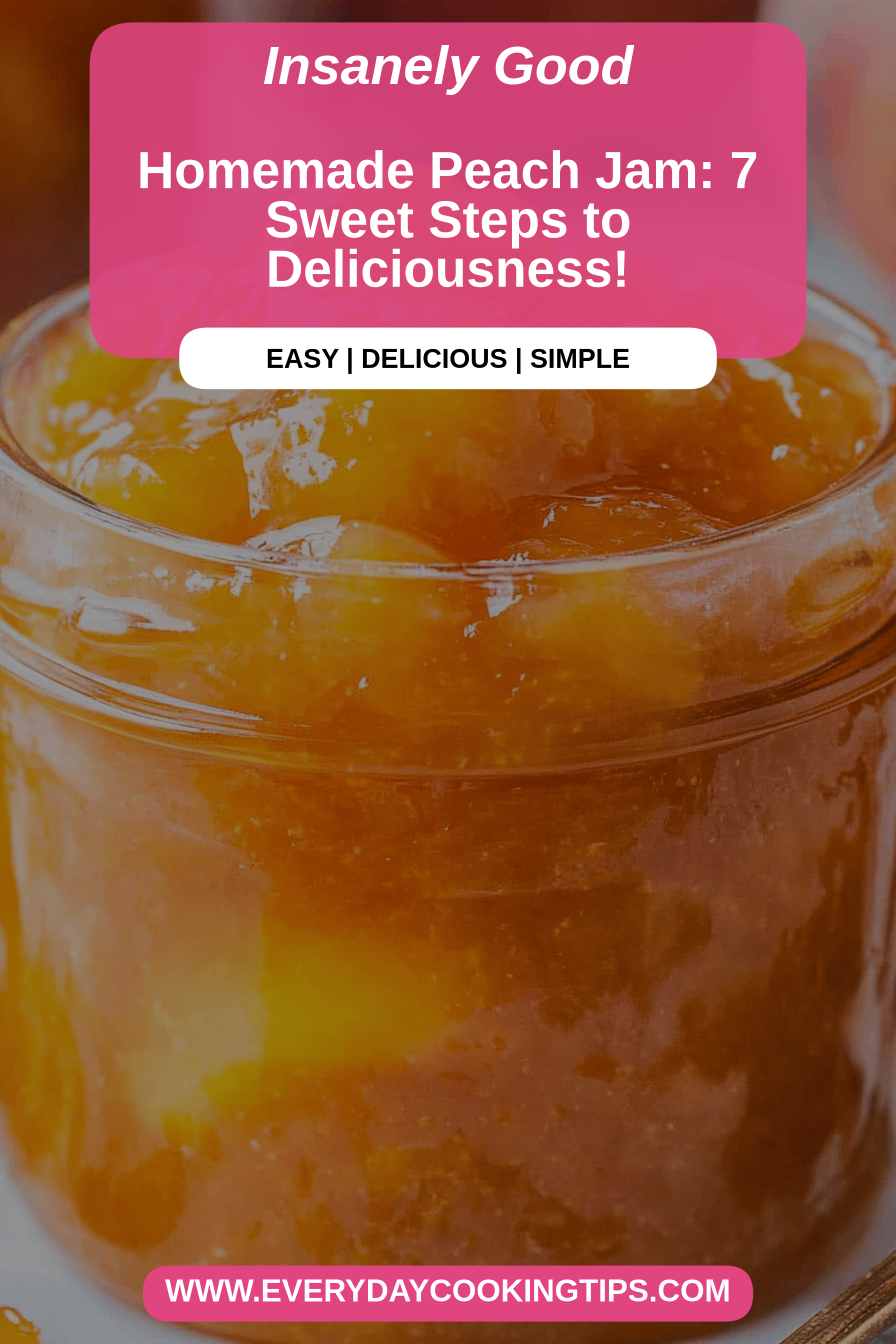
There are certain smells that just instantly transport me back to my grandmother’s kitchen. The aroma of cinnamon baking, the savory scent of a Sunday roast, and most definitely, the sweet, comforting fragrance of peaches simmering on the stove. This homemade Peach Jam Recipe is a direct descendant of those treasured memories. It’s the kind of jam that makes you want to spread it on everything – toast, biscuits, even just a spoon straight from the jar (don’t tell anyone!). If you’ve ever bought jam from the store and thought, “this is good, but it’s missing something,” I promise you, this is that something. It’s pure, unadulterated peach flavor, sunshine captured and bottled. It’s so much better than any store-bought version, and honestly, making your own peach jam is incredibly rewarding, and way simpler than you might think. It’s the perfect way to savor those fleeting summer peaches long after the season has passed.
What is a peach jam?
So, what exactly is this magical concoction we’re talking about? At its heart, homemade peach jam is just that – ripe, juicy peaches cooked down with sugar and a touch of pectin (or natural pectin from the fruit itself) until they reach a beautiful, spreadable consistency. Think of it as the concentrated essence of summer peaches. It’s not quite a jelly, which is clear and made from fruit juice, nor is it a preserve, which typically has larger chunks of fruit. Jam strikes that perfect balance, with the fruit broken down but still offering a lovely texture. The process is really about coaxing out the natural sweetness and vibrant flavor of the peaches and then setting it all into that delightful, glossy spread we all know and love. It’s simple, really, but the result is anything but ordinary. It’s a taste of pure summer bliss, ready to brighten any meal.
Why you’ll love this recipe?
Okay, let me tell you why this peach jam recipe has become an absolute staple in my kitchen. First and foremost, the FLAVOR. Oh, the flavor! It’s like biting into a perfectly ripe peach, but even more intense, more concentrated. The sweetness is perfectly balanced with that wonderful, slightly tart peach tang, and the aroma as it cooks? Heavenly. It fills your entire house with the scent of summer. Then there’s the SIMPLICITY. I know canning or making jam can sound intimidating, but this recipe is seriously foolproof. I’ve guided friends who’d never made jam before through this, and they’ve had stunning results. It’s surprisingly forgiving, which is a lifesaver when you’re busy. And let’s talk COST-EFFICIENCY. Buying good quality jam can add up, especially if you go through it as quickly as my family does. Making it yourself with fresh, seasonal peaches is so much more budget-friendly, and you get a far superior product. But what really seals the deal for me is the VERSATILITY. This isn’t just for toast (though it’s *amazing* on toast). I’ve used it swirled into yogurt, dolloped on pancakes, as a filling for Thumbprint Cookies, and even as a glaze for roasted chicken. It’s that little jar of magic that elevates so many dishes. It really stands out because it tastes so incredibly fresh and vibrant, unlike some commercial jams that can taste a bit… artificial. This is the real deal, made with love.
How do I make peach jam?
Quick Overview
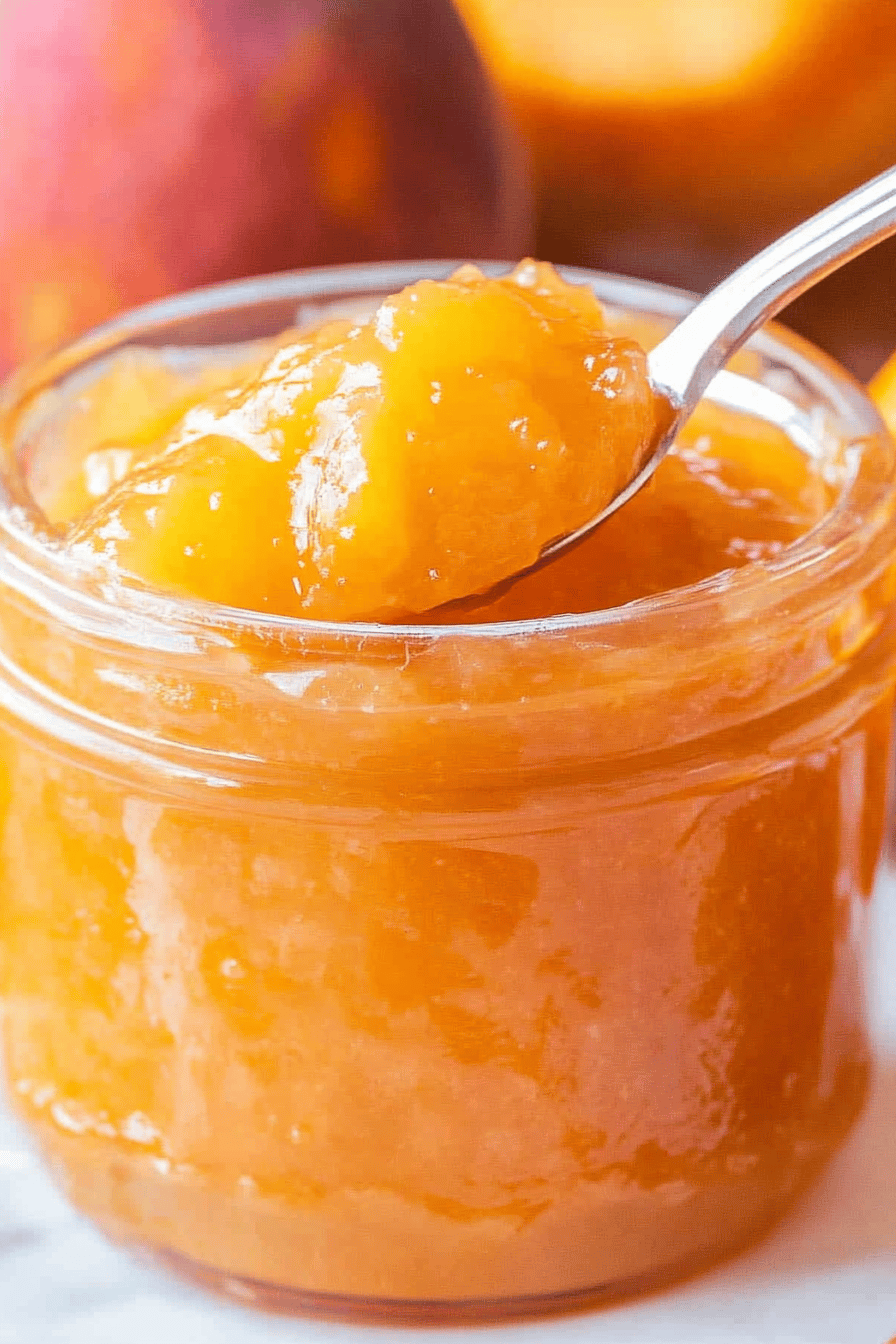
Making this delicious peach jam is a straightforward process. You’ll start by prepping your ripe peaches, then cooking them down with sugar and lemon juice until thickened. The key is patience and letting the natural pectin do its work. We’ll then transfer it to sterilized jars for canning or simply store it in the fridge if you plan to use it relatively quickly. It’s a comforting and rewarding process that results in a jar full of pure, summery goodness. You’ll be amazed at how quickly it comes together, and the smell alone is worth the effort!
Ingredients
For the Main Jam: What are the rules?
- 6 cups ripe peaches, peeled, pitted, and chopped: The riper, the better! Look for that beautiful blush and a scent that makes you want to dive right in. Overripe is fine too; they’ll cook down beautifully. I usually get my peaches from the local farmer’s market when they’re in season.
- 3 cups granulated sugar: This is crucial for both sweetness and preservation. Don’t skimp here; it helps the jam set.
- 1/4 cup fresh lemon juice: This brightens the peach flavor and also acts as a natural pectin booster, helping your jam set up nicely. It prevents it from becoming too cloyingly sweet.
- 1 tablespoon grated lemon zest (optional, but recommended): Adds an extra layer of bright, citrusy aroma and flavor that complements the peaches wonderfully.
- 1 pouch (1.75 oz) powdered fruit pectin: While peaches have natural pectin, using a commercial pectin ensures a reliably thick jam every single time. It takes the guesswork out of it.

Step-by-Step Instructions
Step 1: Prepare Your Peaches
First things first, we need to get those gorgeous peaches ready. You’ll want about 6 cups of chopped fruit. To peel them easily, score an ‘X’ on the bottom of each peach, then plunge them into boiling water for about 30-60 seconds. Immediately transfer them to an ice bath. The skins should slip right off with minimal effort. Once peeled, cut them in half, remove the pits, and chop them into roughly ½-inch pieces. Don’t worry too much about perfection here; they’ll be cooked down anyway. Just aim for fairly uniform pieces so they cook evenly.
Step 2: Cook the Fruit
In a large, heavy-bottomed pot (a Dutch Oven is perfect for this), combine the chopped peaches, sugar, lemon juice, lemon zest (if using), and the powdered pectin. Stir everything together really well. Place the pot over high heat and bring the mixture to a rolling boil, stirring constantly. A rolling boil is one that cannot be stirred down. Once it reaches this point, let it boil hard for exactly 1 minute, stirring continuously. This step is crucial for activating the pectin and getting that perfect set.
Step 3: Skim and Test for Set
After that minute of vigorous boiling, remove the pot from the heat. Now, you might see some foam on top. You can skim this off with a spoon if you like; it’s purely for aesthetics and doesn’t affect the flavor. To test if your jam is ready to set, you can use the cold plate test. Place a few small plates in your freezer before you start cooking. When you think the jam might be done, spoon a small amount onto one of the cold plates. Let it sit for about 30 seconds, then gently push it with your finger. If the surface wrinkles, it’s ready! If it’s still runny, continue to cook the jam for another few minutes and test again.
Step 4: Fill Your Jars
While your jam is cooking, make sure your canning jars and lids are sterilized. You can do this by boiling them in water for at least 10 minutes. Once the jam has reached its set point, carefully ladle the hot jam into the sterilized jars, leaving about ¼ inch of headspace at the top. Wipe the rims of the jars clean with a damp cloth to ensure a good seal, then screw on the lids tightly.
Step 5: Process for Shelf Stability (Optional but Recommended)
If you want your jam to be shelf-stable for longer storage, you’ll want to process the filled jars in a boiling water bath. Carefully place the filled jars into your boiling water canner, ensuring they are covered by at least an inch of water. Bring the water back to a rolling boil, then process the jars for 10 minutes (adjusting for altitude if you’re at a higher elevation). After 10 minutes, carefully remove the jars from the canner and let them cool completely on a wire rack. You should hear them “pop” as they seal. Check the seals after 24 hours – the lids should be concave and not flex when pressed.
Step 6: Cool and Enjoy!
Once the jars have cooled, check that they are sealed. Any jars that haven’t sealed can be stored in the refrigerator and enjoyed within a few weeks. The sealed jars can be stored in a cool, dark pantry for up to a year. The anticipation is the hardest part, but trust me, that first spoonful of homemade peach jam is pure bliss!
What to Serve It With
This glorious peach jam is so much more than just a spread for toast, though it’s absolutely phenomenal that way. For BREAKFAST, it’s divine dolloped onto plain yogurt with a sprinkle of granola for some crunch, or alongside a stack of fluffy pancakes or waffles. It’s a game-changer for French toast too – just mix a tablespoon or two into your egg mixture for a hint of peachy goodness. For BRUNCH, imagine a beautiful charcuterie board where this peach jam sits proudly next to artisanal cheeses and crackers. It pairs wonderfully with sharp cheddar, creamy brie, and even goat cheese. It’s also a fantastic addition to a mimosa or sparkling wine when you want a touch of fruity sweetness. As DESSERT, oh boy! It’s perfect served warm over vanilla ice cream, or as a filling for simple shortbread cookies. You can even swirl it into a cheesecake batter before baking. And for those COZY SNACKS, nothing beats a warm scone with a generous smear of this homemade peach jam and a cup of tea. It’s also incredible on a Grilled Cheese sandwich, adding a sweet and tangy contrast to the savory cheese. My family loves it slathered on homemade biscuits when we have a lazy weekend breakfast – it always disappears in minutes!
Top Tips for Perfecting Your Peach Jam
Over the years, I’ve picked up a few tricks that I think make this peach Jam Recipe even better, and I’m happy to share them with you! First, about the PEACH PREP: always use really ripe, fragrant peaches. If they’re a bit underripe, they won’t have as much flavor or natural pectin, making it harder to get a good set. Don’t be afraid of a few bruised spots; just cut them away. When chopping, I like to leave some smaller chunks in there for texture, it makes the jam more interesting. For MIXING ADVICE, always stir the pectin and sugar together *before* adding them to the fruit. This prevents the pectin from clumping. And when you’re cooking the jam, stir frequently to avoid scorching on the bottom of the pot. It happens to the best of us, but consistent stirring is your best friend here. SWIRL CUSTOMIZATION is really about how you chop your peaches; if you like visible pieces, chop them a bit larger. If you prefer a smoother jam, chop them finer or even give them a quick pulse in a food processor (but be careful not to over-process into a puree!). For ingredient swaps, while lemon juice is standard, you could experiment with a little lime juice for a different citrus note, but lemon is usually the best bet for classic peach flavor. For BAKING TIPS (if you’re not canning), make sure your jars are super clean, even if they’re going straight into the fridge. A clean jar means a longer-lasting jam. When testing for set, don’t be tempted to cook it too much longer than needed; overcooked jam can become tough. For GLAZE VARIATIONS, if you’re using it as a glaze for something like chicken, you might want to thin it out slightly with a tablespoon of water or white wine vinegar to make it more brushable.
Storing and Reheating Tips
Proper storage is key to keeping your delicious homemade peach jam tasting its best. If you’ve processed your jars using the boiling water bath method and they’ve sealed properly, your peach jam is shelf-stable at ROOM TEMPERATURE for up to a year. Store them in a cool, dark place like a pantry or a cupboard, away from direct sunlight and heat sources. Once a jar is opened, however, it’s time for REFRIGERATOR STORAGE. Always keep opened jars in the fridge, and they should maintain their quality for about 3 to 4 weeks. Make sure to use a clean spoon every time you dip into the jar to avoid introducing bacteria. If you end up with more jam than you can use in a few weeks, or if you’ve made a particularly large batch, FREEZER INSTRUCTIONS are your friend. You can freeze jam in freezer-safe containers or jars, leaving about ½ inch of headspace, as jam expands slightly when frozen. It can last in the freezer for up to a year, though the texture might change slightly upon thawing. Thaw frozen jam in the refrigerator overnight. As for GLAZE TIMING ADVICE, if you’re planning to use the jam as a glaze and store it in the fridge, do so only after it has cooled down completely. For immediate use, of course, you can use it warm.
Frequently Asked Questions
Final Thoughts
Making your own peach jam is such a rewarding experience, isn’t it? It’s a little bit of sunshine captured in a jar, a taste of summer that you can enjoy all year round. I really hope you give this recipe a try. It’s honestly one of my favorites, and it brings back so many happy memories for me. If you’re a fan of fruit spreads, you might also love my rhubarb jam recipe or my classic strawberry jam – they’re both keepers! Don’t hesitate to leave a comment below and let me know how your peach jam turns out. I’d absolutely love to hear about any variations you try or how you end up enjoying it. Happy jamming!
Peach Jam
Ingredients
Main Ingredients
- 1 kg Peaches Ripe and peeled, pitted and chopped
- 0.75 cup Granulated Sugar Adjust to sweetness preference
- 2 tablespoons Lemon Juice Freshly squeezed
- 0.5 teaspoon Cinnamon
Instructions
Preparation Steps
- Combine the chopped peaches, granulated sugar, lemon juice, and cinnamon in a large pot or Dutch oven. Stir to combine.
- Cook over medium heat, stirring occasionally, until the peaches break down and the mixture begins to thicken. This will take about 30-40 minutes.
- To test for doneness, place a small amount of jam on a chilled plate. If it wrinkles when pushed, it's ready. If not, continue to cook and test every few minutes.
- Carefully ladle the hot jam into sterilized jars, leaving about 0.5 inch of headspace. Wipe the rims clean and secure the lids.
- Process the jars in a boiling water bath for 10 minutes. Remove jars and let them cool on a wire rack for 12-24 hours. Check for a good seal.


