


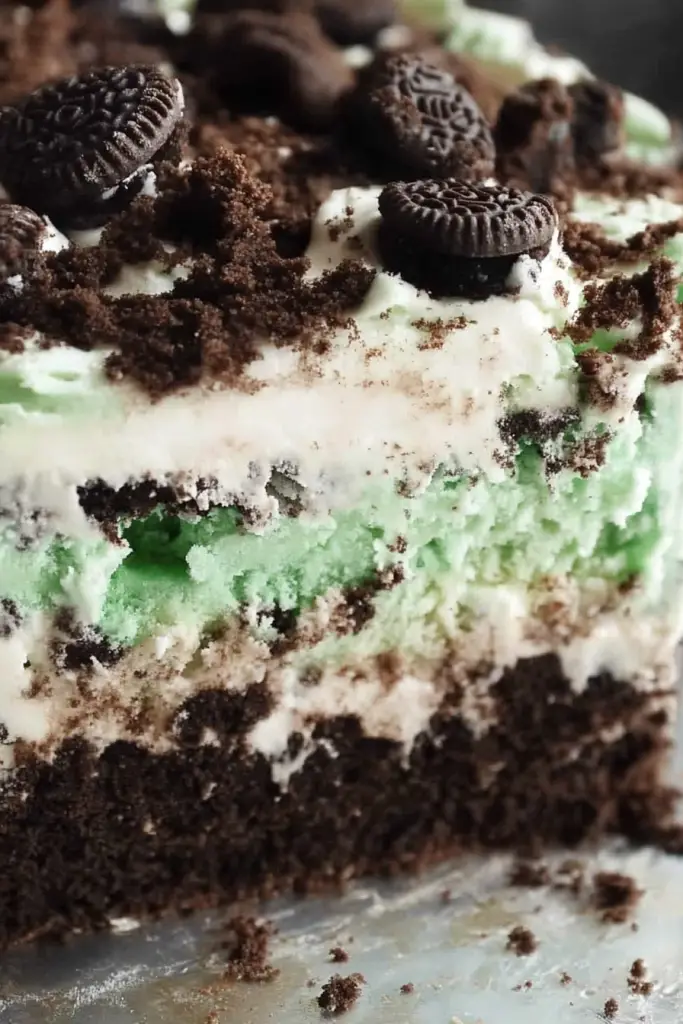
There’s nothing quite like indulging in a mint Oreo ice cream cake on a hot summer day. Perfectly layered with chocolate, minty freshness, and creamy delight, it’s a dessert that captures hearts with every bite. In this guide, we’ll delve into the art of making this frozen wonder, offering tips to create a masterpiece that your family and friends will rave about.

This ice cream cake has been a staple at my family gatherings for years. I remember my grandmother making a similar version during the holidays, often improvising with different cookies and flavors. The tradition continues today, with my kids eagerly helping to crush the cookies and layer the ingredients. It’s become a cherished activity that we all look forward to, especially when it’s time to enjoy the final product together.
Why You’ll Love This Recipe
The beauty of this recipe lies in its simplicity and delightful flavor combination. Using store-bought ingredients means less time in the kitchen and more time enjoying the deliciousness with loved ones. The contrast of creamy mint ice cream with crunchy Oreos and rich fudge topping creates an irresistible texture. It’s a no-Bake Recipe, making it perfect for those warm months when you’d rather avoid turning on the oven.
Ingredients Notes
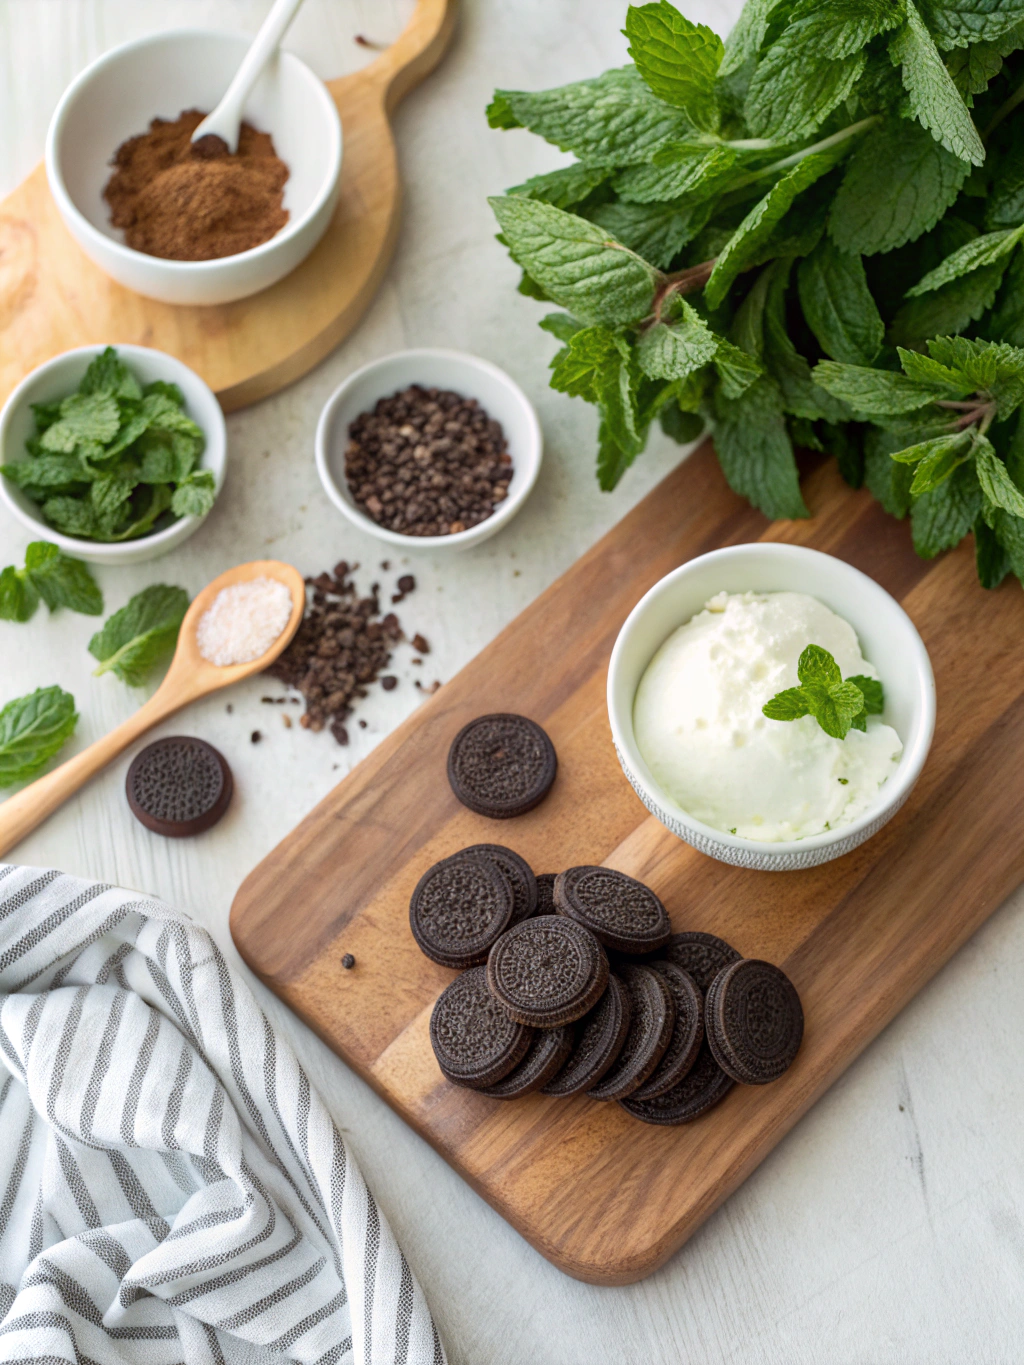
To bring this delightful dessert to life, you’ll need mint Chocolate Chip ice cream, Oreo cookies, and hot fudge sauce. Feel free to choose generic brands if you prefer, but the quality of ice cream plays a big role in the cake’s overall flavor. You can substitute Oreos for other sandwich cookies if desired and swap the hot fudge with a homemade version for a more personalized touch.
Recipe Steps
Step 1
Start by letting the mint ice cream soften at room temperature for about 15 minutes. This will make it easier to spread and shape into the cake pan.
Step 2
Crush the Oreo cookies using a food processor or by placing them in a sealed bag and using a rolling pin. You’ll want both coarse and fine crumbs for texture.
Step 3
Press a layer of Oreos into the bottom of a springform pan to create the base crust. Use a flat-bottomed cup to press it evenly across the pan.
Step 4
Spread softened ice cream on top of the crust, smoothing it into an even layer. Freeze for about 15 minutes to let it set.
Step 5
Drizzle hot fudge sauce over the ice cream, then add another layer of crushed Oreos. Repeat the layers if desired before freezing the cake for at least 4 hours or overnight.
Storage Options
To store any leftover cake, wrap it tightly in plastic wrap and keep it in the freezer for up to one week. For longer storage, slice the cake and place individual pieces in airtight containers. This method ensures that each slice retains its flavor and texture. When reheating, let it sit at room temperature for about 10 minutes to soften slightly before serving.
Variations & Substitutions
For a dairy-free version, try using coconut milk ice cream and gluten-free cookies. You can also adjust the flavors by swapping mint chocolate chip with vanilla or adding a layer of Peanut Butter for an extra indulgent twist. For a festive touch, sprinkle crushed peppermint candies on top, or add a few drops of green food coloring to enhance the visual appeal.
Frequently Asked Questions
Can I use homemade ice cream for this recipe? Absolutely! Homemade ice cream will enhance the freshness and flavor. Ensure it’s softened enough to spread easily, and allow extra time for freezing if necessary.
How do you prevent the cake from sticking to the pan? Use a springform pan lined with parchment paper for easy release. Additionally, you can lightly grease the sides with butter or a non-stick spray to prevent sticking.
Can the cake be made in advance? Yes, this ice cream cake can be prepared and frozen days in advance. It actually allows the flavors to meld, enhancing the taste. Just ensure it’s properly covered to avoid freezer burn.


