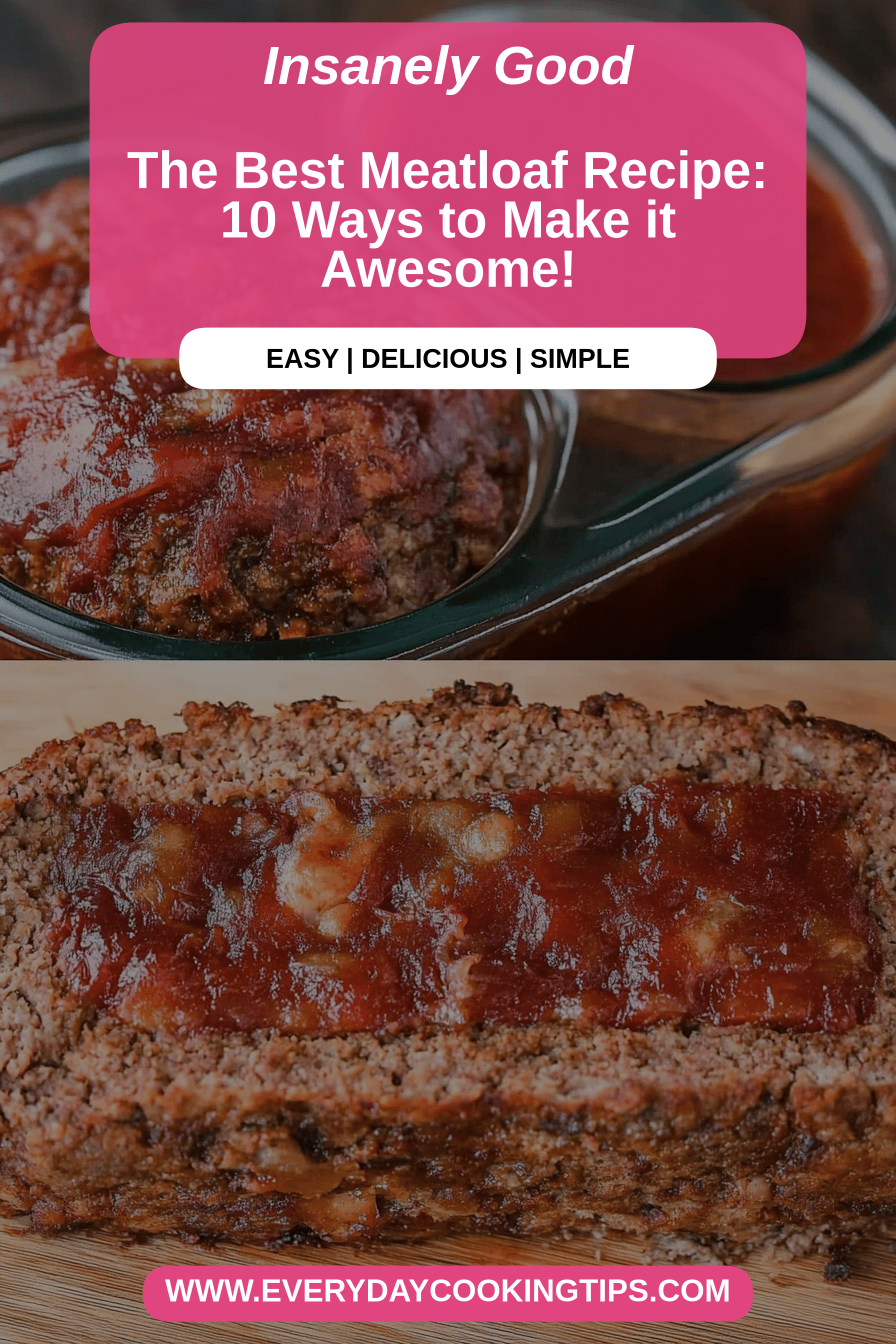
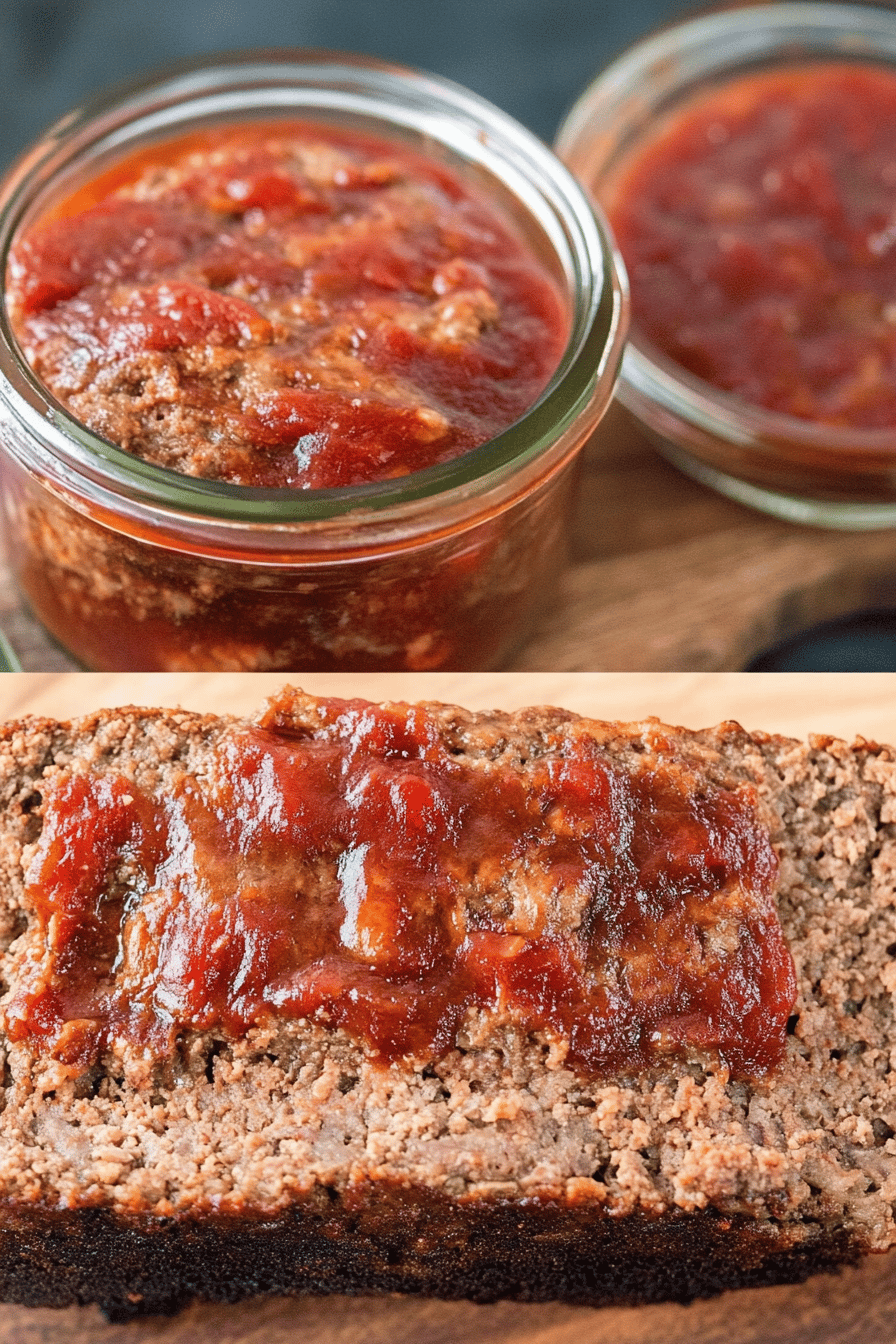
There are some recipes that just feel like a warm hug, aren’t there? This Meatloaf Recipe is exactly that for my family. It’s the kind of dish that instantly transports me back to childhood Sundays, the aroma wafting from the kitchen, promising something hearty and delicious. Forget those dry, crumbly meatloaves you might have encountered; this one is incredibly moist, packed with flavor, and honestly, it’s a lifesaver on busy weeknights when you need a meal that practically makes itself. It’s become our culinary North Star, the dependable star of potlucks and cozy dinners alike. I’ve tried so many versions over the years, but this particular meatloaf recipe has that magic touch that keeps everyone, from my picky eaters to my husband, asking for seconds. It’s everything a classic meatloaf should be, but even better. Honestly, it’s the best meatloaf recipe I’ve ever stumbled upon.

What is meatl
So, what makes this particular Meatloaf Recipe so special? At its heart, it’s a classic meatloaf, meaning it’s a savory loaf made from ground meat, mixed with binders and flavorings, then baked. But think of it as the elevated, super-satisfying version. The “recipe” part isn’t just about throwing ingredients together; it’s about the balance of flavors and textures that come together in this incredibly satisfying dish. It’s essentially a really forgiving, deeply flavorful base that you can customize to your heart’s content, but it’s already perfect as is! My grandma used to make something similar, and I think that’s where my love for this style of meatloaf began. It’s more than just dinner; it’s a feeling of home.
Why you’ll love this meat
Honestly, there are so many reasons why this meatloaf recipe has earned a permanent spot in my recipe box. First off, the FLAVOR! It’s rich, savory, and perfectly seasoned without being overwhelming. The glaze is the secret weapon here, creating this delicious, slightly caramelized crust that is just divine. Then there’s the SIMPLICITY. I know, meatloaf can sometimes sound intimidating, but this recipe is incredibly straightforward. You mix, you shape, you bake. It’s truly that easy, and it’s perfect for when you’re short on time or energy. It’s also remarkably COST-EFFECTIVE. Using ground meat and pantry staples makes it a budget-friendly option that doesn’t skimp on taste. What I love most about this is its VERSATILITY. It’s fantastic served hot with mashed potatoes and gravy, but don’t even get me started on how good the leftovers are cold on a sandwich the next day! It’s a true all-rounder. If you enjoyed my What is a shepherd’ or my What are some easy, you’re going to adore this meatloaf.
How to Make My Ultimate Meatloaf
Quick Overview
Making this meatloaf is a breeze. You’ll simply combine your main ingredients, mix them gently, shape them into a loaf, and bake it until it’s beautifully golden and cooked through. The glaze goes on towards the end to create that irresistible sticky-sweet finish. It’s all about minimal fuss for maximum flavor, and trust me, the results are incredibly rewarding. You’ll have a centerpiece meal that looks and tastes like you spent hours in the kitchen.
Ingredients
For the Main Batter:
2 lbs ground beef (I like to use an 80/20 blend for the best flavor and moisture, but 85/15 is also great!)
1 cup panko breadcrumbs (These give a wonderful texture, but regular breadcrumbs work too)
1/2 cup finely chopped yellow onion (about 1 small onion)
2 large eggs, lightly beaten
1/4 cup milk (any kind works, I often use whole milk)
2 tablespoons ketchup
1 tablespoon Worcestershire sauce (don’t skip this! It adds so much depth)
1 teaspoon dried Italian seasoning (or a mix of dried oregano and basil)
1/2 teaspoon salt
1/4 teaspoon Black Pepper
For the Filling:
1/2 cup shredded sharp cheddar cheese (optional, but highly recommended for extra creaminess!)
1/4 cup finely chopped bell pepper (any color, for a little sweetness and texture)
For the Glaze:
1/2 cup ketchup
2 tablespoons Brown Sugar (light or dark)
1 tablespoon apple cider vinegar (for a little tang)

Step-by-Step Instructions
Step 1: Preheat & Prep Pan
First things first, preheat your oven to 375°F (190°C). You’ll need a baking sheet or a loaf pan. I personally prefer a baking sheet lined with parchment paper or foil because it allows for better air circulation and easier cleanup. If you’re using a loaf pan, just give it a light greasing.
Step 2: Mix Dry Ingredients
In a large bowl, combine the panko breadcrumbs, chopped onion, Italian seasoning, salt, and pepper. Give it a quick stir to distribute everything evenly. This is where you build the foundational flavor!
Step 3: Mix Wet Ingredients
In a separate, smaller bowl, whisk together the lightly beaten eggs, milk, ketchup, and Worcestershire sauce. Make sure it’s well combined. The eggs act as a binder, and the milk helps keep the meatloaf moist.
Step 4: Combine
Pour the wet ingredients into the bowl with the dry ingredients and the GROUND BEEF. Now, this is crucial: mix everything gently with your hands until *just* combined. Overmixing can lead to a tough meatloaf, and nobody wants that! You should see everything just starting to stick together. Stop mixing as soon as you don’t see streaks of raw egg or breadcrumbs.
Step 5: Prepare Filling
If you’re adding the cheese and bell pepper, gently mix them into the meat mixture now. Some people like to put the filling in the center of the loaf, but I find incorporating it throughout gives a more consistent flavor in every bite.
Step 6: Layer & Swirl
Transfer the meat mixture to your prepared baking sheet or loaf pan. If using a baking sheet, shape it into a compact loaf, about 9×5 inches. If using a loaf pan, press it in evenly. I like to gently pat the top to create a smooth surface for the glaze. For a bit of flair, you can even use a fork to create some diagonal lines on top, like a little criss-cross pattern!
Step 7: Bake
Place the meatloaf in the preheated oven. Bake for about 40-45 minutes. You’ll see it starting to brown nicely.
Step 8: Cool & Glaze
While the meatloaf is baking, whisk together the glaze ingredients: ketchup, brown sugar, and apple cider vinegar in a small bowl. After the initial 40-45 minutes of baking, carefully remove the meatloaf from the oven. Spoon or brush the glaze evenly over the top and sides. Return it to the oven for another 15-20 minutes, or until the glaze is bubbly and the internal temperature of the meatloaf reaches 160°F (71°C) on an instant-read thermometer.
Step 9: Slice & Serve
This is the hardest part – letting it rest! Let the meatloaf sit for about 10 minutes before slicing. This allows the juices to redistribute, making it even more tender and moist. Slice it up and serve warm. The aroma alone is usually enough to gather everyone to the table!
What to Serve It With
This meatloaf is a true comfort food champion, and it pairs beautifully with a variety of sides. For a classic comfort meal, you can’t go wrong with creamy mashed potatoes and a generous ladle of gravy. Roasted root vegetables like carrots and parsnips are also a fantastic addition, adding a touch of sweetness and earthiness. Green beans, either steamed or sautéed with a little garlic, provide a nice bit of freshness. My kids also love it with a side of corn on the cob or even just some buttered noodles. For a lighter option, a simple side salad with a vinaigrette works wonderfully. And don’t forget those delicious leftovers – they make for the most amazing sandwiches the next day! I’ve even been known to crumble a slice into some scrambled eggs for breakfast, which is surprisingly delicious!
Top Tips for Perfecting Your Meatloaf
I’ve made this meatloaf more times than I can count, and over the years, I’ve picked up a few tricks that I think really make a difference. Firstly, when it comes to the meat, don’t be afraid to mix your types! While I often use just ground beef, a blend of beef and pork, or even beef and veal, can add incredible depth of flavor and a wonderfully tender texture. Just make sure the fat content is around 15-20% for optimal moisture. Secondly, and this is a big one I learned the hard way, *do not overmix the meat mixture*. Seriously, mix it until it’s just combined. Overworking the meat develops the gluten in the breadcrumbs and can make your meatloaf tough and dense. Gentle hands are key! For the filling, if you’re adding veggies like bell peppers or onions, make sure they are finely diced. This ensures they cook through properly and don’t remain chunky. If you’re using fresh onion, you can even sauté it briefly before adding it to the mix for a sweeter, milder flavor. For the glaze, I often find myself tweaking the sweetness or tanginess depending on my mood. A splash more vinegar can brighten it up, or a little extra brown sugar can make it more decadent. Some people also like to add a touch of mustard to the glaze for an extra kick. And speaking of baking, if your glaze starts to get too dark before the meatloaf is cooked through, you can loosely tent it with foil. I’ve found that using a meat thermometer is your best friend here; it takes the guesswork out of knowing when it’s perfectly done at 160°F (71°C). Finally, and this might seem obvious, but letting it rest after baking is crucial. It allows the juices to settle back into the meat, ensuring every slice is incredibly moist and flavorful. Patience, my friends, is a virtue, especially when it comes to perfectly rested meatloaf!
Storing and Reheating Tips
One of the best things about this meatloaf recipe is how well it stores and reheats. If you have any leftovers (which is rare in my house!), you can safely leave it at room temperature for no more than two hours. For longer storage, wrap the cooled meatloaf tightly in plastic wrap or place it in an airtight container and refrigerate it. It should stay fresh in the refrigerator for up to 3-4 days. Make sure it’s completely cooled before sealing it up. If you want to freeze portions, wrap individual slices tightly in plastic wrap, then place them in a freezer-safe bag or container. It can be frozen for up to 2-3 months. When you’re ready to reheat, you have a few options. For a slice or two, you can gently reheat it in a skillet over medium-low heat, or pop it in the toaster oven or microwave. The microwave is quickest, but the skillet can give you a nice crust back. If reheating a whole meatloaf, you can place it in a baking dish, cover it loosely with foil, and bake it in a 350°F (175°C) oven until heated through. For frozen portions, thaw them in the refrigerator overnight before reheating. If you’ve glazed your meatloaf before baking, the glaze will likely be set. If you want to add a little extra glaze when reheating, you can mix some ketchup with a touch of brown sugar and brush it on before warming. It’s amazing how good leftovers taste – sometimes even better than the first day!
Frequently Asked Questions
Final Thoughts

I truly hope you give this meatloaf recipe a try. It’s more than just a meal; it’s a source of comfort, a way to bring people together, and a reminder of simple, delicious home cooking. The blend of savory meat, tender texture, and that irresistible sweet and tangy glaze makes it a winner every single time. It’s the kind of recipe that earns you rave reviews without requiring a culinary degree. If you’re looking for more comforting classics, be sure to check out my creamy chicken noodle soup or my hearty beef stew. I can’t wait to hear what you think of this meatloaf! Let me know in the comments below how it turns out, or if you’ve made any fun variations of your own. Happy cooking!


