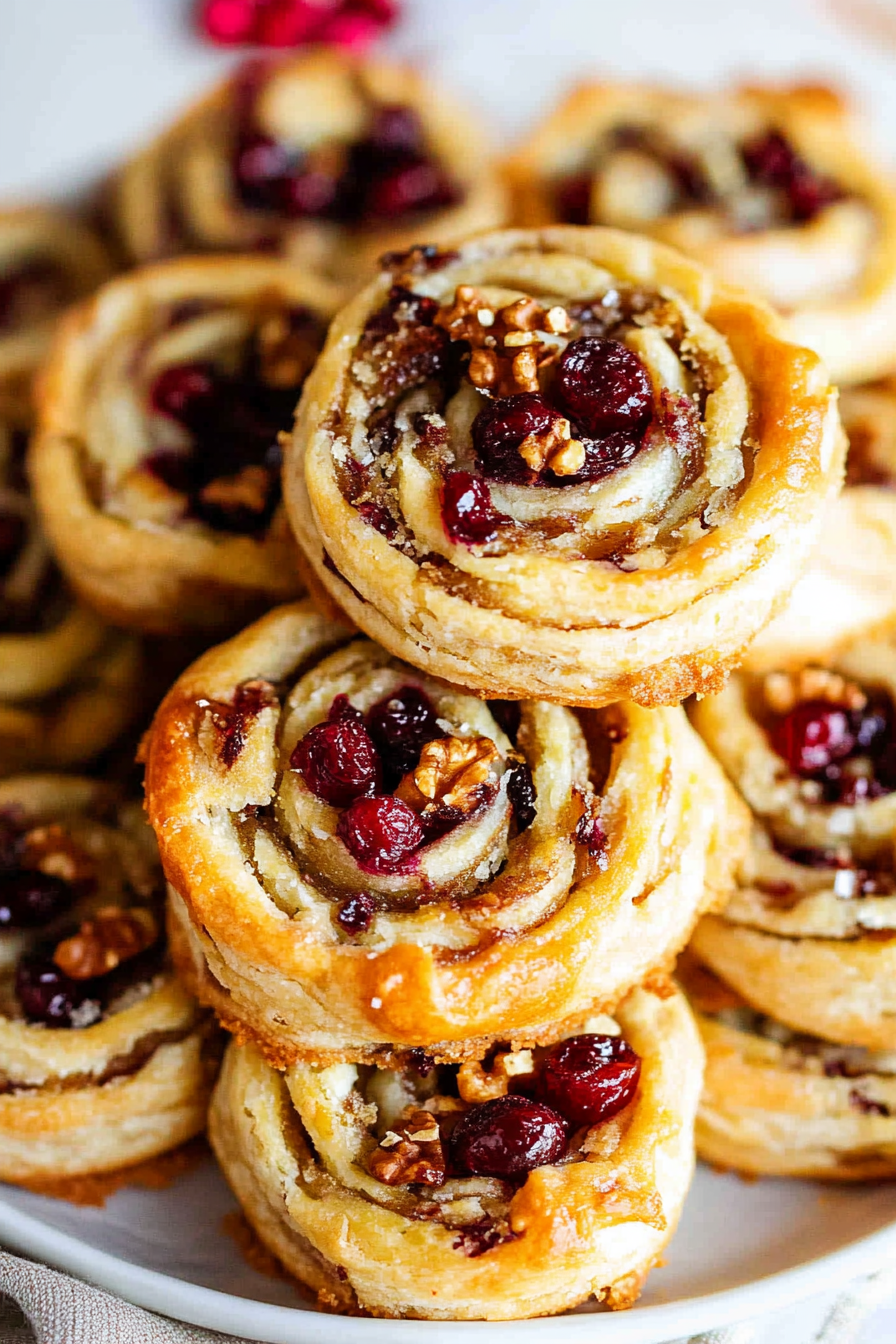
There are certain smells that just instantly transport you back in time, right? For me, it’s the scent of warm butter, citrus zest, and a hint of almond baking. It’s the smell of my Nonna’s kitchen, a place that always felt like a warm hug. And the magic that filled that space? Her incredible Italian cookies. These aren’t your everyday, store-bought kind of cookies; they’re something truly special. They’re tender, slightly sweet, with a delicate crumb that just melts in your mouth. If you’ve ever had a perfect biscotti, imagine something even softer, more forgiving, and with a whisper of lemon that makes them utterly irresistible. I’ve tried a lot of Cookie Recipes over the years, but these Italian cookies? They’re the ones my family requests for every celebration, every holiday, and honestly, just for a Tuesday afternoon treat. They hold a special place in my heart, and I’m so excited to finally share them with you.

What are Italian cookies?
So, what exactly *are* these marvelous Italian cookies? Think of them as the gentle, comforting cousin to the more famous biscotti. While biscotti are known for their crisp, twice-baked texture, these are softer, chewier (in the best way!), and often flavored with bright citrus notes, like lemon or orange, and sometimes a touch of almond extract. They’re more of a tender cookie, perfect for dunking in your morning coffee or enjoying with an afternoon tea. The name “Italian cookies” is a bit of a broad umbrella, but it generally refers to a category of simple, rustic, yet incredibly flavorful cookies that have been a staple in Italian households for generations. My Nonna always called them “biscotti morbidi” which translates to “soft cookies,” and that’s exactly what they are – a delightful departure from anything hard or crunchy, making them perfect for everyone, from little kids to my own grandma.
Why you’ll love this recipe?
Honestly, there are so many reasons why this recipe has become my go-to. First and foremost, the FLAVOR is just out of this world. That subtle hint of lemon zest and the touch of almond extract create a delicate aroma and taste that’s both comforting and sophisticated. It’s not overly sweet, which I really appreciate; it lets the buttery richness and citrus notes shine. Then there’s the SIMPLICITY. I’ve made these countless times, and they never fail. The dough comes together easily, and you don’t need any fancy equipment. This is a lifesaver on busy nights when I want to whip up something special without a lot of fuss. And let’s talk about COST-EFFICIENCY. The ingredients are all pantry staples that you probably already have on hand – flour, sugar, eggs, butter. No expensive specialty items required! This makes them perfect for baking in batches for bake sales or just to have a good supply ready to go. What I love most about this recipe is its VERSATILITY. You can easily swap out the lemon zest for orange, add a sprinkle of anise seeds, or even dip them in chocolate after baking for an extra decadent touch. They’re wonderful served plain, but they also pair beautifully with a cup of espresso, a glass of milk, or even a sweet dessert wine. Unlike some other Italian cookie recipes that can be finicky, these are remarkably forgiving. I’ve even accidentally overmixed them once or twice (don’t tell Nonna!) and they still turned out wonderfully. That’s the sign of a truly great, reliable recipe.
How do I make Italian cookies?
Quick Overview
Making these delightful Italian cookies is surprisingly straightforward. You’ll whip up a simple dough, shape it into logs, bake them until golden, and then slice them. The magic happens with the finishing touch – a delicate glaze that adds a touch of sweetness and visual appeal. The whole process is relatively quick, with most of the time spent in the oven. It’s a foolproof method that ensures delicious results, even for beginner bakers. The key is not to overwork the dough, which keeps these cookies perfectly tender.
Ingredients
For the Main Batter:
This is the heart of our cookies, so we want good quality ingredients here.
- 3 cups all-purpose flour: I always use a good brand that’s not too finely milled. It makes a difference!
- 1 ½ teaspoons baking powder: This gives them just enough lift without making them cakey.
- ½ teaspoon salt: Balances the sweetness perfectly.
- 1 cup (2 sticks) unsalted butter, softened: Make sure it’s truly softened, not melted. This is crucial for texture.
- 1 ½ cups granulated sugar: For that classic sweetness.
- 2 large eggs: At room temperature, please!
- 1 teaspoon pure vanilla extract: The cornerstone of most baked goods.
- Zest of 1 large lemon: Fresh lemon zest is non-negotiable here! It’s the secret ingredient that makes them sing.
- ½ teaspoon almond extract (optional but highly recommended): This adds a subtle, warm depth of flavor that I adore.
For the Glaze:
This is what gives them that beautiful finish and an extra layer of yum.
- 1 cup powdered sugar: Sifted, if you want it super smooth.
- 2-3 tablespoons milk (or lemon juice for an extra citrus kick!): Start with 2 and add more until you reach your desired consistency.
- ½ teaspoon almond extract (optional): Again, for that extra touch of flavor.

Step-by-Step Instructions
Step 1: Preheat & Prep Pan
First things first, let’s get our oven ready. Preheat it to 350 degrees Fahrenheit (175 degrees Celsius). Then, line two baking sheets with parchment paper. This is my absolute favorite trick for easy cleanup and preventing sticking. You’ll thank me later!
Step 2: Mix Dry Ingredients
In a medium bowl, whisk together the flour, baking powder, and salt. Give it a good mix to ensure everything is evenly distributed. This step ensures our cookies have a consistent texture.
Step 3: Mix Wet Ingredients
In a large bowl, cream together the softened butter and granulated sugar until light and fluffy. This usually takes a few minutes with an electric mixer. Then, beat in the eggs one at a time, followed by the vanilla extract, lemon zest, and almond extract (if using). Make sure everything is well combined.
Step 4: Combine
Gradually add the dry ingredients to the wet ingredients, mixing on low speed until just combined. Be careful not to overmix! We want a tender cookie, and overmixing can lead to a tough texture. The dough will be soft and slightly sticky.
Step 5: Prepare Filling
This recipe doesn’t have a separate filling, which is part of its charm and simplicity! The flavor comes from the dough itself and the glaze.
Step 6: Layer & Swirl
Divide the dough in half. On a lightly floured surface, shape each half into a log about 12 inches long. You can make them slightly flatter if you prefer, like a thick rectangle. This shape bakes beautifully. Place the logs onto your prepared baking sheets, leaving a few inches between them.
Step 7: Bake
Bake for 20-25 minutes, or until the logs are lightly golden brown. They won’t spread a ton, but you’ll see some nice color. Keep an eye on them, as oven temperatures can vary. You want them cooked through but still slightly soft in the center.
Step 8: Cool & Glaze
Let the logs cool on the baking sheets for about 10 minutes. This is important – they need to firm up a bit so they don’t fall apart. While they’re cooling, whisk together the powdered sugar, 2 tablespoons of milk (or lemon juice), and almond extract for the glaze. Add more liquid a teaspoon at a time until you get a thick but pourable consistency. Once the logs are slightly cooled, transfer them to a wire rack set over parchment paper (to catch drips!). Drizzle the glaze over the warm logs. It’s okay if it’s a little messy; that’s part of the charm!
Step 9: Slice & Serve
Once the glaze has set a bit (this happens fairly quickly!), use a sharp serrated knife to slice the logs into ½-inch thick cookies. The glaze will set up more as they cool completely. These are best served at room temperature. Slice them while they’re still a bit warm for a softer cookie, or let them cool completely for a slightly firmer texture.
What to Serve It With
These Italian cookies are wonderfully versatile and fit into almost any occasion! For BREAKFAST, they’re an absolute dream paired with a strong cup of Italian coffee or a creamy cappuccino. The subtle sweetness and citrus notes are the perfect way to start your day. For BRUNCH, I love arranging them on a tiered stand with fresh fruit and other pastries. They add an elegant touch without being fussy. As DESSERT, they’re fantastic after a hearty Italian meal, perhaps served alongside a small scoop of vanilla gelato or a dollop of fresh ricotta with honey. The sweetness level is just right to complement richer flavors. And for COZY SNACKS? This is my favorite! They’re perfect for an afternoon pick-me-up with a glass of milk or a hot cup of herbal tea. My kids absolutely devour them with a glass of cold milk. My family tradition is to always have a plate of these ready for whenever unexpected guests pop by – they always make a big impression!
Top Tips for Perfecting Your Italian Cookies
Over the years, I’ve picked up a few tricks that really help make these Italian cookies absolutely perfect every time. For ZUCCHINI PREP, since this recipe doesn’t use zucchini, let’s focus on the lemon! Always use fresh lemon zest; the bottled stuff just doesn’t have the same vibrant flavor. Make sure to zest only the yellow part, avoiding the bitter white pith. For MIXING ADVICE, I can’t stress enough to not overmix the dough once the flour is added. Mix until just combined – you should still see a few streaks of flour. Overmixing develops the gluten too much, which can make your cookies tough instead of tender. For SWIRL CUSTOMIZATION, while this recipe is a single-flavor dough, if you were to experiment with adding cocoa powder or a different extract, you’d want to divide the dough before adding those ingredients and then gently swirl them together before shaping the logs. This creates beautiful patterns. For INGREDIENT SWAPS, if you don’t have almond extract, you can simply omit it or increase the vanilla extract slightly. For a more pronounced citrus flavor, you could use orange zest instead of or in addition to lemon. For BAKING TIPS, make sure your oven rack is in the center of the oven. This ensures even heat distribution. If your oven tends to bake hotter on one side, you can rotate the baking sheets halfway through the baking time. For DONENESS TESTING, the cookies should be lightly golden brown around the edges and feel slightly firm to the touch when gently pressed. They’ll continue to firm up as they cool. For GLAZE VARIATIONS, if you want a thinner glaze for more of a drizzle effect, add milk or lemon juice a teaspoon at a time until it reaches the desired consistency. For a thicker glaze that hardens more, use less liquid. You can also add a drop of food coloring if you’re making them for a special occasion!
Storing and Reheating Tips
Knowing how to store these delicious Italian cookies ensures they stay fresh and tasty for as long as possible. At ROOM TEMPERATURE, they’re best stored in an airtight container. They’ll stay wonderfully fresh for about 3-4 days. If you live in a humid climate, be extra sure your container is truly airtight, as humidity can make them a bit soft. For REFRIGERATOR STORAGE, I generally don’t recommend refrigerating these cookies, as the moisture can make them gummy. However, if you must, make sure they are completely cooled and in an airtight container; they should be okay for up to a week, but the texture might change slightly. FREEZER INSTRUCTIONS are great for longer storage. Wrap the cooled, unglazed cookies tightly in plastic wrap, then place them in a freezer-safe bag or container. They’ll keep well for up to 2-3 months. To thaw, simply remove them from the freezer and let them come to room temperature. For the GLAZE TIMING ADVICE, I always recommend glazing the cookies *after* they have baked and cooled slightly. If you freeze them, it’s best to glaze them *after* they have thawed to room temperature. This way, the glaze stays fresh and beautiful.
Frequently Asked Questions
Final Thoughts

There you have it – my beloved Italian cookies recipe! I truly hope you give these a try. They’re more than just a sweet treat; they’re a little taste of my family’s history and a reminder of those cherished moments in the kitchen. The combination of bright citrus, delicate sweetness, and that wonderfully tender crumb is just pure comfort. They’re simple enough for a weeknight baking session but special enough for any celebration. If you love these, you might also enjoy my Lemon Ricotta Cookies or my Classic Italian Biscotti for different takes on Italian baking. Don’t be shy about making them your own – I always love hearing about your kitchen adventures! Please leave a comment below to let me know how yours turned out, and feel free to share any variations you tried. Happy baking!

Italian Cookies
Ingredients
Main Ingredients
- 0.5 cup Unsalted butter softened
- 1 cup Granulated sugar
- 1 large Egg
- 1 teaspoon Vanilla extract
- 0.25 teaspoon Almond extract
- 2 cups All-purpose flour
- 1 teaspoon Baking powder
- 0.25 teaspoon Salt
Glaze
- 1 cup Powdered sugar
- 2 tablespoon Milk
- 0.5 teaspoon Vanilla extract
Instructions
Preparation Steps
- Preheat oven to 350°F (175°C). Line baking sheets with parchment paper.
- In a large bowl, cream together the softened butter and granulated sugar until light and fluffy.0.5 cup Unsalted butter
- Beat in the egg, vanilla extract, and almond extract until well combined.0.5 cup Unsalted butter
- In a separate medium bowl, whisk together the flour, baking powder, and salt.0.5 cup Unsalted butter
- Gradually add the dry ingredients to the wet ingredients, mixing until just combined. Do not overmix.
- Drop rounded tablespoons of dough onto the prepared baking sheets, about 2 inches apart.
- Bake for 10-12 minutes, or until the edges are lightly golden brown.
- Let the cookies cool on the baking sheets for a few minutes before transferring them to a wire rack to cool completely.
- While the cookies are cooling, prepare the glaze. In a small bowl, whisk together the powdered sugar, milk, and vanilla extract until smooth and drizzly.0.5 cup Unsalted butter
- Once the cookies are completely cooled, drizzle the glaze over them.
- Allow the glaze to set before serving.


