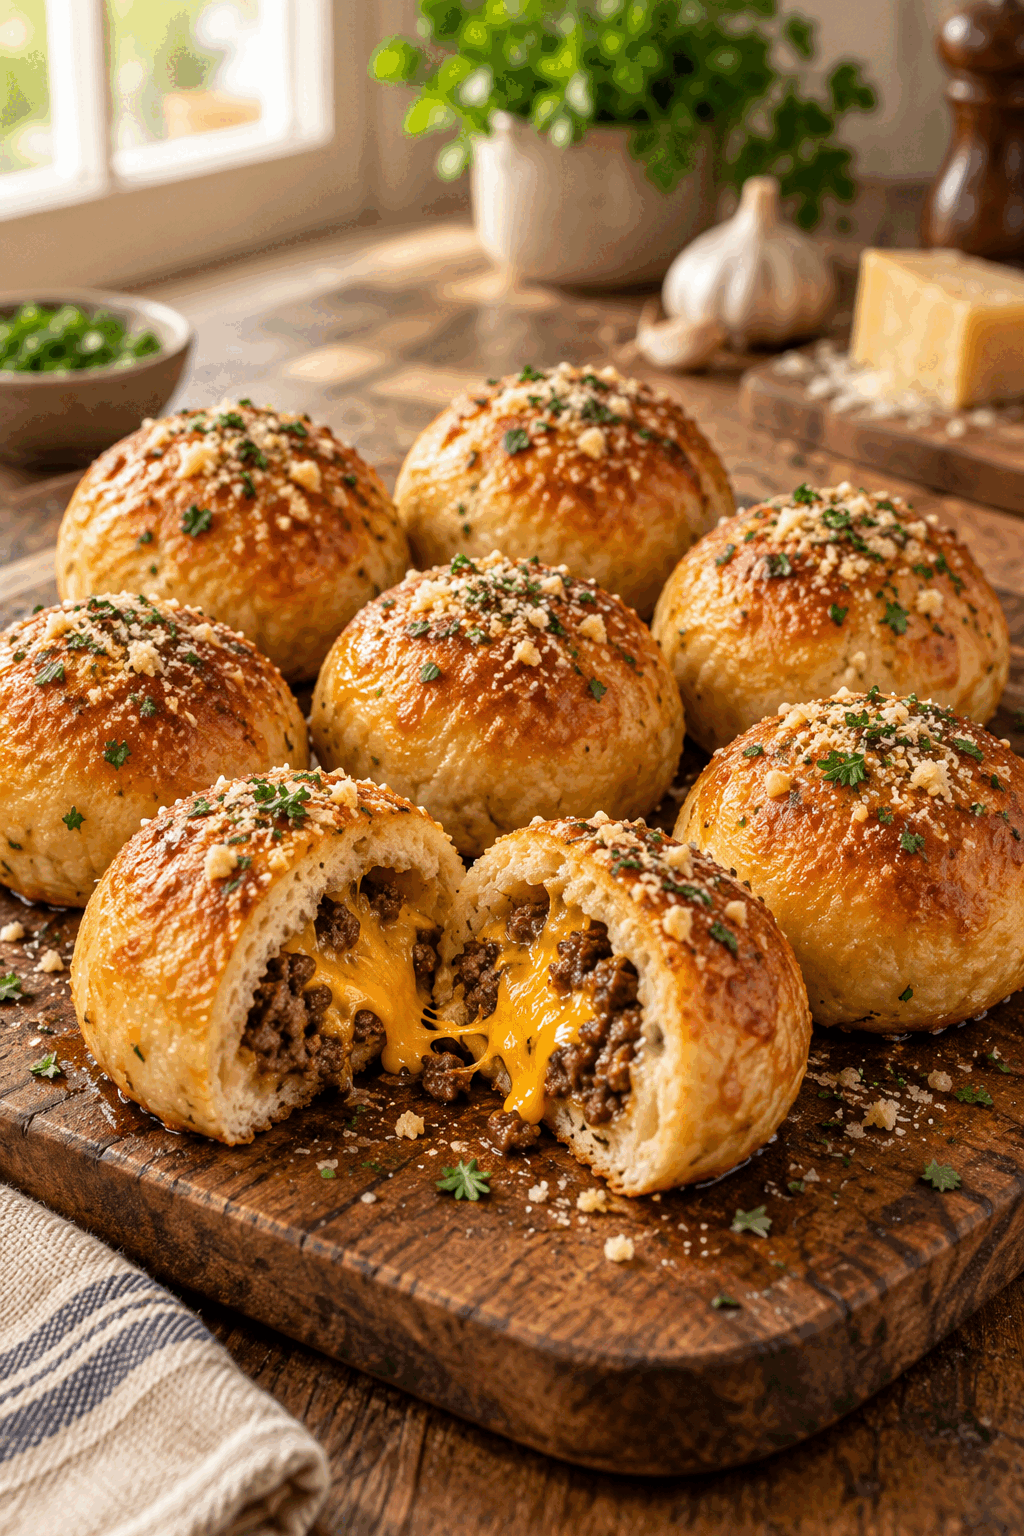


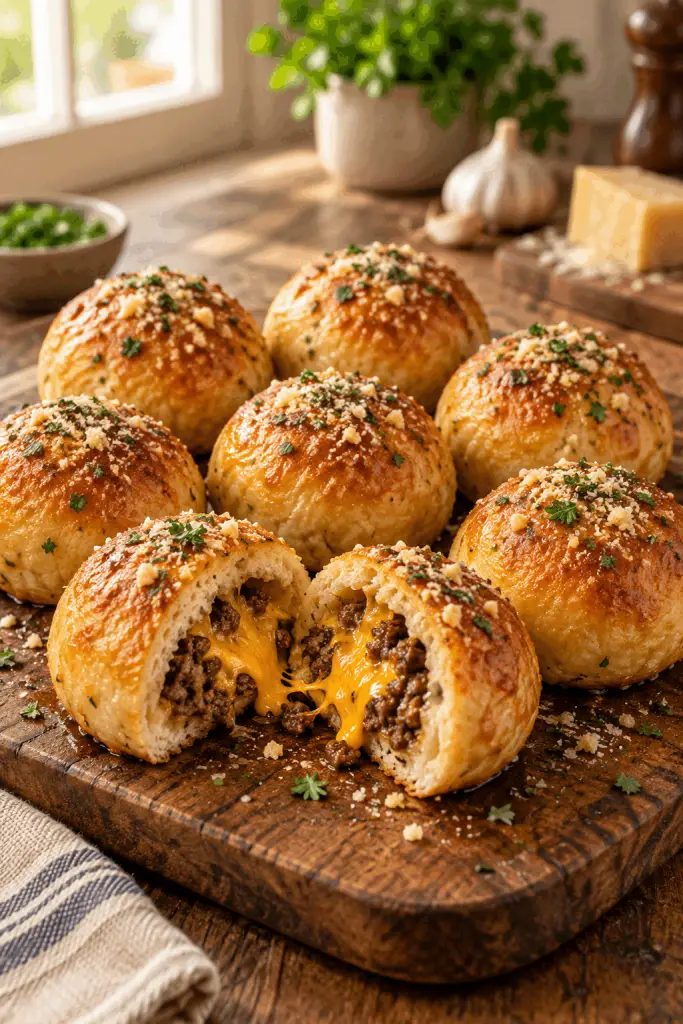
These garlic Parmesan cheeseburger bombs wrap seasoned beef, melted cheddar, and a buttery garlic topping inside golden biscuit dough. They are handheld, savory, and ready in about 33 minutes, making them useful for a family dinner, game-day spread, or casual party snack. These warm bites are also an easy use case for a casual game-day table or family movie night.
What are garlic Parmesan cheeseburger bombs?
Each bomb is a flattened biscuit filled with seasoned ground beef and cheddar, sealed, brushed with garlic butter, and finished with Parmesan and parsley. The dough bakes around the filling until golden while the cheese stays rich and savory inside.
Why this recipe works
The beef cooks quickly in one skillet, and refrigerated biscuit dough keeps the assembly simple. Cooling the filling slightly makes sealing easier, while the garlic butter and Parmesan create a flavorful crust without a separate sauce.
Ingredients
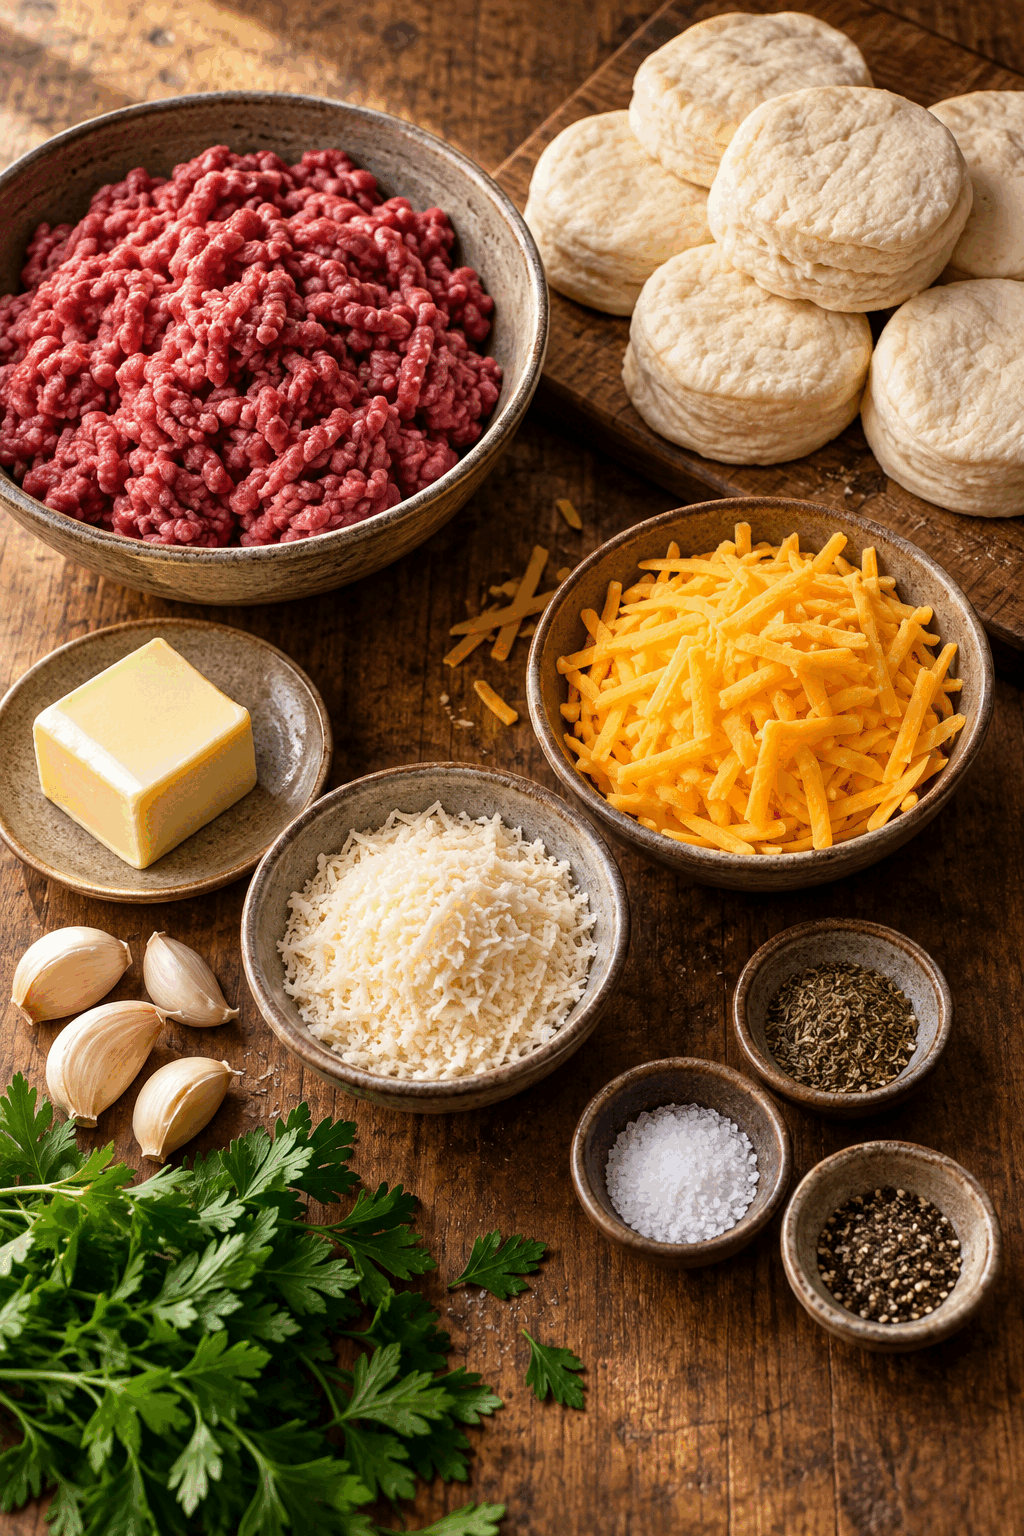
- 1 lb ground beef
- 1 tube refrigerated biscuit dough, about 8 biscuits
- 1/2 teaspoon salt
- 1/4 teaspoon black pepper
- 1/2 teaspoon garlic powder
- 1/2 teaspoon onion powder
- 1 tablespoon Worcestershire sauce
- 1 cup shredded cheddar cheese
- 1/4 cup grated Parmesan cheese
- 2 tablespoons butter, melted
- 2 cloves garlic, minced
- 1 tablespoon fresh parsley, chopped
How to make garlic Parmesan cheeseburger bombs
- Heat the oven to 375°F (190°C). Cook the ground beef in a skillet over medium-high heat, breaking it apart, and season with salt, pepper, garlic powder, onion powder, and Worcestershire sauce. Cook for 6 to 8 minutes until no longer pink, then cool slightly and stir in the cheddar.
- Separate the biscuit dough and flatten each biscuit into a circle about 4 to 5 inches wide.
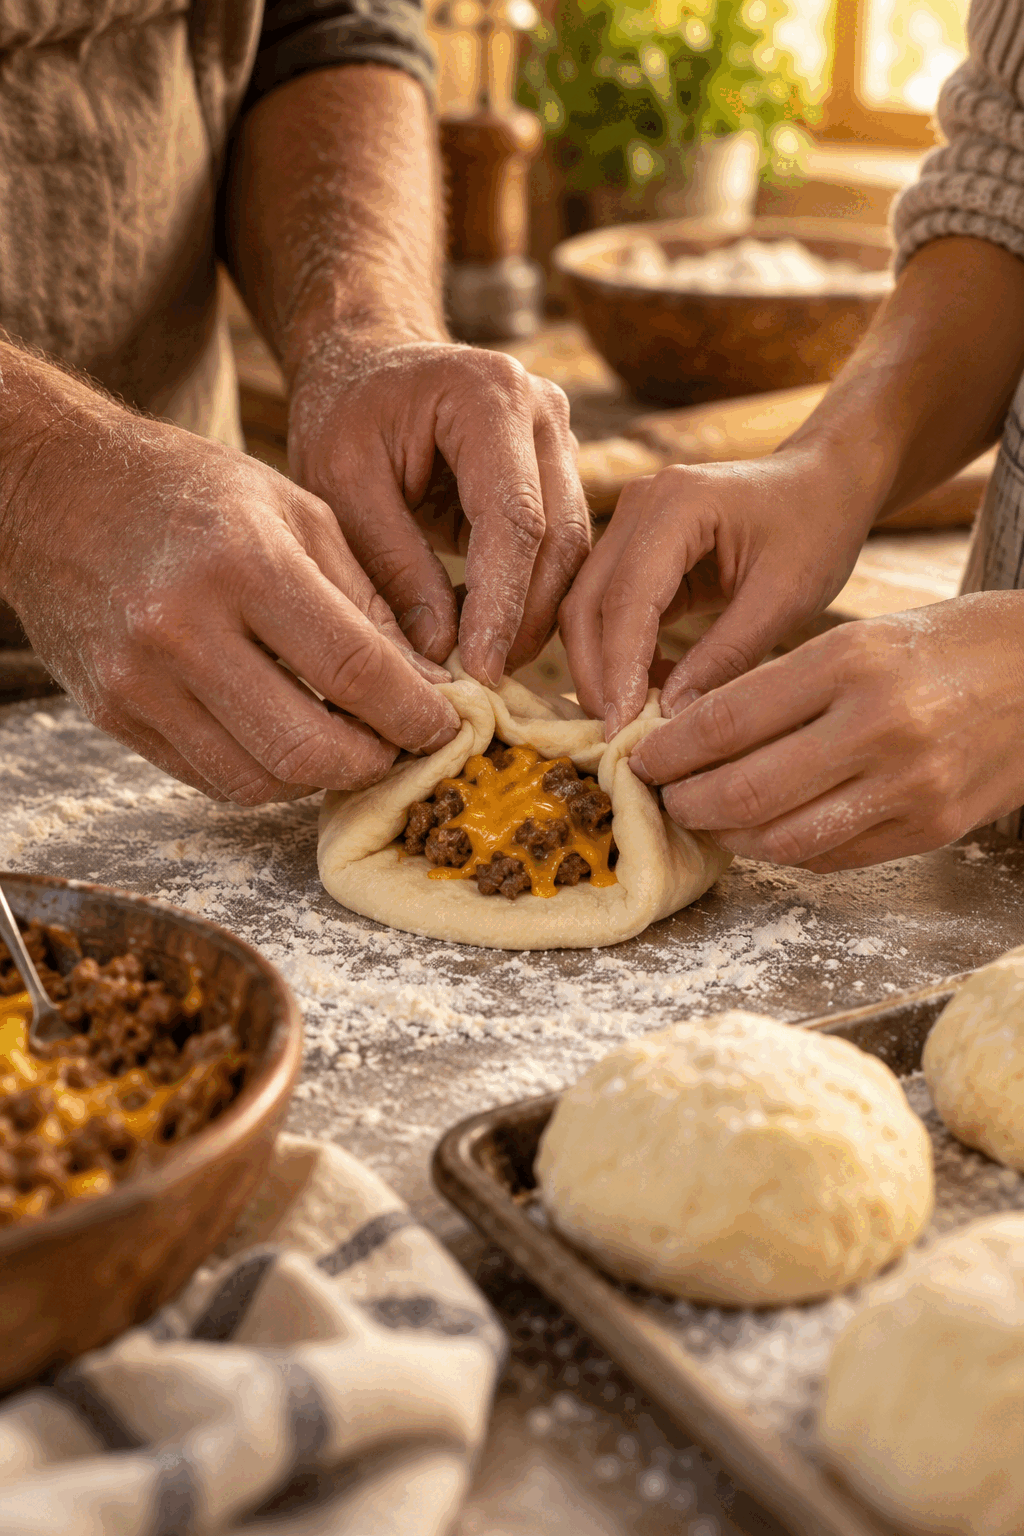
- Put 2 to 3 tablespoons of beef mixture in the center of each dough circle. Gather and pinch the edges firmly to seal each bomb.
- Combine the melted butter and minced garlic. In a separate bowl, mix the Parmesan and parsley.
- Place the sealed bombs on a parchment-lined baking sheet, brush with garlic butter, and sprinkle with the Parmesan mixture.
- Bake for 15 to 18 minutes, until golden brown and cooked through.
Serving suggestions
Serve the bombs warm while the cheddar is melted and the biscuit exterior is crisp. They work well with a green salad, roasted vegetables, marinara for dipping, or a simple bowl of soup.
Tips and optional variation
Optional variation: Add a pinch of oregano or basil to the beef mixture for a herby version. Cool the beef mixture before filling and pinch every seam closed. If the dough becomes sticky, dust your hands lightly with flour. Add oregano or basil to the beef if you want an herby variation, but avoid overfilling because the bombs can split during baking.
Storage and reheating
Refrigerate leftovers in an airtight container for up to three days. Reheat them in a 350°F oven for 5 to 7 minutes so the exterior becomes crisp again. For longer storage, freeze baked bombs for up to two months and reheat them in the oven.
FAQ and frequently asked questions
Can I prepare them ahead?
Yes. Prepare the filling up to 24 hours ahead, refrigerate it, and assemble when ready. Unbaked bombs can also be refrigerated for several hours.
Can I use buttermilk biscuit dough?
Yes. Regular or buttermilk biscuit dough works well; avoid sweet varieties for this savory filling.
How do I prevent leaks?
Use 2 to 3 tablespoons of filling, pinch the edges firmly, and twist the seam closed before placing each bomb seam-side down.
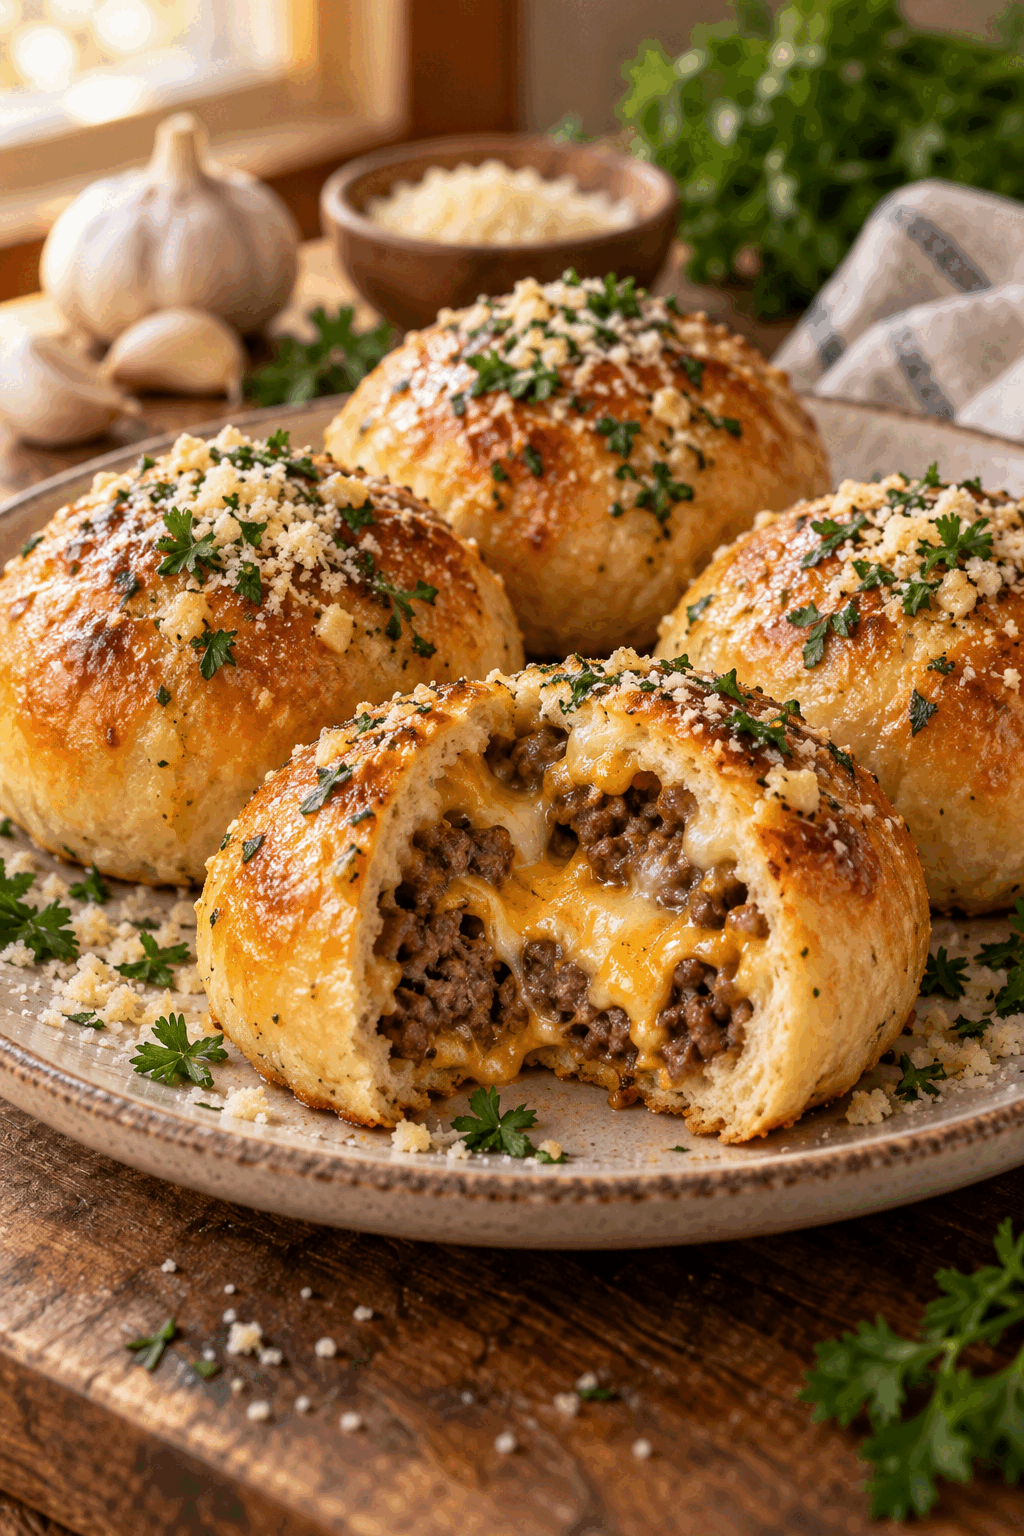
These garlic Parmesan cheeseburger bombs turn familiar cheeseburger flavors into a warm, shareable baked snack with a crisp, buttery finish.
Planning and serving this recipe
These cheeseburger bombs are easy to organize because the filling, dough, and topping each have a short, clear job. Brown the beef first and let it cool while the oven heats. Set out the dough, cheese, garlic butter, and Parmesan before you begin sealing, so the assembly stays tidy and the biscuit circles do not sit unattended. A parchment-lined sheet makes cleanup easier and gives the sealed dough room to brown evenly.
For a gathering, bake the bombs shortly before serving and arrange them in a single layer so the golden tops remain crisp. Label the dipping sauces if you offer more than one, and keep a small bowl of fresh parsley nearby for a final garnish. Because each serving is self-contained, guests can take one without needing a knife and fork.
The filling can be adjusted within the same recipe structure. A sharper cheddar changes the flavor without changing the method, while a mild cheese keeps the bombs family-friendly. Keep the amount of filling consistent from one biscuit to the next so the batch finishes at the same time. If a seam opens during baking, the cheese may escape, but the bomb will still be enjoyable; firm pinching before baking is the best prevention.
Serve leftovers as a quick lunch with a crisp salad or sliced vegetables. Reheating in the oven restores the biscuit texture better than microwaving, which can soften the crust. When freezing, cool the bombs completely first and package them with parchment between layers. Thawing is not necessary before oven reheating, though frozen pieces need extra time.


Irresistible Garlic Parmesan Cheeseburger Bombs
Ingredients
Ingredients
- 1 lb ground beef
- 1 tube refrigerated biscuit dough, about 8 biscuits
- 1/2 teaspoon salt
- 1/4 teaspoon black pepper
- 1/2 teaspoon garlic powder
- 1/2 teaspoon onion powder
- 1 tablespoon Worcestershire sauce
- 1 cup shredded cheddar cheese
- 1/4 cup grated Parmesan cheese
- 2 tablespoons butter, melted
- 2 cloves garlic, minced
- 1 tablespoon fresh parsley, chopped
Instructions
Instructions
- Heat the oven to 375°F (190°C). Cook the ground beef in a skillet over medium-high heat, breaking it apart, and season with salt, pepper, garlic powder, onion powder, and Worcestershire sauce. Cook for 6 to 8 minutes until no longer pink, then cool slightly and stir in the cheddar.
- Separate the biscuit dough and flatten each biscuit into a circle about 4 to 5 inches wide.
- Put 2 to 3 tablespoons of beef mixture in the center of each dough circle. Gather and pinch the edges firmly to seal each bomb.
- Combine the melted butter and minced garlic. In a separate bowl, mix the Parmesan and parsley.
- Place the sealed bombs on a parchment-lined baking sheet, brush with garlic butter, and sprinkle with the Parmesan mixture.
- Bake for 15 to 18 minutes, until golden brown and cooked through.