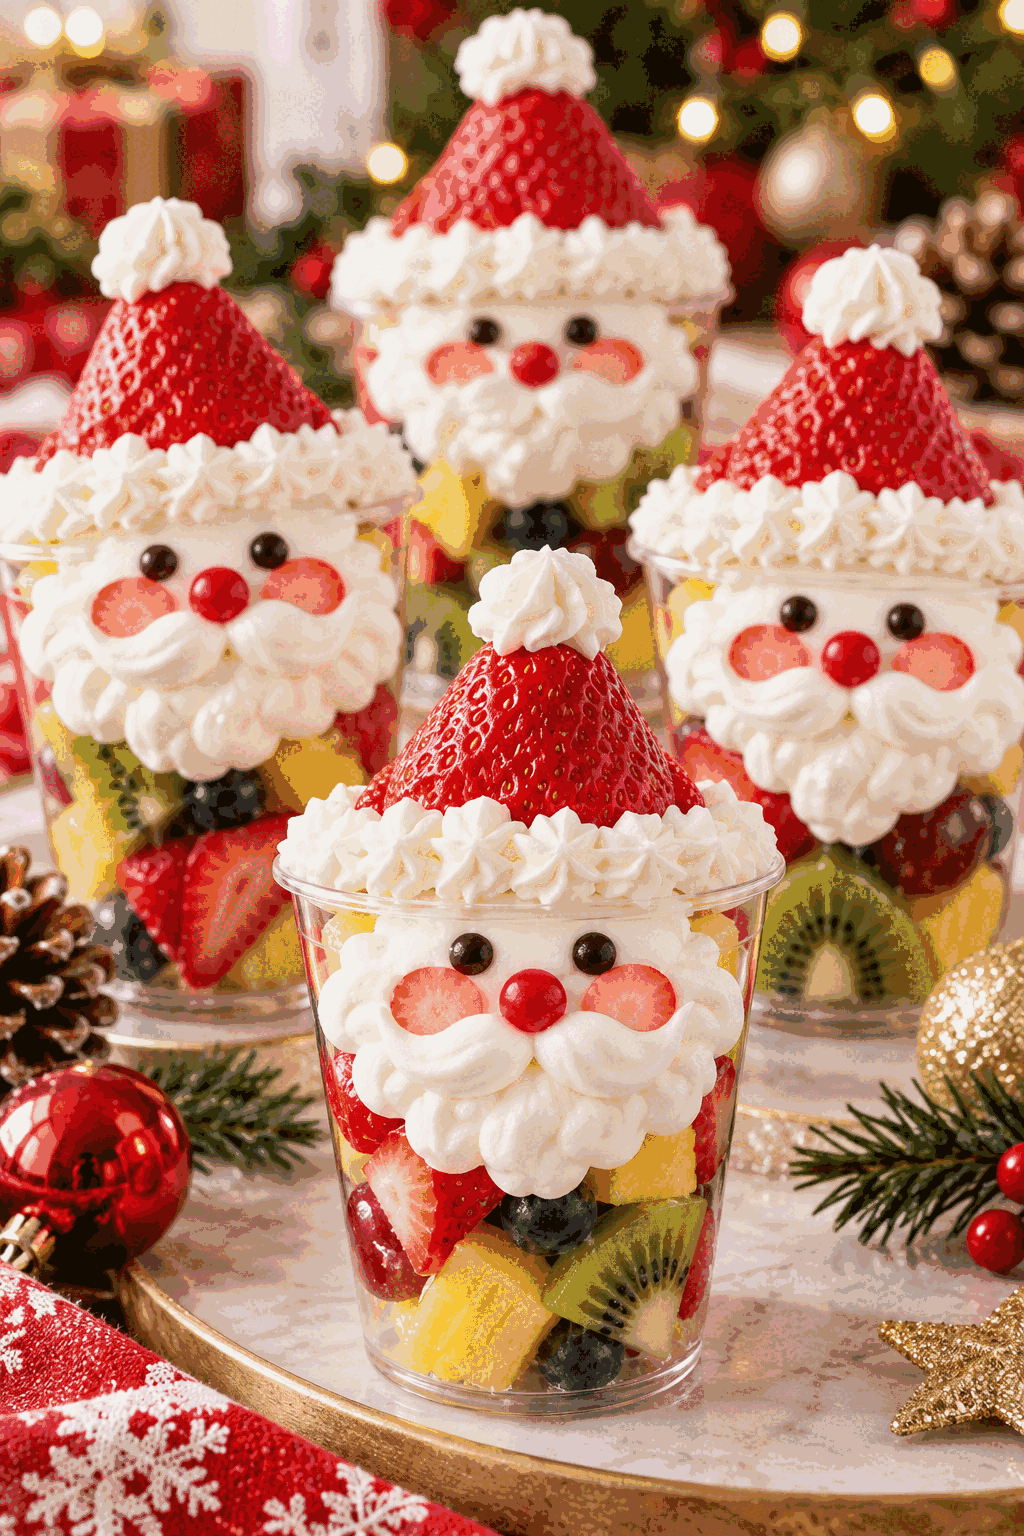


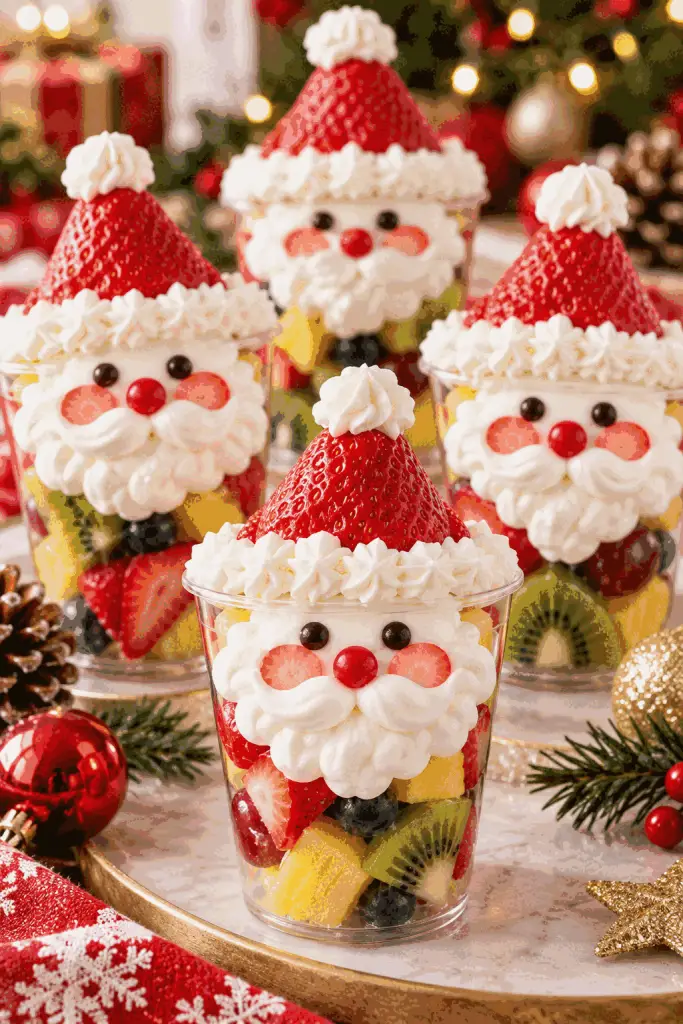
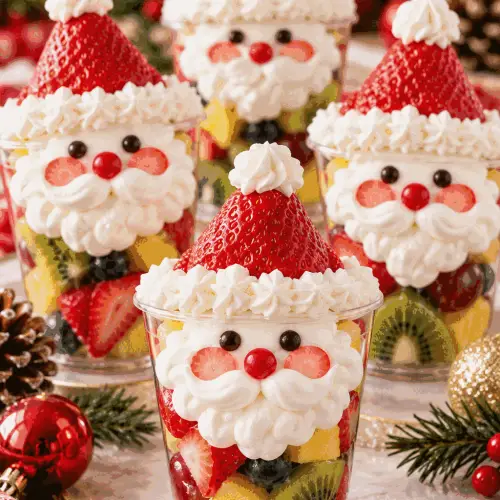
Fruit cup Santa snacks turn chilled single-serve fruit cups into a cheerful no-cook treat with a few food-safe pen details. The fruit stays sealed, so preparation is mostly drawing simple faces and Santa hats on the outside packaging. That makes this a useful choice for a classroom celebration, lunchbox surprise, holiday snack table, or playdate when you want a festive idea without a stove, knife, or messy assembly.
What are fruit cup Santa snacks?
These are individual fruit cups decorated to resemble Santa. The sealed containers act as both the serving dish and the canvas, while the fruit inside remains ready to eat. Because the design is added to the outside, the snack can be prepared ahead and carried easily. Choose cups with a smooth, dry lid or side surface, and check that every marker is explicitly food-safe and intended for use around packaging.
Why this snack works
The idea succeeds because it separates decoration from food preparation. There is no recipe timing to coordinate, no frosting to soften, and no platter of cut fruit to keep chilled during assembly. The bright red hat, white trim, black eyes, and small smile create a recognizable character with only a few lines. Children can help plan faces or arrange the finished cups, while an adult handles the markers and drying time.
How to make fruit cup Santa snacks
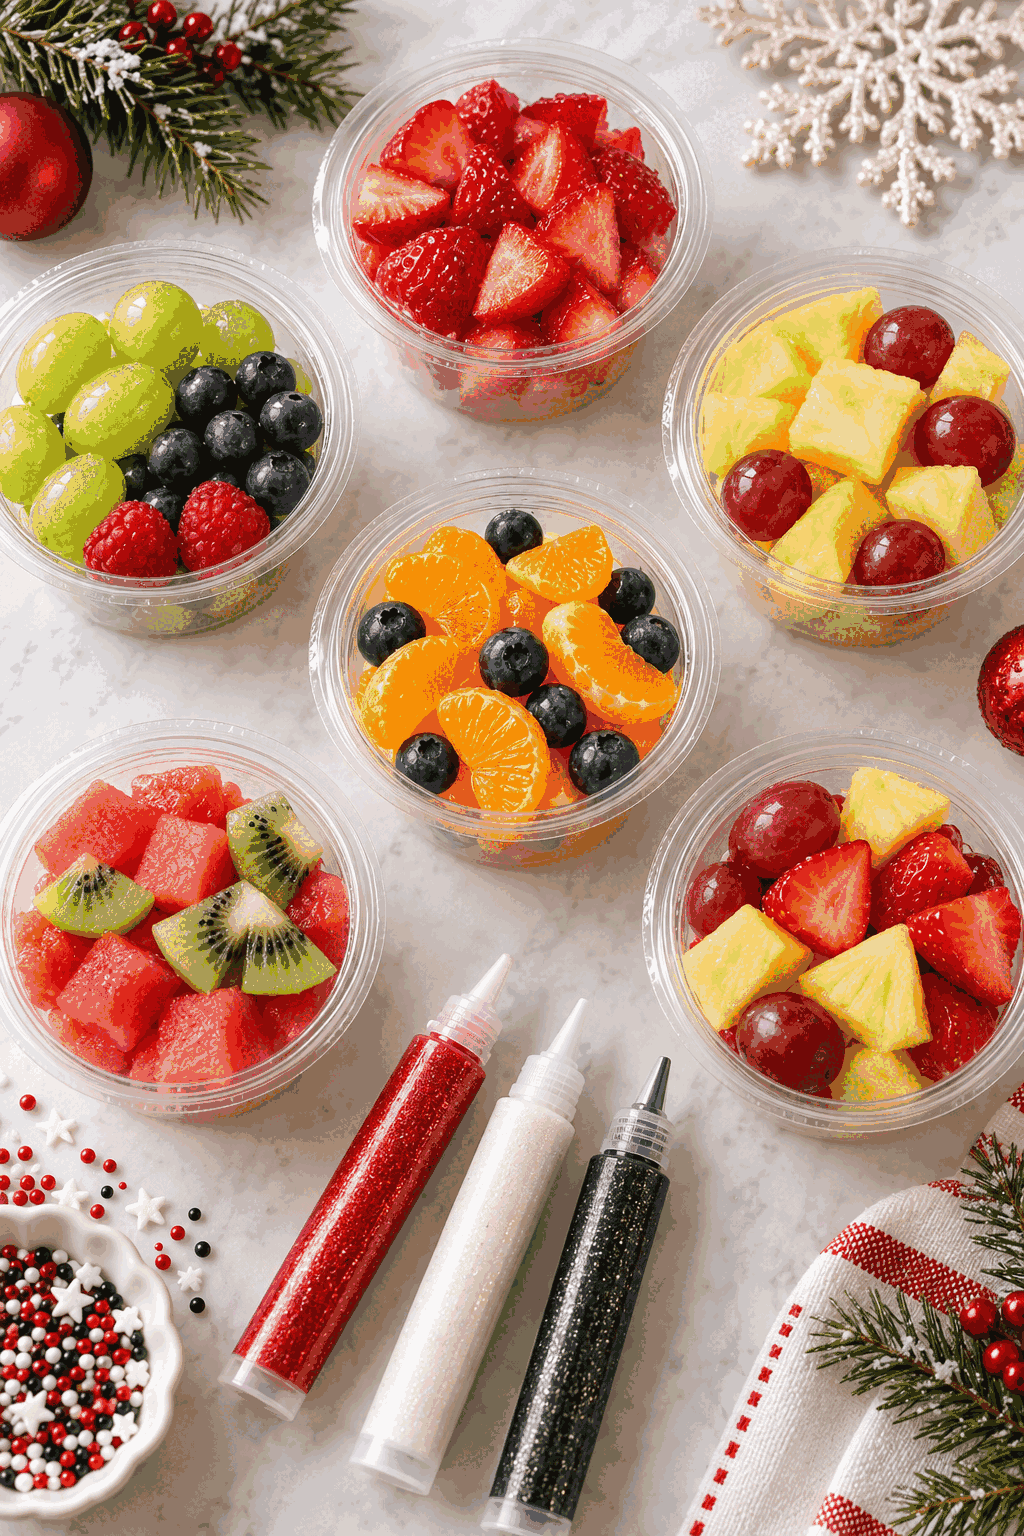
Set out six chilled fruit cups, the three food-safe paint pens, and the glitter pen. Work on a protected surface and keep the cups sealed. The exact quantities are intentionally simple: one cup makes one serving, and one set of pens decorates the batch. If your cups have printed graphics, use the cleanest side as the front so the face remains easy to read.
Ingredients for fruit cup Santa snacks
- 6 single-serve fruit cups, unopened and chilled
- 1 food-safe black paint pen
- 1 food-safe white paint pen
- 1 food-safe red paint pen
- 1 fine glitter pen
How to make fruit cup Santa snacks
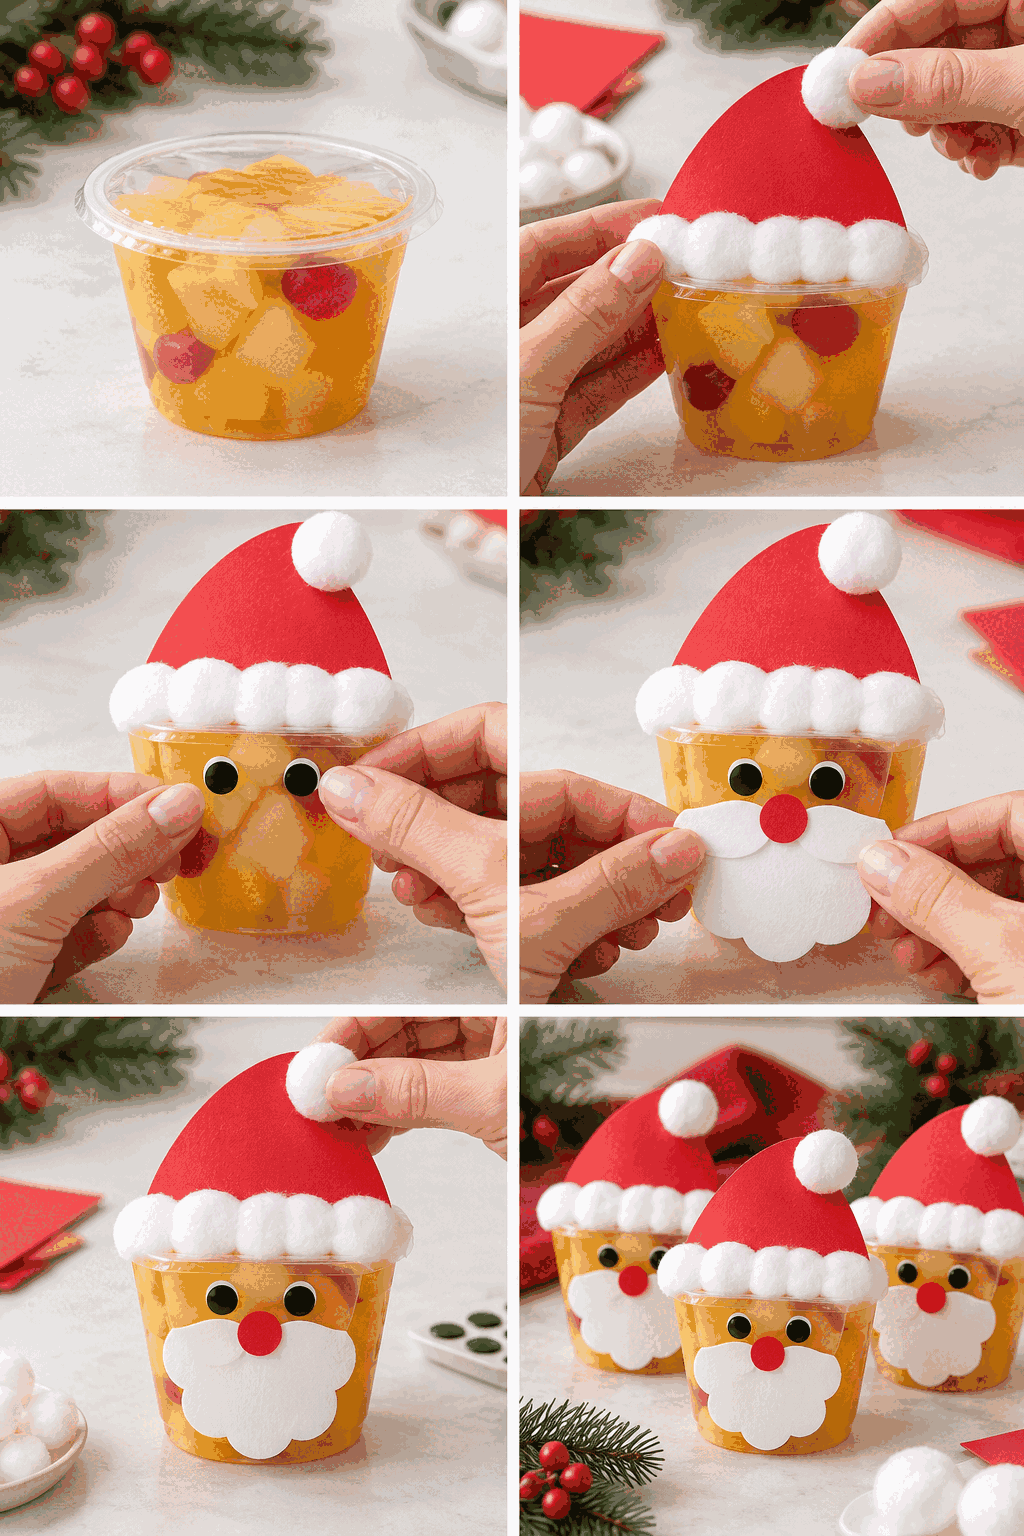
- Wipe the outside of each sealed fruit cup clean and dry so the pens adhere evenly.
- Use the black pen to draw two small eyes and a curved smile on the front of each cup.
- Add a red Santa hat near the top of each cup, then outline the hat with the white pen.
- Use the glitter pen for a small sparkle on the hat trim, keeping every mark on the outside packaging.
- Let the decorations dry completely before arranging the cups in a lunchbox or serving tray.
Serving ideas
Arrange the cups in a row with the faces pointing forward, or place one beside a lunchbox sandwich and a napkin. For a party, vary the smiles and hat angles so the tray feels playful rather than perfectly uniform. Keep the fruit refrigerated according to the package directions, and bring the decorated cups out shortly before serving. The sealed format also makes cleanup nearly as easy as recycling the empty containers.
Tips and optional variation
Recipe-specific tip: dry the package completely before drawing; condensation is the most common reason pen lines bead or rub away. Make the eyes small and spaced evenly, because a simple face reads better than a crowded one. Optional variation: use a silver food-safe glitter pen for a winter-hat accent while keeping the red-and-white hat as the primary design. Never put marker on a surface that touches the fruit.
Storage and make-ahead timing
Decorate the cups the same day or the evening before serving. Let the ink dry fully, then return the sealed cups to the refrigerator in a single layer so the artwork does not rub against another package. Follow the printed use-by date and refrigeration instructions. If a cup leaks, the lid is damaged, or the decoration has transferred onto the food-contact surface, discard that cup rather than serving it.
Search answers
For an easy holiday lunchbox snack, use sealed fruit cups because they travel without separate bowls. For a classroom-safe preparation, confirm the fruit and marker packaging rules with the school and keep all decorations external. For a no-bake Santa treat, this method needs no cooking at all; the only waiting is the short drying period before packing or serving.
FAQ: fruit cup Santa snacks
These fruit cup Santa snacks also work well when the goal is a low-stress seasonal activity. The sealed format keeps portions clear and lets each guest receive one cup without shared serving utensils. Before beginning, gather the cups, pens, a tray, and a paper towel. A clean setup helps the lines stay crisp and gives the decorations enough room to dry. Keep the work area away from food-contact surfaces, and check each package for an intact seal. The red hat is the main visual cue, while the black face supplies expression and the white trim gives contrast. Small differences between faces make the snack feel handmade. If a line is not perfect, allow it to dry rather than rubbing it immediately; a simple design is easier to correct once the surface is stable. Chilling the cups first is fine, but wipe away all condensation before drawing. At serving time, explain that the decorations stay on the outside and that the cup should be opened only when it is ready to eat. For a lunchbox, place the cup upright and use an insulated bag with a cold pack when required by the fruit package directions. For a party, add a small card identifying the fruit flavor, especially when guests have allergies or preferences. This is a decoration idea, so the fruit itself remains the ingredient that determines dietary suitability. Read the label for added sugar, allergens, and storage instructions. With those checks complete, the project stays quick, portable, and easy to understand.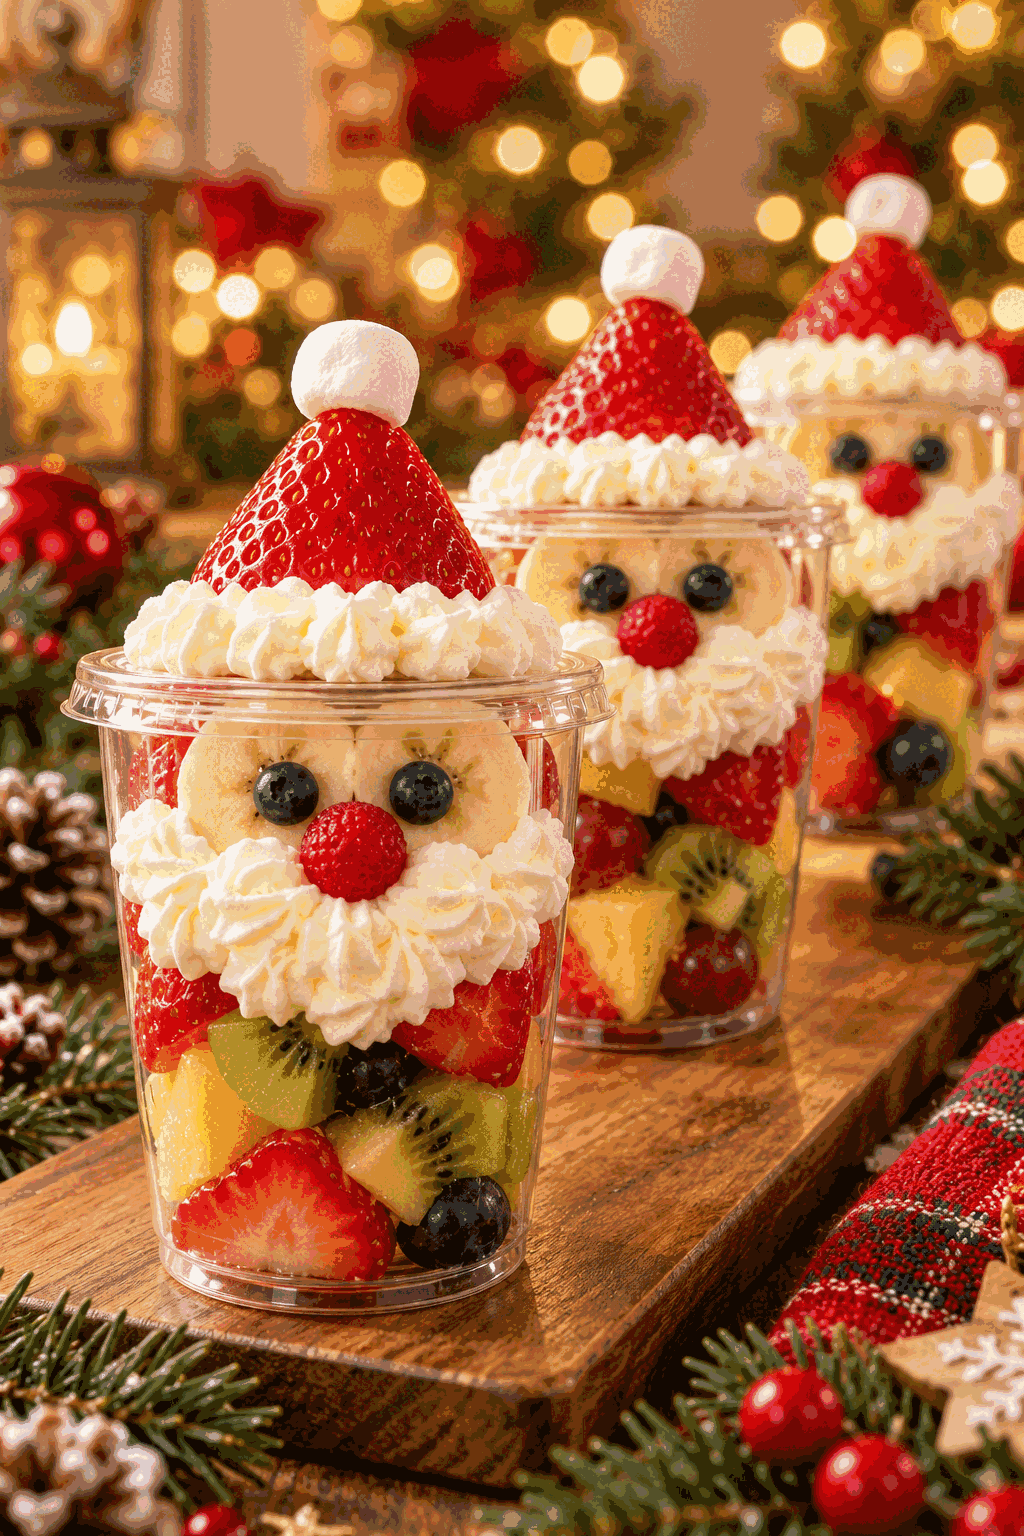
Fruit cup Santa snacks are a small project with a big visual payoff. Keep the cups sealed, use appropriate food-safe pens, and allow the artwork to dry before chilling and serving.

Fruit Cup Santa Snacks
Ingredients
Ingredients
- 6 single-serve fruit cups unopened and chilled
- 1 black paint pen food-safe and non-toxic
- 1 white paint pen food-safe and non-toxic
- 1 red paint pen food-safe and non-toxic
- 1 fine glitter pen for the hat detail
Instructions
Instructions
- Wipe the outside of each sealed fruit cup clean and dry so the pens adhere evenly.
- Use the black pen to draw two small eyes and a curved smile on the front of each cup.
- Add a red Santa hat near the top of each cup, then outline the hat with the white pen.
- Use the glitter pen for a small sparkle on the hat trim, keeping every mark on the outside packaging.
- Let the decorations dry completely before arranging the cups in a lunchbox or serving tray.