


You know, there are those days when the world just feels a little too gray. Maybe the kids are having a meltdown, or perhaps you’ve just had one of *those* weeks. On those days, I’ve always found a little bit of magic in my kitchen. And lately, the most potent kind of magic comes in the form of tiny, colorful sugar strands. I’m talking about making your own DIY sprinkles art! It’s not just about decorating cakes or cookies; it’s about creating little bursts of happiness, a splash of pure, unadulterated fun that can brighten anyone’s day. Honestly, I used to think making sprinkles was some kind of professional baker-only secret, something reserved for the fancy cake shops. But let me tell you, once I figured out how surprisingly simple it is, it became my go-to way to de-stress and inject some vibrant color into my life, and my baking. It’s even easier than my famous no-bake cookies, and the results are just… wow!
What is sprinkle art?
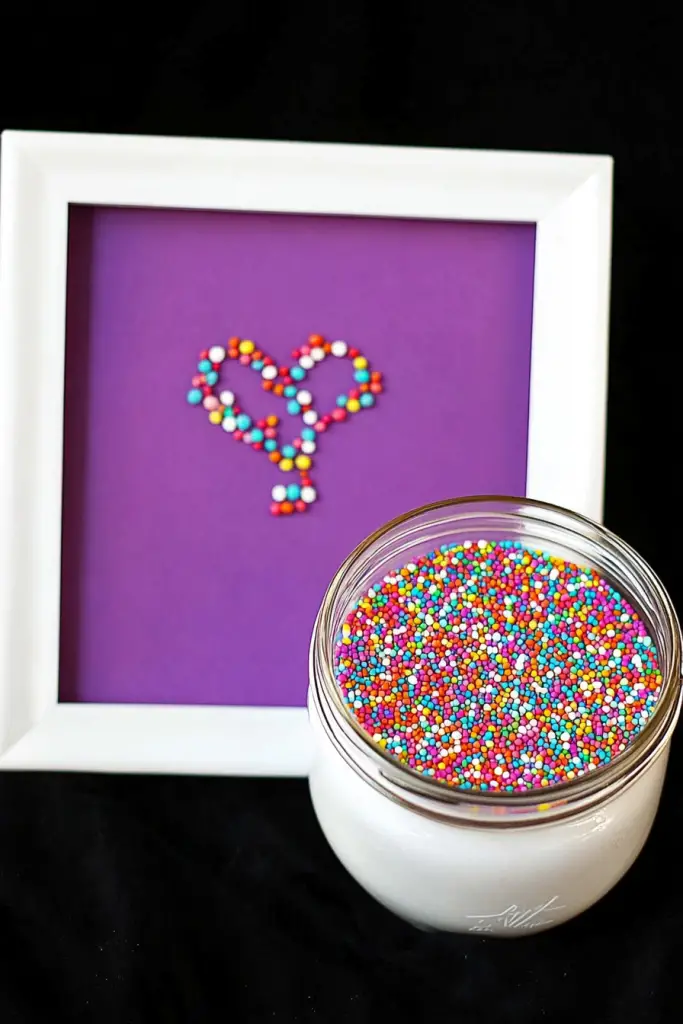
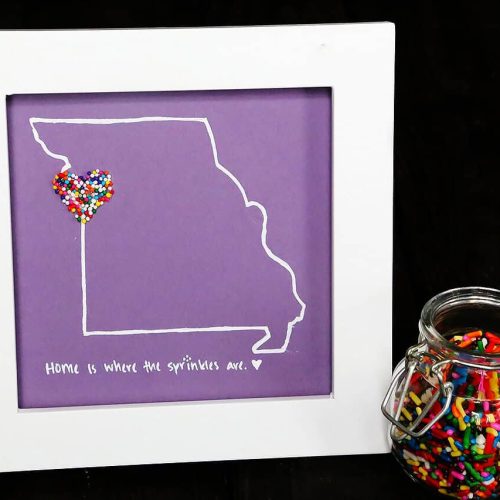
So, what exactly *is* DIY sprinkles art? At its heart, it’s the wonderfully creative process of making your own edible decorations that resemble traditional sprinkles, but with a personal twist. Think of it as drawing or painting, but instead of canvas and paint, you’re using edible mediums like royal icing or melted chocolate, and your canvas is parchment paper! The “art” part comes in when you start playing with colors, shapes, and patterns. You’re not just making long, thin rods; you can make tiny dots, cheerful stars, little hearts, or even abstract swirls. It’s essentially a way to personalize your baked goods with unique, homemade embellishments that are far more special than anything you can buy in a store. It’s like having your own sprinkle factory, but way more fun and a lot less industrial!
Why you’ll love this recipe?
Why do I love making my own sprinkles? flavor – well, technically, sprinkles aren’t usually known for deep flavor, but you can absolutely control the quality of what goes into yours. Using good quality vanilla extract or even a hint of almond can elevate them subtly. But the real star here is the simplicity. Honestly, if you can draw a straight line (or even a wobbly one!), you can make these. It doesn’t require any fancy equipment, just a few basic pantry staples and a bit of patience. And let’s talk about Cost-efficiency: What is the best way to measure cost-efficiency?! Buying specialty sprinkles can get pricey really quickly, especially if you need a specific color or shape. Making them yourself is incredibly budget-friendly, letting you create a whole rainbow of decorations for a fraction of the cost. Plus, the versatility is off the charts! You can match any color scheme for any occasion, from a whimsical unicorn party to a sophisticated wedding shower. I’ve found that this method is perfect for when I want to make a cake extra special without a huge fuss. It’s a lifesaver for last-minute celebrations, and my kids absolutely go wild for them. It’s also a fantastic activity to do with older children; they love being little artists in the kitchen!
How to Make DIY Sprinkles Art
Quick Overview
The process is refreshingly straightforward. You’ll be making a few batches of colored royal icing, piping them onto parchment paper in various shapes and sizes, letting them dry completely, and then breaking them into delightful little sprinkle pieces. It’s a meditative process, really, watching the colors come to life and then transforming them into edible art. The key is patience, especially when it comes to drying, but trust me, the effort is so worth it when you see your creations!
Ingredients
For the Base Icing (per color):
3 tablespoons of powdered sugar (also called confectioners’ sugar or icing sugar). Make sure it’s sifted to avoid lumps! This is the backbone of our sprinkle.
1 teaspoon of milk or water. This is for thinning the icing to the perfect piping consistency. You might need a tiny bit more or less depending on humidity.
1/4 teaspoon of vanilla extract or your favorite flavoring. Optional, but it adds a lovely subtle scent and taste.
Gel food coloring. This is crucial for vibrant, concentrated colors without watering down your icing. You can find these at most craft stores or baking supply shops.
For an Alternative Base (Melted Chocolate):
1 cup of good quality White Chocolate chips or melting wafers. These give a smooth, stable base that dries quickly.
Gel food coloring (oil-based is best for chocolate, or use candy melts for pre-colored options). If you use regular gel colors, add a tiny bit of vegetable shortening to help them incorporate without seizing.
Step-by-Step Instructions
Step 1: Prepare Your Workspace and Tools
Clear a clean, dry surface. Lay down a large sheet of parchment paper or a silicone baking mat. Have your piping bags and small round tips (like a Wilton #3 or #4) ready. If you’re using chocolate, make sure your bowls and spatulas are completely dry, as any water can cause chocolate to seize.
Step 2: Mix the Base Icing (or Melt Chocolate)
In a small bowl, whisk together the sifted powdered sugar, milk/water, and vanilla extract until you have a smooth, thick paste. If it’s too thick, add milk/water a tiny drop at a time. If it’s too thin, add a little more powdered sugar. For chocolate, gently melt your White Chocolate chips or wafers in a double boiler or in the microwave in 30-second intervals, stirring in between, until smooth.
Step 3: Color Your Icing/Chocolate
Divide the base icing (or melted chocolate) into small bowls, one for each color you want to create. Add a tiny amount of gel food coloring to each bowl and stir thoroughly until you achieve your desired shade. Remember that colors will slightly lighten as they dry. For chocolate, ensure the coloring is fully incorporated without making it grainy.
Step 4: Load Your Piping Bags
Spoon each colored icing or chocolate into a separate piping bag fitted with a small round tip. If you don’t have piping bags, you can snip a tiny corner off a sturdy Ziploc bag, but be prepared for less control. Don’t overfill the bags.
Step 5: Start Piping Your Sprinkles!
This is the fun part! On your prepared parchment paper, start piping your designs. You can pipe thin lines for traditional sprinkles, little dots, tiny squares, or even fun wiggly shapes. Try to keep the lines relatively consistent in thickness for a more uniform look, but don’t stress if they aren’t perfect – that’s part of the charm! For chocolate, pipe quickly as it starts to set.
Step 6: Let Them Dry Completely
This is where patience is key! Let the piped sprinkles dry at room temperature, undisturbed, until they are completely hard. This can take anywhere from 4-12 hours, or even overnight, depending on the thickness of your icing and the humidity in your kitchen. They should snap when you try to bend them. If using chocolate, they will set much faster, usually within 30-60 minutes at room temperature, or quicker if you pop them in the fridge briefly.
Step 7: Gently Break Apart
Once fully dried and hardened, carefully peel the parchment paper off your baking surface. You can then gently break the large sheets of sprinkles into smaller pieces. Sometimes they break cleanly, and other times you’ll get a mix of sizes and shapes, which I actually love! You can also use a sharp knife or pizza cutter to gently chop larger sections into more manageable sprinkle sizes, but be careful not to shatter them.
Step 8: Store Your Masterpieces
Store your finished DIY sprinkles art in an airtight container at room temperature. Keep them away from moisture and direct sunlight. They should last for several weeks, making them a great thing to have on hand!
What to Serve It With
Honestly, these DIY sprinkles art pieces are incredibly versatile and can elevate pretty much any sweet treat you can imagine. For breakfast, imagine a simple yogurt parfait topped with a scattering of your colorful creations – it instantly makes your morning feel more special and fun. Or sprinkle them on top of pancakes or waffles for a breakfast that feels like a celebration! When it comes to brunch, these are perfect for adorning cupcakes, mini cheesecakes, or even a beautiful layer cake. They add that professional, whimsical touch that guests will rave about. For dessert, the possibilities are endless! They are phenomenal on ice cream sundaes, dipped cookies, macarons, or even dusted over a rich chocolate mousse. They truly transform a simple treat into a showstopper. And for those cozy snacks, I love sprinkling them on top of simple Sugar Cookies or even just a bowl of chocolate pudding. My family especially loves them on homemade brownies – it’s our little tradition that makes them feel extra indulgent. My kids always ask for them when we have movie nights, and I can’t blame them!
Top Tips for Perfecting Your DIY Sprinkles Art
Over the years, I’ve definitely learned a few tricks that make this process even smoother. For the icing base, I always sift my powdered sugar meticulously. It might seem like a small step, but it saves you from having to whisk out tiny lumps later, ensuring a silky-smooth consistency. When you’re mixing the colors, start with just a tiny drop of gel coloring and build up. It’s much easier to add more color than to fix icing that’s too intense. For the actual piping, aim for a consistent pressure. If your hands get tired, take a break! Wobbly lines are charming, but super uneven thickness can make them harder to break apart evenly. I’ve learned that a slightly thicker icing is generally easier to control than a very thin one, but you still want it fluid enough to pipe smoothly. If you’re finding your icing is too stiff, a *tiny* splash more liquid is all you need. Conversely, if it’s too runny, a spoonful of powdered sugar will sort it out. When it comes to breaking them apart, be gentle! Sometimes the easiest way is to just lift the parchment paper and let gravity do some of the work, or use a cookie scraper to gently push and break them. I’ve also discovered that if you pipe some of your sprinkles a little thicker, they act like little decorative sprinkles, while thinner ones are more traditional. For ingredient swaps, if you don’t have milk, water works perfectly fine for thinning the icing. If you’re out of vanilla extract, a little almond extract can add a lovely, sophisticated twist. And if you’re using store-bought White Chocolate, make sure it’s good quality; some cheaper brands can be oily and not set as firmly. My biggest tip for baking anything these will go on? Make sure whatever you’re decorating is *completely cool* before adding sprinkles. Warm surfaces will melt them, and that’s a sad outcome!
Storing and Reheating Tips
Once your beautiful DIY sprinkles art is made, keeping them fresh is important so they’re ready when inspiration strikes. For short-term storage, keeping them at room temperature in an airtight container is perfectly fine. They’ll maintain their quality for about 2-3 weeks this way, as long as they’re kept away from any humidity. Think of a cool, dry pantry. If you need them to last longer, or if your kitchen tends to be a bit warm and humid, refrigerator storage is a great option. Just make sure they’re in a truly airtight container; the condensation in a fridge can make them sticky. In the fridge, they can easily last for 1-2 months. When it comes to freezer instructions, this is for long-term keeping, like if you’ve made a huge batch for holidays. Wrap them very well, first in plastic wrap, then in a layer of aluminum foil, and place them in a freezer-safe bag or container. They can last for up to 6 months frozen. When you’re ready to use them, just bring them out to room temperature *inside* their packaging to prevent condensation. The best part? You don’t need to reheat them at all! They are meant to be a cool, decorative topping. And for the glaze timing, if you’re decorating something that needs to be stored for a while, it’s always best to add the sprinkles just before serving to maintain their crisp texture, especially if they’re going on something moist like a frosted cake.
Frequently Asked Questions
Final Thoughts
Honestly, making your own DIY sprinkles art is such a wonderfully rewarding experience. It’s a simple way to inject a huge dose of personality and joy into your baking, transforming the ordinary into something truly special. The satisfaction you get from seeing those tiny, colorful creations adorning a cake or cookies is immense, and the smiles they bring are priceless. It’s a little project that proves you don’t need to be a master baker to create beautiful things. If you enjoyed this, you might also love my recipe for edible glitter or my guide to making colorful meringue kisses! They all share that same spirit of bringing edible magic into your kitchen. So, go ahead, gather your colors, and let your creativity flow! I can’t wait to see what beautiful sprinkle art you create. Please share your photos and stories in the comments below – I’d absolutely love to hear how your sprinkles turned out and what amazing creations you adorned with them!
DIY Sprinkles Art
Ingredients
Main Ingredients
- 0.5 cup Powdered sugar
- 0.25 tablespoon Corn syrup
- 2 tablespoon Water
- 0.5 teaspoon Vanilla extract
- 0.5 teaspoon Food coloring Assorted colors
Instructions
Preparation Steps
- In a medium bowl, whisk together powdered sugar, corn syrup, and water until smooth. Stir in vanilla extract.
- Divide the mixture into small bowls, one for each color of food coloring you plan to use.
- Add a few drops of food coloring to each bowl and mix until evenly colored.
- Transfer each colored mixture into a separate piping bag or a zip-top bag with a corner snipped off.
- On parchment paper or a silicone baking mat, pipe small dots or lines to create your desired sprinkle shapes.
- Let the sprinkles air dry completely for at least 12-24 hours, or until hardened.
- Once dry, carefully peel the sprinkles off the parchment paper. Break apart any pieces that have stuck together.
- Store in an airtight container at room temperature.


