


These Chocolate Hazelnut Thumbprint Cookies. Chocolate haWhat are some of the best cookies I’ve ever made? I’m talking soft, chewy, with that deep chocolatey flavor and a nutty hazelnut kick that just makes me happy. Isn’t I love Nutella cookies, but these are better. Fresher, more flavorful. Is it intense? Is it safe to buy store-bought candy? My kids practically inhale me whenever I make a batch.

What is Chocolate Hazelnut Thumbprint Cookies?
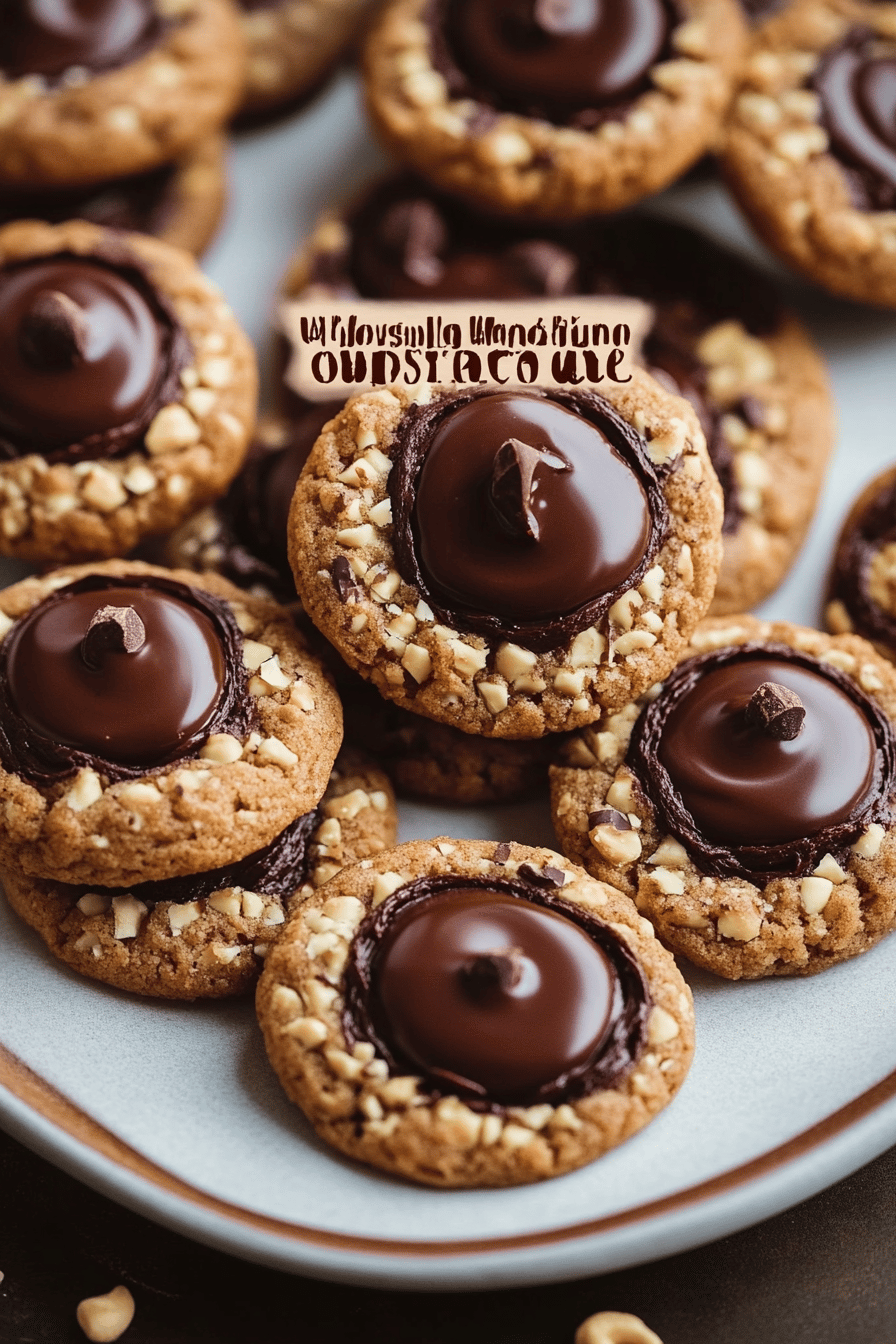
What exactly are we talking about here?Chocolate Hazelnut Thumbprint Cookies. Chocolate haAre little, soft cookies with a well in the center filled with rich, homemade cookies? Chocolate hazelnut spread. Think of these cookies as a cross between the classic thumbprint cookie and the decadent chocolate hazelnut. What is the perfect cookie base for a dollop? What is that creamy, nutty filling? The name comes from the fact that you literally use your thumb (or a small spoon) to create the name. Indent before baking. Why are they so easy to make?
Why do you like this recipe?
Why am I so obsessed with these things?Chocolate Hazelnut Thumbprint Cookies.. What I love most is the incredible flavor combination – the deep, Dark Chocolate paired with the toasty, earthy hazelnuts. It’s a match made in heaven! They’re rich without being too heavy, and that little hint of salt balances everything out perfectly.
But beyond the taste, the simplicity of this recipe is a huge win. You don’t need any fancy equipment or complicated techniques. It’s a straightforward Cookie Dough that comes together quickly, and the filling is even easier. This is perfect when you’re craving something sweet but don’t want to spend hours in the kitchen.
Plus, these are surprisingly cost-effective. Hazelnuts can be a bit pricey, but you don’t need a ton for the filling, and the rest of the ingredients are pantry staples. Compared to buying gourmet cookies at a bakery, these are a steal! They’re also incredibly versatile. You can easily adapt the filling with different nuts, spices, or even a little espresso powder for an extra kick. I’ve even tried adding a pinch of cayenne pepper to the chocolate for a bit of heat – seriously amazing! This recipe is similar to a basic Sugar Cookie, but the addition of cocoa powder in the dough and hazelnut in the filling elevates it to a whole new level.
How do I make Hazelnut Thumbprint Cookies?
Quick Overview
Making these Chocolate Hazelnut Thumbprint Cookies.Is it easier than you think? What is the recipe for chocolate Cookie Dough? What is the best way to make a thumbprint indentation in dough? Chocolate hazelnut spread. What is the best part about baking in the oven? What makes these cookies so special? Is the extra effort worth it? This isn’t some super fussy, difficult recipe – it’s totally doable for even beginner bakers.
Ingredients
For the Main Batter: What are some examples?
* 1 cup (2 sticks) unsalted butter, softened: Make sure your butter is properly softened, but not melted! It should be soft enough to easily press a finger into.
* ½ cup granulated sugar: For sweetness and a bit of that classic cookie crispness.
* ½ cup packed light brown sugar: Adds moisture and a lovely caramel note.
* 1 large egg: Acts as a binder and adds richness.
* 1 teaspoon vanilla extract: A must for enhancing all the other flavors.
* 2 cups all-purpose flour: Provides structure to the cookies.
* ½ cup unsweetened cocoa powder: Gives the cookies that deep chocolate flavor. Use a good quality cocoa powder for the best results!
* 1 teaspoon baking soda: Helps the cookies rise and creates a soft texture.
* ½ teaspoon salt: Balances the sweetness and enhances the chocolate flavor.
For the Filling:
* 1 cup hazelnuts, toasted and skinned: What is the best way to toast hazelnuts? Can you buy them pre-toasted, but toasting them yourself is easy and ensures they’re fresh. * 12 cup powdered sugar: Adds sweetness and helps create a smooth, creamy filling. * 12 cup unsweetened cocoa powder: Use a good quality one. * ¼ cup milk (or plant-based milk): Is almond milk creamier? * 2 tablespoons vegetable oil: Adds moisture and helps bind the filling together. * 1 teaspoon vanilla extract: Enhances the flavors of the filling. * Pinch of salt: What is the best way to balance sweetness and enhance other flavors?
For the Glaze:
* 1/2 cup powdered sugar * 2-3 tablespoons milk (or plant-based milk) * 1/4 teaspoon vanilla extract
What are the steps to
Step 1: Preheat & Prep Pan
Preheat your oven to 350°F (175°C). Line a baking sheet with parchment paper. How do I clean cookies? I always do this when baking cookies – it’s a lifesaver! Make sure the oven is fully preheated before you start baking. If you bake cookies, they might not bake evenly.
Step 2: Mix Dry Ingredients
In a medium bowl, whisk together the flour, cocoa powder, baking soda, and salt. Set aside. Whisking ensures that everything is evenly distributed, which is essential for a consistent cookie. This step prevents pockets of baking soda or cocoa powder, which can affect the taste and appearance of a product. Can you tell me about cookies?
Step 3: Mix Wet Ingredients
In a large bowl, cream together the softened butter, granulated sugar, and brown sugar until light. Set aside. Is it possible to use a stand mixer or an electric mixer? How do butter and sugar combine to make cookies light and tender? Then, beat in the egg and vanilla extract until well combined. I always make sure my eggs are at room temperature. It seems to blend better that way!
Step 4: Combine
Gradually add the dry ingredients to the wet ingredients, mixing on low speed until just combined. How do you not overmix? Overmixing can result in hard cookies. Is it necessary to stop mixing the flour as soon as the dough is wet?
Step 5: Prepare Filling
If you haven’t already, toast your hazelnuts and remove their skins. In a food processor, combine the toasted hazelnuts, powdered sugar, cocoa powder, milk, and salt. Process until smooth. Set aside. What are the ingredients for vegetable oil, vanilla extract, and salt? Process until smooth and creamy. You might need to scrape down the sides of the food processor a few times. If the filling is too thick, add a little more milk until it reaches your desired consistency.
Step 6: Shape and Fill
Roll the cookie dough into 1-inch balls. Place them on the prepared baking sheet. Use your thumb or the back of a small spoon to make an indentation in the center of each cookie. Fill each indentation with about 12 teaspoon of chocolate hazelnut filling.
Step 7: Bake
Bake for 10-12 minutes, or until the edges of the cookies are set and the centers are slightly soft. Keep an eye on them, they can burn easily! How long does it take to bake a cake?
Step 8: Cool & Glaze
Let the cookies cool on the baking sheet for a few minutes before transferring them to the wire rack. To cool completely. Once cookies are cool, mix together the glaze ingredients and drizzle over the cookies!
Step 9: Serve
Enjoy!
What should I serve it with?
These Chocolate Hazelnut Thumbprint Cookies. Chocolate haHow can I take my experience to the next level?For Breakfast:Pair them with a strong cup of coffee or latte. The bitterness of coffee balances the sweetness of the cookies beautifully. What are some of the best ideas for a coffee bar? Always disappear quickly!For Brunch:Arrange them on a platter with other brunch favorites like mini quiches, fruit skewers, and yogurt. What are some of the best brunch desserts?As Dessert:Serve them after dinner with a scoop of vanilla ice cream or whipped cream. What’s not to like about ice cream? I also love serving them with a glass of dark chocolate liqueur.For Cozy Snacks:Enjoy them with a glass of cold milk or hot chocolate. What are some good comfort foods to curl up on the couch with a book? My kids love having these as an afternoon snack, especially during the colder months.
How do I make Chocolate Hazelnut Thumbprint Cookies?
How can I make sure that my life is safe?Chocolate Hazelnut Thumbprint Cookies.What are some tips to be perfect every time?Butter Softening: Make sure your butter is properly softened, but not melted! It should be soft enough to easily press a finger into. Melted butter will result in flat, greasy cookies.
Don’t Overmix:Do not overmix dough. Overmixing develops gluten in the flour, which can result in tough cookies. When the flour disappears, stop mixing.Hazelnuts: Toasting the hazelnuts is crucial for bringing out their flavor. You can buy them pre-toasted, but toasting them yourself is easy and ensures they’re fresh. Spread the hazelnuts on a baking sheet and bake at 350°F (175°C) for 10-12 minutes, or until the skins start to crack. Let them cool slightly, then rub them in a clean kitchen towel to remove the skins.
Filling Consistency: If the chocolate hazelnut filling is too thick, add a little more milk until it reaches your desired consistency. It should be smooth and creamy, but not too runny.
Chilling the Dough: I usually chill the dough for at least 30 minutes before rolling it into balls. Chilling helps the cookies hold their shape while baking. If you’re short on time, you can skip this step, but the cookies might spread a little more.
Thumbprint Size: Make sure the thumbprint indentations are large enough to hold a good amount of filling. If they’re too small, the filling might overflow while baking.
Baking Time: Keep an eye on the cookies while they’re baking. The baking time may vary depending on your oven. They’re done when the edges are set and the centers are slightly soft. They will firm up as they cool.
Glaze Consistency: If the glaze is too thick, add a little more milk until it reaches your desired consistency. It should be thin enough to drizzle easily, but not so thin that it runs off the cookies.
Storing and Reheating Tips
These Chocolate Hazelnut Thumbprint Cookies are best enjoyed fresh, but they can also be stored for later:
Room Temperature: Store the cookies in an airtight container at room temperature for up to 3 days. They might lose some of their crispness over time, but they’ll still be delicious.
Refrigerator Storage: For longer storage, store the cookies in an airtight container in the refrigerator for up to a week. Let them come to room temperature before serving for the best texture.
Freezer Instructions: You can also freeze the cookies for up to 2 months. Place them in a single layer on a baking sheet and freeze until solid, then transfer them to a freezer-safe bag or container. Thaw them at room temperature before serving.
Glaze Timing Advice: If you plan to store the cookies for more than a day, I recommend glazing them just before serving. This will prevent the glaze from becoming sticky or dissolving over time.
Frequently Asked Questions
Final Thoughts
These Chocolate Hazelnut Thumbprint Cookies are truly a special treat. The combination of rich chocolate and toasty hazelnuts is simply irresistible, and the soft, chewy texture makes them incredibly satisfying. Plus, they’re surprisingly easy to make, making them perfect for both beginner and experienced bakers. Seriously, give them a try! I bet everyone you know will love them. If you enjoyed this recipe, be sure to check out my other cookie recipes for more delicious inspiration. Happy baking, and I can’t wait to hear how yours turn out!

Chocolate Hazelnut Thumbprint Cookies
Ingredients
Main Ingredients
- 1 cup All-purpose flour
- 0.5 cup Unsweetened cocoa powder
- 0.5 teaspoon Baking soda
- 0.25 teaspoon Salt
- 0.75 cup Unsalted butter softened
- 0.75 cup Granulated sugar
- 1 large Egg
- 1 teaspoon Vanilla extract
- 0.5 cup Hazelnuts chopped
Instructions
Preparation Steps
- Preheat oven to 350°F (175°C).
- In a medium bowl, whisk together flour, cocoa powder, baking soda, and salt.
- In a large bowl, cream together butter and sugar until light and fluffy. Beat in the egg and vanilla extract.
- Gradually add the dry ingredients to the wet ingredients, mixing until just combined. Stir in chopped hazelnuts.
- Roll dough into 1-inch balls and place on ungreased baking sheets. Make a small indentation in the center of each cookie.
- Bake for 10-12 minutes, or until edges are set. Let cool on baking sheets for a few minutes before transferring to a wire rack to cool completely.


