


You know those nights, right? The ones where you’re hit with a serious sweet craving, but the thought of pulling out all the stops for a complicated dessert just feels… overwhelming. Maybe the kids are buzzing with leftover energy, or perhaps you just had a long day and a bit of comfort is exactly what you need. This Chocolate Chip dessert pizza is my absolute, hands-down, go-to for exactly those moments. It’s like a warm hug in food form, and honestly, it’s so ridiculously easy, you’ll wonder why you haven’t made it before. It’s got that perfect balance of soft, chewy crust, gooey melted chocolate, and a hint of sweetness that just sings. Forget the faff of rolling out pizza dough for a sweet treat; this is your shortcut to pure bliss, and it tastes so much better than any store-bought cookie you could grab.
What is a chocolate chip dessert pizza?
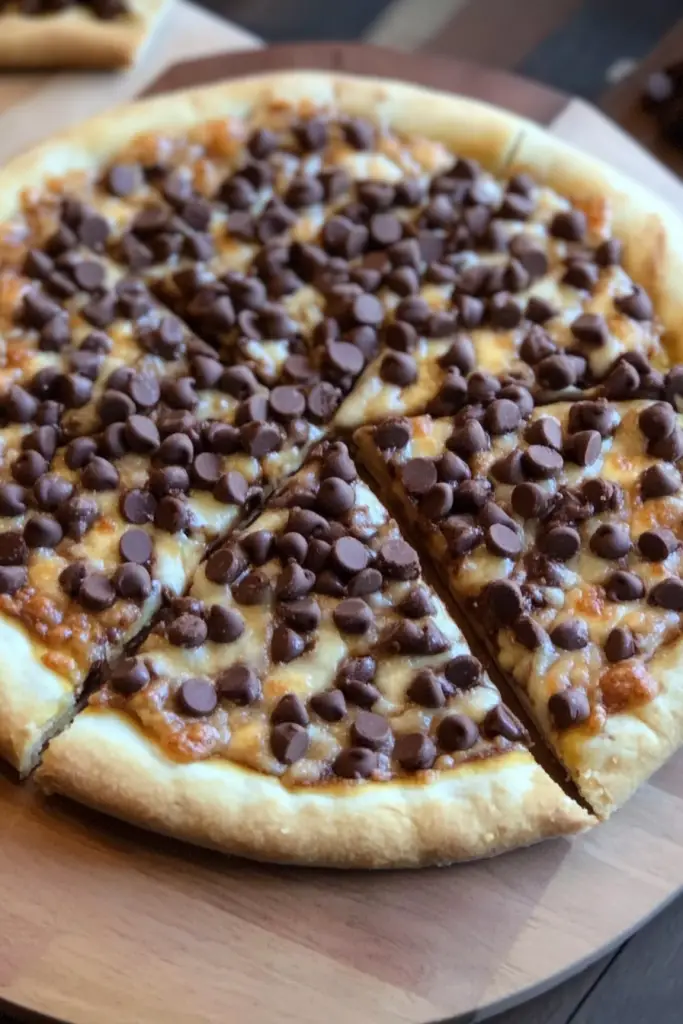
So, what exactly is this magical thing we’re talking about? Think of a classic pizza, but instead of savory toppings, we’re going all out with sweet, decadent goodness. It’s essentially a sweet, cookie-like crust, often made with a base similar to a sugar cookie or a soft chocolate chip cookie, that’s baked until golden and slightly firm. Then, it’s generously topped with a luscious layer of something sweet – usually a cream cheese or mascarpone mixture, sometimes even a simple Sweetened Condensed Milk drizzle – and, of course, a cascade of glorious chocolate chips. We’re talking puddles of melted chocolate, bits of semi-sweet and milk chocolate mingling together, creating this irresistible sweet pizza that you can slice and enjoy warm. It’s a playful, crowd-pleasing take on a chocolate chip cookie, scaled up and made even more fun to eat. It’s not quite a cake, not quite a cookie, but a delightful fusion that stands on its own.
Why you’ll love this recipe?
Honestly, where do I even begin with why this chocolate chip dessert pizza is my culinary soulmate? First and foremost, the flavor profile is just divine. You get that comforting, familiar taste of Chocolate Chip Cookies but with a wonderfully soft, cakey-cookie base that’s been elevated. It’s not overly sweet on its own, which is crucial, because that lets the chocolate and any added toppings truly shine. And speaking of ease – this recipe is a lifesaver! It comes together so quickly, which is a huge win on busy weeknights or when unexpected guests pop over. I’ve learned through trial and error that using a good quality chocolate makes all the difference here, but even with everyday chips, it’s a winner. It’s also incredibly cost-efficient. Most of the ingredients are pantry staples, meaning you can whip this up without a special trip to the grocery store. The versatility is another huge plus. You can play around with the types of chocolate, add nuts, swirl in some caramel, or even dollop on some whipped cream. It’s perfect for a casual family dessert, a fun party centerpiece, or even as a slightly elevated breakfast treat if you’re feeling adventurous (don’t judge me!). Unlike a traditional chocolate chip cookie, which can sometimes be finicky to get just right – crispy edges, chewy center – this dessert pizza guarantees that soft, melt-in-your-mouth texture across the board. It’s pure, unadulterated comfort food that always delivers a smile.
How do I make chocolate chip pizza?
Quick Overview
This Chocolate Chip dessert pizza is a dream because it’s built on simplicity and speed. You’ll start by mixing up a quick, soft dough that doesn’t require any chilling or complicated kneading. Press it right into your pizza pan, bake it for a short while until it’s just golden, then load it up with your chocolatey goodness and give it another quick bake. The magic happens when that chocolate melts into a glorious pool. It’s a straightforward process that requires minimal fuss and delivers maximum deliciousness. You really can’t mess this up, and that’s why I love it so much!
Ingredients
For the Main Batter:
You’ll need 1 cup (2 sticks) unsalted butter, softened. Make sure it’s good quality butter; it really does add a subtle richness. Then, we’ll use 1 cup granulated sugar and 1 cup packed light Brown Sugar for that perfect sweet and slightly caramel-y note. Two large eggs, at room temperature, will help bind everything together beautifully. For that lovely vanilla essence that chocolate just adores, use 2 teaspoons of pure vanilla extract – don’t skimp on this! And for the dry stuff, we’ll have 3 cups all-purpose flour, 1 teaspoon baking soda to give it a little lift, and ½ teaspoon salt to balance out the sweetness. Make sure your baking soda is fresh; it makes a difference!
For the Filling:
This is where the creamy decadence comes in. You’ll need 8 ounces cream cheese, softened to room temperature. I sometimes use mascarpone for an extra-rich texture, but cream cheese is wonderfully accessible and still fantastic. Then, about ¼ cup of powdered sugar, sifted, to sweeten it just a touch. And another teaspoon of vanilla extract to amp up that lovely aroma and flavor. If you want a little tang, a tablespoon of sour cream or plain Greek yogurt can be a nice addition, though it’s totally optional.
For the Glaze:
We’ll keep this super simple for maximum chocolate impact. About 1 cup of your favorite chocolate chips – I love a mix of semi-sweet and milk chocolate chips for complexity, but use what you love! You can also use chocolate chunks or even finely chopped chocolate bars. For an optional drizzle that takes it over the top, you can melt down a little extra chocolate with a tiny bit of butter or coconut oil for a glossy finish.
Step-by-Step Instructions
Step 1: Preheat & Prep Pan
First things first, let’s get our oven ready. Preheat it to 350°F (175°C). You’ll want to use a 12-inch pizza pan or a large round baking sheet. Lightly grease it with butter or non-stick spray, and then maybe dust it with a little flour or cocoa powder. This extra step ensures your dessert pizza slides right off without any sticking drama. I sometimes line mine with parchment paper, cutting it into a circle, which is another foolproof way to guarantee a clean release.
Step 2: Mix Dry Ingredients
In a medium bowl, whisk together the all-purpose flour, baking soda, and salt. Just a good whisking is all it takes to make sure the leavening agent and salt are evenly distributed throughout the flour. This is super important for an even bake and consistent texture. Don’t overthink this step; a quick, thorough mix is perfect.
Step 3: Mix Wet Ingredients
In a large bowl, using an electric mixer (or a sturdy whisk and some elbow grease!), cream together the softened butter, granulated sugar, and brown sugar until the mixture is light and fluffy. This usually takes a good 2-3 minutes. Then, beat in the eggs one at a time, making sure each is fully incorporated before adding the next. Stir in the vanilla extract. It should look beautifully emulsified and smell amazing already!
Step 4: Combine
Gradually add the dry ingredients to the wet ingredients, mixing on low speed or by hand until just combined. Be careful not to overmix here! Overmixing can develop the gluten in the flour, leading to a tougher crust, and we definitely don’t want that. Stop mixing as soon as you don’t see any more streaks of dry flour. The dough will be thick and slightly sticky, which is exactly what we’re looking for.
Step 5: Prepare Filling
While your dough is resting for a moment, let’s whip up that dreamy filling. In a separate bowl, beat the softened cream cheese (or mascarpone) with the sifted powdered sugar and vanilla extract until smooth and creamy. If you’re adding sour cream or yogurt, beat that in now too. You want it to be spreadable but not runny. This creamy layer is going to be the perfect counterpoint to the rich chocolate.
Step 6: Layer & Swirl
Now for the fun part! Take your dough and press it evenly into your prepared pizza pan, creating a slight rim around the edge. You can use your hands or a spatula for this. If the dough is too sticky, lightly dampen your fingers with water. Then, spread the cream cheese mixture evenly over the dough base, leaving about a ½-inch border. Sprinkle the chocolate chips generously over the cream cheese layer. You can even gently press some of them in. If you’re feeling fancy, you can swirl some melted chocolate into the cream cheese before spreading, or drizzle a little extra melted chocolate over the top after adding the chips for a more dramatic look.
Step 7: Bake
Pop your creation into the preheated oven. Bake for about 20-25 minutes, or until the edges of the crust are golden brown and the chocolate is melted and bubbly. The center might still look a little soft, and that’s okay – it will continue to set as it cools. I always check mine by gently tapping the center; it should feel mostly firm but still have a slight give. Keep an eye on it, as oven temperatures can vary!
Step 8: Cool & Glaze
Once baked, remove the pizza from the oven and let it cool on a wire rack for at least 15-20 minutes before slicing. This is crucial! If you try to slice it too soon, everything will just fall apart. While it’s still warm, you can add an optional drizzle of melted chocolate over the top for that extra touch of decadence. The residual heat will help it spread beautifully.
Step 9: Slice & Serve
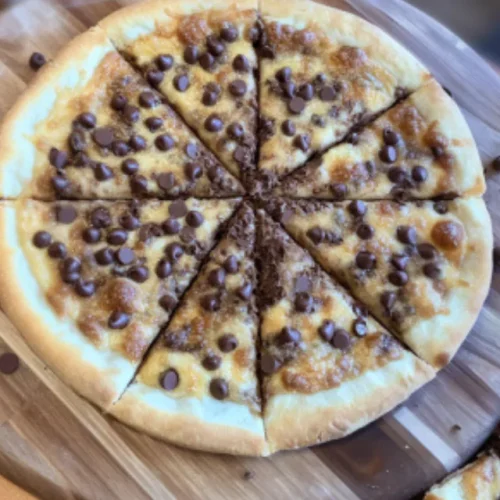
Once it’s cooled enough to handle, slice your chocolate chip dessert pizza into wedges, just like a regular pizza. Serve it warm, perhaps with a scoop of vanilla ice cream or a dollop of whipped cream. The gooey, melted chocolate and the soft, warm crust are pure magic when enjoyed fresh from the oven.
What to Serve It With
This chocolate chip dessert pizza is so wonderfully versatile, it fits into almost any meal or occasion. For breakfast, imagine a slice with your morning coffee – the warm, chocolatey goodness is surprisingly comforting alongside a hot brew. It’s a little indulgent, yes, but who says breakfast can’t be a treat? For brunch, it’s an absolute showstopper. Present it on a beautiful platter, maybe with some fresh berries scattered around the edge for a pop of color and freshness. It pairs wonderfully with mimosas or a light fruit juice. As a dessert, it’s a guaranteed hit. Serve it à la mode with vanilla bean ice cream, or perhaps a raspberry coulis for a touch of tartness to cut through the sweetness. For cozy snacks, it’s perfect for movie nights or casual get-togethers. Just slice it up and let everyone dig in! My family loves it with a big glass of cold milk, and honestly, that’s my preferred way to enjoy a leftover slice the next morning. It’s also fantastic with a warm cup of tea.
Top Tips for Perfecting Your Chocolate Chip Dessert Pizza
I’ve made this chocolate chip dessert pizza more times than I can count, and along the way, I’ve picked up a few tricks that really make a difference. Firstly, when it comes to the batter, don’t overmix once you add the flour. Seriously, just mix until the flour streaks disappear. Overmixing develops gluten, and we want a tender, cookie-like crust, not a tough one. I learned this the hard way years ago when I ended up with a pizza that was a bit too chewy for my liking. For the filling, ensure your cream cheese is truly at room temperature. Cold cream cheese won’t mix smoothly, and you’ll end up with lumps, which isn’t ideal. If you’re in a pinch, you can quickly soften it by cutting it into small cubes and microwaving it on low power for 30-second intervals, but be careful not to melt it. When it comes to the chocolate chips, I really do recommend using a mix of different types – semi-sweet, milk, and even a few dark chocolate chips if you like. The varied melt and flavor create a more complex, delicious chocolate experience. I also find that gently pressing some of the chips into the cream cheese filling before baking helps them adhere better and prevents them from all sinking to the bottom. For baking, remember that ovens can be tricky. If your crust starts browning too quickly around the edges before the center is done, you can loosely tent the pizza with aluminum foil. This will protect the edges from burning while allowing the center to cook through. Another little trick I learned is to let it cool for at least 15-20 minutes before slicing. Patience is key here! Cutting it too soon results in a messy, gooey situation, which, while still delicious, isn’t as pretty or easy to eat. For ingredient swaps, if you don’t have all-purpose flour, a 1:1 gluten-free baking blend usually works well, though the texture might be slightly different. If you’re out of brown sugar, you can substitute with granulated sugar and add a tablespoon of molasses, but it will change the flavor profile slightly. And for an extra layer of flavor, try adding a pinch of cinnamon to the dry ingredients or a tablespoon of finely chopped nuts (like pecans or walnuts) along with the chocolate chips.
Storing and Reheating Tips
This chocolate chip dessert pizza is best enjoyed fresh, but it does store surprisingly well. If you have any leftovers (which is rare in my house!), you can keep it at room temperature, covered loosely with plastic wrap or foil, for up to two days. The crust will soften a bit over time, but it remains wonderfully moist and delicious. For longer storage, definitely keep it in the refrigerator. Wrap the entire pizza or individual slices tightly in plastic wrap, then place them in an airtight container. It should stay good in the fridge for about 4-5 days. When you’re ready to reheat, I find that gently warming individual slices in a toaster oven or a conventional oven at around 300°F (150°C) for 5-10 minutes brings back that fresh-from-the-oven gooeyness beautifully. You can also microwave a slice for about 15-30 seconds, but the crust might lose some of its crispness. If you plan to freeze portions, make sure the pizza is completely cooled. Wrap slices tightly in plastic wrap, then in aluminum foil, and place them in a freezer-safe bag or container. It should keep well in the freezer for up to 2-3 months. Thaw overnight in the refrigerator, and then reheat as directed. I usually wait to add any extra glaze or toppings until just before serving to maintain their texture.
Frequently Asked Questions
Final Thoughts
So there you have it – my absolute favorite chocolate chip dessert pizza recipe! It’s truly a testament to how simple ingredients can come together to create something utterly magical. It’s the kind of dessert that brings people together, sparking joy with every gooey, chocolatey bite. The ease of preparation means you can whip it up for a spontaneous treat, a family movie night, or even a potluck without breaking a sweat. I really hope you give this a try, and when you do, I can’t wait to hear how it turns out for you! If you loved this recipe, you might also enjoy my Chewy Chocolate Chip Cookie Bars or my Easy No-Bake Chocolate Mousse. Happy baking, and may your dessert pizza be ever so delicious!
Chocolate chip dessert pizza
Ingredients
Dough
- 1 can refrigerated pizza dough
Toppings
- 0.5 cup butter melted
- 0.5 cup granulated sugar
- 0.25 cup brown sugar packed
- 1 teaspoon cinnamon
- 2 cups chocolate chips semi-sweet
Instructions
Preparation Steps
- Preheat oven to 400°F (200°C).
- Unroll pizza dough onto a greased pizza pan or baking sheet. Press dough to form a pizza crust.
- In a small bowl, combine melted butter, granulated sugar, brown sugar, and cinnamon. Mix well.
- Spread the butter mixture evenly over the pizza crust.
- Sprinkle chocolate chips over the butter mixture.
- Bake for 15-20 minutes, or until the crust is golden brown and the chocolate chips are melted.
- Let cool slightly before slicing and serving.


