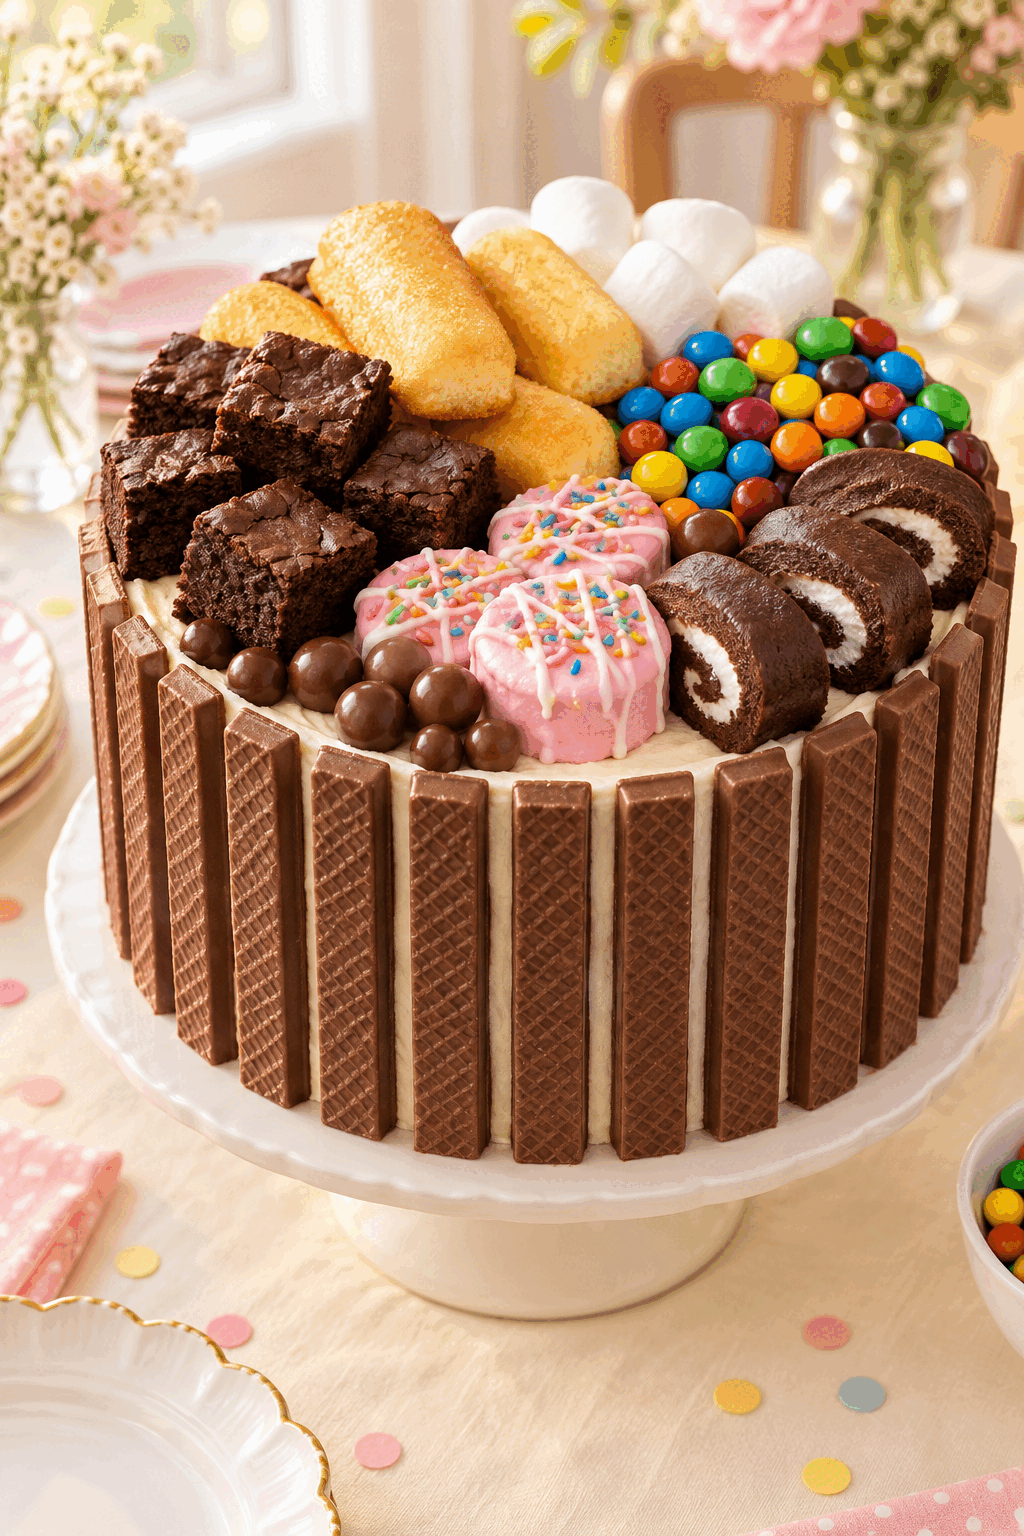


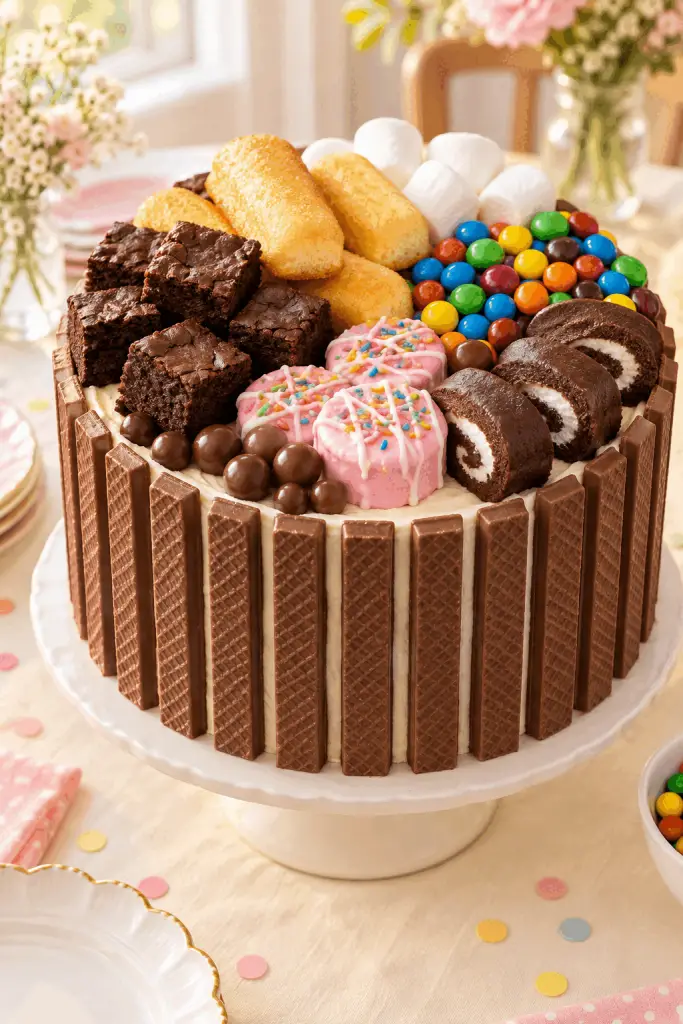
Candy cake is the easiest way to turn a plain frosted cake into a celebration centerpiece, and this candy cake needs no piping bag or decorating experience. Chocolate wafer bars create tidy sections while snack cakes, marshmallows, and colorful candies add height, crunch, and contrast. Assemble it in about 30 minutes, chill it until serving, and let guests choose their favorite decorated slice at birthdays, showers, graduations, or a classroom party.
What Is a Candy Cake?
A candy cake is a frosted round cake surrounded and topped with store-bought treats. Instead of trying to make every decoration identical, you use the cake as a blank canvas and arrange the toppings in visible zones. The finished dessert looks abundant and playful, but the method is simply placement, slicing, and filling.
This version uses Nutty Buddies around the edge, chocolate wafer candies as dividers, and separate sections for Swiss Rolls, Cosmic Brownies, Zebra Cakes, and assorted candy or marshmallows. Keep the cake chilled so the frosting stays firm while you build.
Why This Easy Candy Cake Works
The design has a natural structure. Upright Nutty Buddies frame the cake, while wafer bars make straight boundaries that keep soft and crunchy toppings from sliding together. Each section can have its own color and texture, so the cake looks intentional even when the candy assortment changes.
There is also no baking step in the decorating plan. Start with a fully frosted round cake from a bakery or your favorite homemade recipe. Because the toppings are ready to eat, the main decision is how to balance height, color, and easy serving.
How to Make Candy Cake
Set a chilled frosted cake on its final serving plate before decorating. Unwrap and arrange all toppings first, then build the border, dividers, and sections in that order. This keeps the frosting clean and makes it easier to see whether you have enough candy for every space.
Ingredients
- 1 frosted round cake, chilled and placed on a serving plate
- 2 boxes Nutty Buddies, unwrapped
- 1 box Zebra Cakes, unwrapped
- 1 box Swiss Rolls, unwrapped and sliced
- 2 packs chocolate wafer candies such as Kit Kats, unwrapped
- 1 box Cosmic Brownies, cut into small shapes
- 2 cups assorted colored candies or marshmallows, divided by color if desired
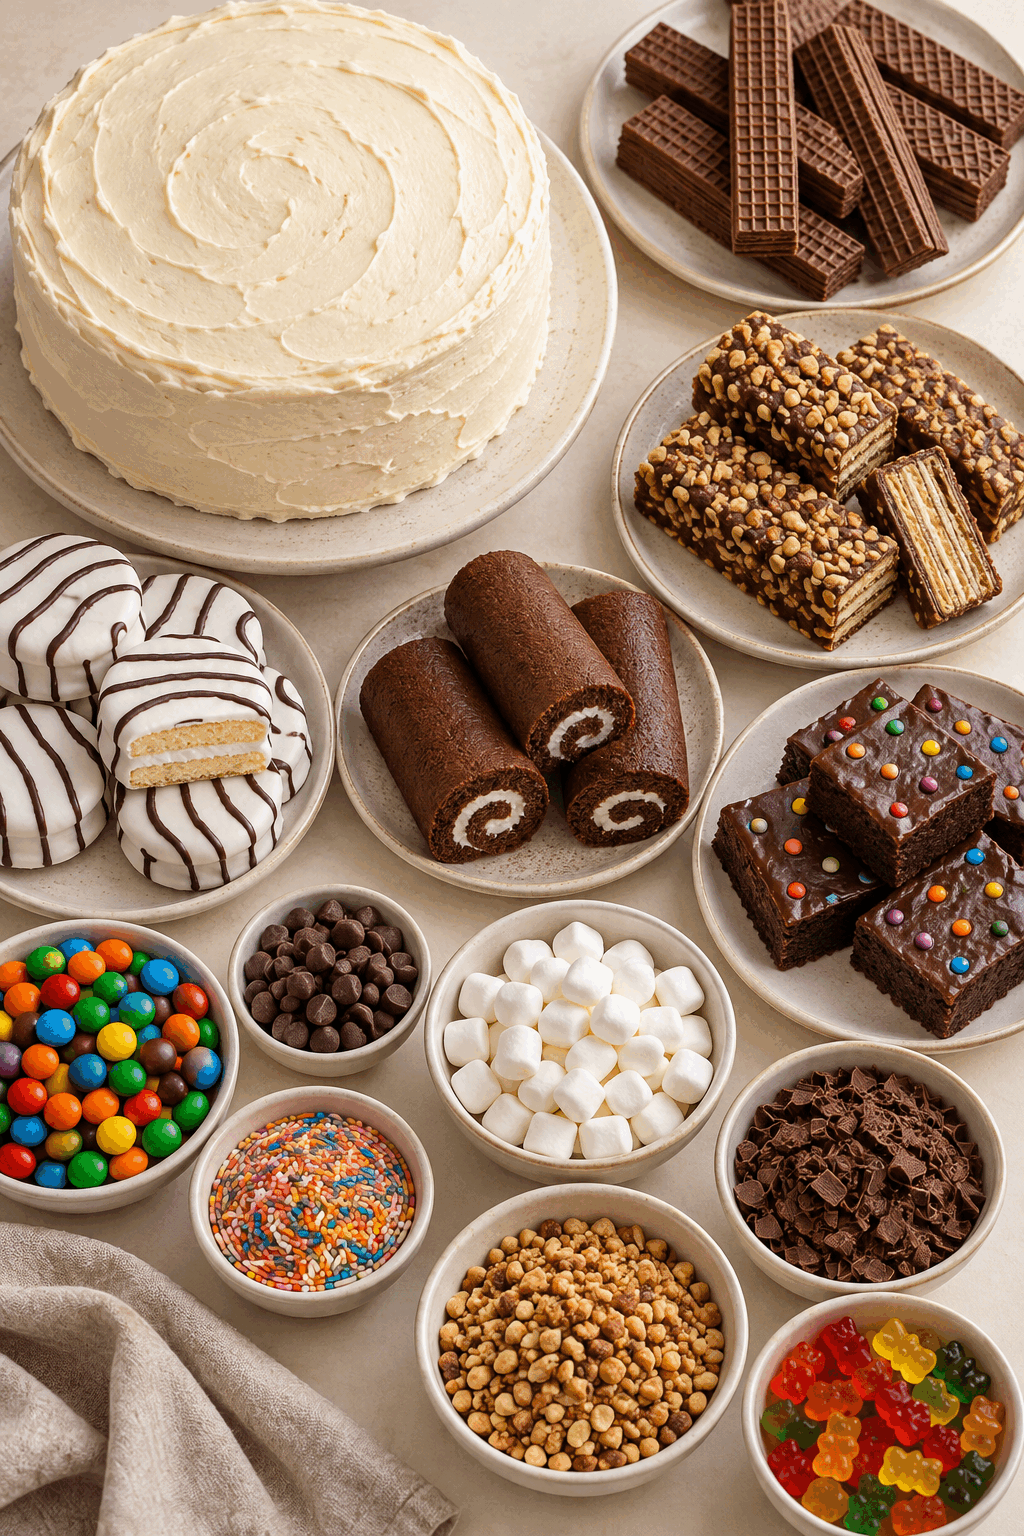
Assembly Overview
The assembly is easiest when the cake is cold and the pieces are dry. Press only lightly into the frosting; the cake should support the decorations without being crushed. If the room is warm, return the cake to the refrigerator for 10 minutes whenever the frosting begins to soften.
Build the Cake
- Place the Nutty Buddies around the frosted cake.
- Place the chocolate wafer candies on top of the cake to divide it into equal sections.
- Slice the Swiss Rolls and arrange them in one segment of the cake.
- Cut the Cosmic Brownies and Zebra Cakes into small shapes.
- Place the snack cakes on top of the cake in their own separate segments.
- Fill the remaining segments with the assorted candy or marshmallows.
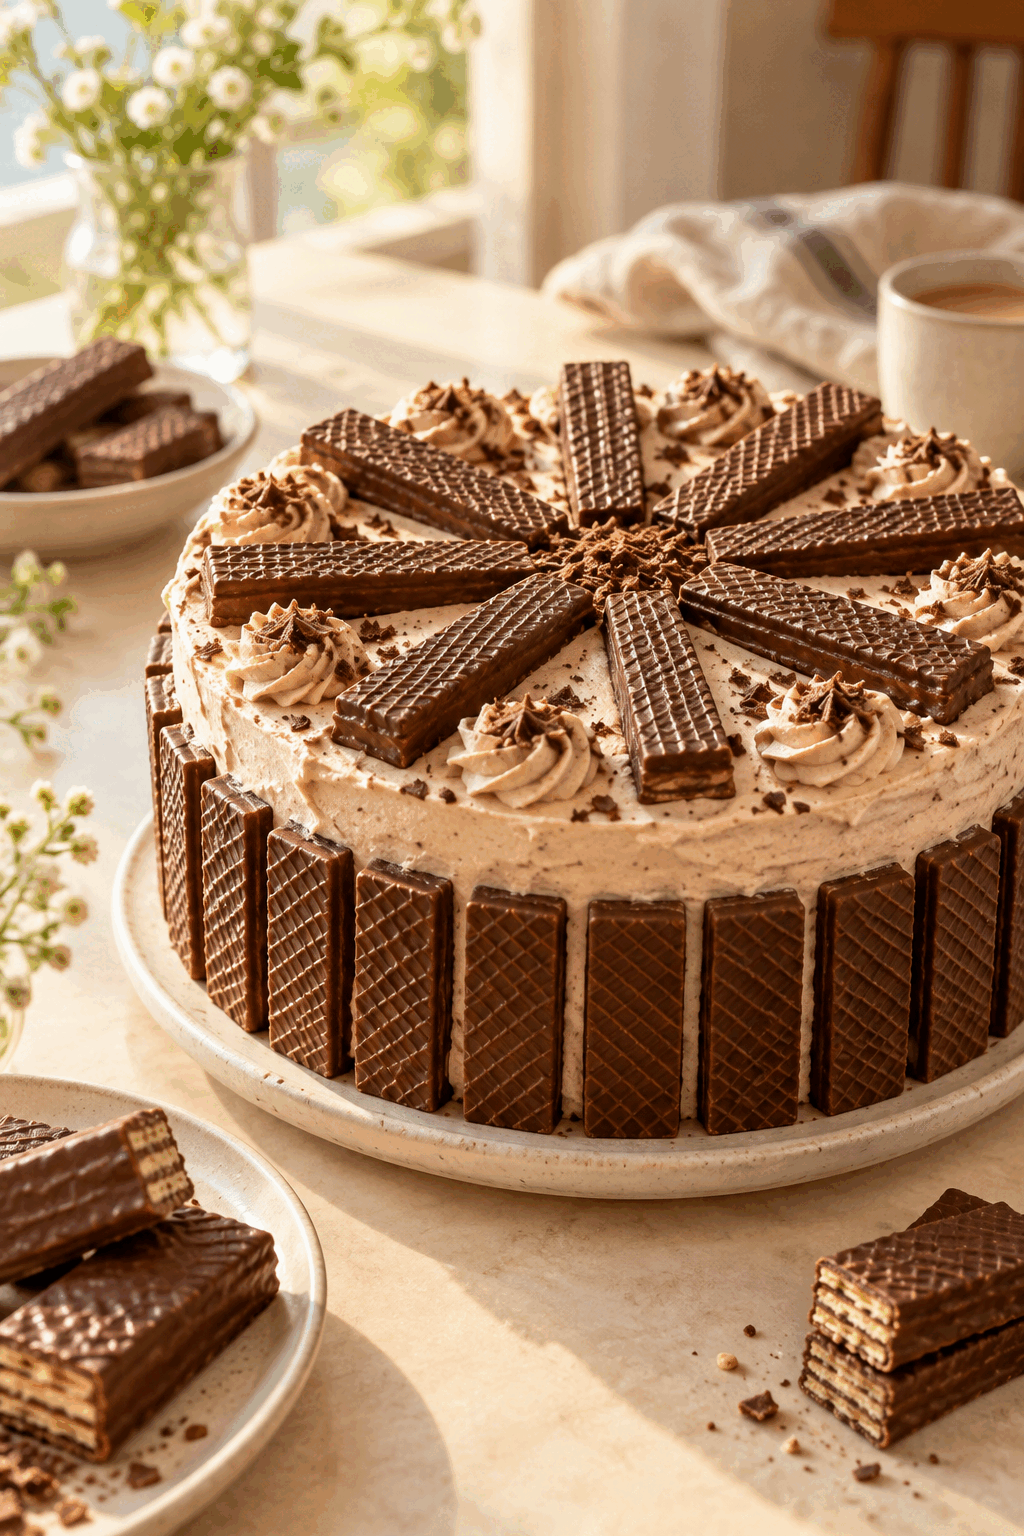
Serving Ideas for Candy Cake
Bring the whole cake to the table for a birthday reveal, then cut through the frosting and cake while keeping the topping zones visible. A serrated knife helps with the frosted cake, and a small offset spatula can lift pieces that carry several decorations. For a school-color celebration, sort the assorted candy into two or three matching colors before decorating.
For a concrete use case, make this cake the centerpiece of a children’s birthday dessert table and let each guest pick a section. It also works for a graduation party when the candy colors match the graduate’s school.
Tips for a Neat Decoration
Measure the cake’s diameter before opening the candy so you can reserve enough Nutty Buddies for a complete border. Choose wafer bars of similar height and place the straightest pieces first. Cut the snack cakes with a lightly oiled knife if the filling sticks, and keep a few whole pieces for the highest points of the design.
Optional Variation
Optional variation: replace the assorted candies or marshmallows with one color family, such as pastel candies for a baby shower or red, white, and blue sweets for a summer party. You may also use another chocolate wafer candy in place of Kit Kats, but preserve the dividers so the sections remain easy to portion.
Storage and Serving Temperature
Cover the finished candy cake loosely or place it in a cake carrier and refrigerate it until serving. The frosting and toppings are easiest to cut when cool, while a short rest at room temperature softens the cake slightly. Keep the cake away from humidity, which can make wafers lose their crisp texture and cause candy colors to bleed.
For the best appearance, decorate as close to serving as your schedule allows. If you must assemble it ahead, add the crisp wafer dividers and most candy shortly before guests arrive, then keep the cake chilled.
How Far Ahead Can You Make Candy Cake?
Prepare the frosted round cake and portion the toppings several hours ahead. Complete the arrangement on the same day, refrigerate it, and bring it out shortly before slicing. This timing protects the wafer texture and keeps the sections distinct.
What Candy Goes on a Candy Cake?
Use a mix of treats with different shapes and textures: wafer bars for boundaries, snack cakes for recognizable sections, and small candies or marshmallows for filling gaps. The exact brands can change as long as the pieces are dry, stable, and easy to portion.
Can You Use Any Frosted Cake?
Yes. A sturdy frosted round cake is the best base because its sides support the upright Nutty Buddies and its top provides room for sections. Chill the cake before decorating so the frosting does not pull away when toppings are pressed into place.
FAQs About Candy Cake
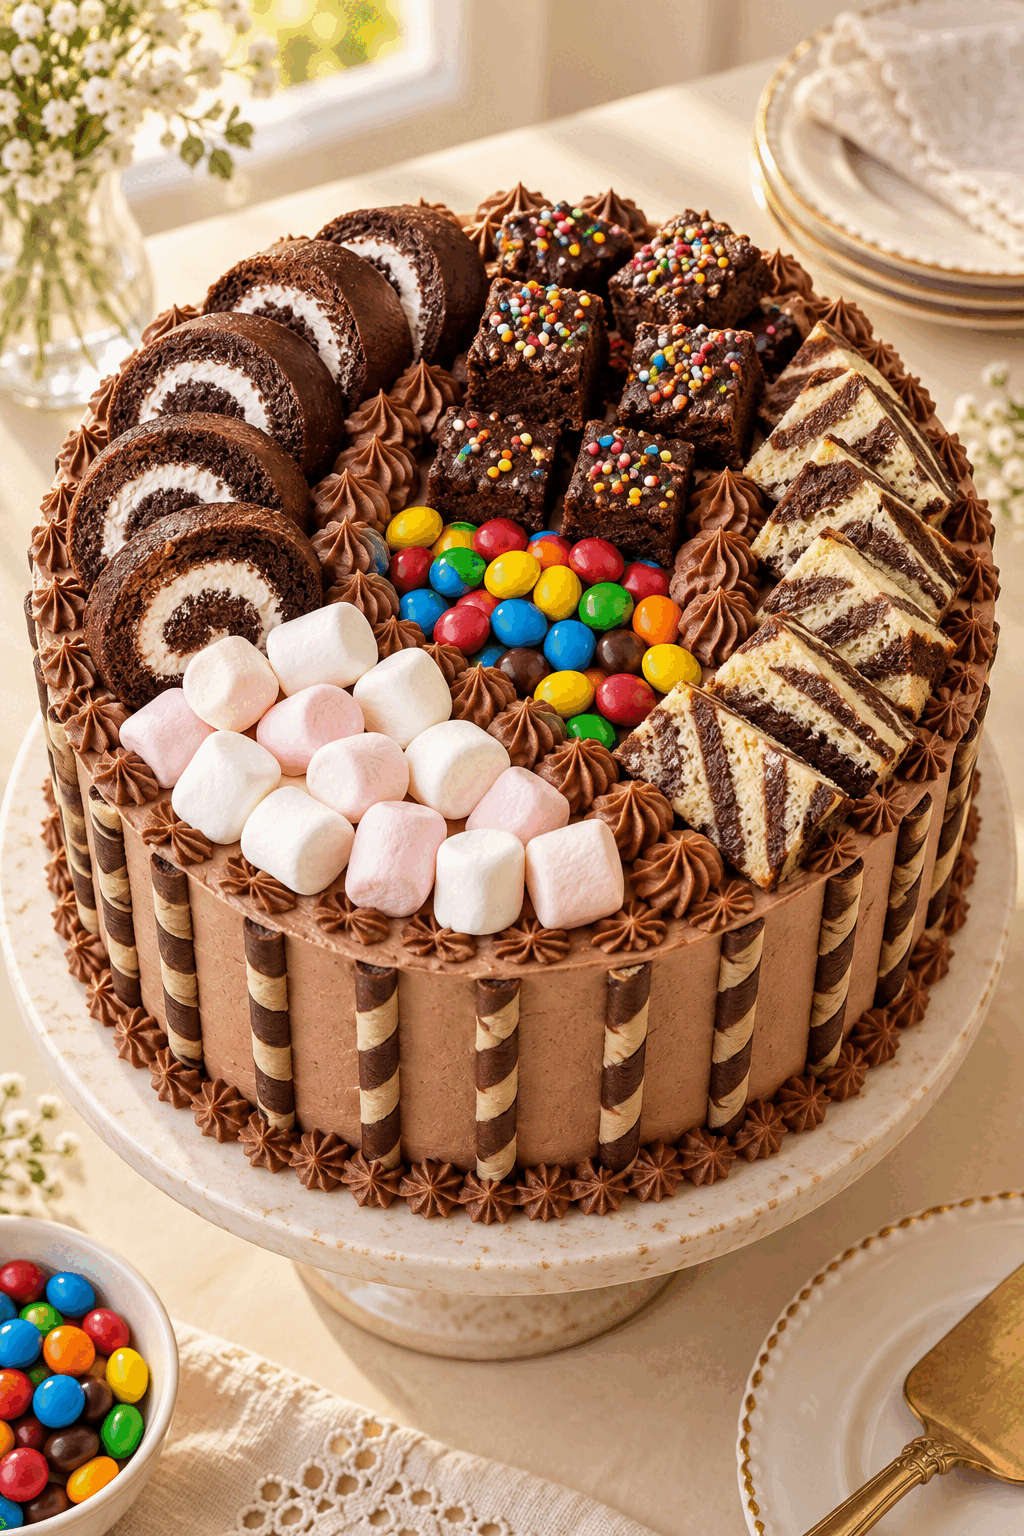
A candy cake proves that a festive dessert can be more about clever arranging than advanced decorating. Keep the cake cold, make clear sections, and choose toppings with contrasting colors and textures for a centerpiece that is easy to personalize and fun to serve.

Candy Cake
Ingredients
Ingredients
- 1 frosted round cake chilled and placed on a serving plate
- 2 boxes Nutty Buddies unwrapped
- 1 box Zebra Cakes unwrapped
- 1 box Swiss Rolls unwrapped and sliced
- 2 packs chocolate wafer candies such as Kit Kats, unwrapped
- 1 box Cosmic Brownies cut into small shapes
- 2 cups assorted colored candies or marshmallows divided by color if desired
Instructions
Instructions
- Place the Nutty Buddies around the frosted cake.
- Place the chocolate wafer candies on top of the cake to divide it into equal sections.
- Slice the Swiss Rolls and arrange them in one segment of the cake.
- Cut the Cosmic Brownies and Zebra Cakes into small shapes.
- Place the snack cakes on top of the cake in their own separate segments.
- Fill the remaining segments with the assorted candy or marshmallows.