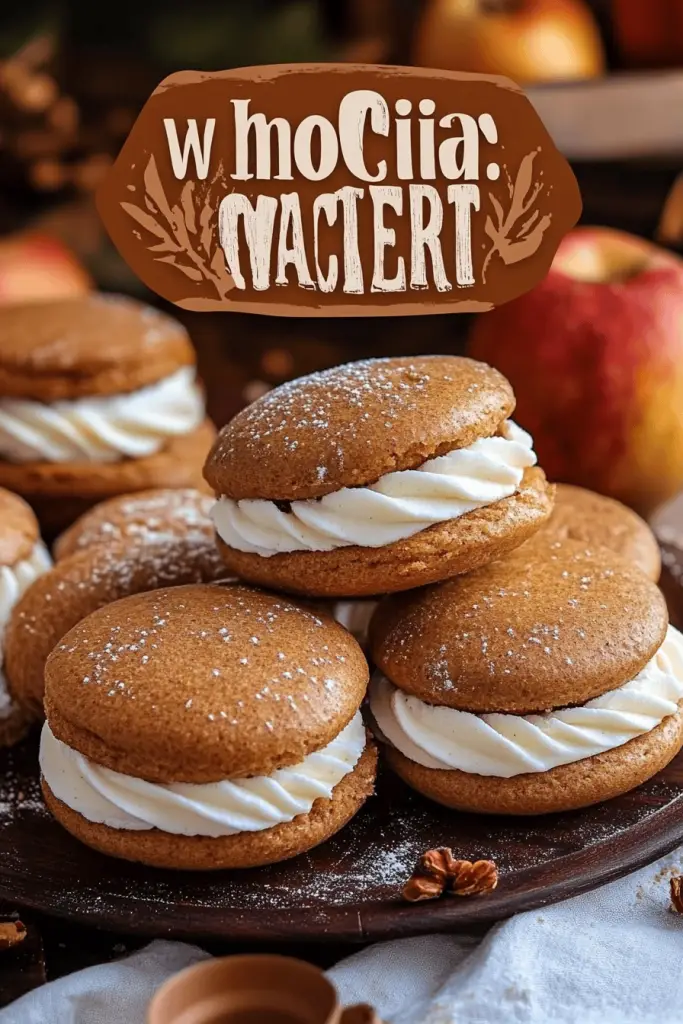
Okay, friends, let’s talk comfort food. More specifically, let’s talk about something that tastes like autumn in a bite: Apple Cider Whoopie Pies! If you’re a fan of apple cider donuts (and who isn’t?!), then you’re absolutely going to fall head-over-heels for these. They’re soft, cakey, spiced just right, and filled with the most incredible brown butter Cream Cheese Frosting. I swear, just making these fills the whole house with the aroma of fall, and my family goes absolutely nuts for them! These Apple Cider Whoopie Pies are the perfect treat to share (or not!) on a chilly day.

What is Whoopie pie?
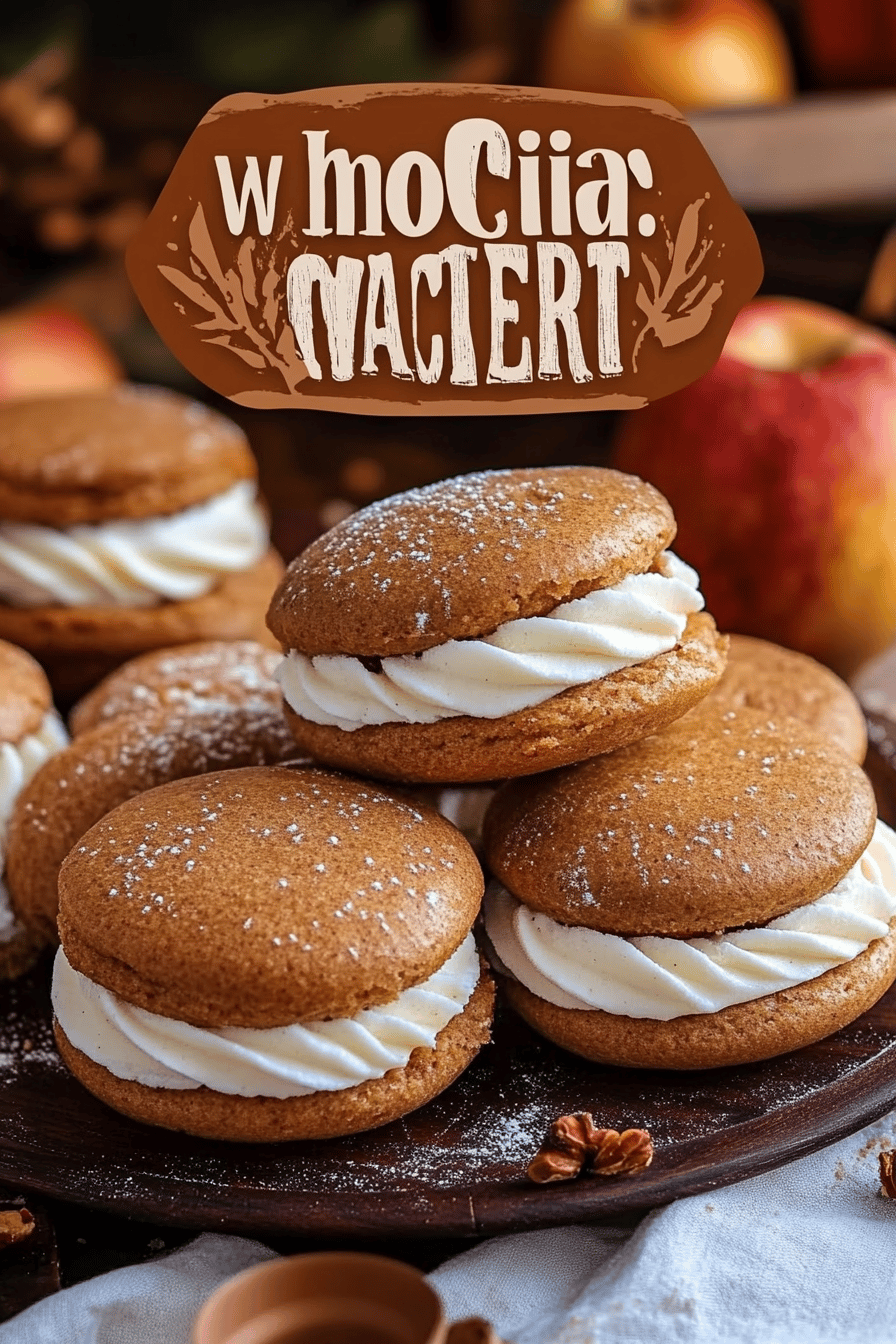
Think of APPLE CIDER Whoopie Pies as the love child of a cupcake and a cookie, but way better. They’re essentially two soft, round cakes – like really thick, fluffy cookies – that sandwich a sweet and creamy filling. In this case, we’re infusing the cakes with the warm, comforting flavors of apple cider and cozy spices like cinnamon and nutmeg. It’s essentially autumn baked into a handheld treat, perfect for everything from an afternoon snack to a delightful dessert. The name “Whoopie Pie” is said to come from Amish communities, where kids would shout “Whoopie!” upon finding them in their lunchboxes. And trust me, anyone who tries these Apple Cider Whoopie Pies will be shouting “Whoopie!” too!
Why you’ll love this recipe?
Where do I even begin? Honestly, I’m obsessed with this Apple Cider Whoopie Pies recipe, and here’s why I think you will be too:
- The Flavor Explosion: The combination of apple cider, cinnamon, nutmeg, and brown butter cream cheese frosting is a match made in heaven. It’s sweet, spicy, tangy, and utterly addictive. I tested adding a little cardamom in one batch, and it was seriously divine!
- Surprisingly Don’t let the fancy name fool you – these Apple Cider Whoopie Pies are actually pretty simple to make. Once you have your ingredients measured out (mise en place!), the batter comes together in minutes, and the filling is even easier. This one is a lifesaver when the kids ask for something special but you don’t have hours to spend in the kitchen.
- Budget-Friendly Goodness: All the ingredients are pretty standard baking staples, so you probably already have most of them in your pantry. No fancy, expensive ingredients required to create this autumnal magic!
- Super Versatile:How do I make Whoopie Pies with Apple Cider? Add chopped nuts to the filling, drizzle them with caramel sauce, or even dip them in chocolate. What are the endless possibilities?
What I love most about these is that they’re so much more special than just a plain old cookie or cupcake. They have a nostalgic charm that reminds me of childhood, and they’re just so darn comforting. Plus, they’re the perfect way to use up that leftover apple cider from your fall apple-picking adventures. Seriously, try these Apple Cider Whoopie Pies once, and they’ll become a fall staple in your household.
How to Make Apple Cider Whoopie Pies
Quick Overview
How do I make Whoopie Pies? How do you make a spiced apple cider cake? What are some of the best ways to serve a Cream Cheese frosting? What really elevates these from good to amazing is the brown butter in the frosting. Don’t skip this step! I promise you, the whole process is straightforward, and the results are totally worth it.
Ingredients
Whoopie pie recipe: For the Apple Cider Whoopies:
- 1 12 cups all-purpose flour: Make sure to spoon and level it for accurate measuring!
- 1 teaspoon baking powder: This gives them that nice, fluffy rise.
- ½ teaspoon baking soda: For extra lift and a slight tang.
- What is fall without cinnamon?
- 14 teaspoon ground nutmeg: Adds warmth and depth of flavor.
- 14 teaspoon salt: Enhances all the other flavors.
- 12 cup (1 stick) unsalted butter, softened: Let it come to room temperature for easier creaming.
- ¾ cup granulated sugar: For sweetness, of course!
- 1 large egg: Binds everything together.
- What are some good uses for vanilla extract?
- 12 cup Apple Cider, reduced to 1/4 cup: This is the key to that intense apple cider flavor! I just simmer it in a saucepan until it reduces.
- 12 cup buttermilk: Keeps the cakes moist and tender. If you don’t have buttermilk, you can use regular milk with a teaspoon of lemon juice added.
For the Brown Butter Cream Cheese Frosting:
- 12 cup (1 stick) unsalted butter: We’re going to brown this, so don’t skip it!
- 4 ounces cream cheese, softened: Again, let it come to room temperature for a smooth frosting.
- 3 cups powdered sugar: Sift it for an extra smooth frosting.
- Why is vanilla essential?
- Pinch of salt: Balances the sweetness.
- 2-4 tablespoons milk or cream: To adjust the consistency of the frosting. I sometimes use a little apple cider in here for extra apple flavor!
How do I follow the
Step 1: Preheat & Prep Pan
Preheat your oven to 350°F (175°C). Line two baking sheets with parchment paper or silicone baking mats. I prefer parchment paper because it makes it easier to remove the baked cakes, but either works great. I always do this first so the oven is ready when the batter is. Get everything prepped and you’ll have perfect Apple Cider Whoopie Pies every time!
Step 2: Mix Dry Ingredients
In a medium bowl, whisk together the flour, baking powder, cinnamon, nutmeg, and salt. Set aside. Whisking helps to evenly distribute the ingredients and prevents any clumps. What is the texture of Apple Cider Whoopie Pies?
Step 3: Mix Wet Ingredients
In a large bowl, cream together the butter and granulated sugar until light and fluffy. Set aside. Beat in the vanilla extract and the egg yolk until well combined. Then, gradually add the reduced apple cider and buttermilk, alternating with the dry ingredients. Starting and ending with dry ingredients. If you overmix, be careful not to over mix – over mixing can lead to tough cakes.
Step 4: Combine
Gently fold the wet ingredients into the dry ingredients until just combined. A few streaks of flour are okay – don’t overmix! If you overmix the flour, the gluten will be in the cake. My grandma always said “mix until its just combined or you’ll regret it!” “, and trust me, she knows her baked goods!
Step 5: Prepare Filling
While the cakes are cooling, make the frosting. In a small saucepan over medium heat, melt the butter and cook until it turns golden brown. Remove from heat and set aside. Brown and smells nutty. Watch it carefully – it can burn quickly! Once browned, pour the butter into a heatproof bowl and let it cool slightly. In a large bowl, beat the Cream Cheese until smooth. Set aside. Add the brown butter, powdered sugar, vanilla extract, and salt to the cooled mixture. Mix well. Beat until smooth and creamy. Add milk, one tablespoon at a time, until you reach your desired consistency. I like my frosting on the thicker side so it doesn’t squish out too much when I sandwich the cakes. I prefer to use a thinner side.
Step 6: Layer & Swirl
Do not over-bake the baking sheets. Drop rounded tablespoons of batter onto the prepared baking sheet, leaving about 2 inches between. Can you use a cookie scoop for uniform cakes? Bake for 10-12 minutes, or until the edges are lightly golden brown and a toothpick inserted into the center comes out clean. The center comes out clean. Don’t overbake – they should be soft and slightly underbaked for the best texture. How do I make a Whoopie Pie?
Step 7: Bake
Let the cakes cool on the baking sheets for a few minutes before transferring them to a wire rack to cool completely. Make sure they are completely cool before frosting, or the frosting will melt!
Step 8: Cool & Glaze
Once the cakes are completely cool, spread a generous amount of frosting onto the flat side of one cake and top with another cake, pressing gently to sandwich them together. Repeat with the remaining cakes and frosting. My kids like to “help” with this process… meaning they eat the frosting!
Step 9: Slice & Serve
Serve immediately or chill for later. These Apple Cider Whoopie Pies are best enjoyed within a few days of baking. If you’re feeling fancy, you can dust them with powdered sugar or drizzle them with caramel sauce before serving. I won’t judge if you eat one straight from the fridge!
What to Serve It With
These Apple Cider Whoopie Pies are fantastic all on their own, but here are some ideas for taking them to the next level:
For Breakfast: Pair one with a cup of hot coffee or a spiced latte for a cozy morning treat. I sometimes crumble one over my yogurt for a special weekend breakfast.
For Brunch: Serve them on a platter with other fall-themed treats like pumpkin bread and apple scones. They look especially elegant arranged on a tiered stand.
As Dessert: Enjoy them after a comforting meal like roasted chicken or butternut squash soup. A scoop of vanilla Ice Cream on the side never hurts!
For Cozy Snacks: Snuggle up on the couch with a warm blanket, a mug of hot cocoa, and an Apple Cider Whoopie Pie. It’s the perfect way to unwind after a long day. My family’s favorite tradition is to have these after a chilly evening at a bonfire!
Growing up, my mom would always make something special for us after school on Fridays, and these remind me of that feeling of warmth and comfort. They’re more than just a dessert – they’re a memory in the making.
Top Tips for Perfecting Your Apple Cider Whoopie Pies
Alright, friends, let’s talk tips and tricks for making these Apple Cider Whoopie Pies absolutely perfect:
- Apple Cider Reduction: Don’t skip reducing the apple cider! This concentrates the flavor and makes a huge difference. Just simmer it in a saucepan over medium heat until it reduces to about ¼ cup. Watch it carefully so it doesn’t burn!
- Softened Butter is Key: Make sure your butter and cream cheese are both softened to room temperature before using them. This ensures that they cream together smoothly and evenly, resulting in a light and fluffy batter and frosting. I always forget to take them out of the fridge early enough!
- Don’t Overmix: Overmixing the batter develops the gluten in the flour, which can lead to tough cakes. Mix until just combined – a few streaks of flour are okay.
- Browning the Butter: Browning the butter for the frosting adds a nutty, caramelly flavor that is absolutely irresistible. Watch it carefully while it’s cooking – it can burn quickly. You’ll know it’s ready when it turns a light golden brown and smells nutty.
- Piping the Batter: For more uniform cakes, transfer the batter to a piping bag or a zip-top bag with the corner snipped off. Pipe the batter onto the baking sheets in even circles.
- Cool Completely Before Frosting: This is crucial! If the cakes are still warm, the frosting will melt and slide right off.
- Adjust the Sweetness: If you prefer a less sweet frosting, reduce the amount of powdered sugar. You can also add a pinch of salt to balance the sweetness.
- Add Some Spice: Feel free to adjust the amount of cinnamon and nutmeg to your liking. You can also add other spices like ginger, cloves, or allspice for a more complex flavor. I also love adding a little cardamom to the frosting – it’s divine!
- Experiment with Fillings: While I love the brown butter cream cheese frosting, you can also experiment with other fillings like maple cream cheese frosting, pumpkin spice frosting, or even a simple vanilla buttercream.
- Add Some Texture: For added texture, sprinkle the tops of the cakes with chopped nuts, coarse sugar, or sprinkles before baking. You can also add chopped nuts to the frosting.
I’ve made these countless times, and I’ve learned that a little attention to detail goes a long way. These Apple Cider Whoopie Pies are sure to impress!
Storing and Reheating Tips
Here’s how to keep your Apple Cider Whoopie Pies fresh and delicious:
- Room Temperature: These will keep in an airtight container at room temperature for up to 2 days. After that, they’re best stored in the fridge.
- Refrigerator Storage: Store them in an airtight container in the refrigerator for up to 5 days. The cold air can dry them out so a tight lid is a must. Let them come to room temperature before serving for the best flavor and texture.
- Freezer Instructions: For longer storage, you can freeze these for up to 2 months. Wrap each whoopie pie individually in plastic wrap and then place them in a freezer-safe container or bag. Thaw them in the refrigerator overnight before serving.
- Glaze Timing Advice: I usually add any glaze or decorations right before serving to prevent them from getting soggy. A little dusting of powdered sugar goes a long way!
I always make a double batch because they disappear so quickly! They’re perfect for making ahead of time for parties or gatherings.
Frequently Asked Questions
Final Thoughts
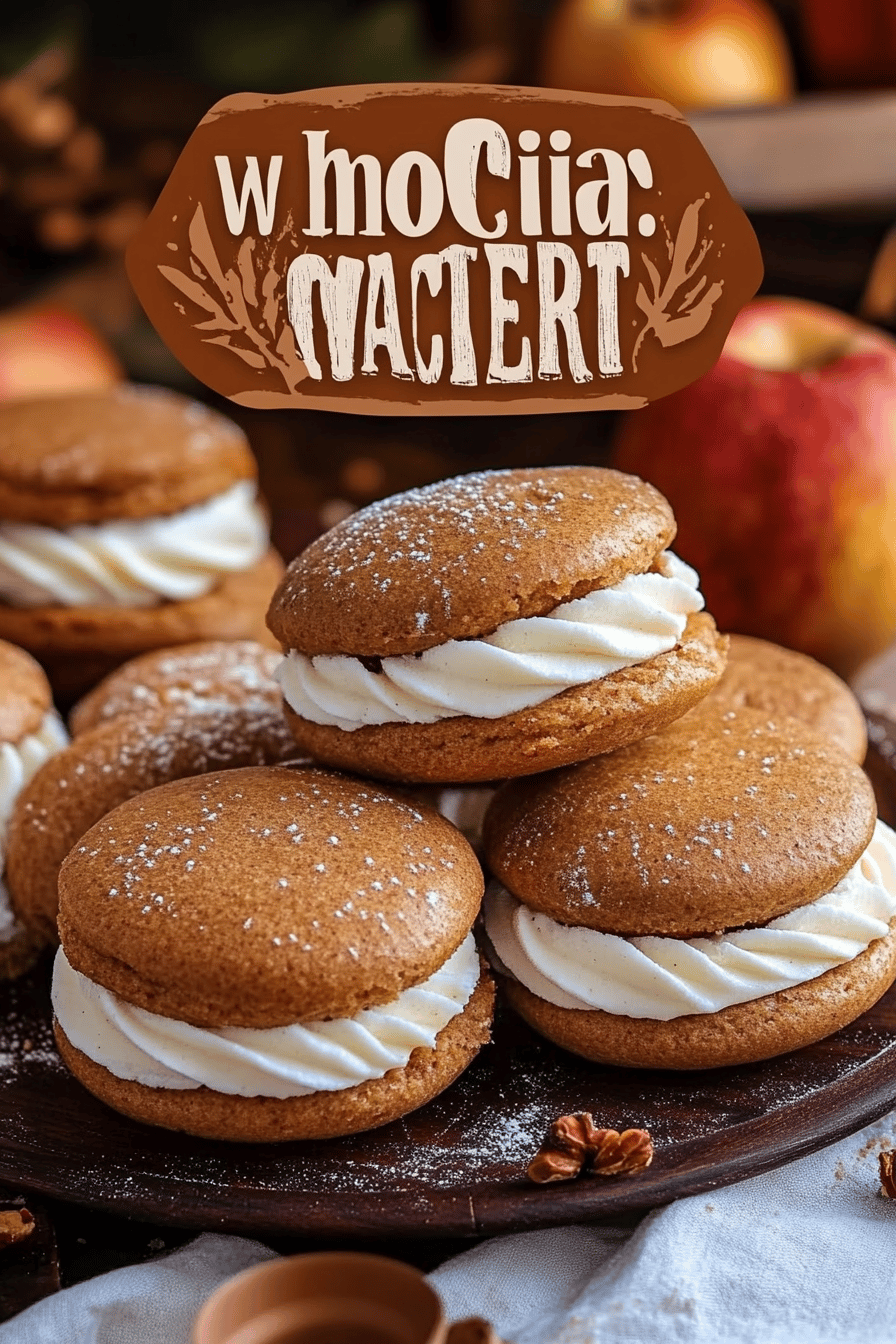
So there you have it: my all-time favorite Apple Cider Whoopie Pies recipe! I truly believe these are the perfect fall treat. They’re easy to make, bursting with flavor, and guaranteed to bring a smile to everyone’s face. If you’re looking for a fun and festive dessert to bake this season, look no further!
And if you’re a fan of all things apple cider, be sure to check out my other recipes like apple cider donuts, apple crisp, and caramel apple cheesecake bars. Happy baking, friends! I can’t wait to hear how yours turn out. Please leave a comment below and let me know if you’ve tried this recipe! I would also love for you to rate this recipe and share it with your friends. It helps me keep creating content!

Apple Cider Whoopie Pies
Ingredients
Main Ingredients
- 1.5 cups all-purpose flour
- 0.75 cups granulated sugar
- 1 teaspoon baking soda
- 0.5 teaspoon baking powder
- 0.5 teaspoon ground cinnamon
- 0.25 teaspoon ground nutmeg
- 0.25 teaspoon ground cloves
- 0.5 teaspoon salt
- 1 cup apple cider
- 0.5 cup unsalted butter, softened
- 2 large eggs
Instructions
Preparation Steps
- Preheat oven to 375°F (190°C). Line baking sheets with parchment paper.
- In a large bowl, whisk together flour, sugar, baking soda, baking powder, cinnamon, nutmeg, cloves, and salt.
- In a separate bowl, cream together butter and sugar until light and fluffy. Beat in eggs one at a time, then stir in apple cider.
- Gradually add the dry ingredients to the wet ingredients, mixing until just combined. Do not overmix.
- Drop by rounded tablespoons onto prepared baking sheets, leaving space between each whoopie pie.
- Bake for 12-15 minutes, or until golden brown. Let cool on baking sheets for a few minutes before transferring to a wire rack to cool completely.


